 EN
 IT Italiano
 ES Español
 FR Français
 DE Deutsch
Description
What it is
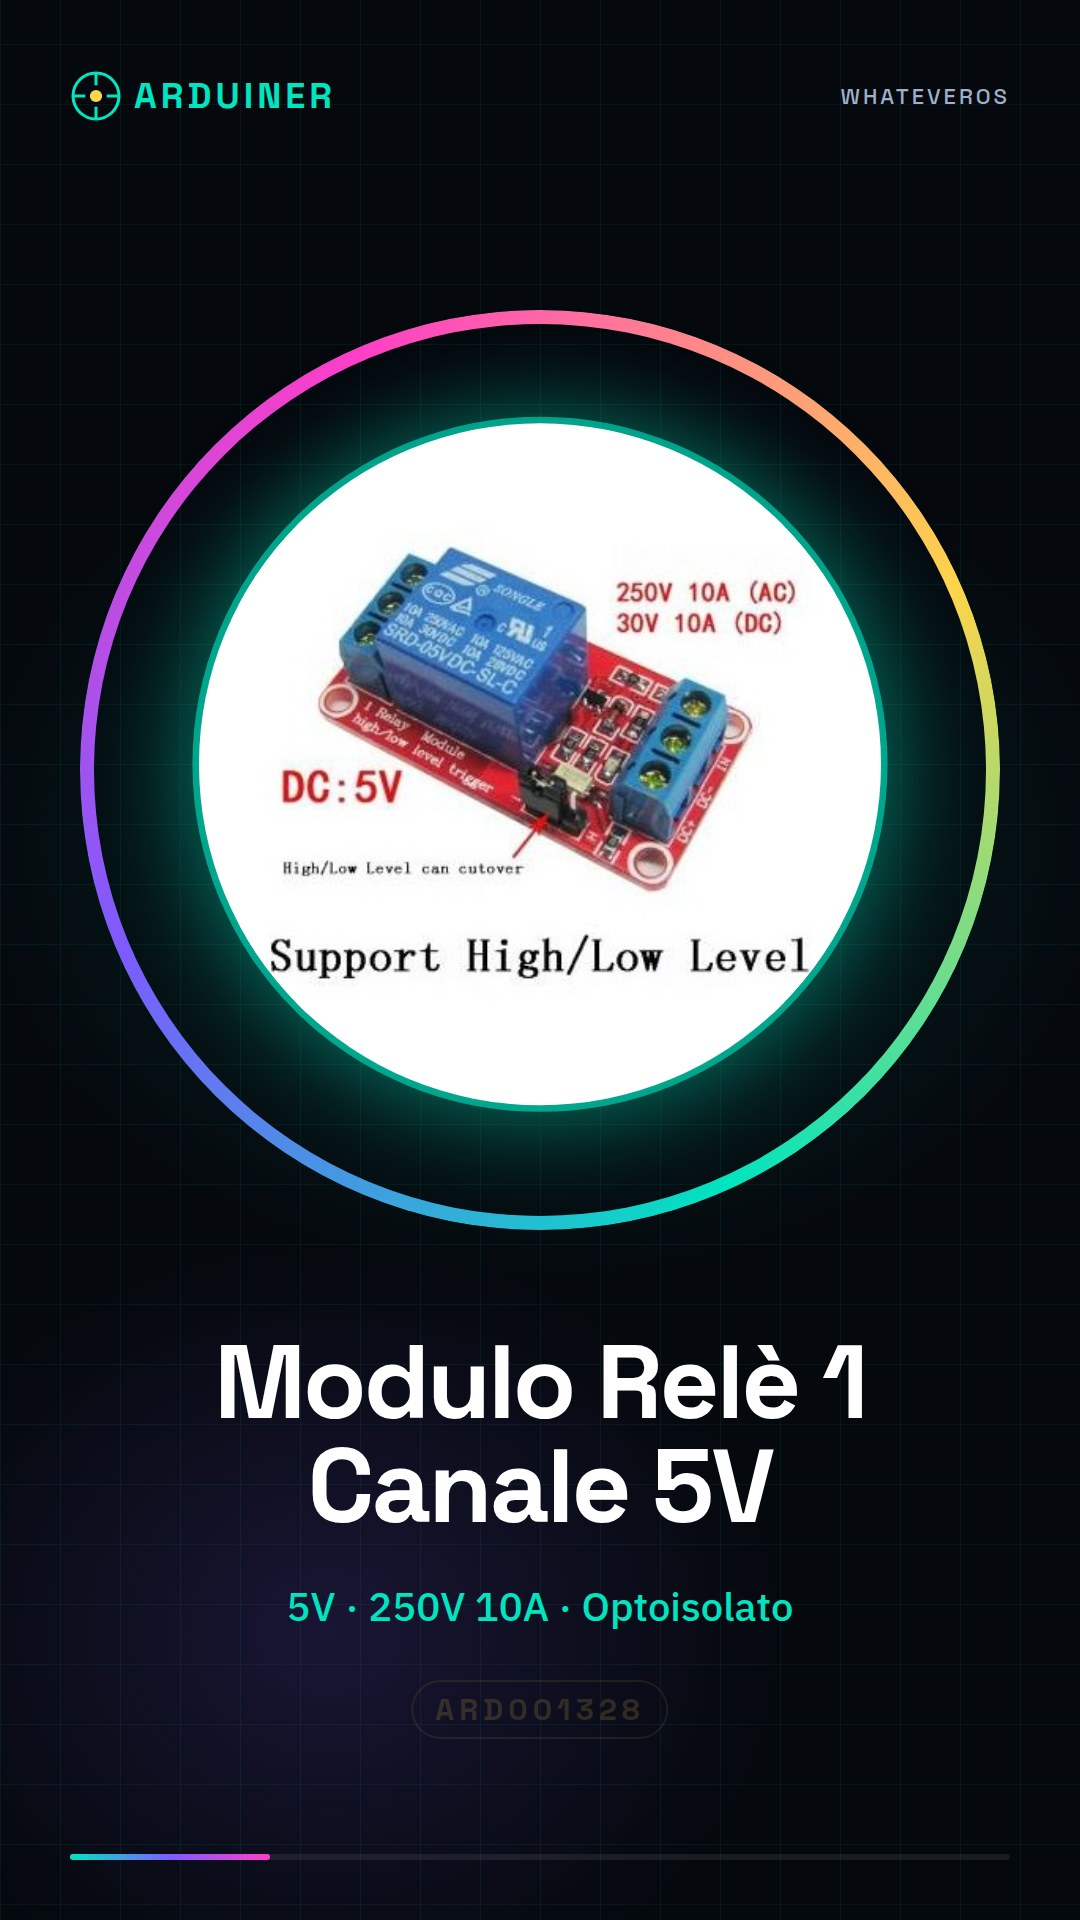
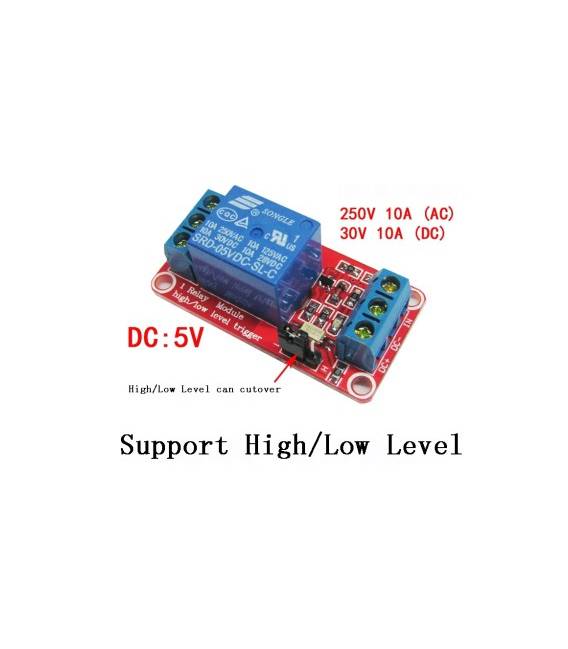
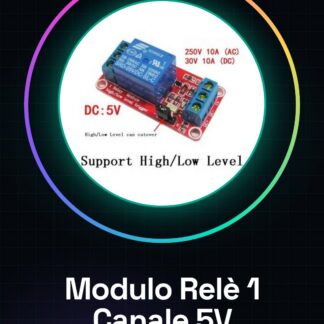
The 1 channel relay module is an essential component for Arduino-based electronic projects. This module allows the microcontroller to control external electrical devices, providing a robust interface between the Arduino’s logic circuit and high-load elements.
Features
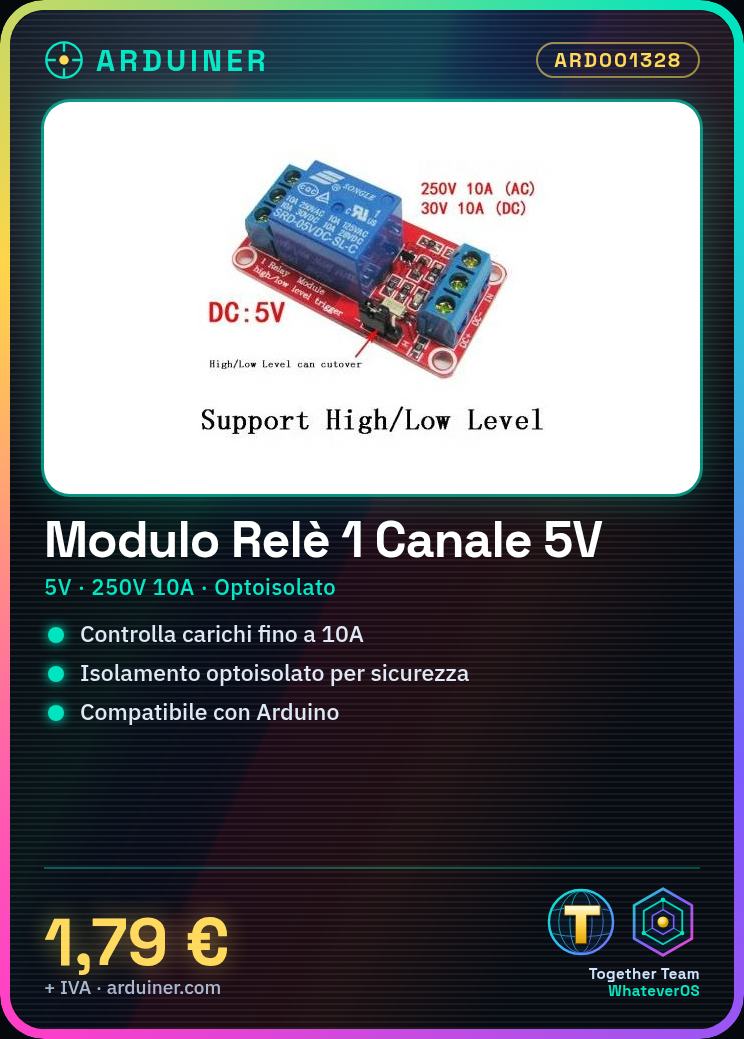
- 1 channel relay
- Power supply level: 5V
- Electrical safety through optoisolated insulation
- Maximum load voltage: 250V
- Maximum load current: 10A
What it is for
This relay module is ideal for controlling devices such as lights, motors, and other electronic appliances directly from your Arduino project. It is suitable for both beginners and experts due to its ease of use and reliable performance. You can use it to create home alarm systems, regulate lighting, or manage motors in various types of applications.
Tutorial: How to use 1 Channel Relay Module
The relay module is a fundamental component for controlling electrical devices from Arduino. It is ideal for beginners who want to learn how to manage high-power loads with the microcontroller. This module allows you to turn on or off lights, motors, and other electronic devices directly from your Arduino project.
What you need
- Arduino Uno
- USB cable to connect the Arduino to the PC
- Soldering iron
- Pin headers
Steps
- Connect the relay module to the Arduino using the VCC, GND, and IN pins.
- Check the relay specifications (such as activation voltage) on the datasheet to understand which Arduino pins to use.
- Write an Arduino sketch that sends a HIGH or LOW signal to the IN pin of the module to activate or deactivate it.
- Test the connection and functionality of the relay with a simple device like a 12V bulb.
- Check the insulation resistance between Arduino and load thanks to the integrated optoisolation in the module.
Example code
const int relePin = 7;

void setup() {
pinMode(relePin, OUTPUT);
}

void loop() {
digitalWrite(relePin, HIGH); // Attiva il relè
delay(1000);
digitalWrite(relePin, LOW); // Disattiva il relè
delay(1000);
}
Mini project
Create a home alarm system that turns on a light bulb when a door or window is opened. Use motion sensors and connect them to the relay module to control the lighting.
Common mistakes
- Do not verify the relay specifications before installation.
- Connect the load directly to the Arduino without the relay as an intermediary.
- Use a power signal higher than what the relay accepts.
- Ignore the insulation protection provided by the optoisolator in the module.
Recommended accessories
- PIR sensors for Arduino
- 12V lamps for testing and projects
- Multi-channel relays for more complex projects
- N-Channel Mosfet
Frequently asked questions
What is the maximum load the relay can handle?
Check the module datasheet.
What is the difference between a relay and a Mosfet?
A relay completely interrupts the circuit, while a Mosfet controls it in a semi-conductive manner. The relay has integrated optical isolation.
Reviews
There are no reviews yet.