 EN
 IT Italiano
 ES Español
 FR Français
 DE Deutsch
Description
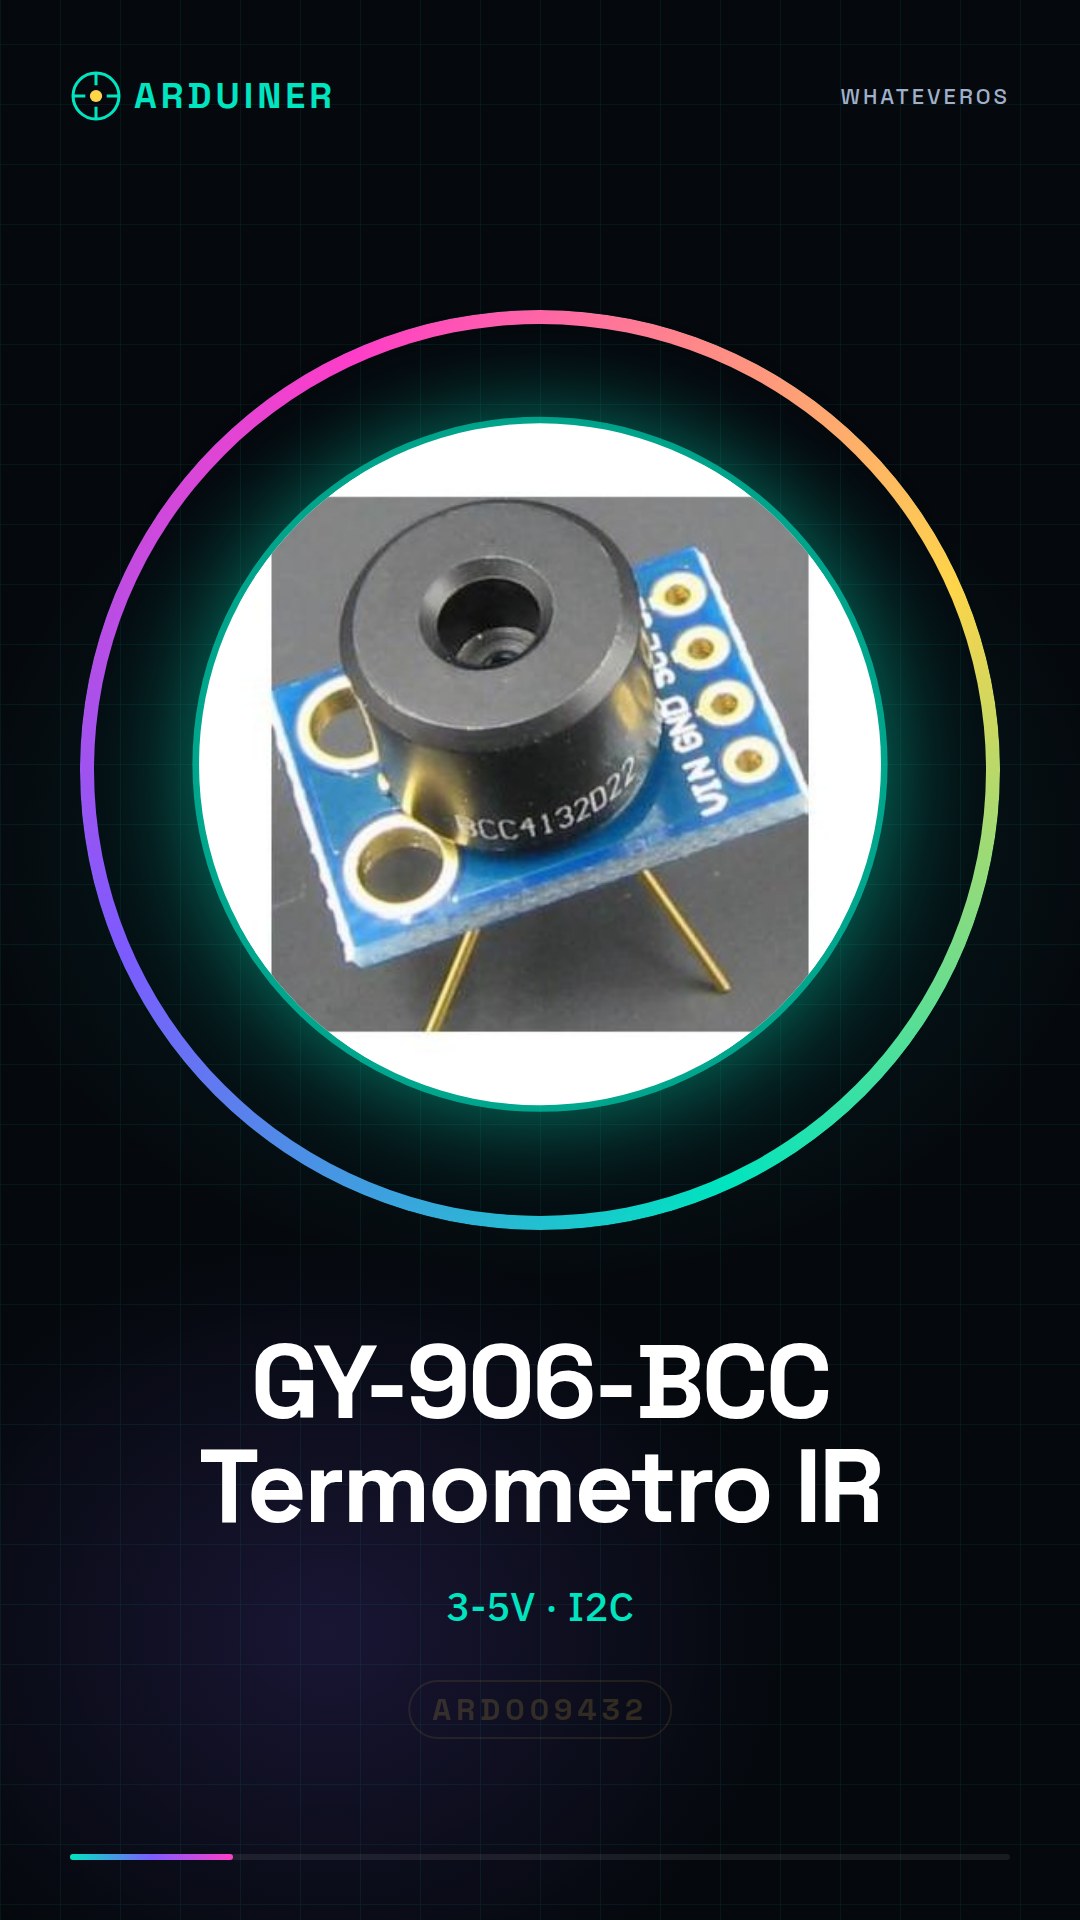
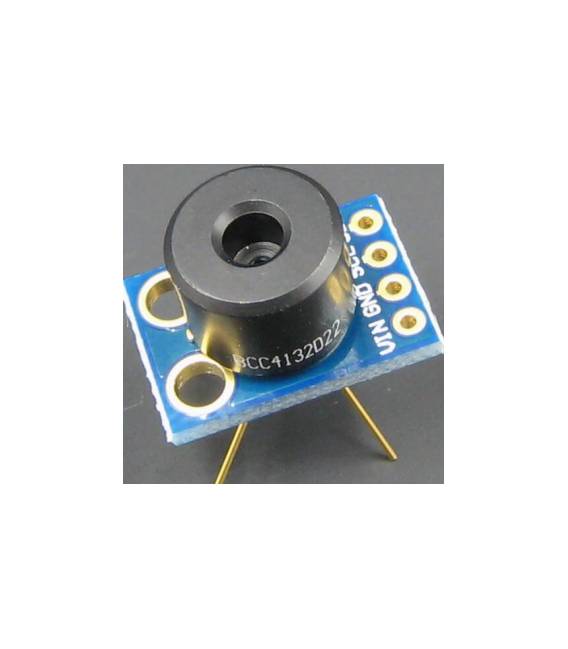
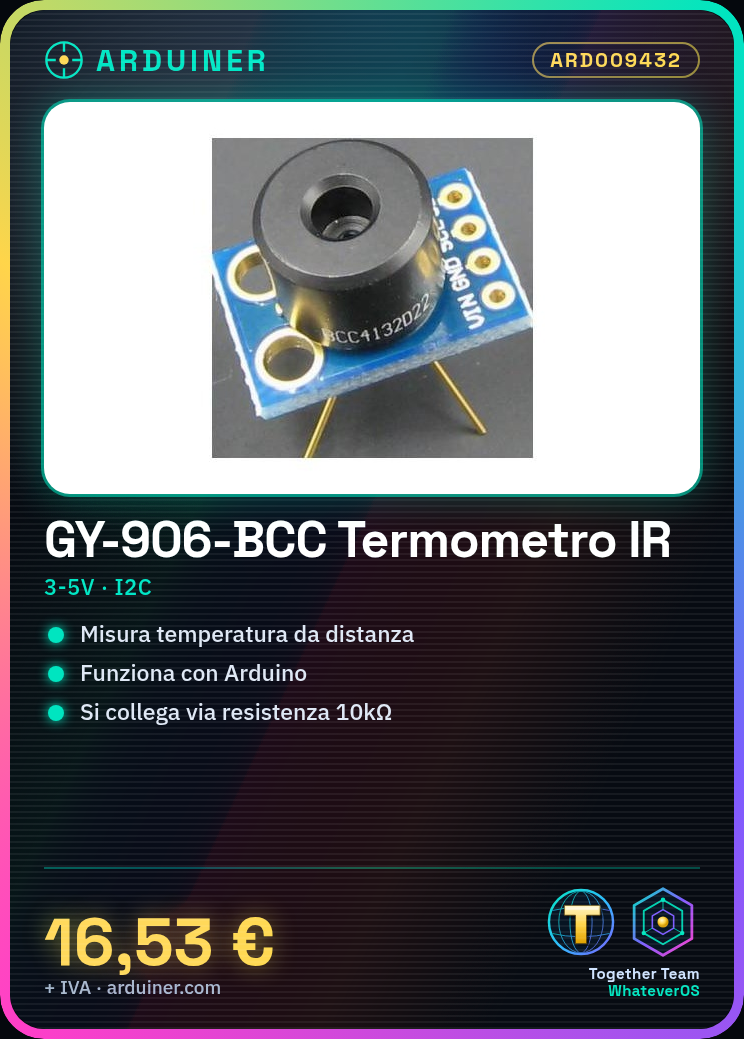
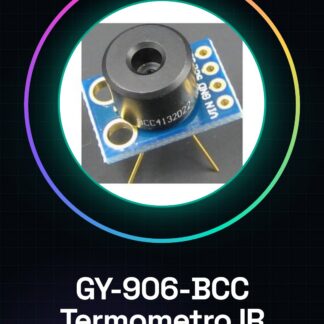
MLX90614ESF-BCC Infrared Non-Contact Thermometer Sensor 3-5 V for Arduino GY-906-BCC FZ1641
Tutorial: How to Use GY-906-BCC
The GY-906-BCC is an infrared thermal sensor ideal for measuring temperatures from distances. Useful for environmental monitoring or temperature control projects.
What you need
- GY-906-BCC
- Arduino
- 10kΩ Resistor
- 5V Power Cable
- I2C Connection Cable
Steps
- 1. Connect the 10kΩ resistor between VCC and GND of the sensor.
- 2. Connect VCC of the sensor to 5V of the Arduino.
- 3. Connect GND of the sensor to GND of the Arduino.
- 4. Connect SDA of the sensor to the SDA pin of the Arduino.
- 5. Connect SCL of the sensor to the SCL pin of the Arduino.
- 6. Connect the 10kΩ resistor between VCC and GND.
- 7. Load the provided Arduino code.
- 8. Check the read temperature on the serial monitor.
Example code
```
#include <MLX90614.h>

MLX90614 sensor;

void setup() {
  Serial.begin(9600);
}

void loop() {
  float objTemp = sensor.getObjTempC();
  Serial.println(objTemp);
  delay(1000);
}
```
Mini project
Build a temperature warning system for a work area. Set a temperature limit and send an alarm signal when it is exceeded.
Common mistakes
- Connect the 10kΩ resistor correctly.
- Ensure that VCC and GND are well connected.
- Check the I2C configuration on the sensor.
Recommended accessories
- Arduino UNO
- 16×2 LCD Display
- 3.7V LiPo Battery
- Electronic Protection Enclosure
Frequently asked questions
The sensor does not read the temperature correctly.
Check the I2C connection and the 10kΩ resistor.
How can I display the temperature on an LCD display?
Add an LCD display and modify the code to send the data.
The sensor does not recognize the Arduino.
Ensure that the power supply is stable and that the I2C pins are correctly connected.
Reviews
There are no reviews yet.