 EN
 IT Italiano
 ES Español
 FR Français
 DE Deutsch
Description
What it is
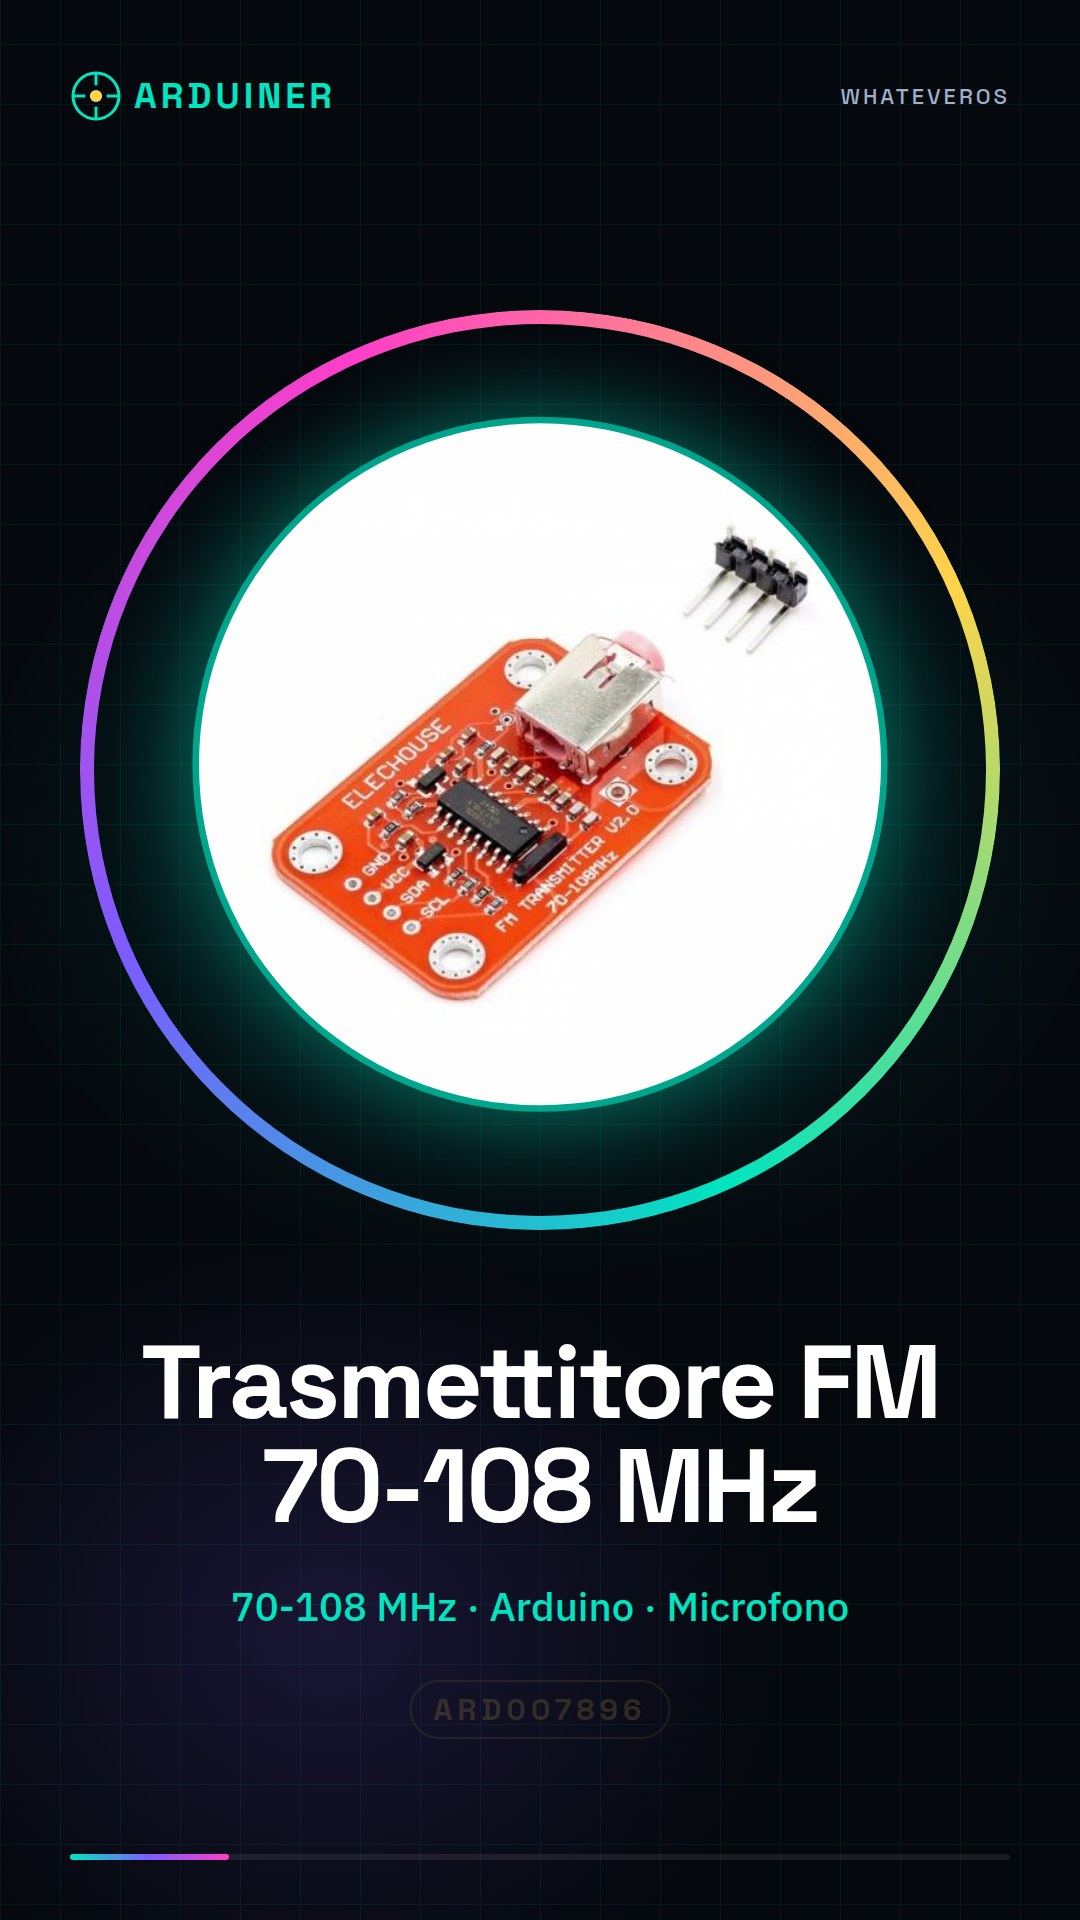
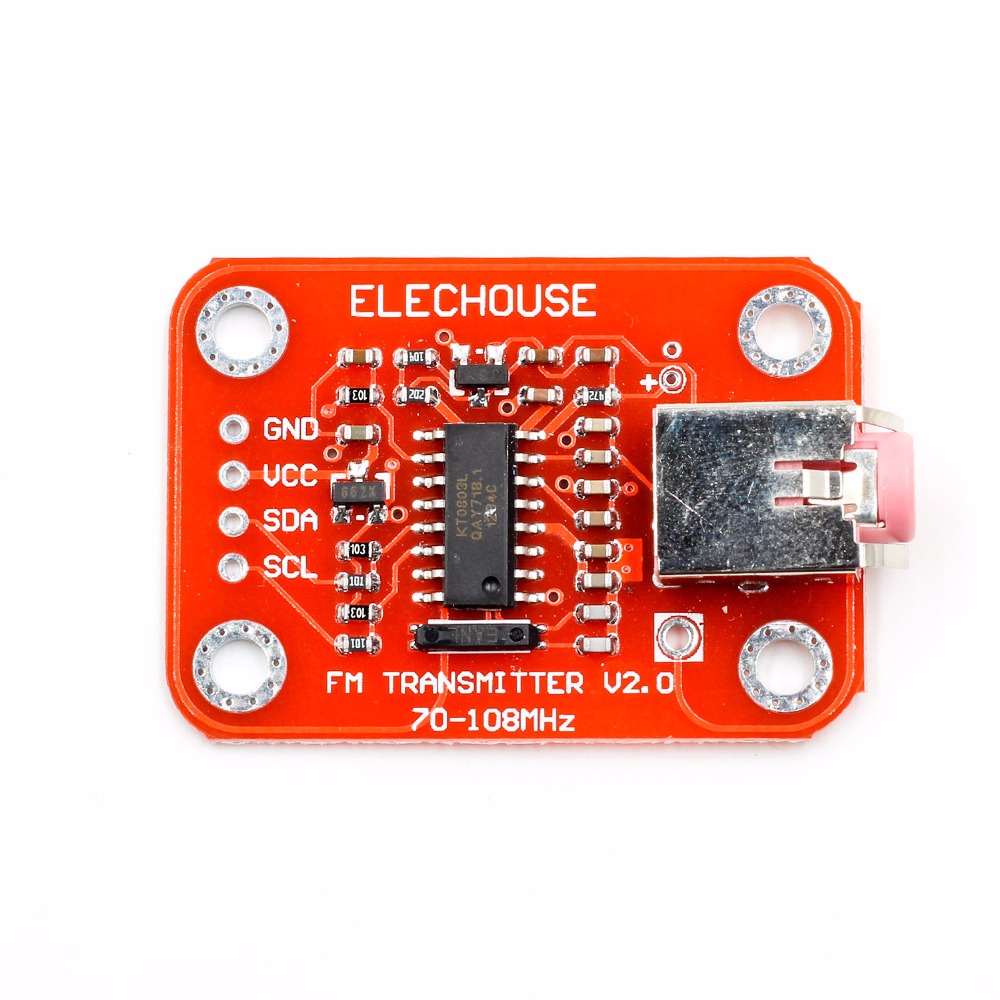
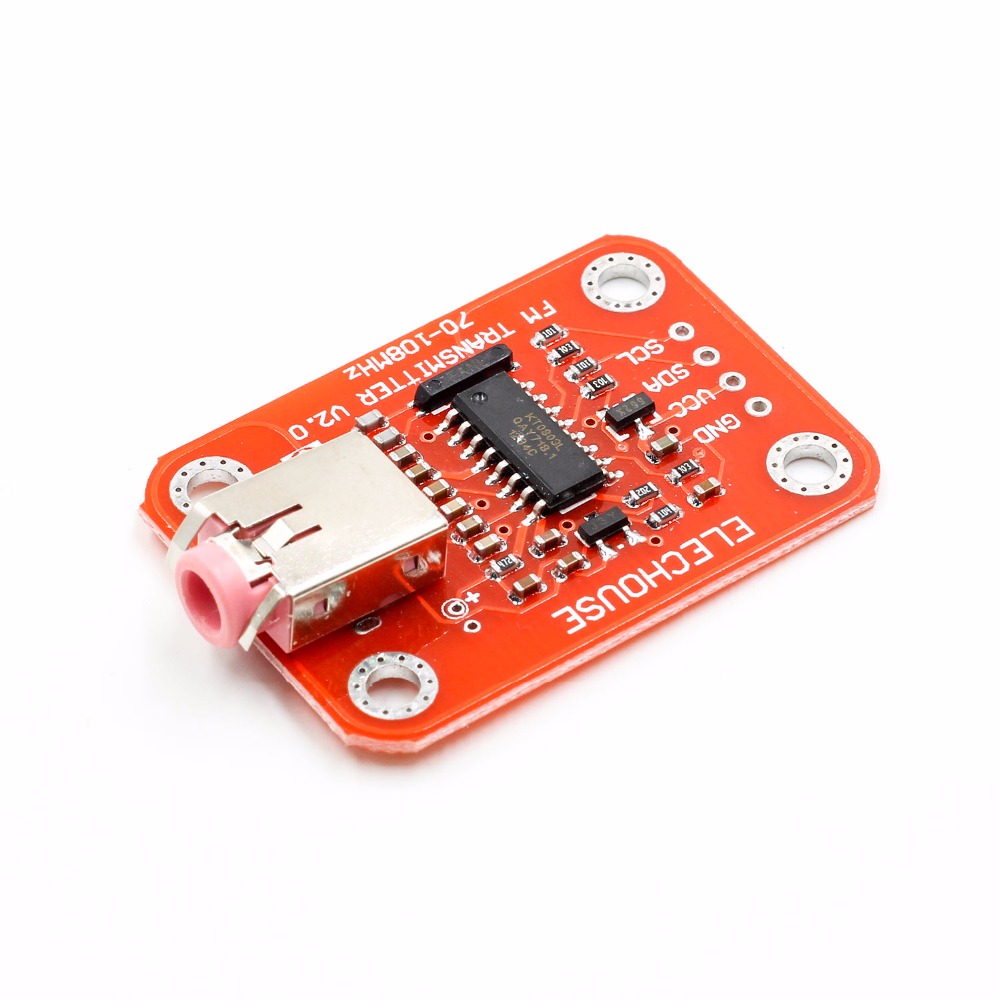
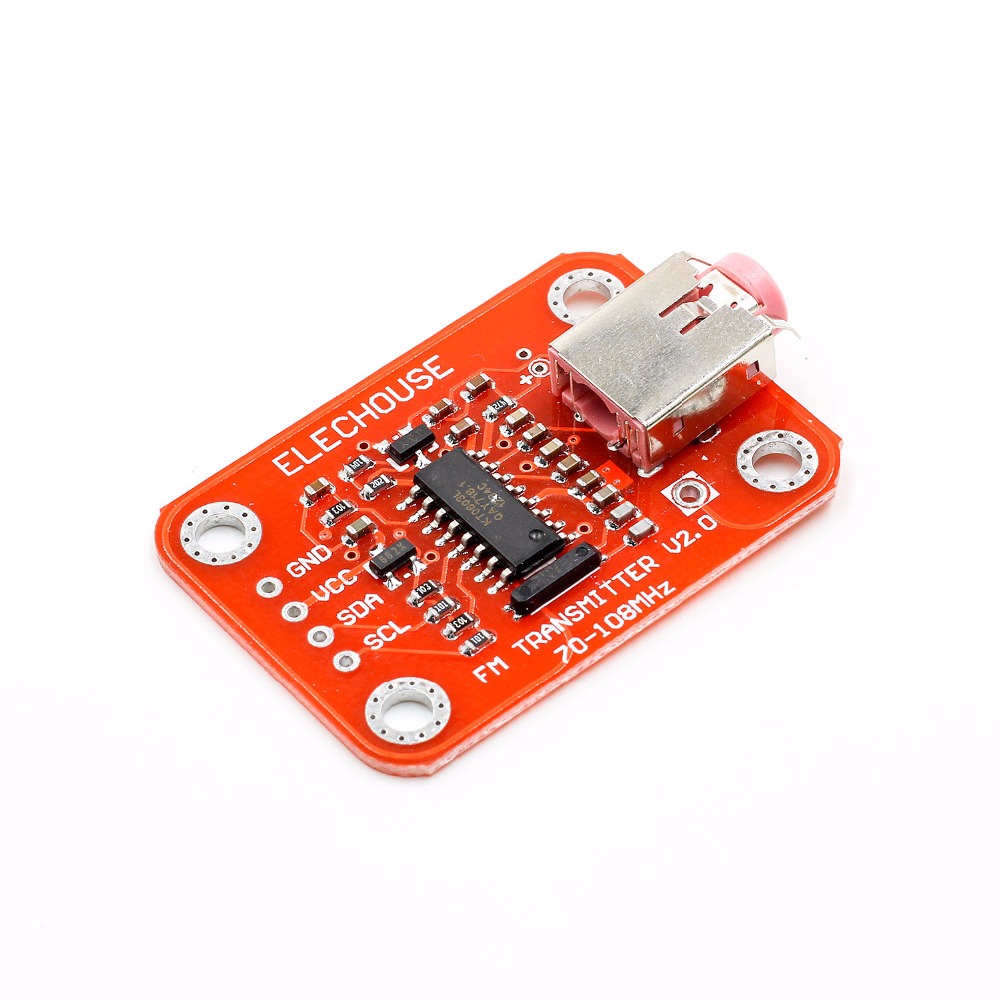
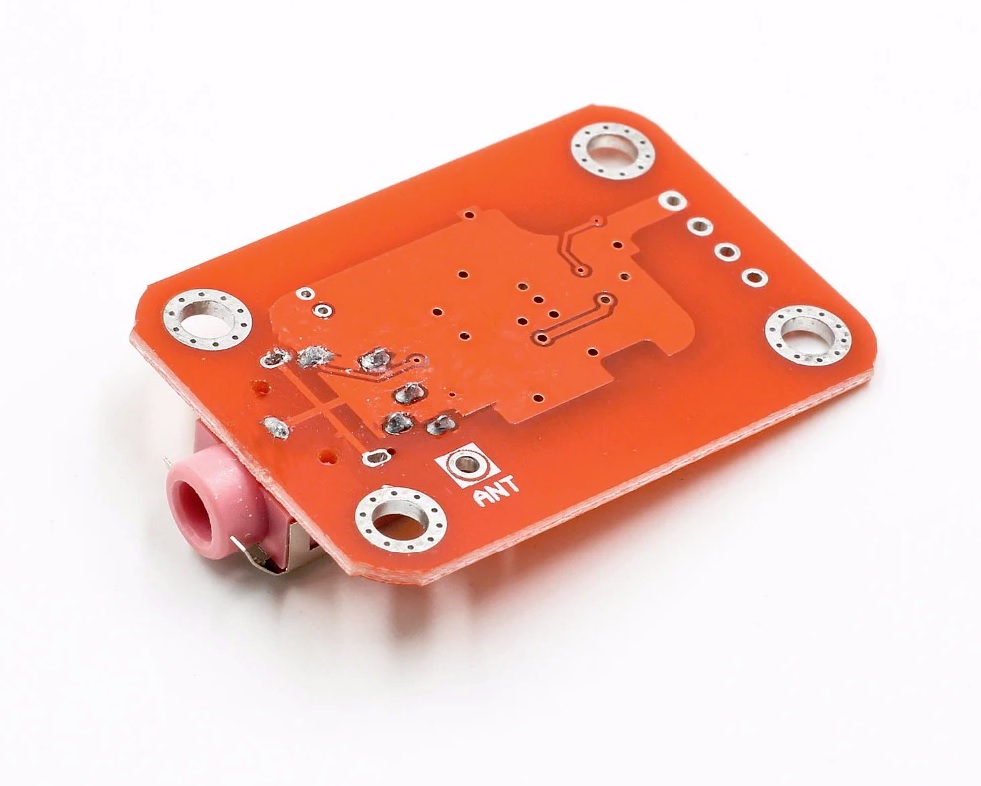
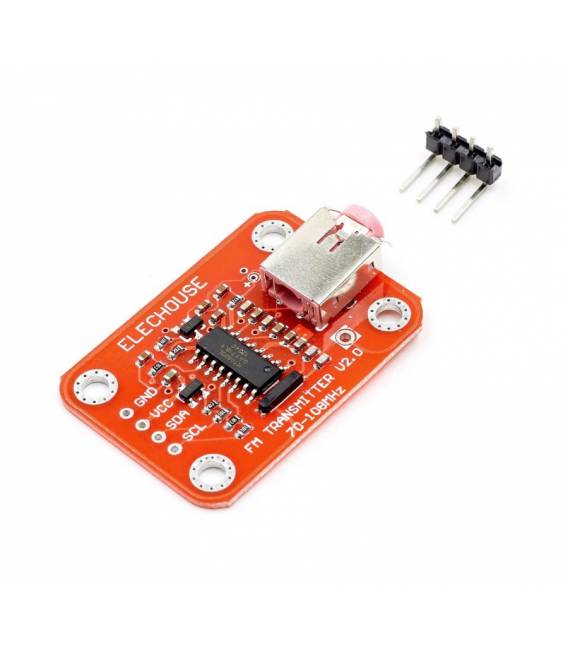
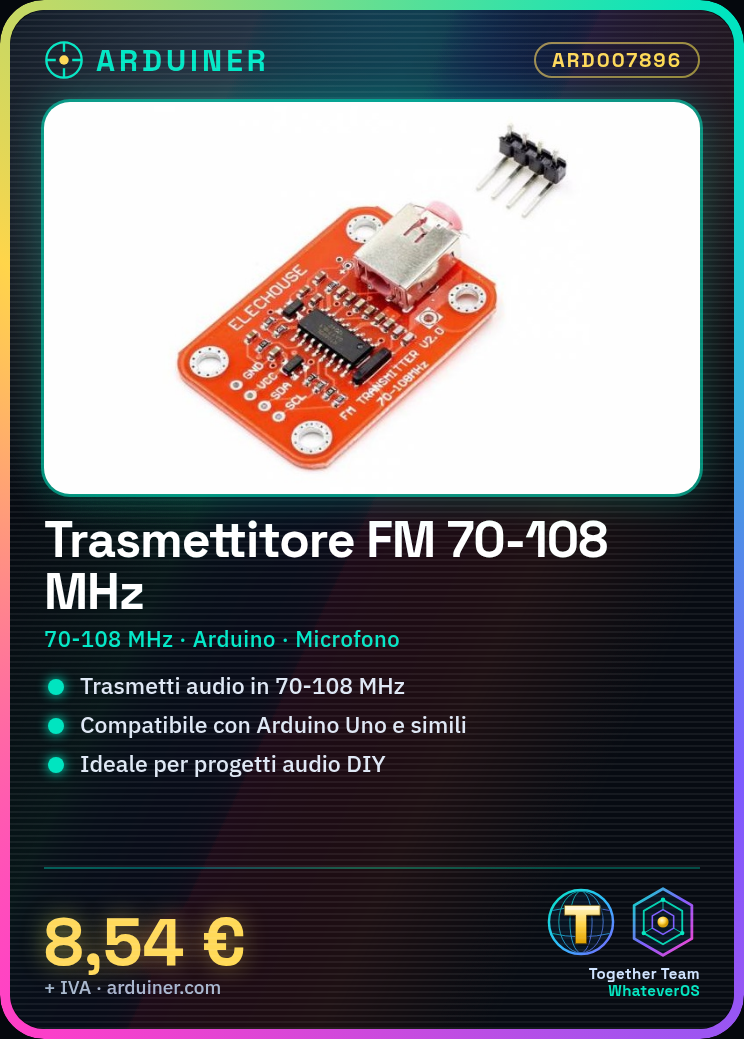
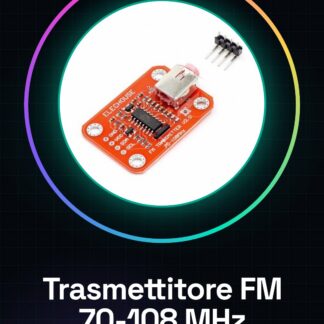
The FM Transmitter Module v2.0 is a device compatible with Arduino that allows for the transmission of audio in frequency modulation (FM) across a wide range of frequencies from 70 to 108 MHz.
Features
- Digital FM Audio Transmission
- Operable Frequencies: 70-108MHz
- Compatible with Arduino and similar microcontrollers
What it is for
Ideally used for voice communication projects, customized digital radio transmissions, and DIY audio systems. It can be integrated into various devices such as drones, remote sensors, or any application requiring wireless audio transmission.
Tutorial: How to Use the FM Transmitter Module v2.0
The FM Transmitter Module v2.0 is a useful component for DIY radio enthusiasts and makers who want to create their own small audio communication systems. This module allows transmission in frequencies from 70 to 108 MHz, making it suitable for both custom projects and radio sound education.
What you need
- Arduino Uno or compatible
- Audio connections (microphone)
- FM Antenna
Steps
- Connect the FM Transmitter Module to the Arduino digital pins as specified in the documentation.
- Connect a microphone to the audio input of the module via an appropriate adapter.
- Configure the desired transmission frequency through software commands.
- Send the sketch code to the microcontroller to activate transmission.
- Verify that the audio is transmitted correctly by listening on an FM receiver.
- Adjust the internal amplifiers of the module via the external potentiometers (check the datasheet).
- Test the transmission in various environmental conditions to optimize range and audio quality.
Example code
void setup() {
  Serial.begin(9600);
}

void loop() {
  // Setta la frequenza di trasmissione (verifica sul datasheet)
}
Mini project
Create a voice communication system between two rooms using the FM module and a radio receiver. Connect a microphone to the transmitter to capture audio, then listen to the transmission on a receiver in another room.
Common mistakes
- Incorrectly configuring the transmission frequency.
- Incorrect connection between the module and Arduino.
- Microphone not properly connected or insufficient audio amplification.
- FM antenna too short or improperly positioned, reducing the effectiveness of the transmission.
Recommended accessories
- Arduino Uno
- Dynamic microphone
- Radio receiver from 70 to 108 MHz
- Audio jack cable
Frequently asked questions
How can I change the transmission frequency?
Use software commands to configure the desired frequency (check the datasheet).
What are the optimal conditions for transmission?
Position the FM antenna in a high and clear location free from electronic interference.
Reviews
There are no reviews yet.