 EN
 IT Italiano
 ES Español
 FR Français
 DE Deutsch
Description
What it is
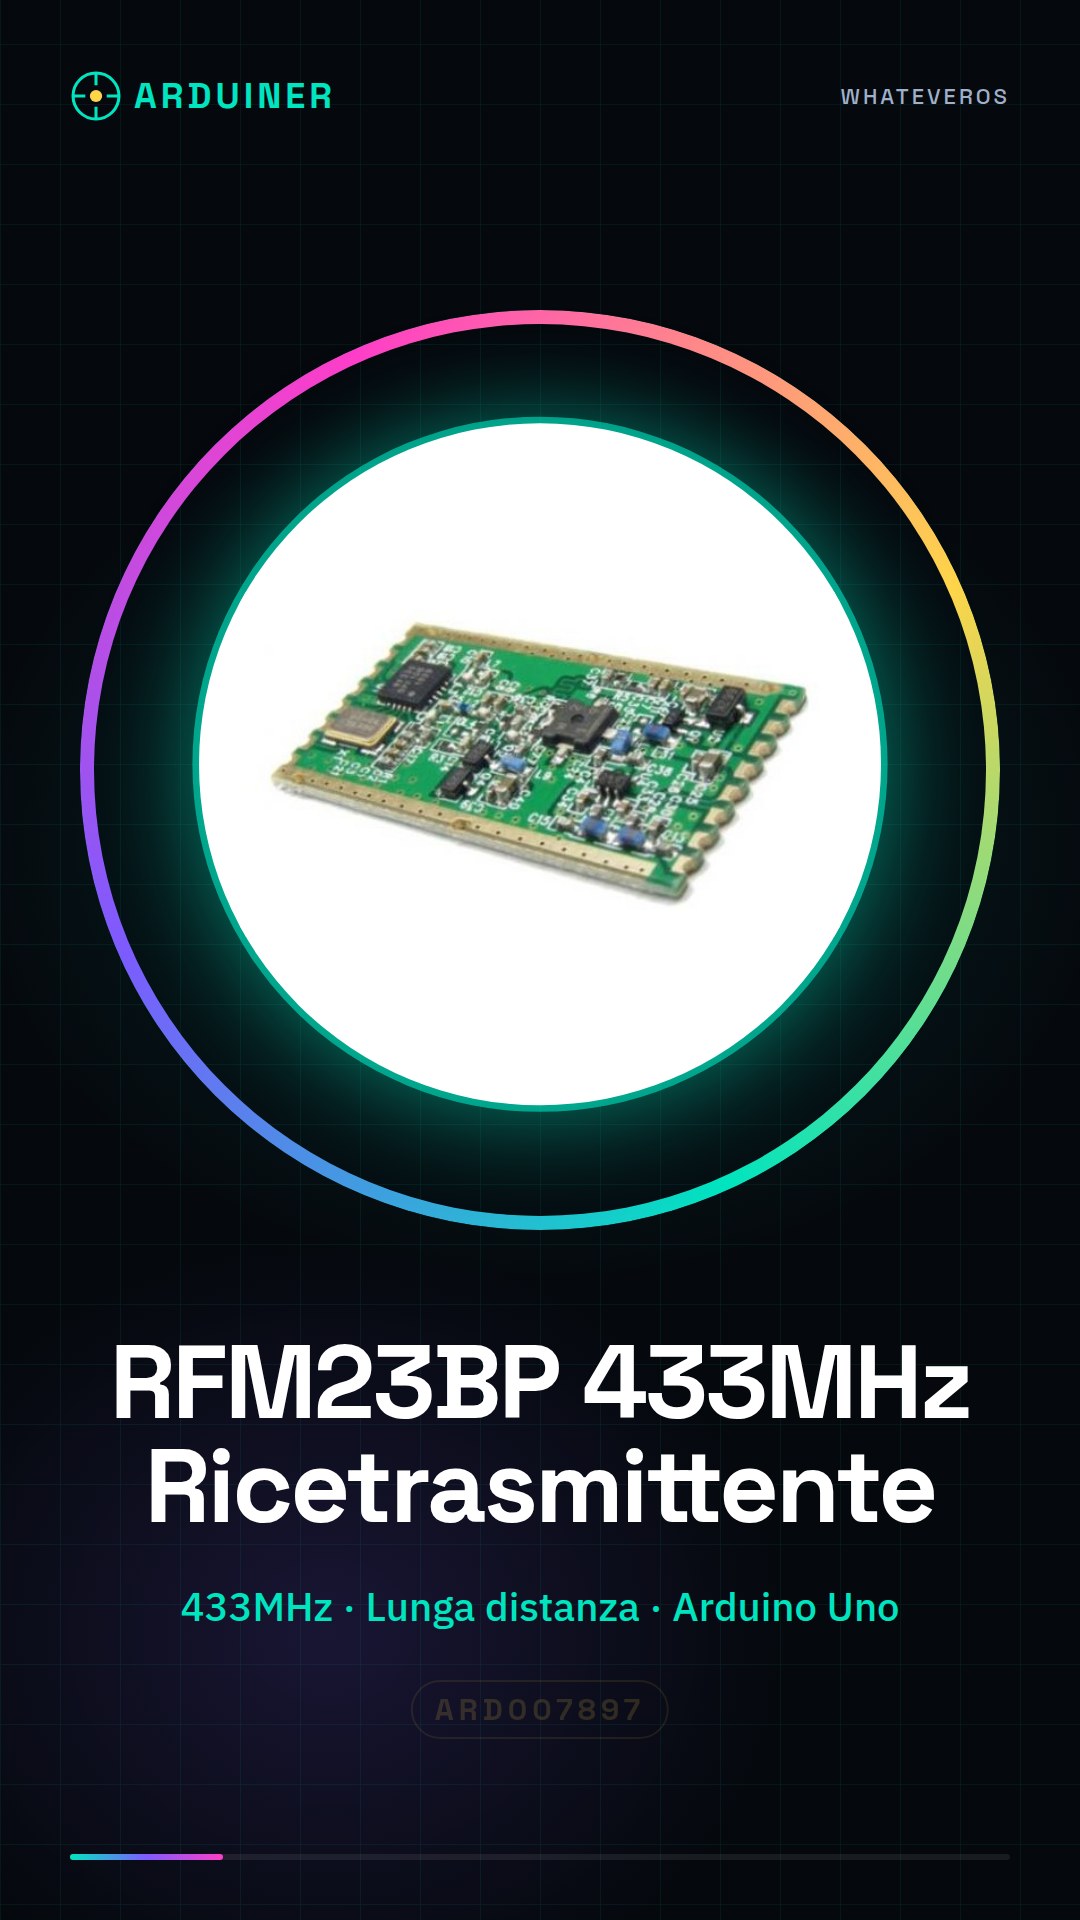
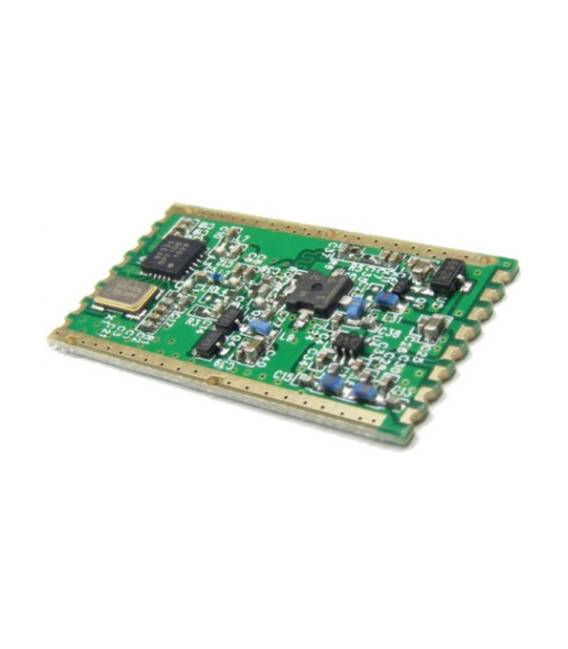
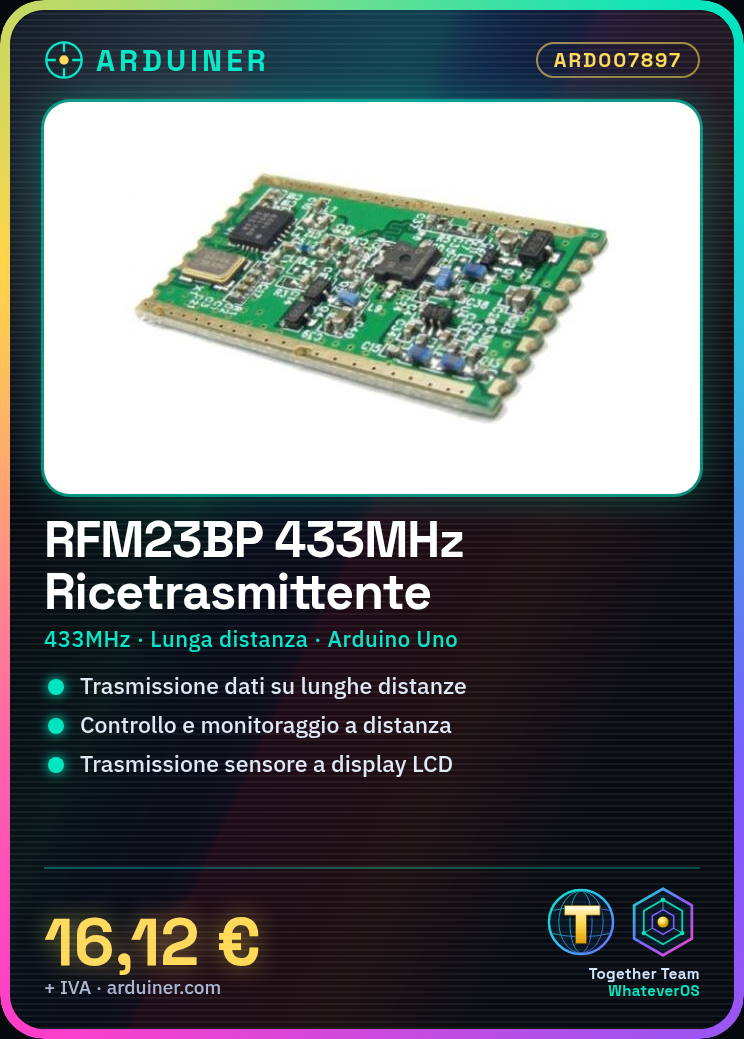
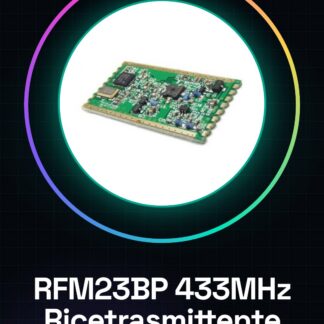
L’RFM23BP 433MHz Radio Transceiver It is a radio frequency transceiver module ideal for wireless communication projects. When connected to Arduino or other microcontrollers, it allows data transmission over long distances.
Features
- Frequency: 433MHz
- Used for remote control and monitoring systems
What it is for
Develop wireless communication projects between Arduino or other microcontrollers. Ideal for both beginners and experts, it allows data transmission from sensor to LCD display over long distances.
Tutorial: How to use RFM23BP 433MHz Radio Transceiver
The RFM23BP is a radio frequency transceiver module ideal for long-range wireless communication projects. It is perfect for both beginners and more experienced makers.
What you need
- Arduino Uno or compatible
- USB Connection
- 433MHz Antenna (optional)
- RFM23BP Libraries
Steps
- Step 1: Connect the RFM23BP module to the Arduino following the pinout table.
- Step 2: Install the necessary libraries through the Arduino Library Manager.
- Step 3: Check the module’s datasheet to correctly set the RX and TX PINs on Arduino.
- Step 4: Configure the communication channel (check the datasheet).
- Step 5: Initialize the RFM23BP functions in the Arduino code.
- Step 6: Write a message to send using the sendData() function.
- Step 7: Receive data through the receiveData() function and display it on Serial Monitor.
- Step 8: Test bidirectional communication between two Arduinos connected to RFM23BP.
Example code
// Includi le librerie necessarie
#include <RFM23.h>
// Definisci i PIN di connessione
#define RFM_CS_PIN 10
#define RFM_MOSI_PIN 11
#define RFM_MISO_PIN 12
#define RFM_SCK_PIN 13
RFM23 rfm(RFM_CS_PIN, RFM_MOSI_PIN, RFM_MISO_PIN, RFM_SCK_PIN);
void setup() {
rfm.begin();
rfm.setFrequency(433.92); // Frequenza in MHz
}
void loop() {
rfm.sendData("Ciao mondo!");
delay(1000);
}
Mini project
Wireless communication between two Arduinos: send data from a temperature sensor to a remote LCD display.
Common mistakes
- Set the wrong frequency
- Incorrectly connect the RX and TX PINs
- Use the wrong channel for communication
Recommended accessories
- 433MHz Antenna
- 16×2 LCD Module
- DS18B20 Temperature Sensor
- Arduino Uno or compatible
Frequently asked questions
What is the maximum range?
Check the module datasheet for the maximum range.
Can I use other frequencies?
Yes, but check the available bands and configure them in the code.
Reviews
There are no reviews yet.