 EN
 IT Italiano
 ES Español
 FR Français
 DE Deutsch
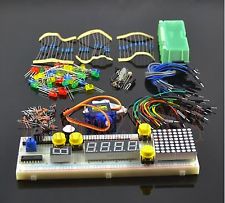
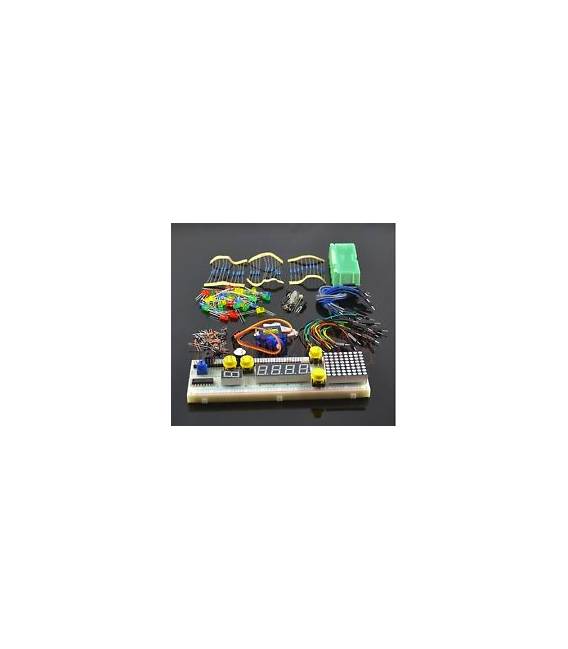
Description
H008 Arduino Electronic Parts Kit, Solderless Breadboard 830, 9g Servos
| Kit List | Qty |
| Ceramic Capacitor 10 / 100NF (10 pieces / each) | 20 |
| Electrolytic Capacitor 100NF | 5 |
| Photoresistor / Thermistor (2 pieces / each) | 4 |
| Diode / Buzzer / Tilt Switch (2 pieces / each) |
6 |
| Flame / Temperature Sensor (1pc / each) | 2 |
| Breadboard Jumper | 50 |
| RGB LED | 1 |
| Yellow / Red / Blue / Green LED (10 pieces / each) | 40 |
| 9g Servo | 1 |
| Digital Tube | 1 |
| 220 / 1K / 10K Ohm Resistor (10 pieces / each) | 30 |
| Buttons | 4 |
| Precision 10K Potentiometer | 1 |
| 4 Digital Tubes | 1 |
| 74HC595 | 1 |
| 1 * 40 Pin | 1 |
| Resistance Card | 1 |
| Acrylic Board | 1 |
| 830-hole breadboard | 1 |
Tutorial: How to use H008 Electronic Kit
This kit is ideal for beginners and intermediates who want to explore the basics of electronics and coding with Arduino. It includes a breadboard, a servo motor, and an electronic module.
What you need
- 830 Breadboard
- 9g Servo Motors
- USB Cable
- Arduino IDE
Steps
- Download and install the Arduino IDE.
- Connect the 830 breadboard to the computer via USB cable.
- Open the Arduino IDE and create a new sketch.
- Write the code to control the servo motor (example: `Servo myservo; myservo.attach(9);`).
- Upload the code to the breadboard.
- Connect the servo motor to the 830 breadboard.
- Start the code and check the movement of the servo motor.
- Check the datasheet for further details
Example code
Servo myservo; myservo.attach(9); void loop() { myservo.write(90); delay(1000); myservo.write(0); delay(1000); }Mini project
Create a simple automatic door opening system with a button.
Common mistakes
- Forget to connect the servo motor correctly.
- Write the Arduino code correctly.
- Do not upload the code to the breadboard.
- Connect the breadboard to the computer with a different USB cable
Recommended accessories
- Button
- 3D printing filament
- Proximity sensors
- Connection cables
Frequently asked questions
How can I verify the correct connection of the servo motor?
Check that the servo motor is correctly connected to the 5V, GND, and S pins on the 830 breadboard.
Which pins should I use for the servo motor?
Use pin 9 for the servo motor.
Which specifications should I check on the datasheet?
Check the power supply frequency, power supply voltage, and angle limits of the servo motor.
Can I use another servo motor?
Yes, but make sure it is compatible with the 830 breadboard and the Arduino IDE.
Reviews
There are no reviews yet.