 EN
 IT Italiano
 ES Español
 FR Français
 DE Deutsch
Description
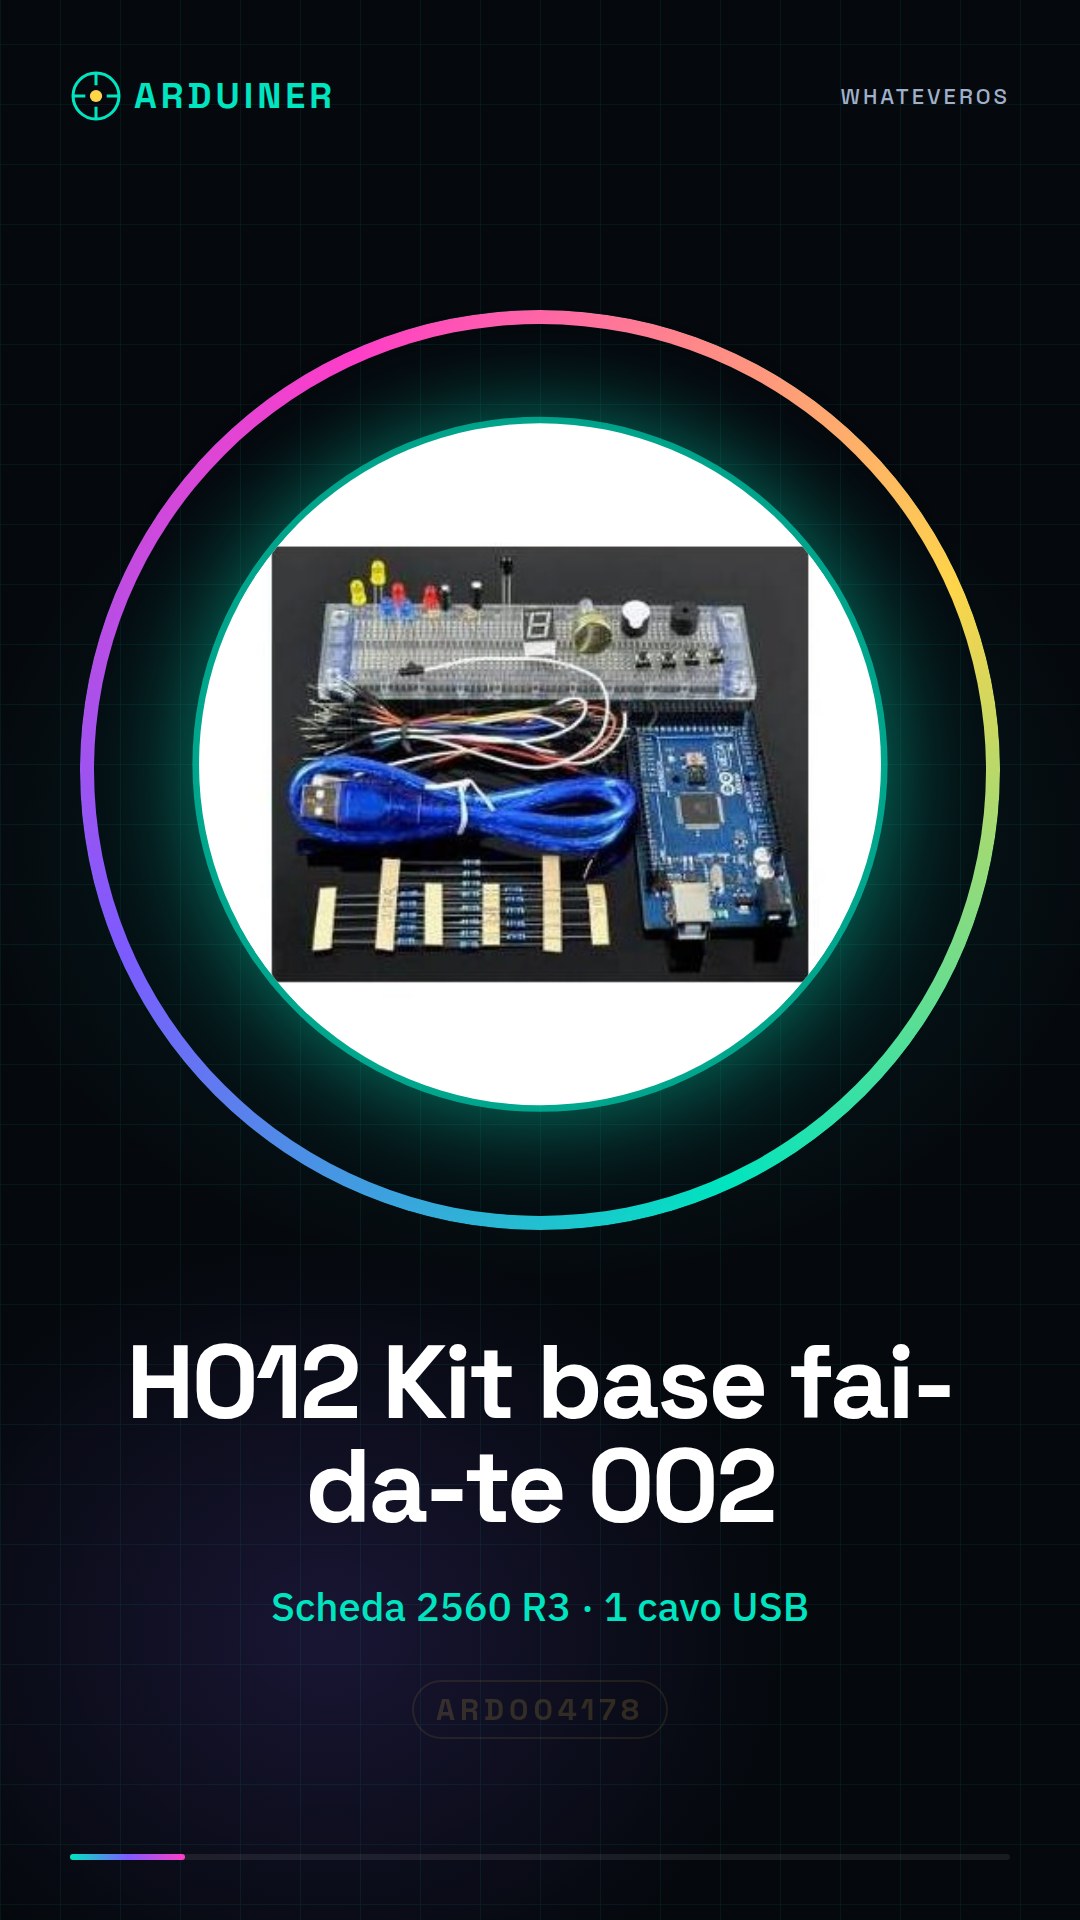
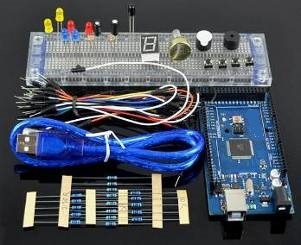
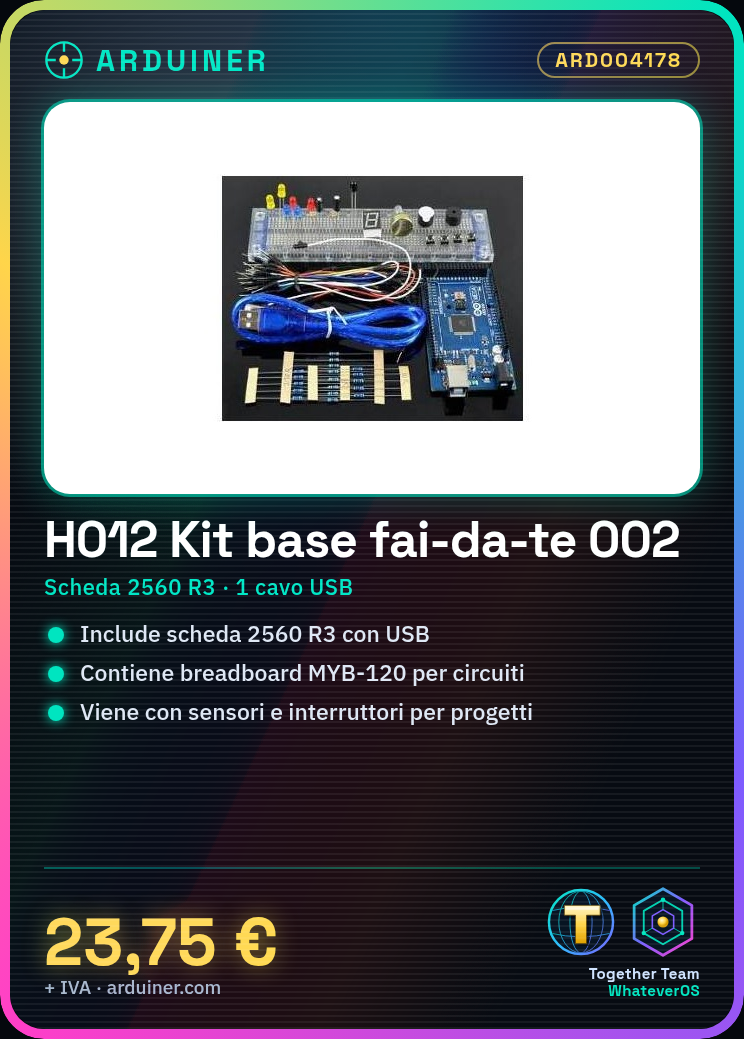
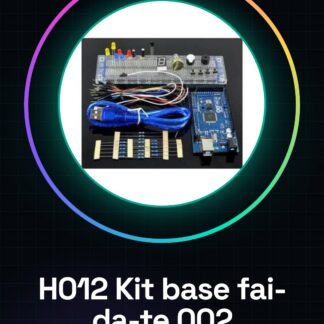
H012 DIY Basic Kit 002
| Kit List | Qty |
| 2560 R3 Board with USB cable | 1 |
| MYB-120 Breadboard | 1 |
| Potentiometer / Digital Tube (1pc / kit) | 2 |
| Toggle Switch </ td > | 4 |
| Active Buzzer / Passive Buzzer (1pc / kit) | 2 |
| Tilt Switch / Photoresistor (2 pieces / kit) | 4 |
| Flame Sensor </ td > | 1 |
| Color jumper wire </td> | 30 |
| Red, blue, yellow. LED light | 5 |
| 220 Ohms resistor / 1K resistor / 10K resistor (5 pieces / each) | 15 |
Tutorial: How to use DIY Kit Base 002
The DIY Kit Base 002 is ideal for beginners who want to start exploring the world of electronics and programming. This kit contains everything you need to create simple Arduino projects.
What you need
- Arduino Uno
- USB A-Micro B cable
- USB 5V power supply
- LED
Steps
- Connect the Arduino Uno to the computer via the USB A-Micro B cable
- Install the Arduino IDE library on your computer following the instructions on the official Arduino website
- Ensure that the USB 5V power supply is correctly connected to the Arduino to provide power to the circuit
- Connect an LED to a digital pin on the Arduino, making sure to have a resistor in series with the LED to limit the current
- Open Arduino IDE and create a simple sketch that turns the LED on and off every second
- Compile and upload the sketch to your Arduino Uno
- Check the datasheet of the LED for voltage and maximum current specifications to ensure equipment safety
Example code
void setup() {
 pinMode(13, OUTPUT);
}

void loop() {
 digitalWrite(13, HIGH);
 delay(1000);
 digitalWrite(13, LOW);
 delay(1000);
}
Mini project
Create a simple illuminated clock with the LED flashing exactly on the hour every hour.
Common mistakes
- Connect the LED without a series resistor, causing damage to the device
- Do not verify the correct installation of the Arduino IDE before uploading a sketch
- Use a power supply that does not conform to the kit specifications
Recommended accessories
- Variable resistors
- Light sensors
- Buzzer
- 16×2 LCD Display
Frequently asked questions
How can I control the provided voltage?
Use a multimeter to measure the voltage between GND and Vcc of the Arduino
Which digital pins can power an LED?
All digital pins, but check the datasheet of your Arduino for the correct resistor to use

Reviews
There are no reviews yet.