 EN
 IT Italiano
 ES Español
 FR Français
 DE Deutsch
Description
What it is
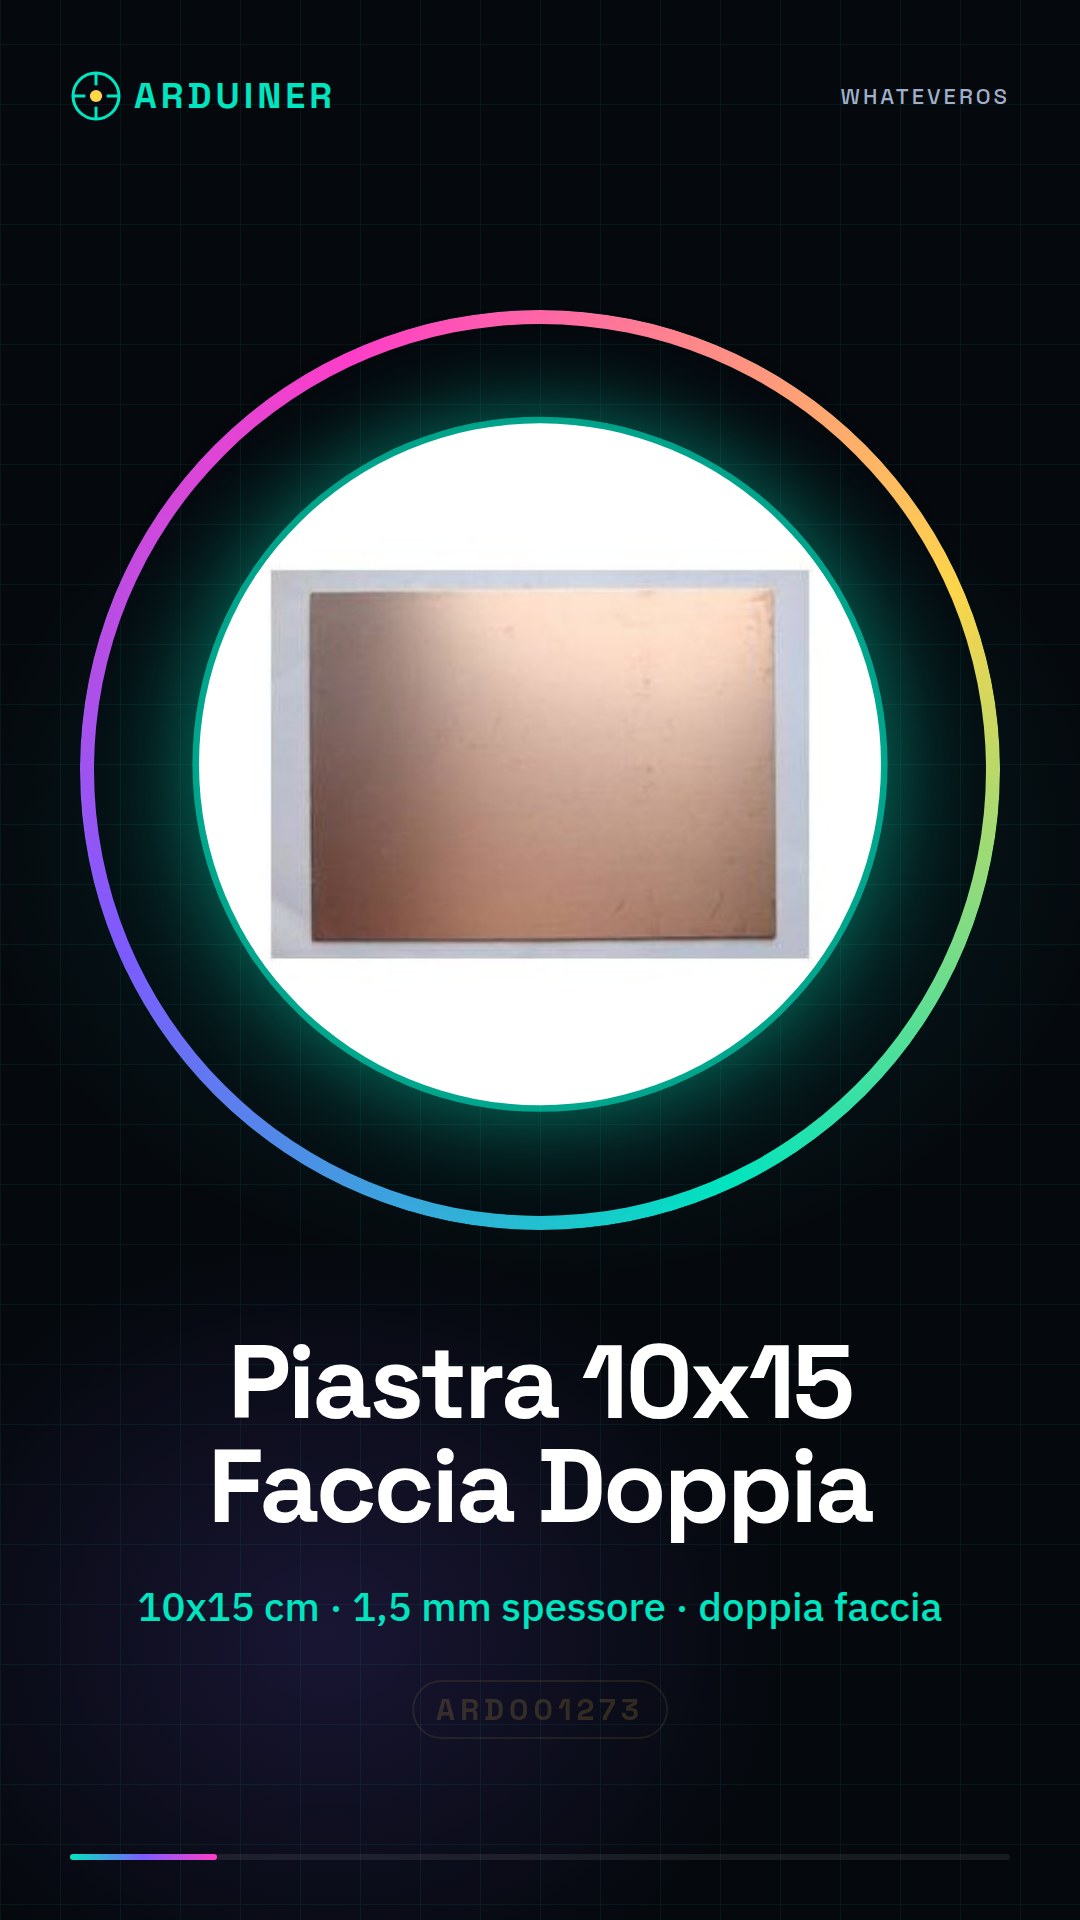
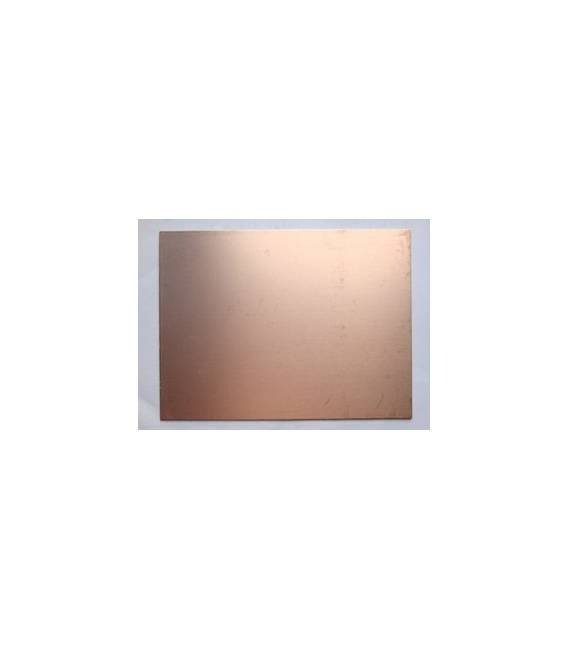
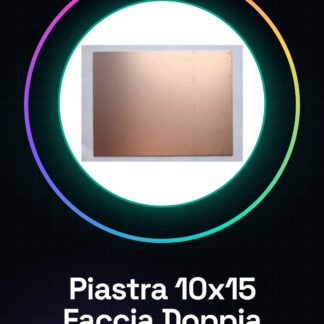
The double-sided copper-clad board measuring 10x15cm with a thickness of 1.5mm is an essential component for creating custom printed circuit boards and Arduino prototypes.
Features
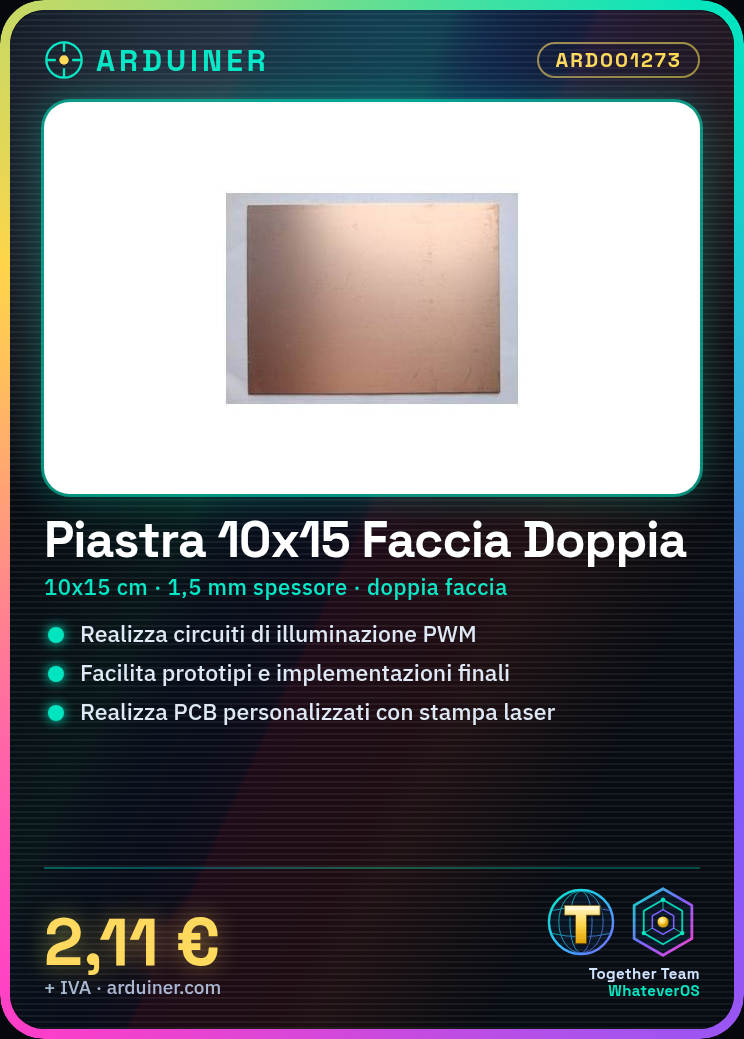
- Size: 10 x 15 cm
- Thickness: 1.5 mm
- Double-sided copper-clad
What it is for
The double-sided copper-clad board is ideal for creating PWM lighting circuits, prototypes, and final implementations of electronic projects. It is compatible with Arduino and other microcontrollers.
Tutorial: How to Use the Double-Sided Copper-Clad Board
The double-sided copper-clad board is a fundamental component for creating custom printed circuit boards (PCBs). It is ideal for makers who want to create more complex electronic projects, from prototypes to final implementations.
What you need
- soldering iron
- LED diode
- resistors
- connection wires
- laser printer or photolithography for PCB creation
Steps
- Draw the circuit layout using software such as Eagle or KiCad.
- Print the design onto UV-sensitive paper and position it on the double-sided copper clad board, exposing it to UV light to transfer the design onto the metal.
- Wash the board with hot water to remove the plastic residue from the photoresist printing process.
- Use an etching solution to dissolve the uncoated areas of the photoresist, revealing the circuit design.
- Wash the board again with hot water and dry it completely.
- Solder the components onto the copper side of the board following the PCB design.
- Check that all connections are secure and soldered properly, using a multimeter to test the continuity of the circuits.
- Protect the board with a protective paint or plastic coating to prevent oxidation.
Mini project
Create a simple PWM (Pulse Width Modulation) lighting circuit by controlling the brightness of an LED with a potentiometer and a double-sided copper-clad board.
Common mistakes
- Omission of the etching process, causing incomplete connections or short circuits.
- Soldering inaccurately, causing poor solder joints or damaged components.
- Not using a proper PCB design before etching, making it difficult to realize the circuit.
Recommended accessories
- PCB etching kit
- Laser photo plotter
- PCB design software such as Eagle or KiCad
Frequently asked questions
How can I protect my PCB after soldering?
Apply protective paint or plastic coating to prevent oxidation.
What are the advantages of using a double-sided PCB over a single-sided PCB?
Double-sided boards offer more space for components and connections, making it more practical to create complex circuits.
How thick should the photoresist coating be during etching?
Check the datasheet of the coating used for precise specifications.
Reviews
There are no reviews yet.