 EN
 IT Italiano
 ES Español
 FR Français
 DE Deutsch
Description
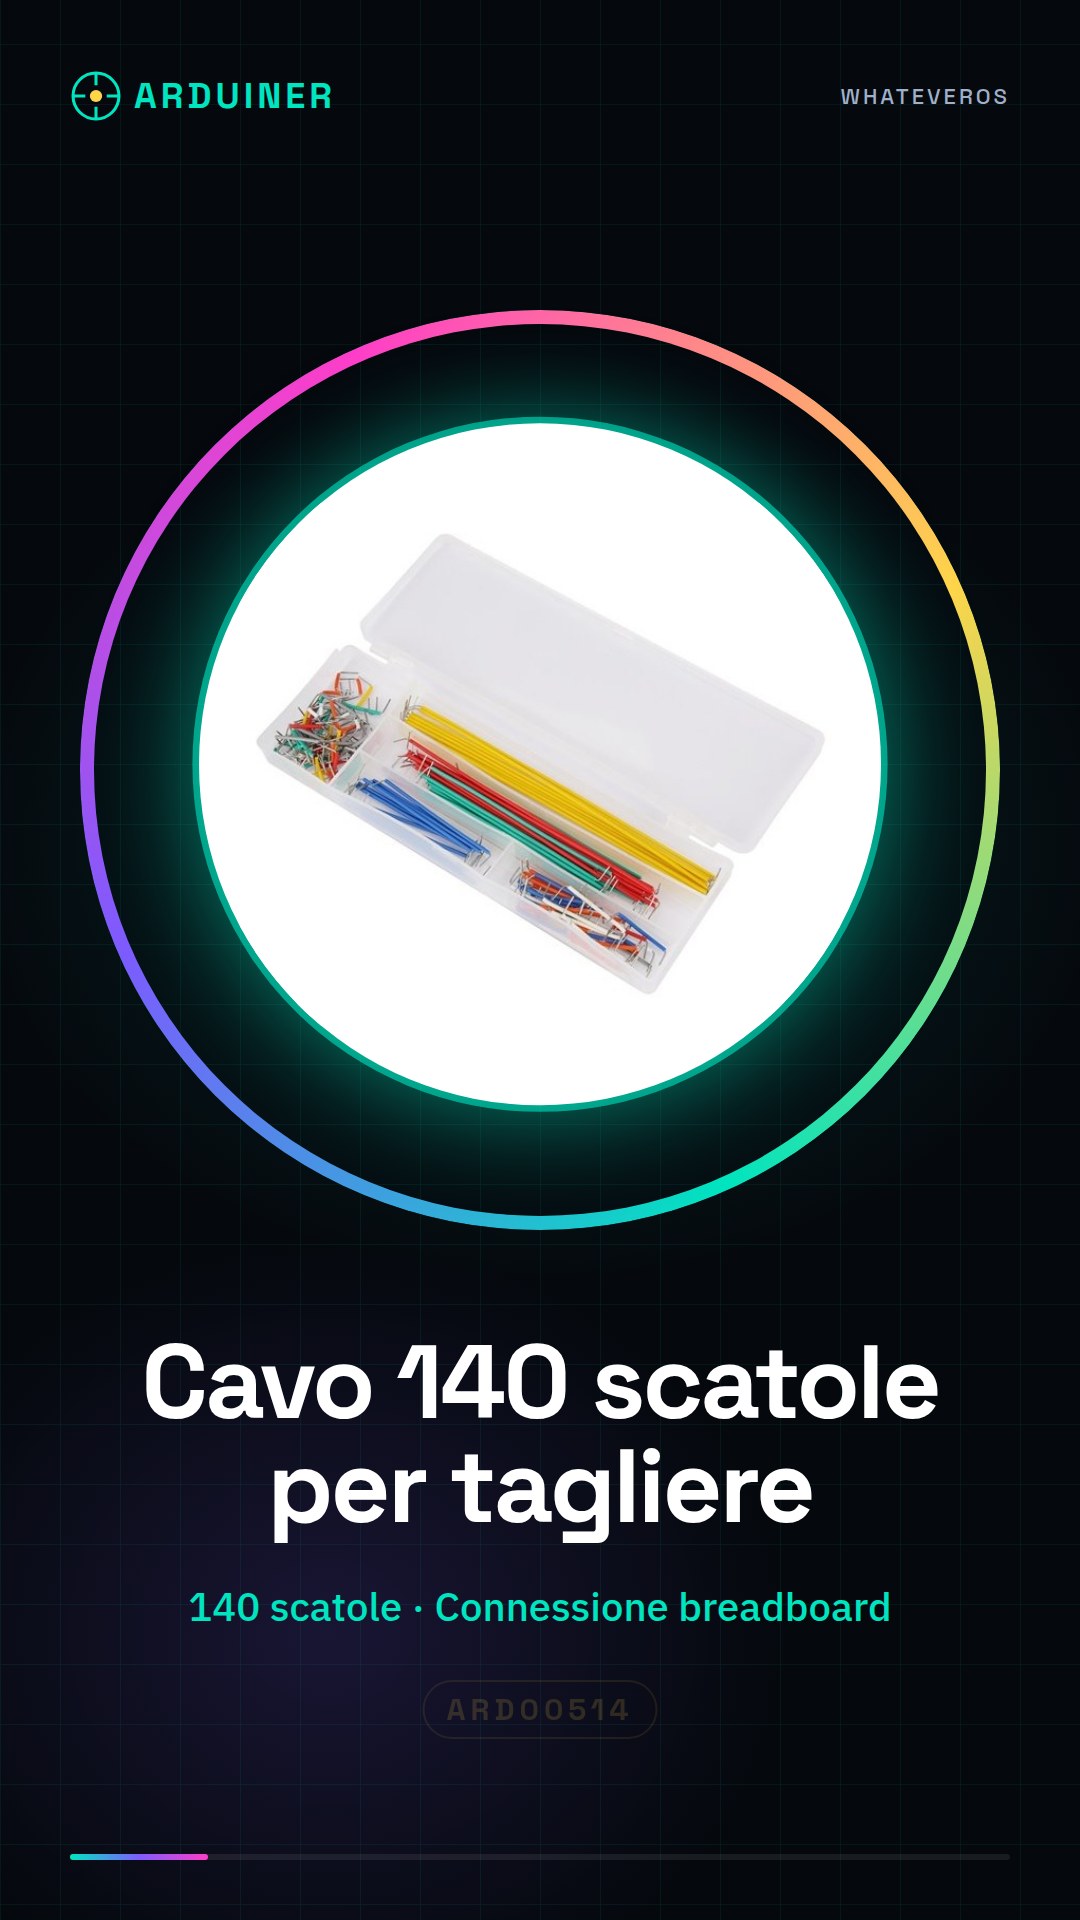
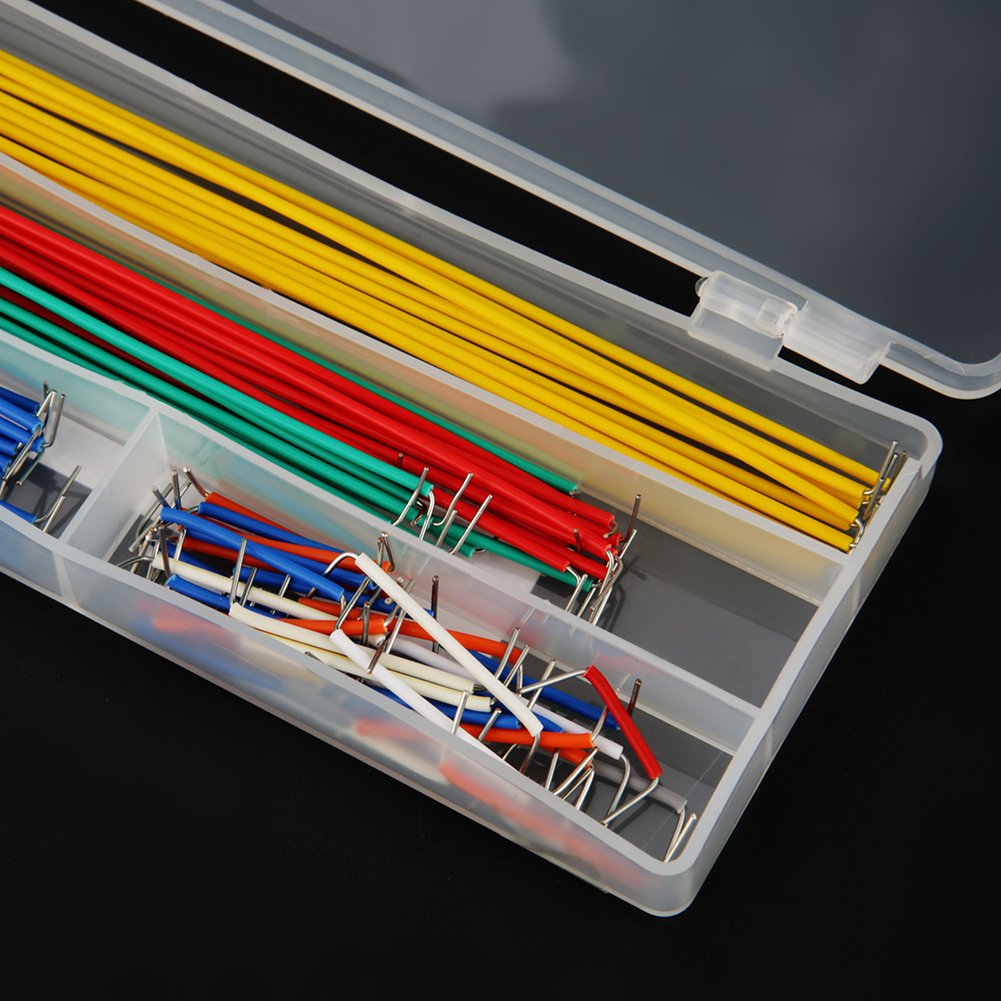
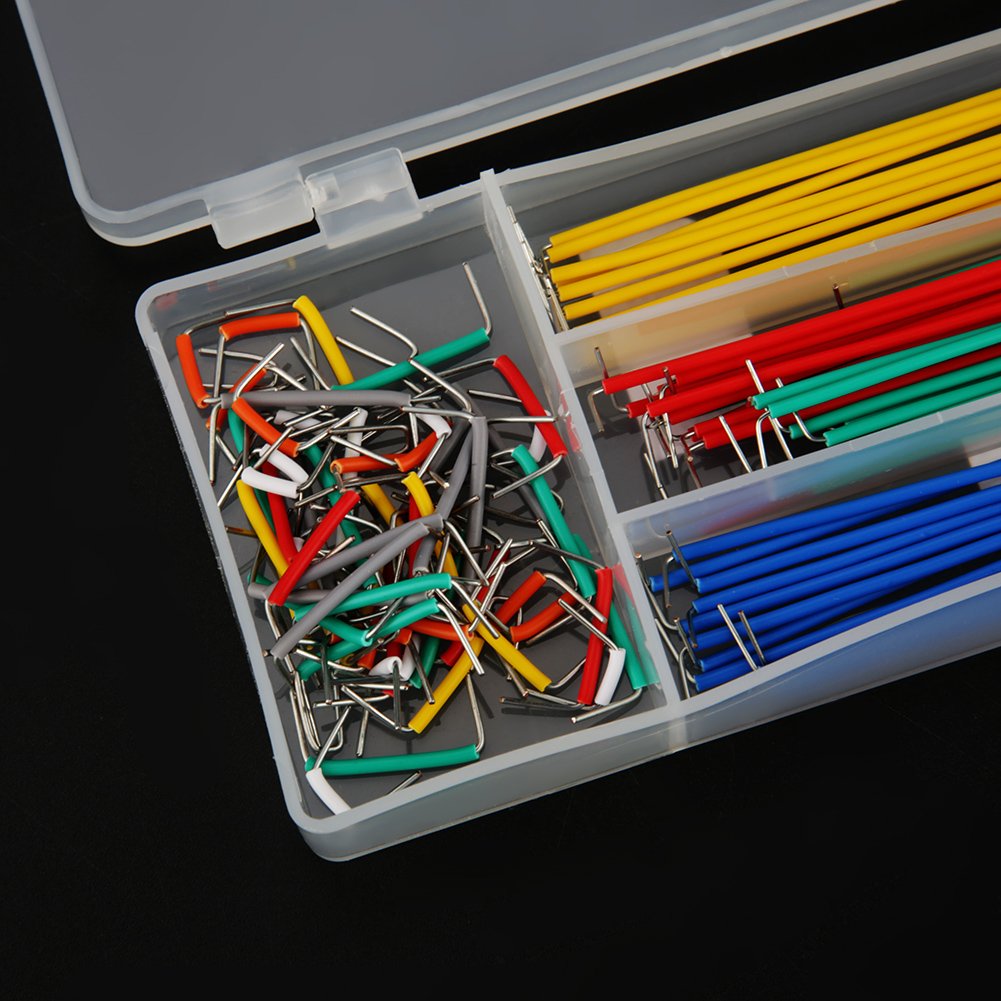
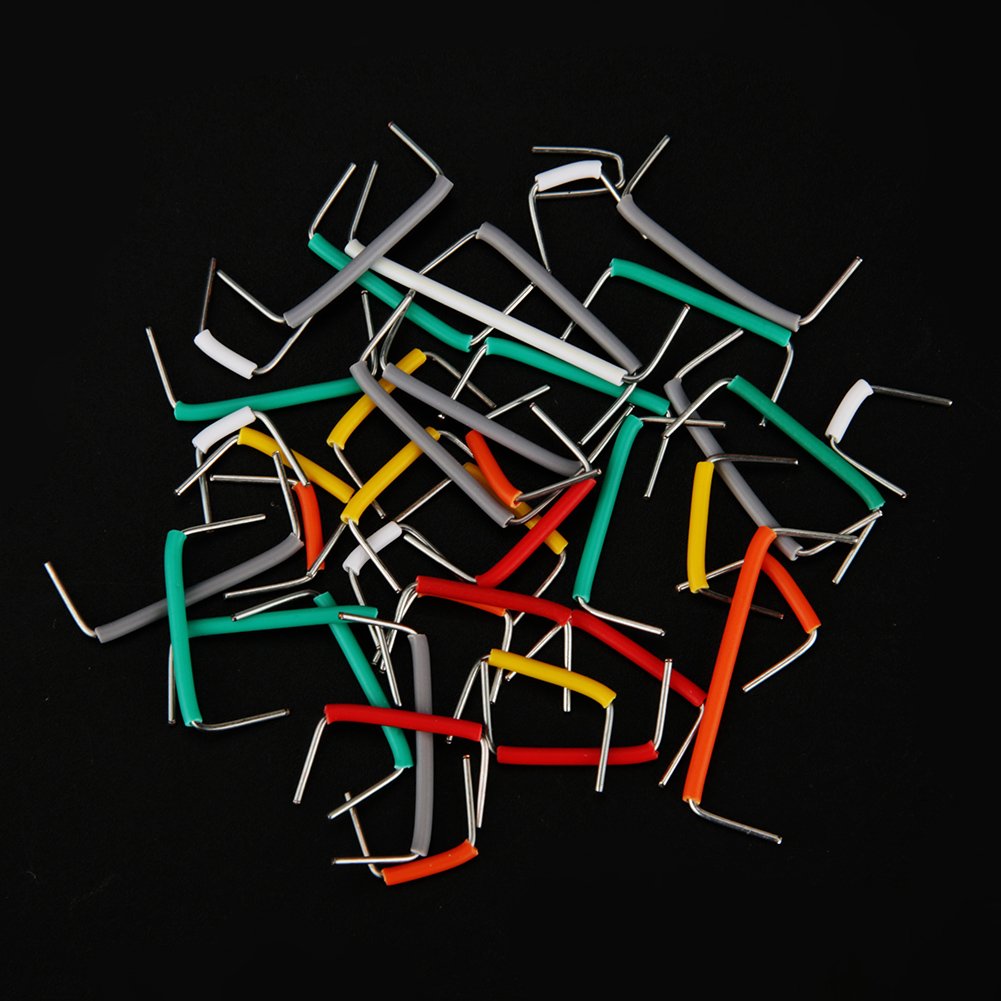
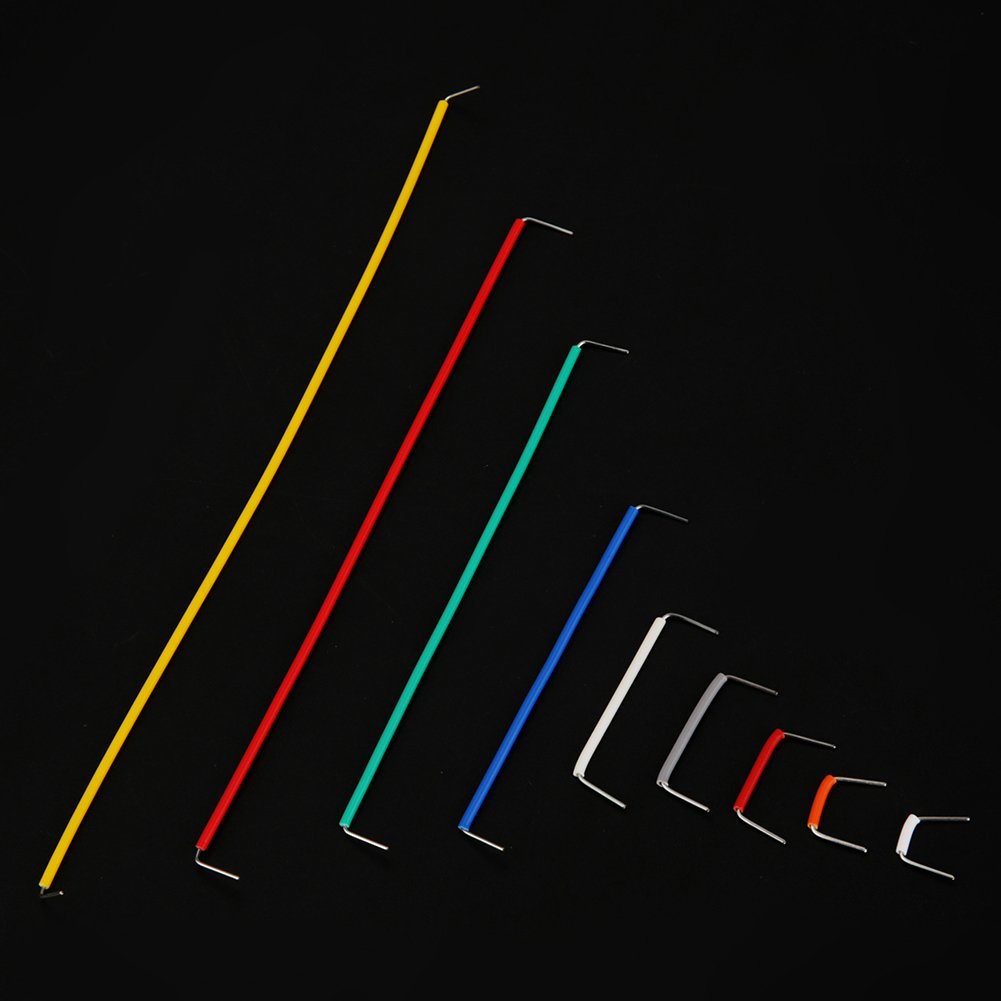
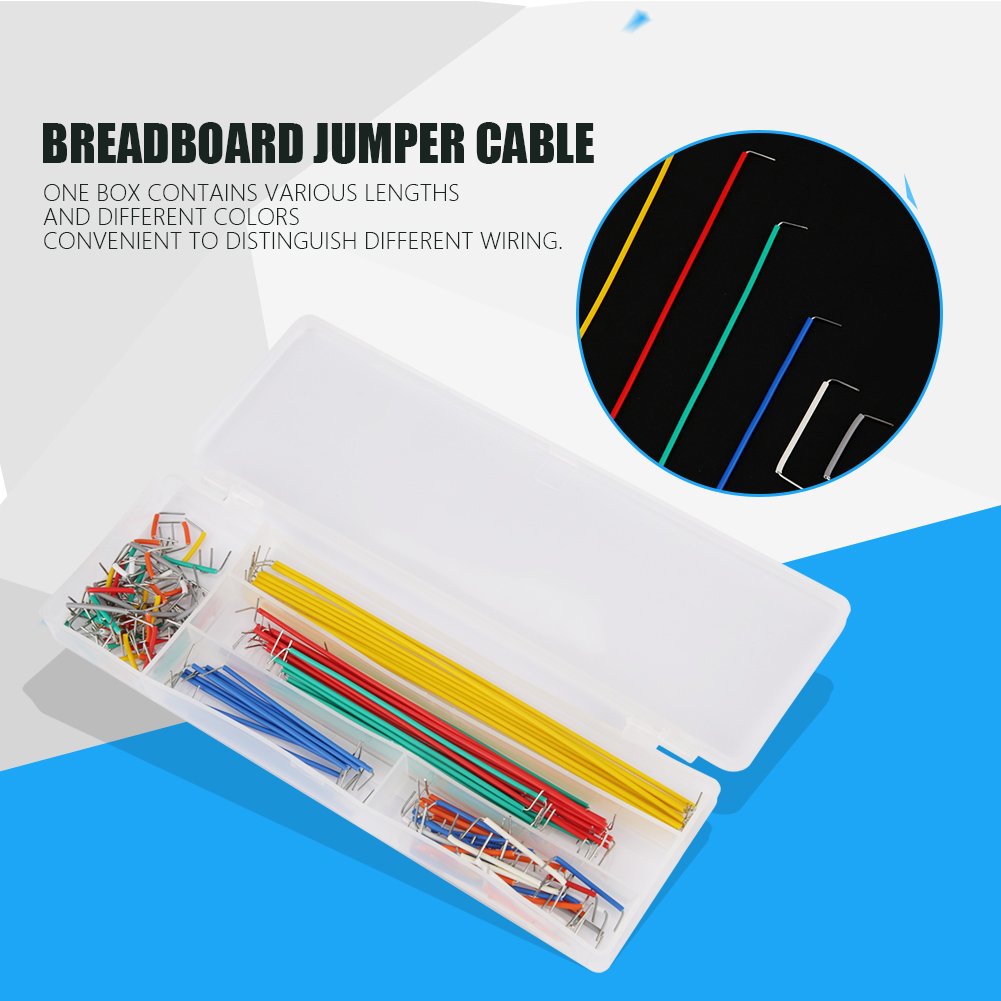
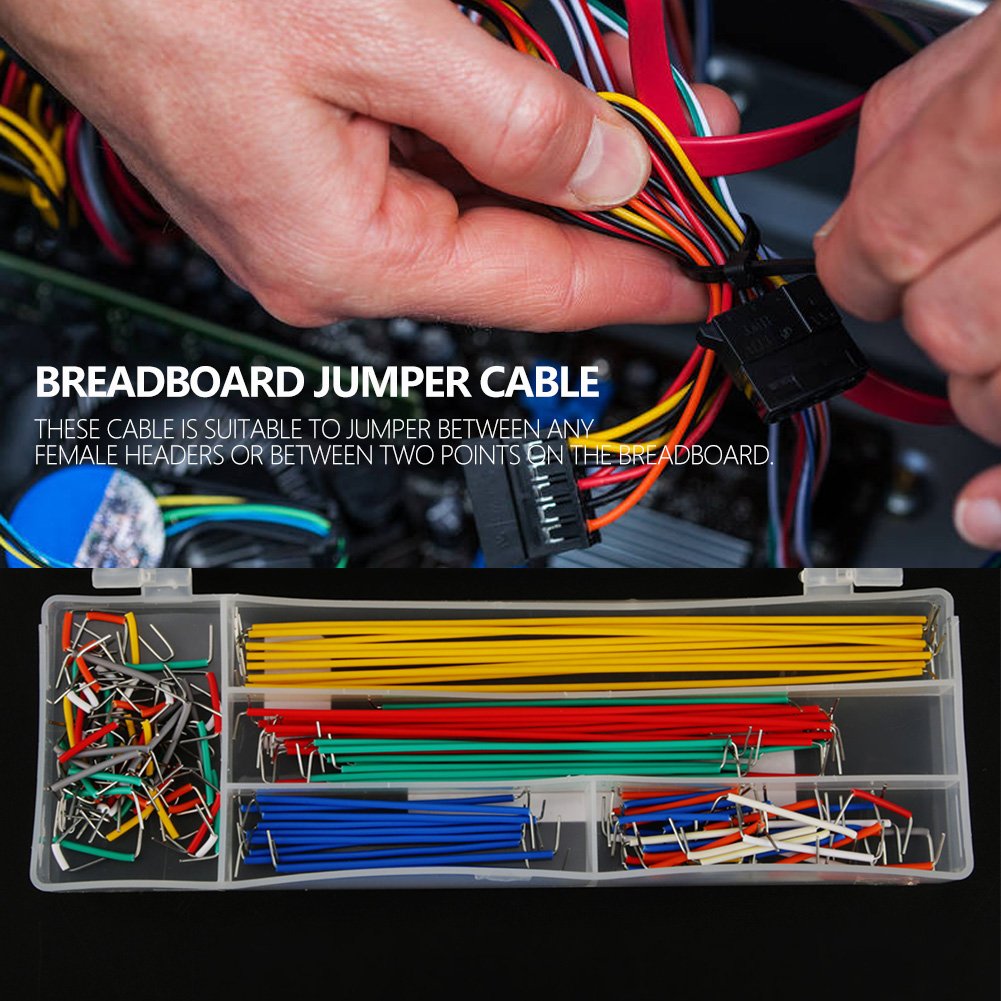
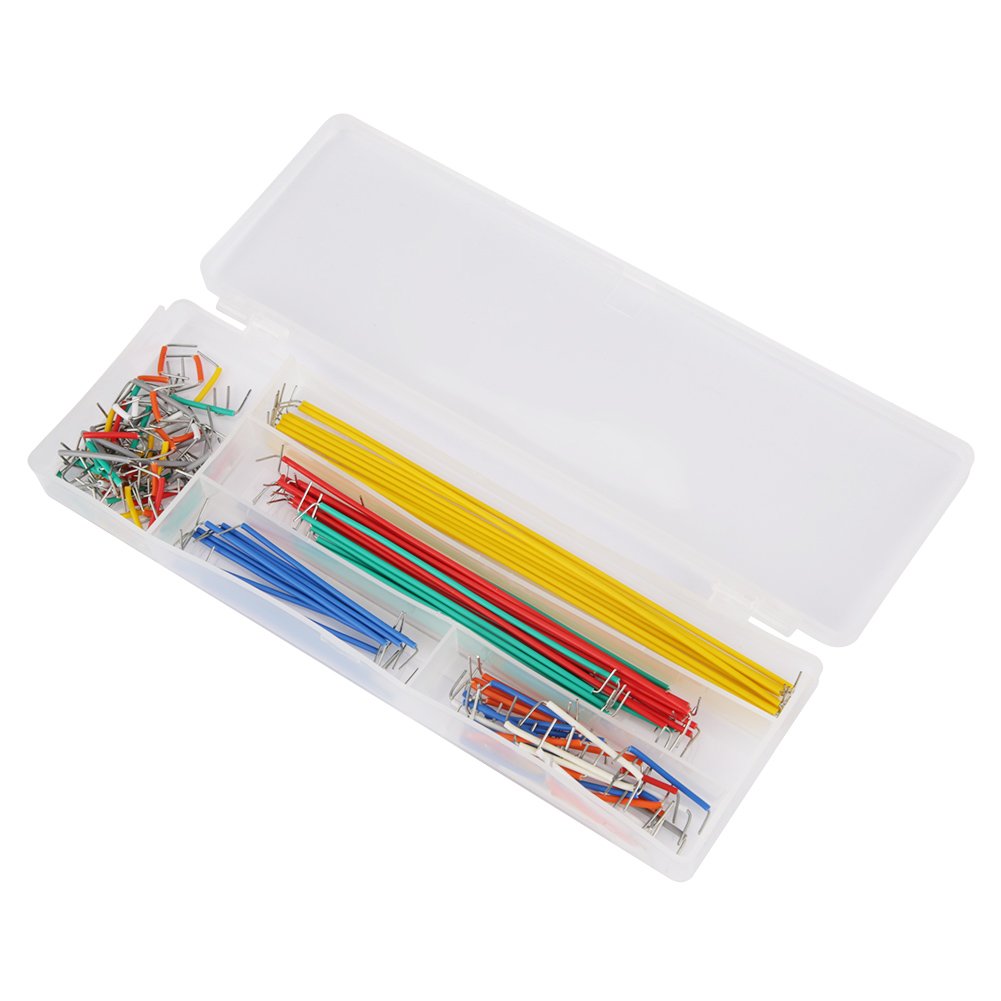
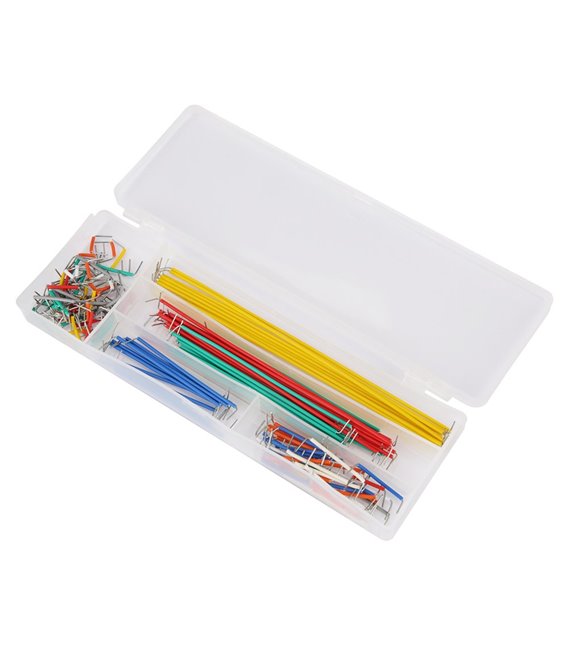
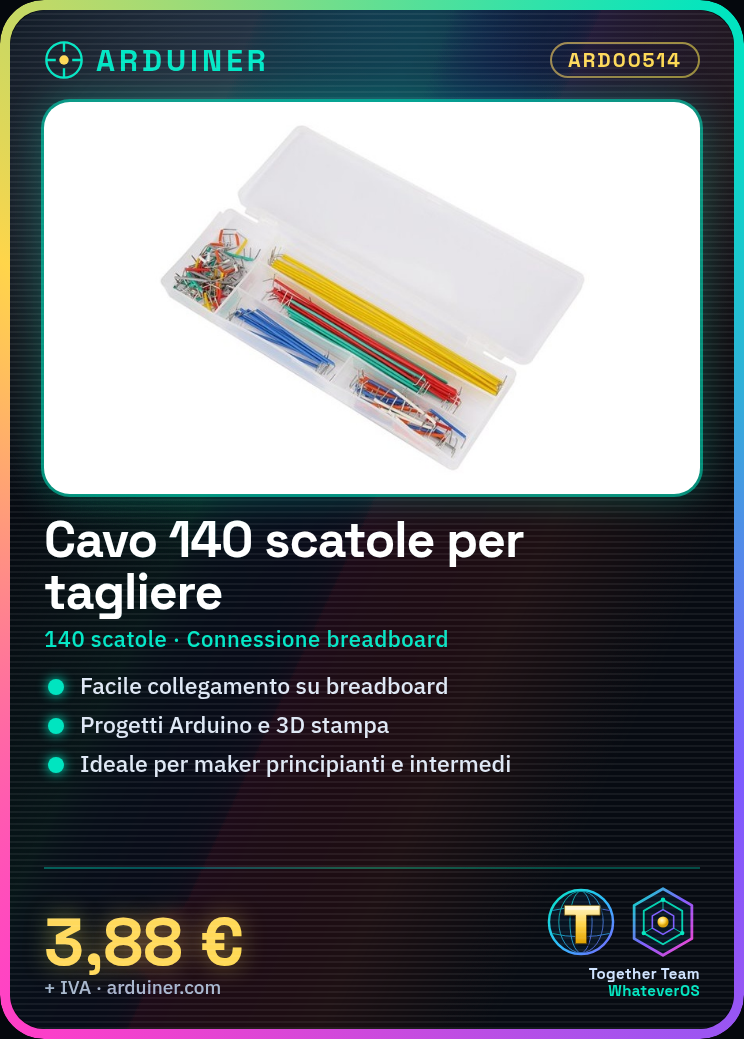
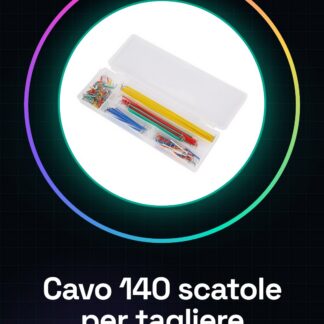
What is it? The 140-point dedicated wire for breadboards is an essential component for electronics projects, particularly for Arduino and 3D printing. This wire allows easy connection between components on a breadboard or circuit board. Features: 140-point dedicated wire for breadboards and headers. What it’s used for: Ideal for beginner and intermediate makers learning to design circuits. You can use it to create simple light circuits controlled by a button, by connecting an LED to a resistor and then to the breadboard with these dedicated wires. Tutorial: How to use the dedicated breadboard wire. It is a fundamental component for connecting electronic components on a breadboard or circuit board. It is ideal for beginner and intermediate makers learning to design circuits. Steps: 1. Check the compatibility of the wire with your breadboard or circuit board. Ensure that the connectors are properly aligned. 2. Insert one end of the wire into the breadboard or circuit board, pressing gently to ensure stability. 3. Place the desired electronic component in the corresponding position on the breadboard or circuit board. 4. Repeat the above steps with additional wires to connect other components, forming the desired circuit. Mini-project: Create a simple light circuit controlled by a button. Connect an LED to a resistor and then to the breadboard using the dedicated breadboard wires. Common errors: Incorrectly connecting the wire to the breadboard. Using wires that are too long or too short. Not pressing the wire connector hard enough. Suggested accessories: Breadboard ARD00512, Variable resistors ARD00534, RGB LEDs ARD00568, Push buttons ARD00570. Frequently asked questions: Does the wire easily disconnect from the breadboard? Check that the connector is properly inserted and gently press to ensure a good connection. Can I use these wires with a PCB? Yes, but check the connector sizes to ensure compatibility.
Reviews
There are no reviews yet.