 EN
 IT Italiano
 ES Español
 FR Français
 DE Deutsch
Description
What it is
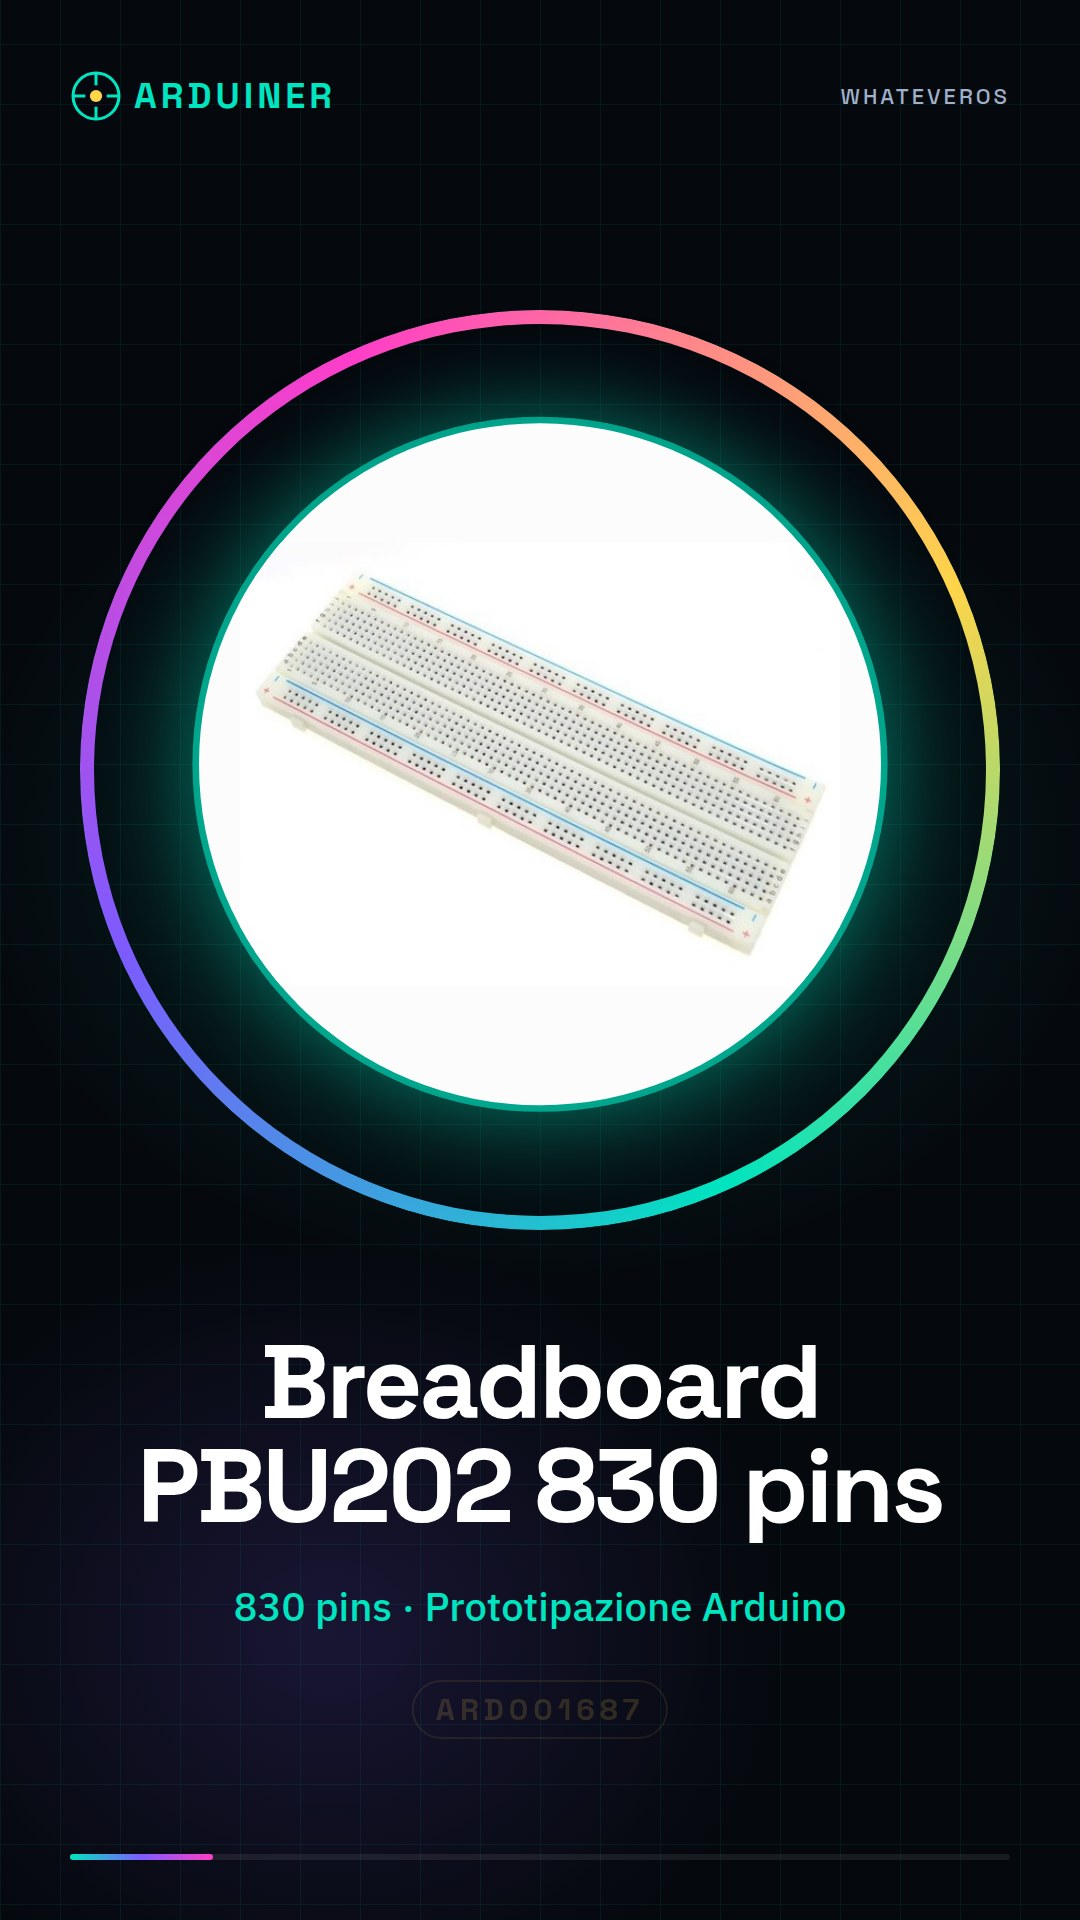
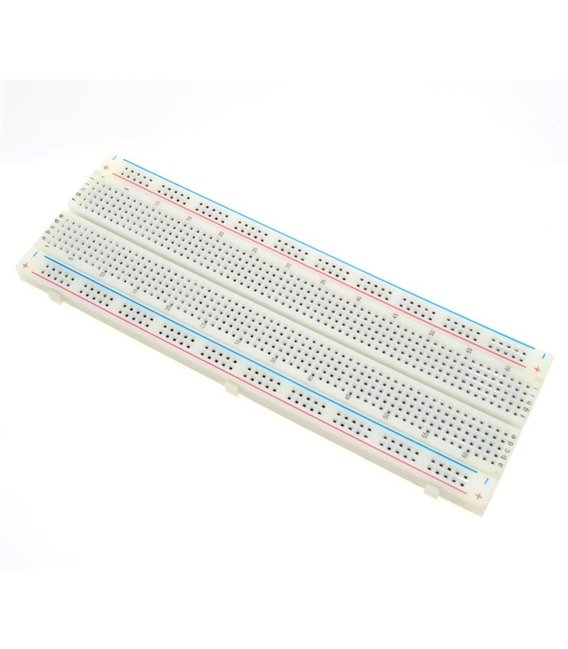
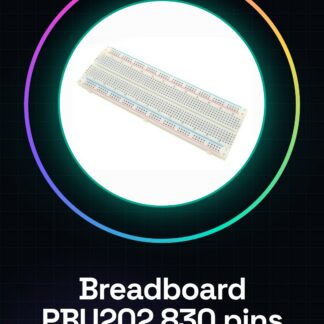
The PBU202 830 pins breadboard is an essential tool for creating electronic prototypes, particularly suitable for Arduino-based projects. This breadboard offers a large working surface with 830 connection points, allowing for testing complex circuits without having to assemble permanent physical schematics.
Features
- Connection points: 830 pins
What it is for
The PBU202 breadboard is ideal for hobbyists and makers who want to create various projects, from simple circuits to more complex ones. It can be used to connect components such as LDRs, potentiometers, and LEDs, making it easy to create prototypes without having to assemble permanent schematics.
Tutorial: How to use PBU202 830pins breadboard for Arduino
The breadboard is a fundamental component for hobbyists and makers who want to test electronic circuits without having to assemble permanent physical schematics. This particular breadboard offers a large working surface with 830 connection points, ideal for both small and larger projects.
What you need
- Arduino Uno or compatible
- Jumper wires
- Various electronic components (resistors, LEDs, sensors)
Steps
- Position the breadboard on your workbench.
- Connect the jumper wires between Arduino and the outer columns of the breadboard for power.
- Insert the electronic components into the rows of the breadboard according to your circuit configuration.
- Check with a multimeter that all connections are correct and secure.
- Write the appropriate Arduino sketch for your project.
Mini project
Create an LED-controlled lamp with a light sensor: connect an LDR, a potentiometer, and two LEDs to the breadboard. Write a sketch that turns the LEDs on/off based on ambient light.
Common mistakes
- Do not verify the correct connection of the jumper wires.
- Use components that are too large for the breadboard.
- Omit checking the connections before uploading the Arduino sketch.
Recommended accessories
- Arduino Uno
- Electronic Sensor Kit
- 3D Printed Cases for Projects
Frequently asked questions
What is the difference between a breadboard and a PCB board?
The breadboard allows for quick testing of circuits without soldering, while the PCB is used for creating permanent final schematics.
Can I use multiple breadboards in parallel?
Yes, but you must ensure that all rows are connected to each other and that the power supply is uniform across all breadboards.
Reviews
There are no reviews yet.