 EN
 IT Italiano
 ES Español
 FR Français
 DE Deutsch
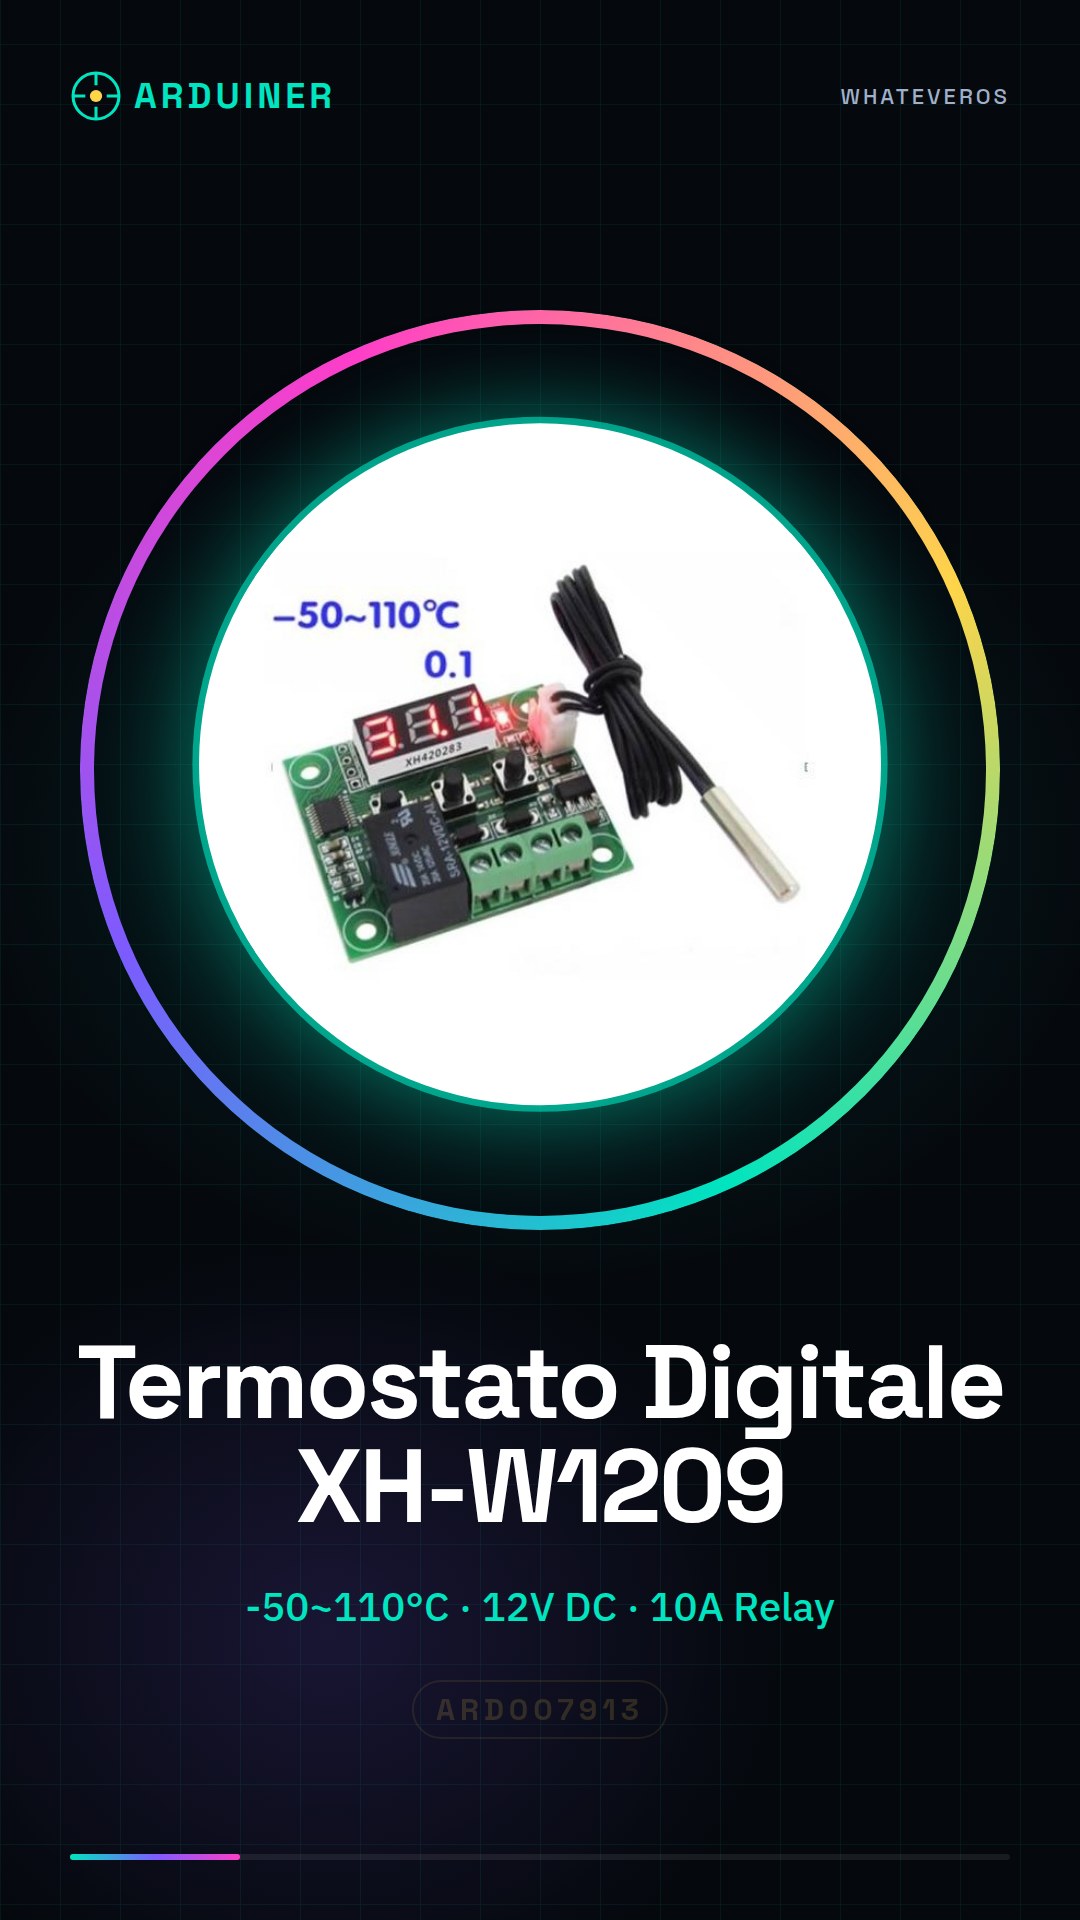
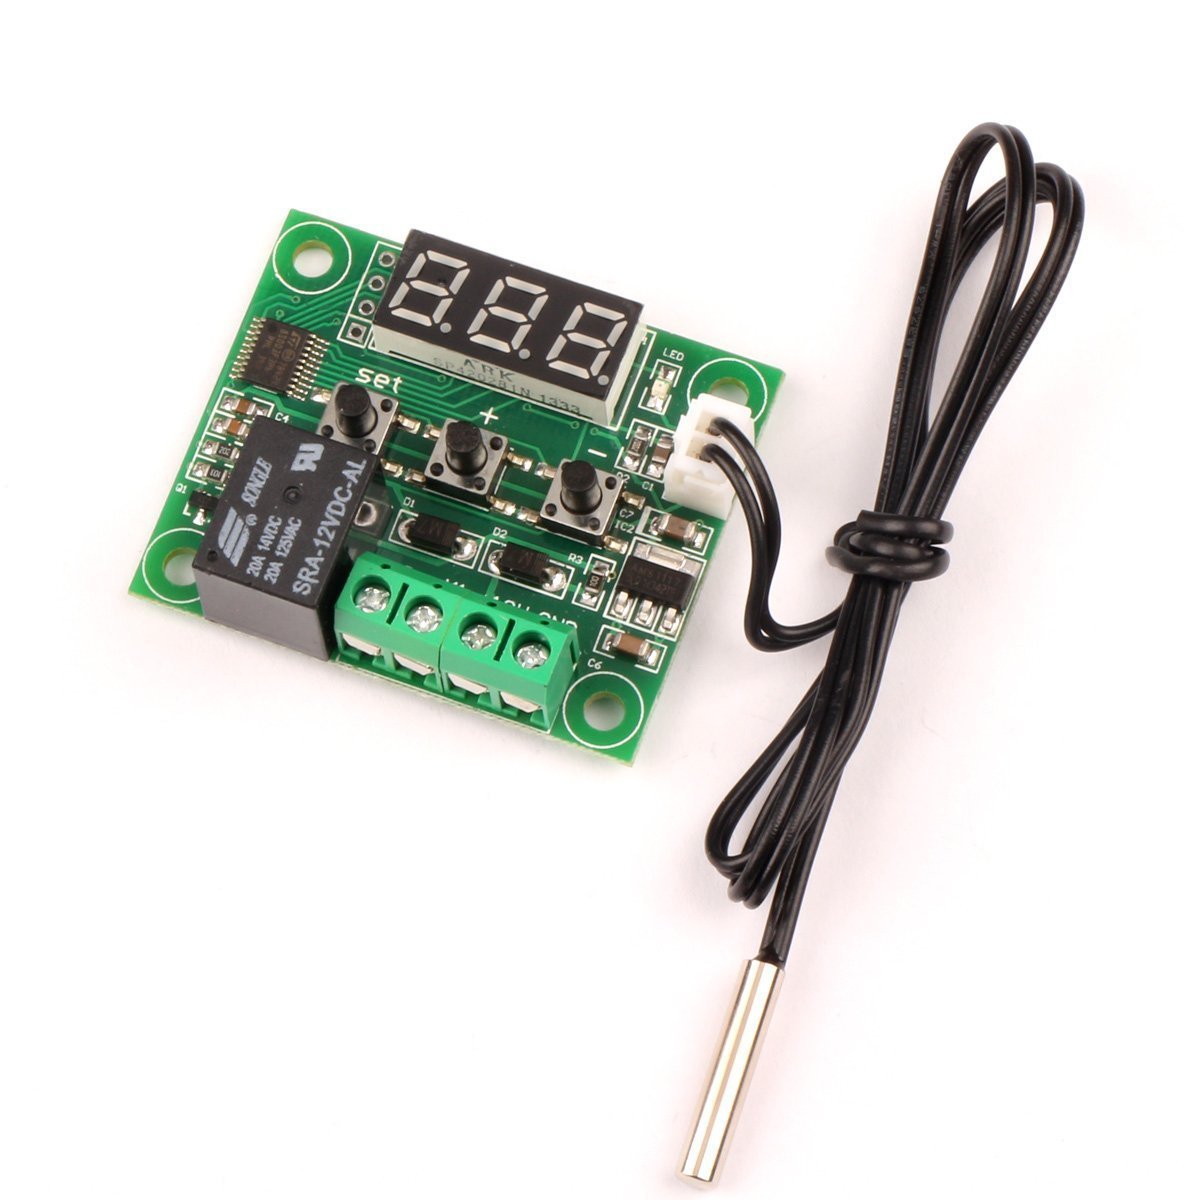
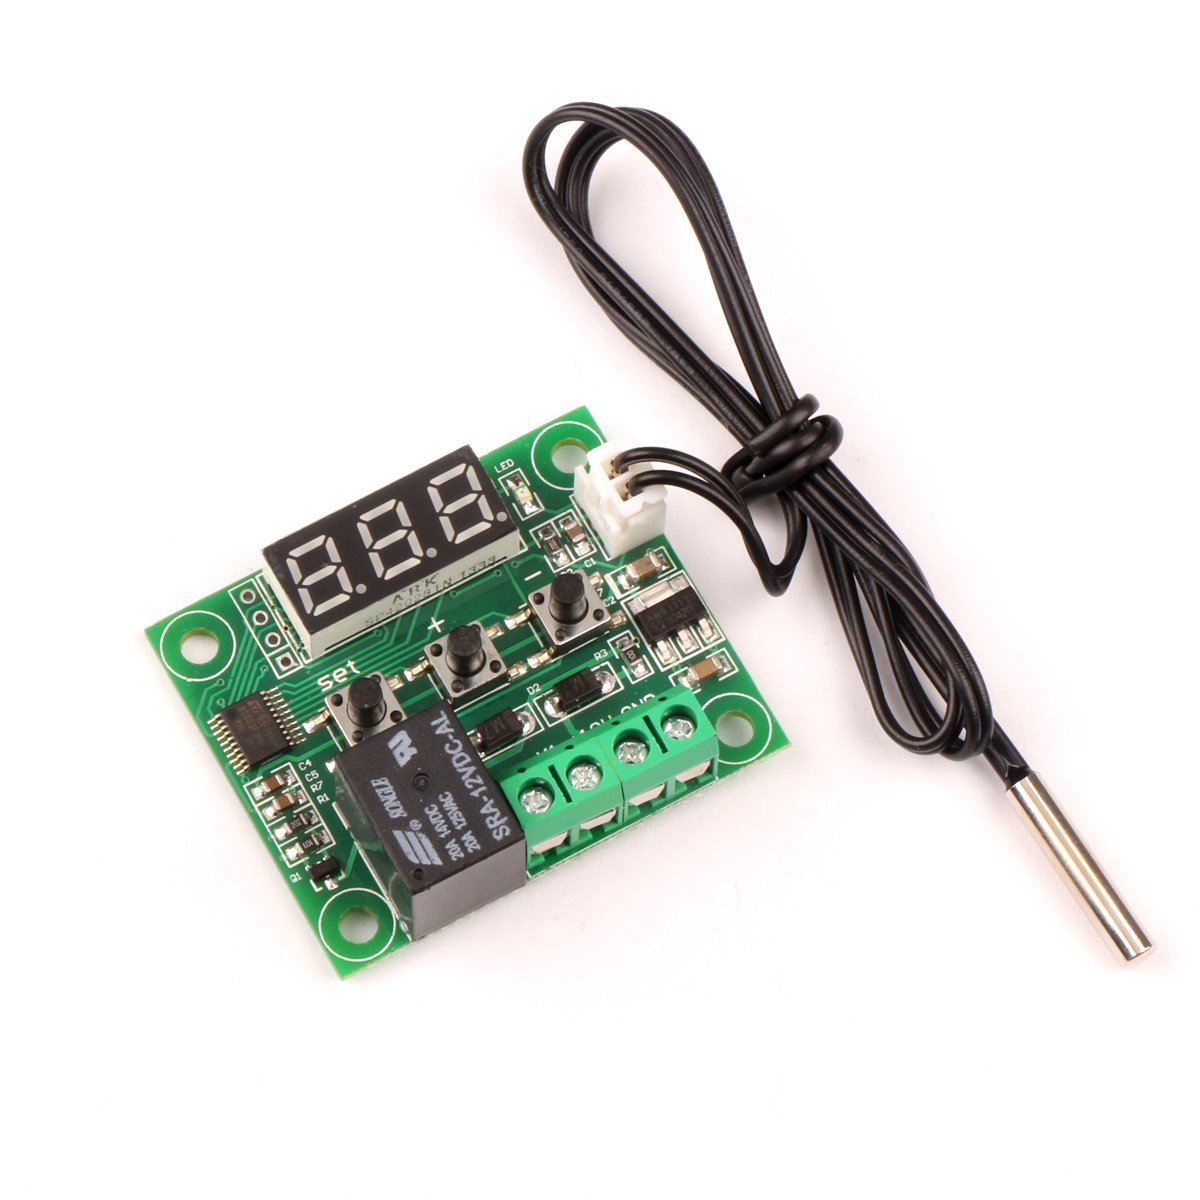
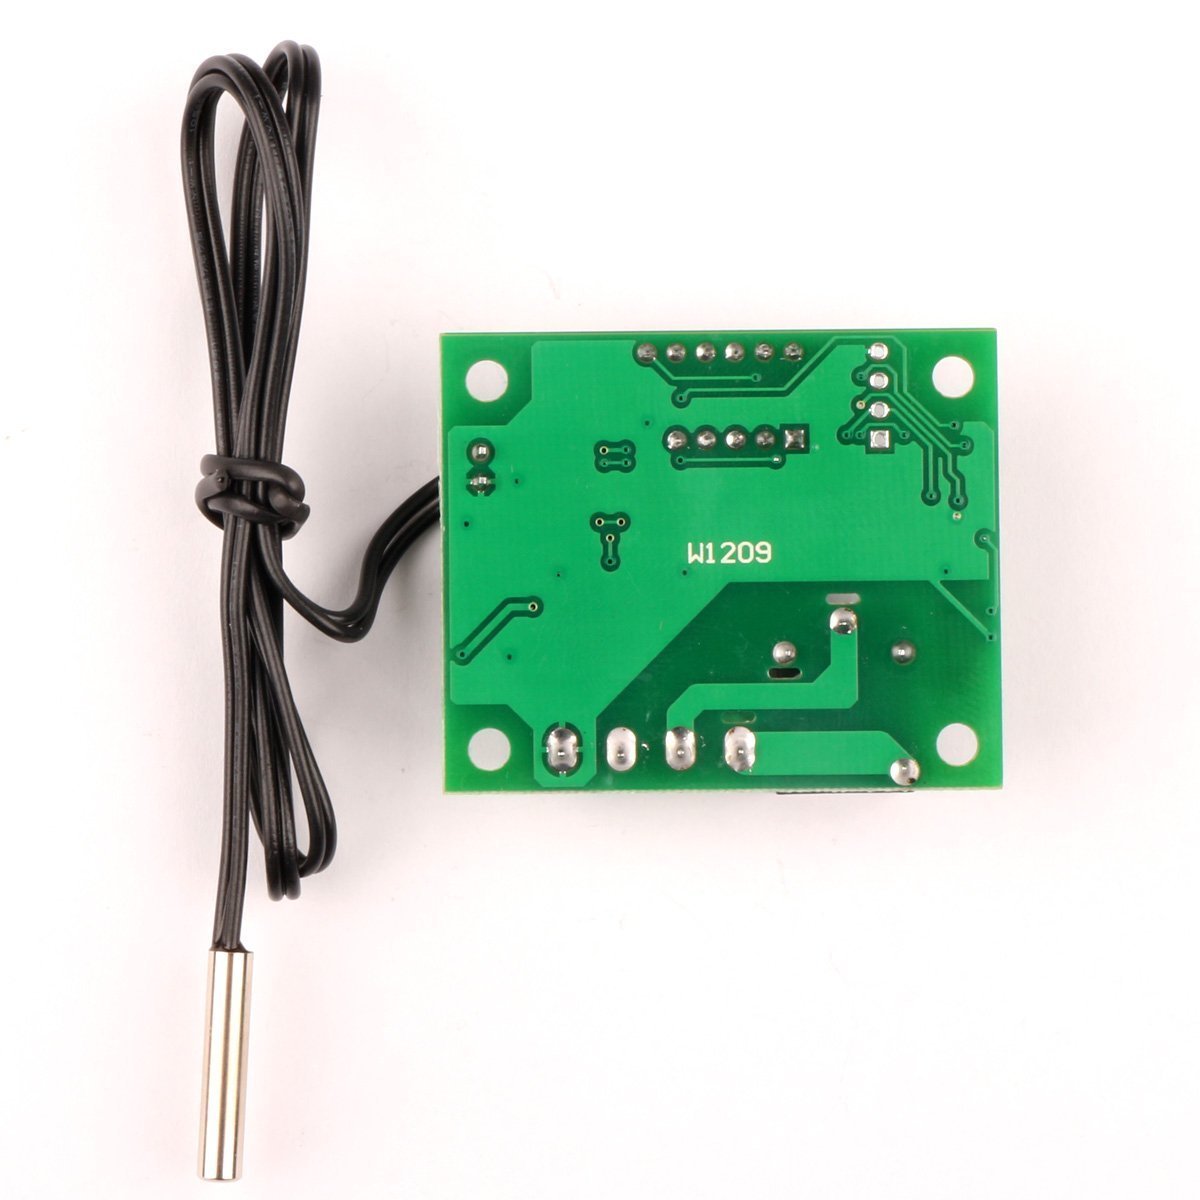
Description
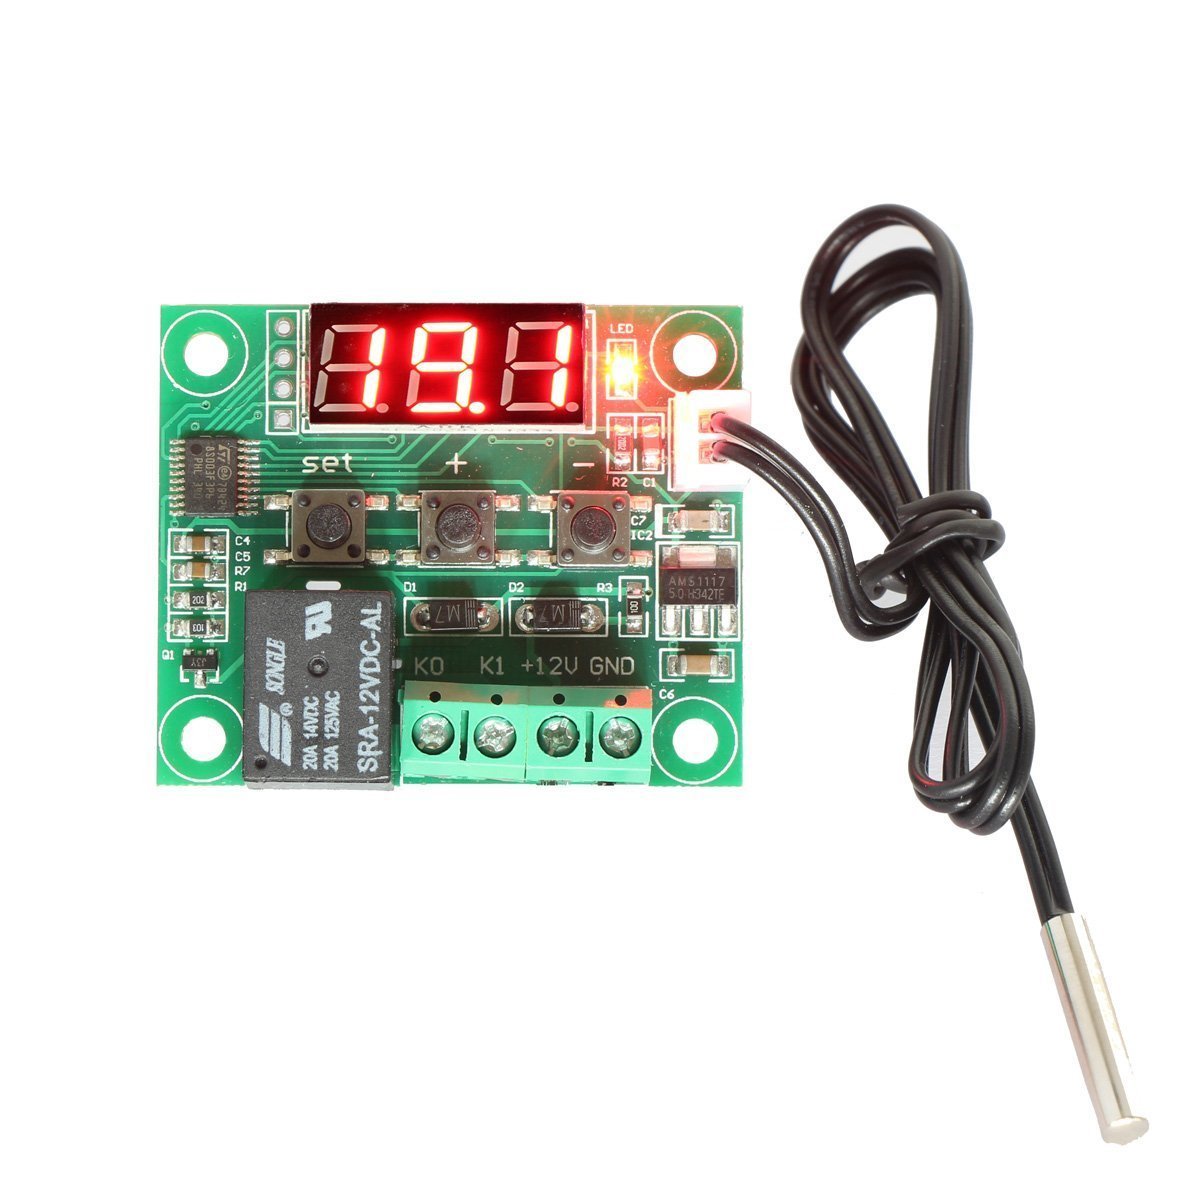
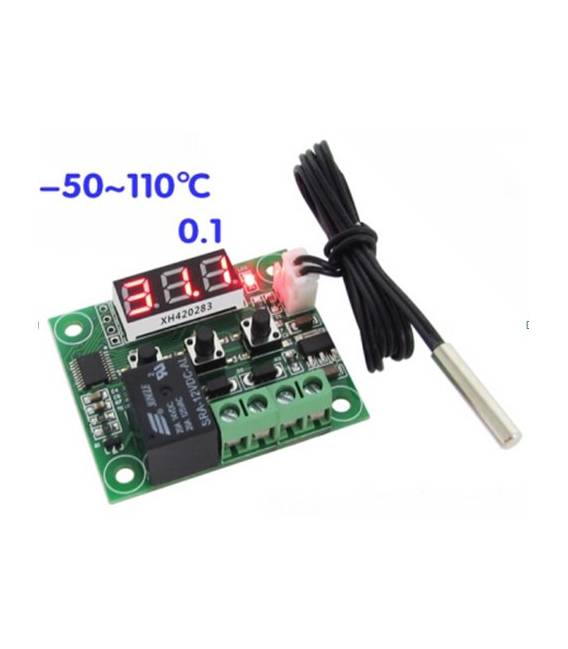
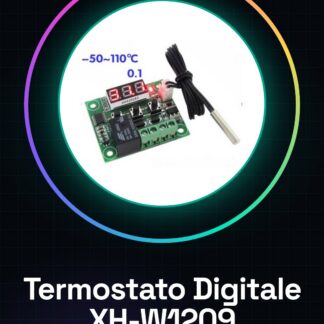
Digital Module XH-W1209 12V DC Thermostat Temperature Control -50 110 degrees celsius Temperature with Rel 10A
1. introduction:
- Temperature control range: -50~110 c
- Resolution: 0.1 c under -9.9-99.9 c (or 1 c in other temperature range)
- Measure accuracy: 0.1 c
- Backlash setting: 0.1 -15 c
- Refresh rate: 0.5 S
- Input Power: DC 12V
- Output: One way 10A relay
- Temperature protection: 0-110 c
- Working temperature: -10~60 c
- Working humidity 20%~85%
- Static current: 35MA
- Attract current: 60MA
1. Introduction:
Temperature control range: -50 ~ 110 c
Resolution: 0.1 c under -9.9-99.9 c (or 1 c in other temperature range)
Measurement accuracy: 0.1 c
Game setup: 0,1 -15 c
Update frequency: 0,5 S
Input power: DC 12V
Output: relay 10A single pole
Thermal protection: 0-110 c
Operating temperature: -10 ~ 60 c
Operating humidity 20% ~ 85%
Static current: 35MA
Attract current: 60MA
Sensor cable: S, NTC 10K 0,5% thermistor
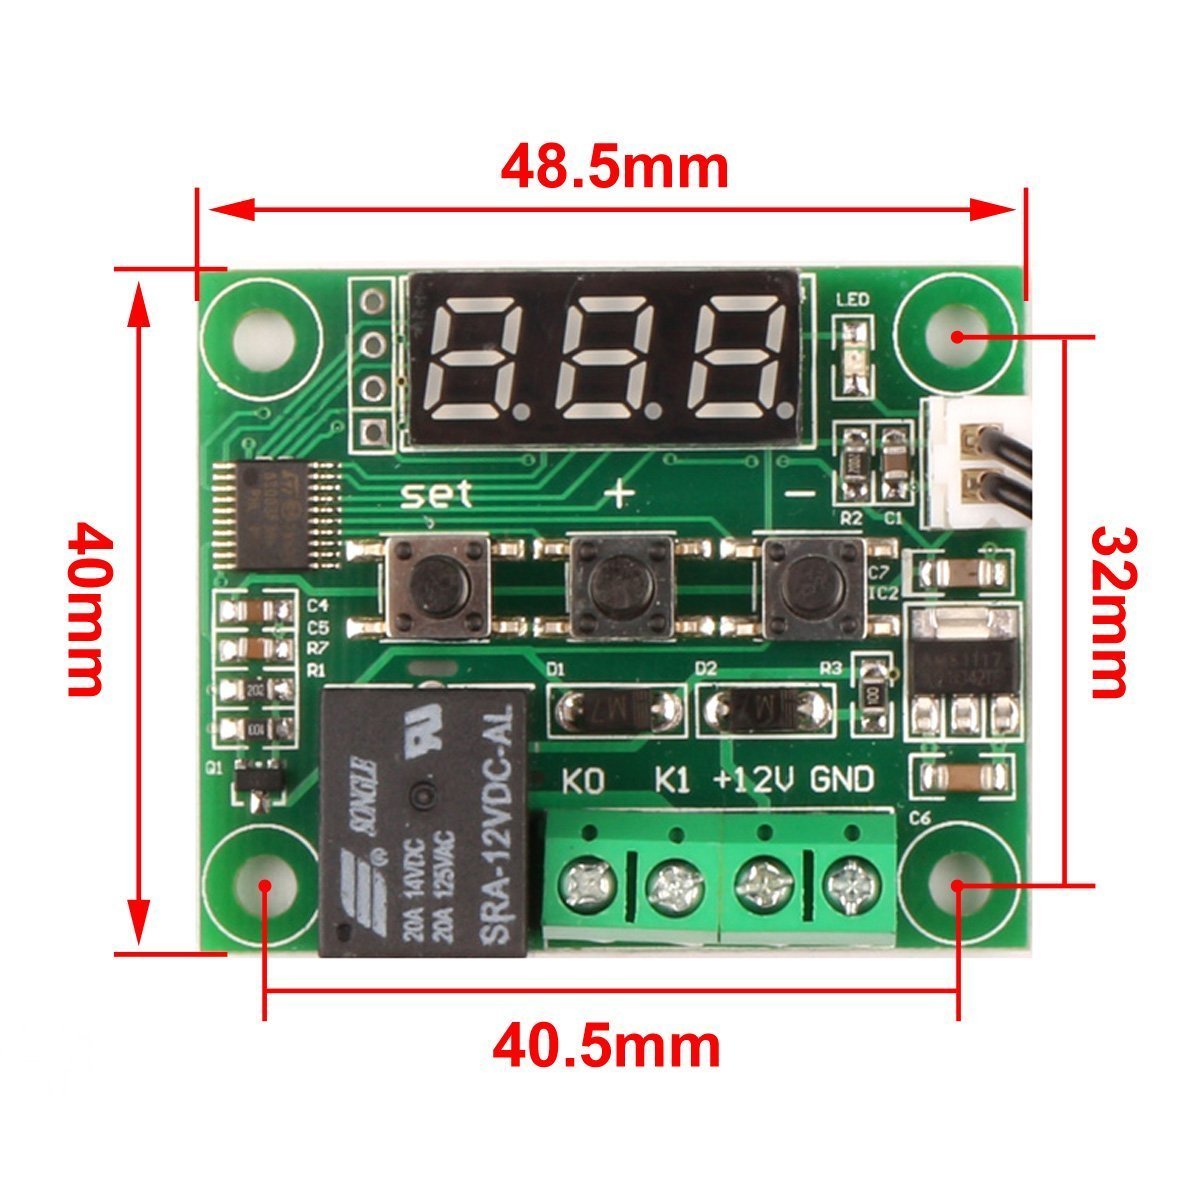
Dimensions: 48 * 40mm
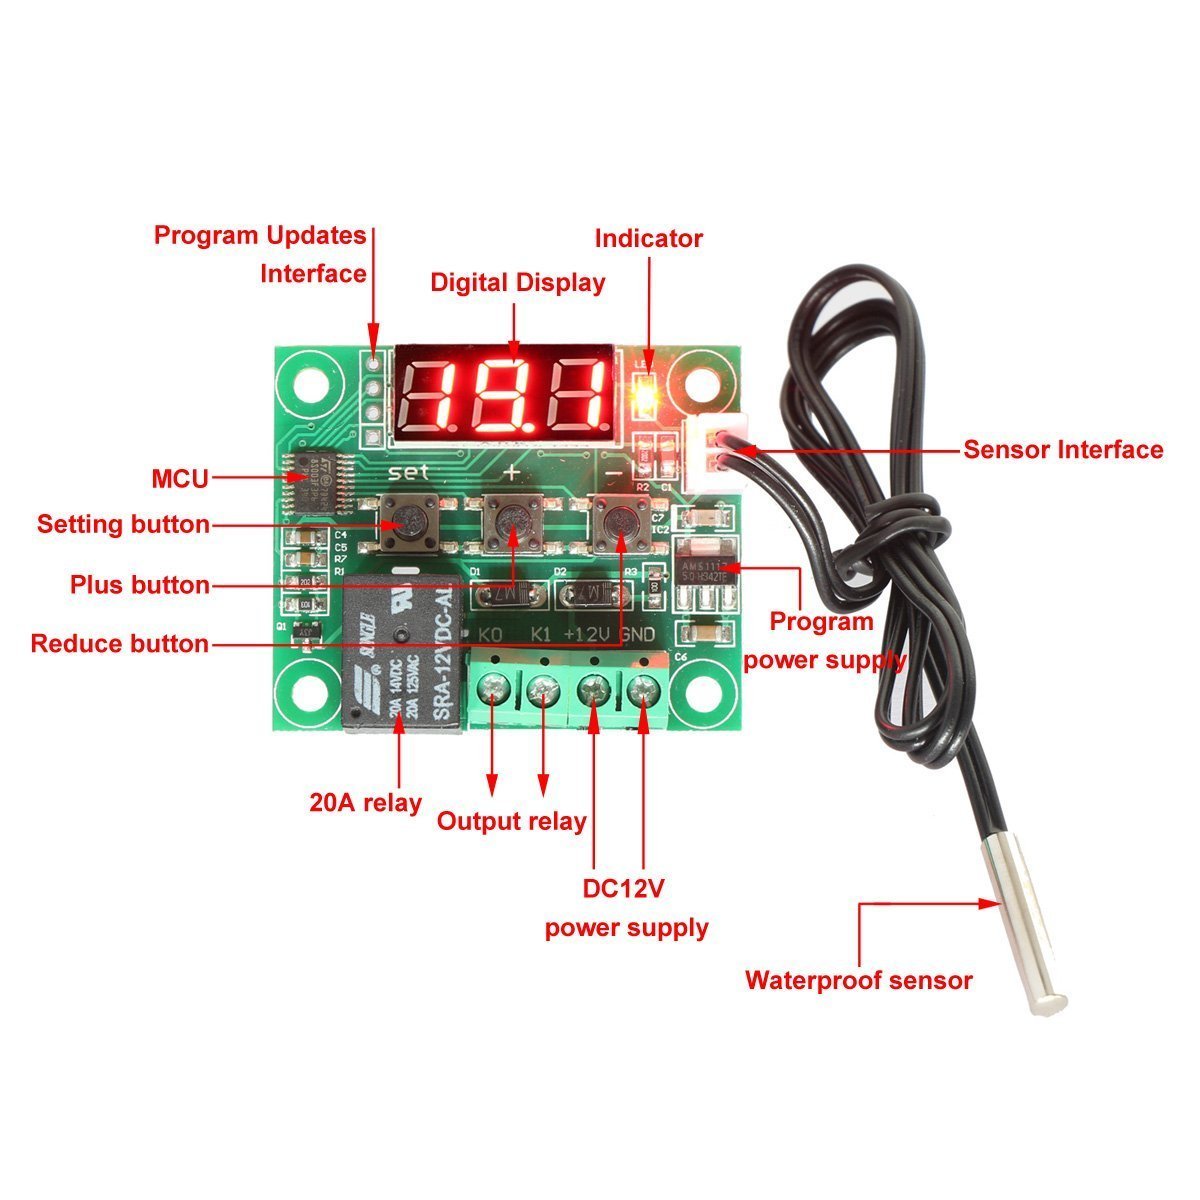
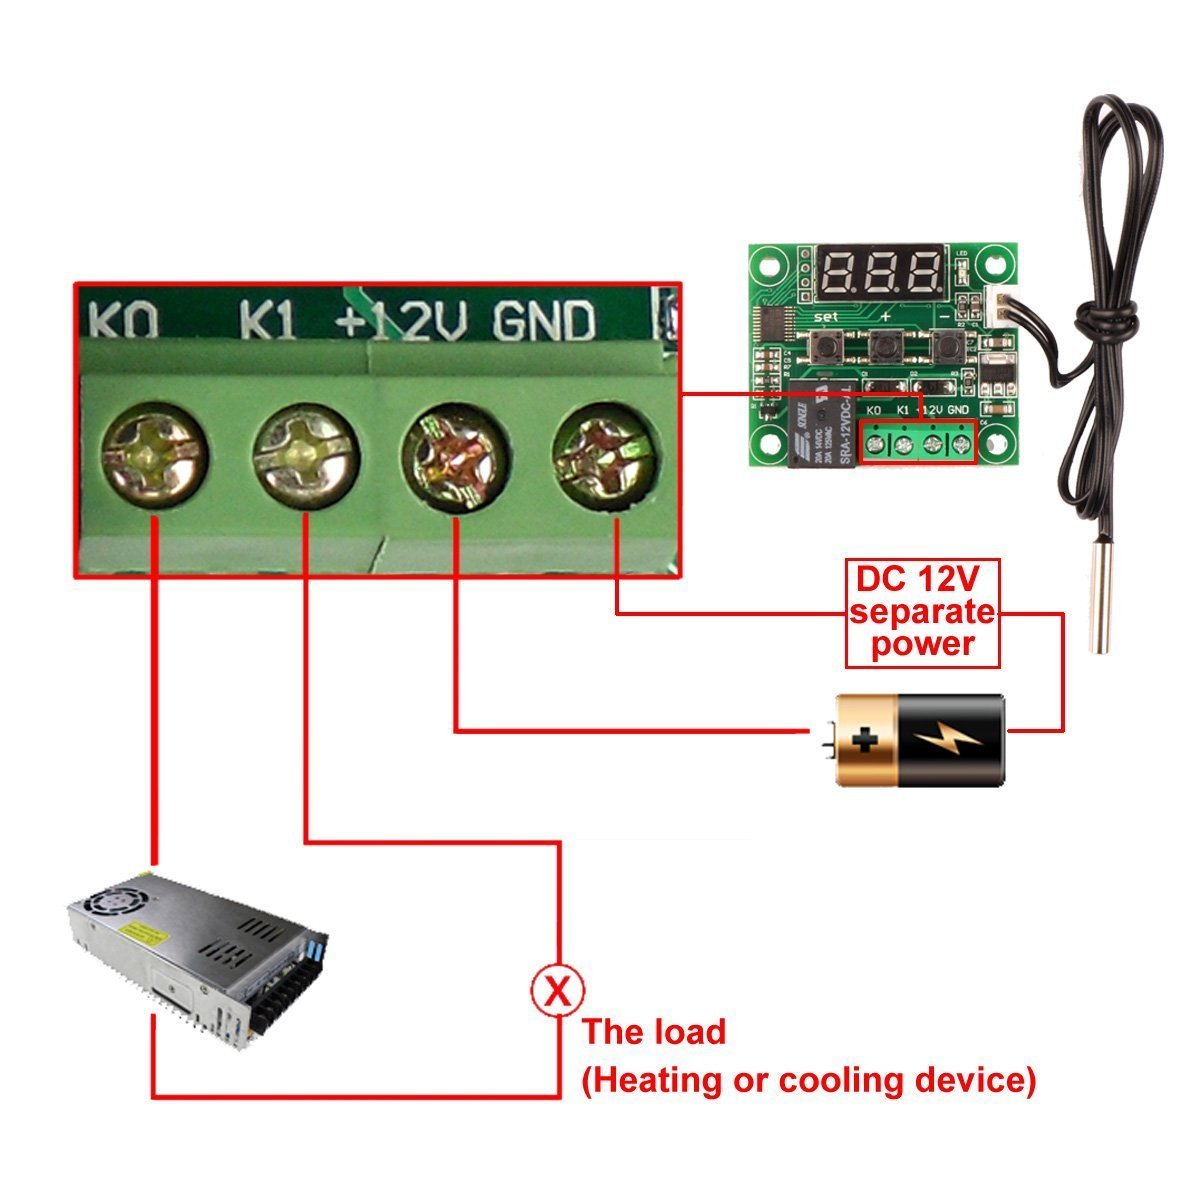
2. how to use instructions:Use: Connect power and load, the controller can work, now display the measured temperature. Press the SET button, the display will flicker, press the ‘+’ ‘-‘ keys to set the desired temperature, then press the ‘SET’ button to confirm and return, at this moment the controller will automatically execute the relay on or off. Please ensure the connection is correct.
Indicator: when off, the relay is open, when on, the relay is closed.
Digital tube: when it shows ‘LL’, the sensor is open. when it shows ‘HH’, the temperature is out of measurement range, the relay turns off. when it shows ‘—‘, it now protects from high temperatures.
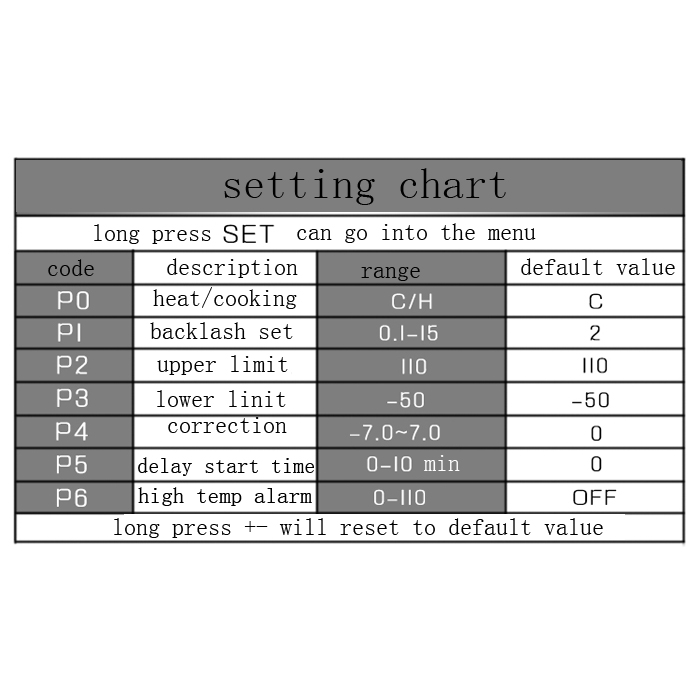
Parameter setting method: Press and hold SET for 5 seconds to access the main menu settings, press the ‘+ -‘ keys to switch P0 … P8. press and hold SET or 10 seconds without key activity to confirm and return. - Sensor Cable:Yes, NTC 10K 0.5% thermistor
- Size: 48*40mm
2. how to use instruction:
- Use:Connect the power and the load, the controller can work,now it displays the measured temperature.Press the SET button, the display flickers,please press ‘+ – ‘keys to set the temperature you want,then press the ‘SET’key to confirm and return,at this time the controller will automatically perform the relay on or off.please make sure the connection is correct.
- Indicator: when it is Off, the relay is open, when it is continuously on, the relay is closed.
- Digital tube: when it shows ‘LL’, the sensor is open. when it shows ‘HH’, the temperature is out of the measuring range, the relay will be shut down. when it shows ‘—‘, it is now high temperature protecting.
- Parameter Setting Method: Long press SET 5 seconds to enter the main menu settings, press the ‘+ -‘ keys to switch P0 … P8. long press SET or 10 seconds no key activity it will confirm and return.
Tutorial: How to use Digital Module XH-W1209 Thermostat
The XH-W1209 digital module is a relay thermostat that allows controlling the activation of electrical devices based on ambient temperature. It is ideal for DIY projects such as automatic heating systems or ventilation regulation. This module is perfect for beginner and intermediate makers who want to automate temperature control in various environments.
What you need
- Arduino Uno
- USB A-Micro B cable
- 12V DC power supply
Steps
- Connect the XH-W1209 module power supply with a 12V DC power adapter.
- Connect the Arduino module to the computer via USB cable.
- Download and install the necessary library to manage relays on Arduino IDE.
- Open an existing sketch or create a new one in Arduino IDE, including the relay library.
- Configure the sketch with the desired temperature settings (-50 to 110°C).
- Connect the digital pins of the Arduino to the XH-W1209 module as specified in the datasheet.
- Compile and upload the source code to the Arduino microcontroller.
- Test the activation of the relay based on ambient temperature.
Example code
RelayControl relay(7); // definisce la porta digitale collegata al relè
void setup() {
  Serial.begin(9600);
}
void loop() {
  int temp = readTemperature(); // verifica sul datasheet come leggere la temperatura dal modulo XH-W1209
  if (temp > 30) { // esempio di soglia, verificare sul datasheet il range della temperatura del modulo
    relay.on();
  } else {
    relay.off();
  }
}
Mini project
Design an automatic heating system for a small greenhouse or aquarium. Configure the Arduino sketch so that the relay activates a heating lamp when the temperature drops below 20°C and deactivates it when it exceeds 30°C.
Common mistakes
- Use voltage that does not conform to the requirements of the XH-W1209 module.
- Configure the sketch without verifying the temperature specifications of the module in the datasheet.
- Connect the relay to electrical loads exceeding its capacity (10A).
- Do not adequately test the connectivity between Arduino and the XH-W1209 module.
Recommended accessories
- Arduino Uno R3
- USB A-Micro B cable
- 5V DC power supply for Arduino
- Digital thermometer
Frequently asked questions
How can I configure the relay activation temperature?
In the sketch, define the conditions under which the relay should be activated or deactivated based on the values read from the XH-W1209 module.
My electrical device does not respond to relay control.
Check that the power supply voltage is correct and that the electrical load does not exceed 10A. Also check the connections between Arduino and the XH-W1209 module.
Reviews
There are no reviews yet.