 EN
 IT Italiano
 ES Español
 FR Français
 DE Deutsch
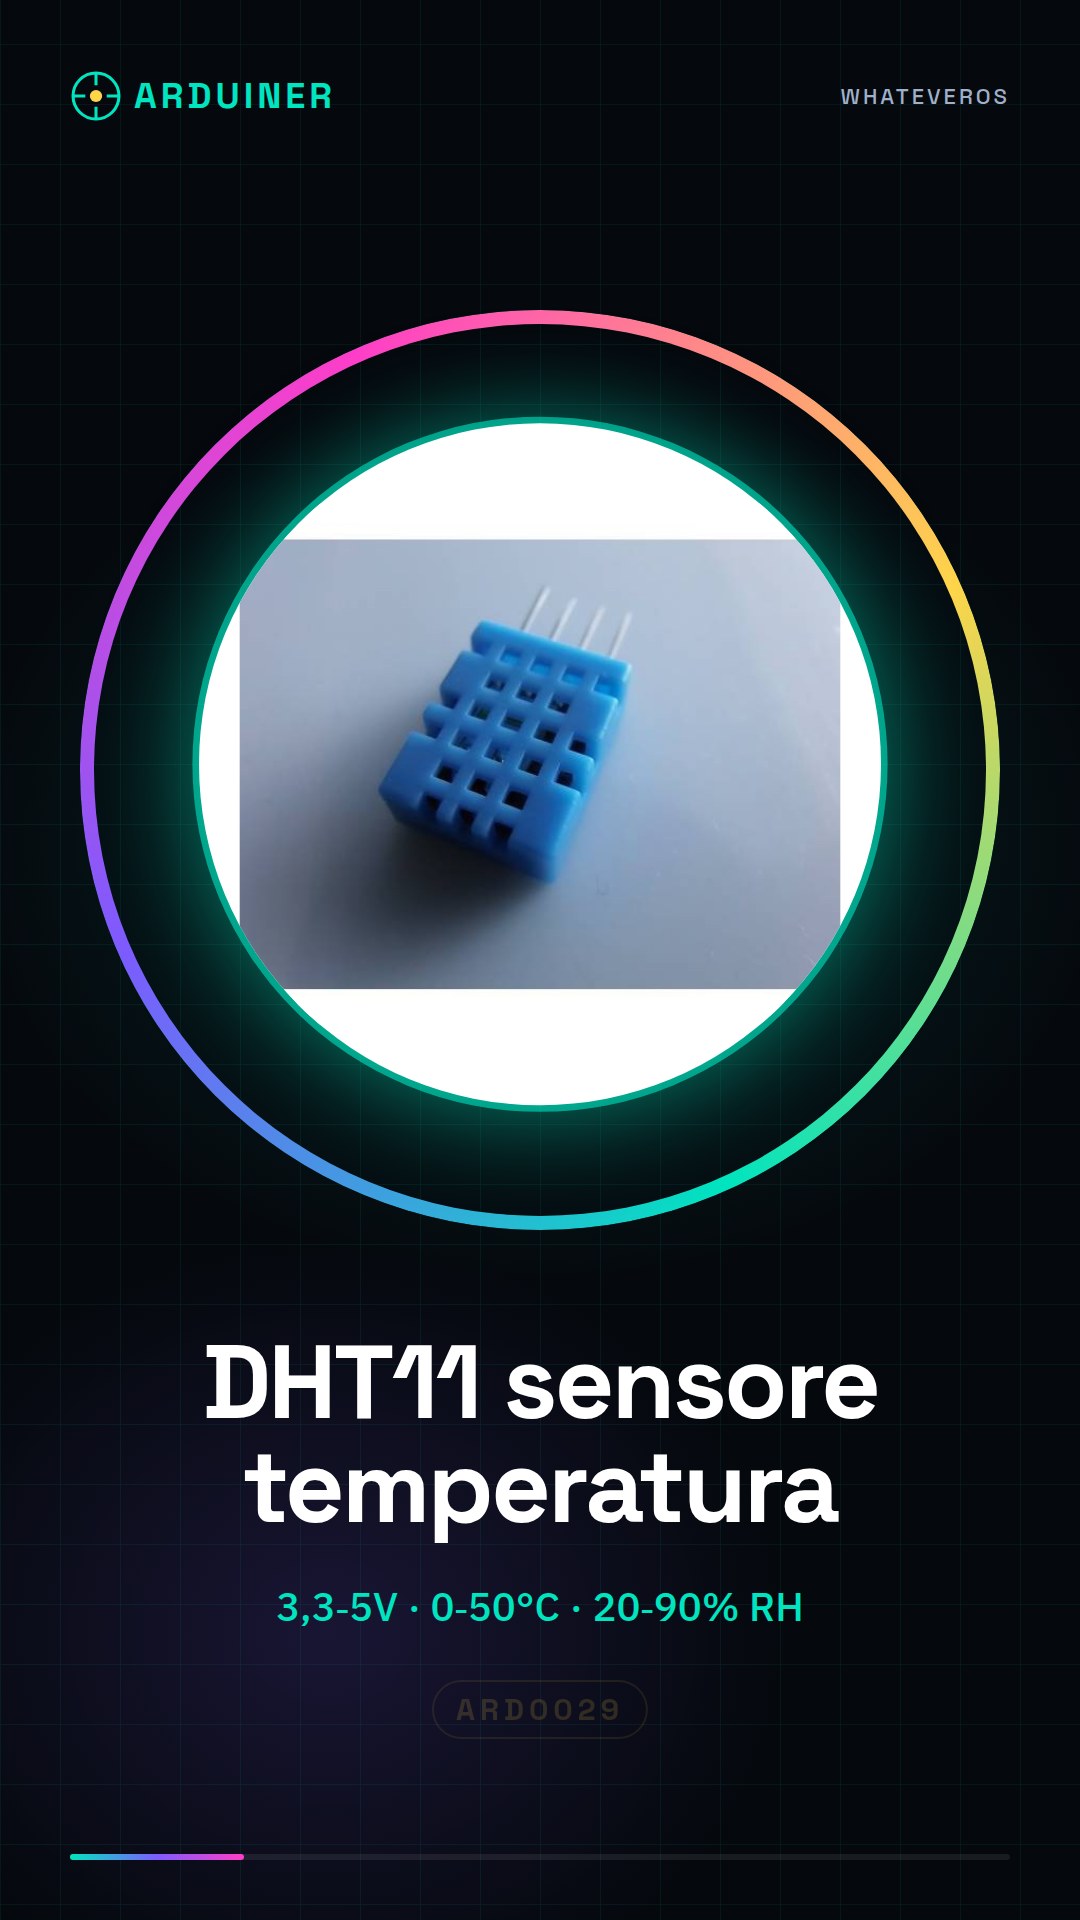
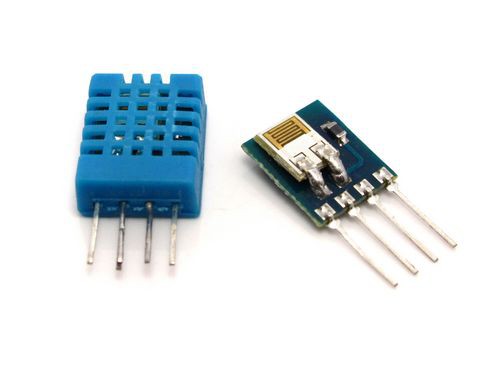
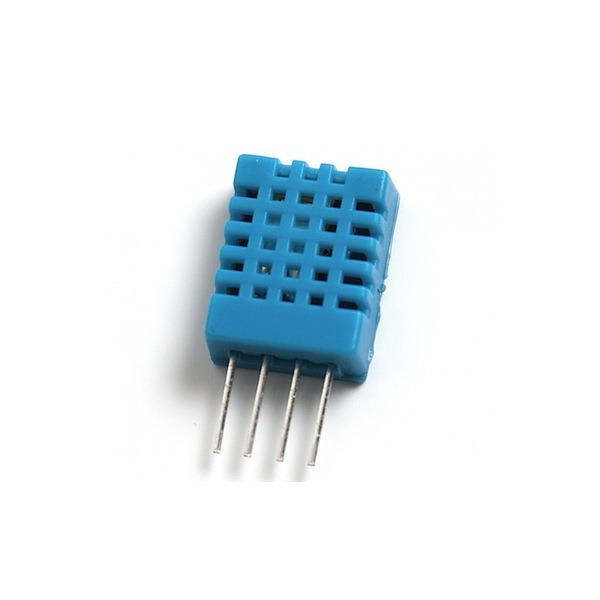
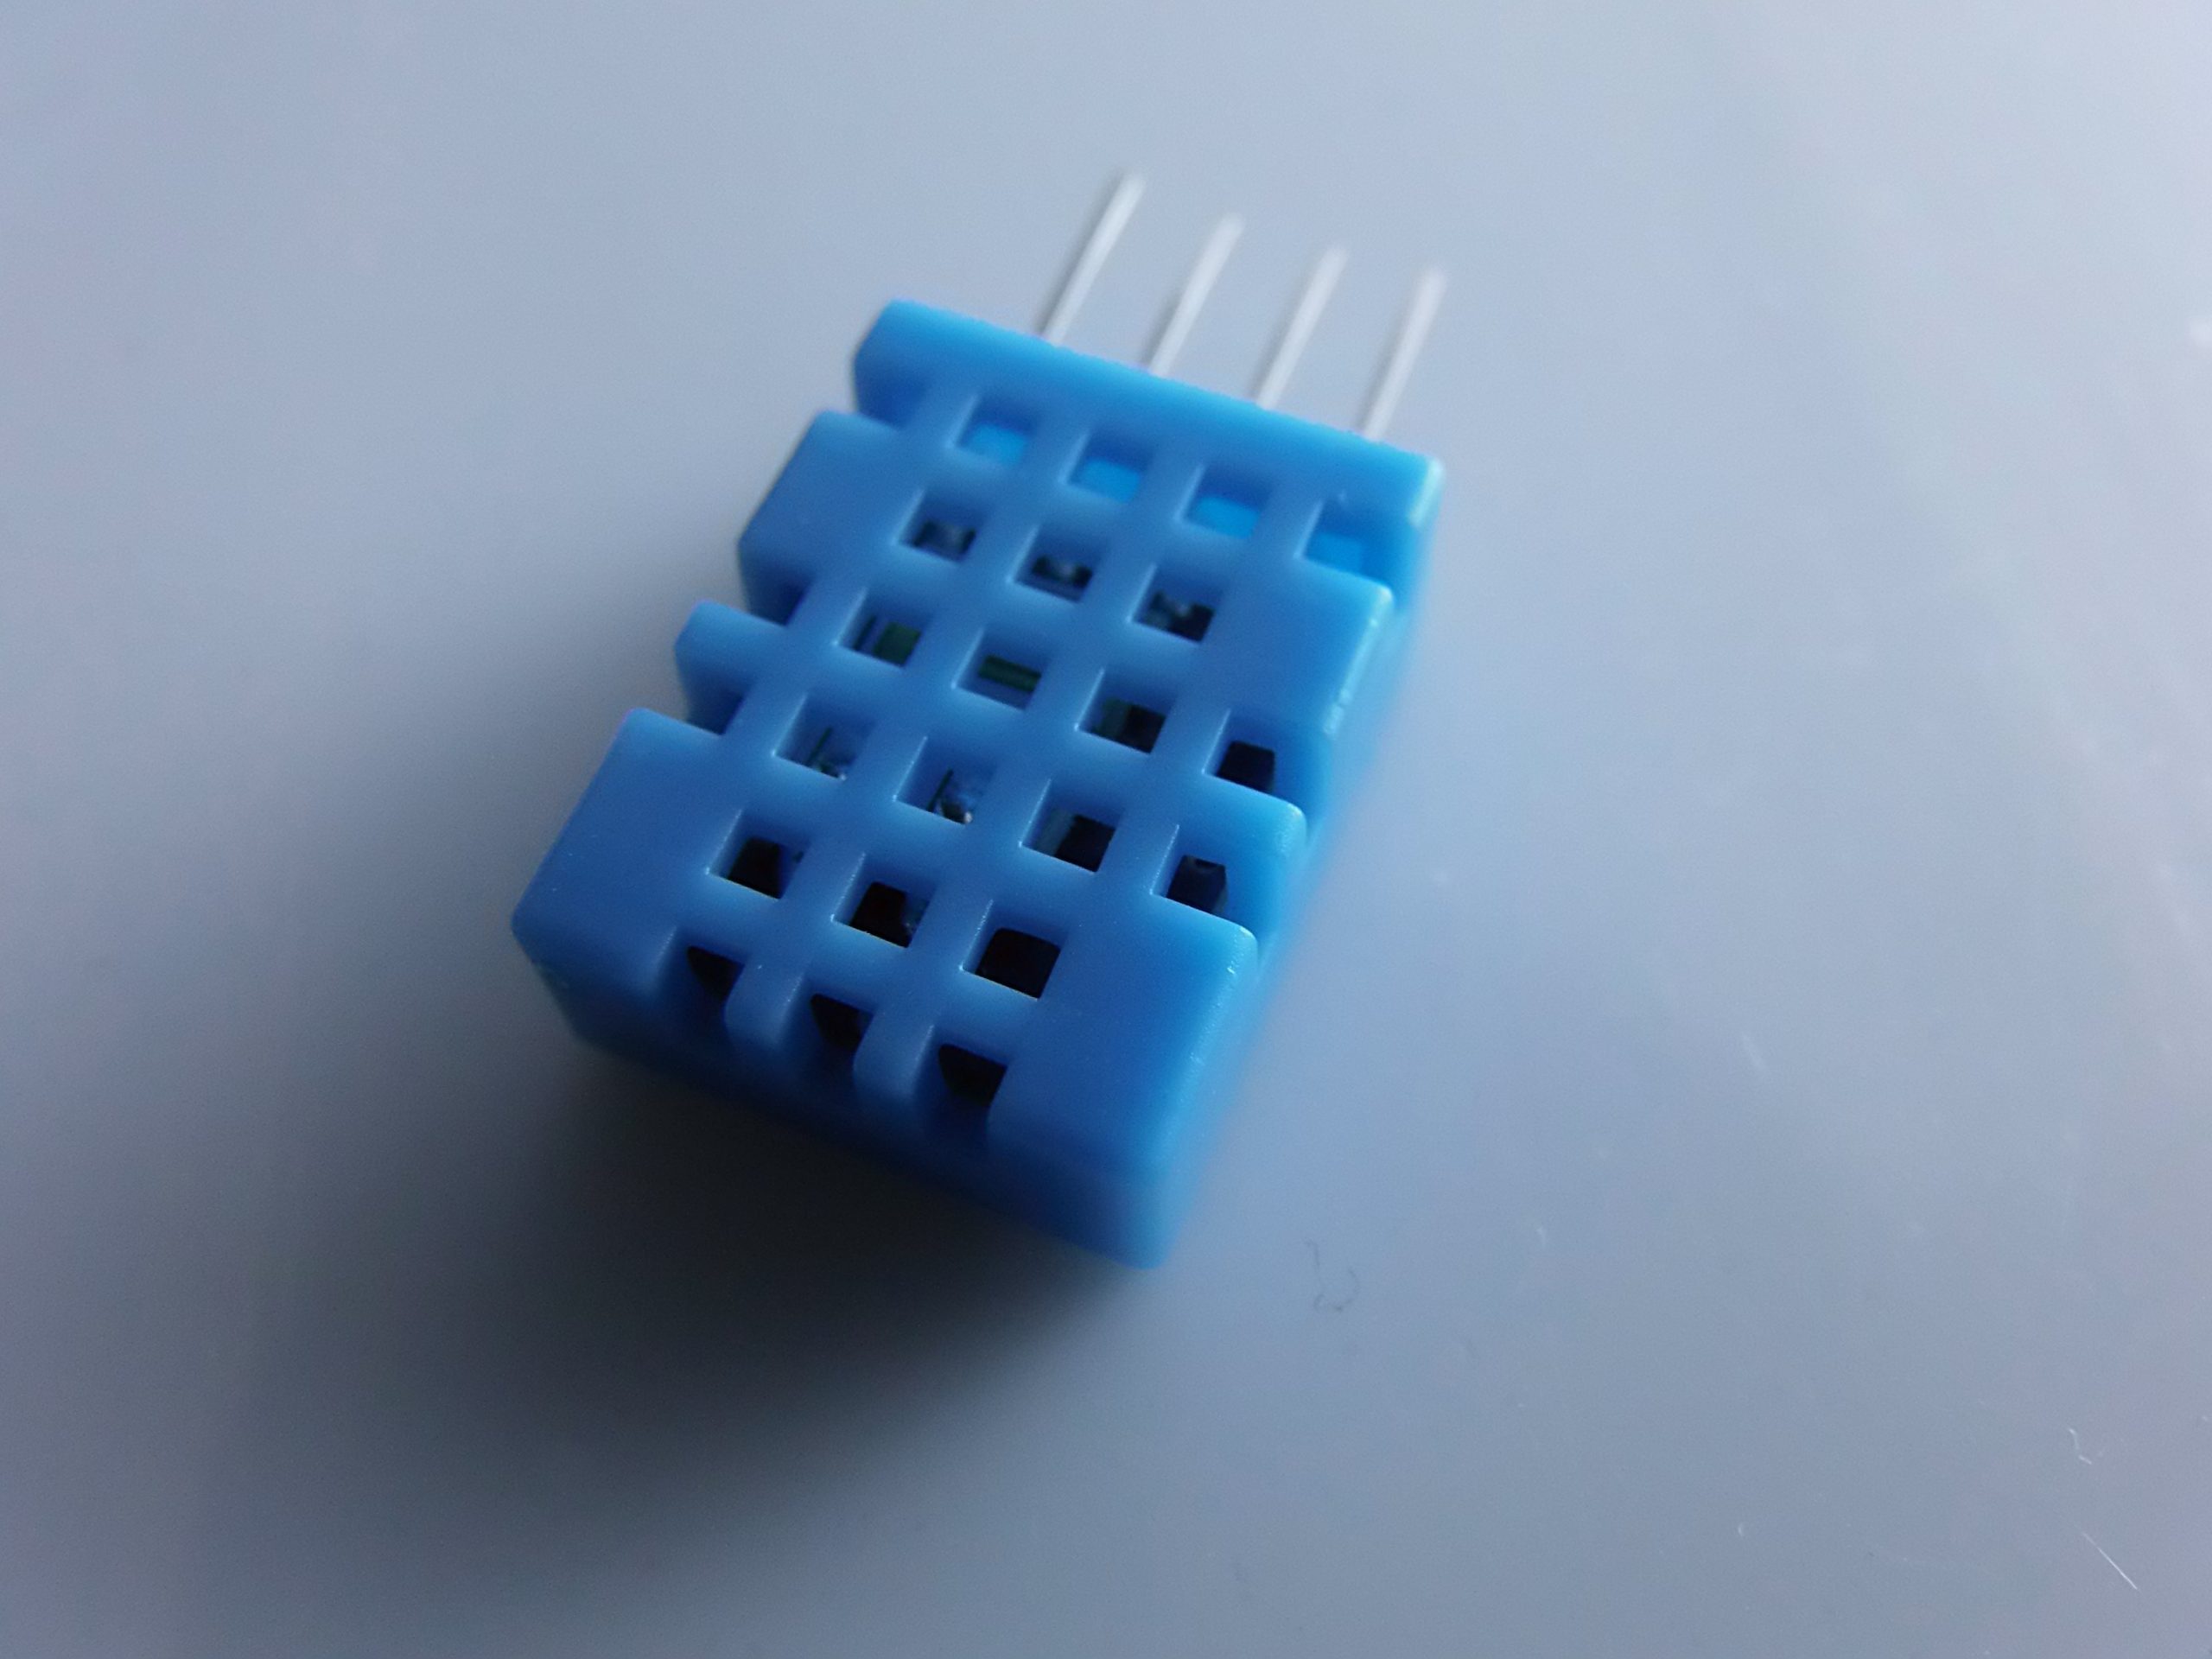
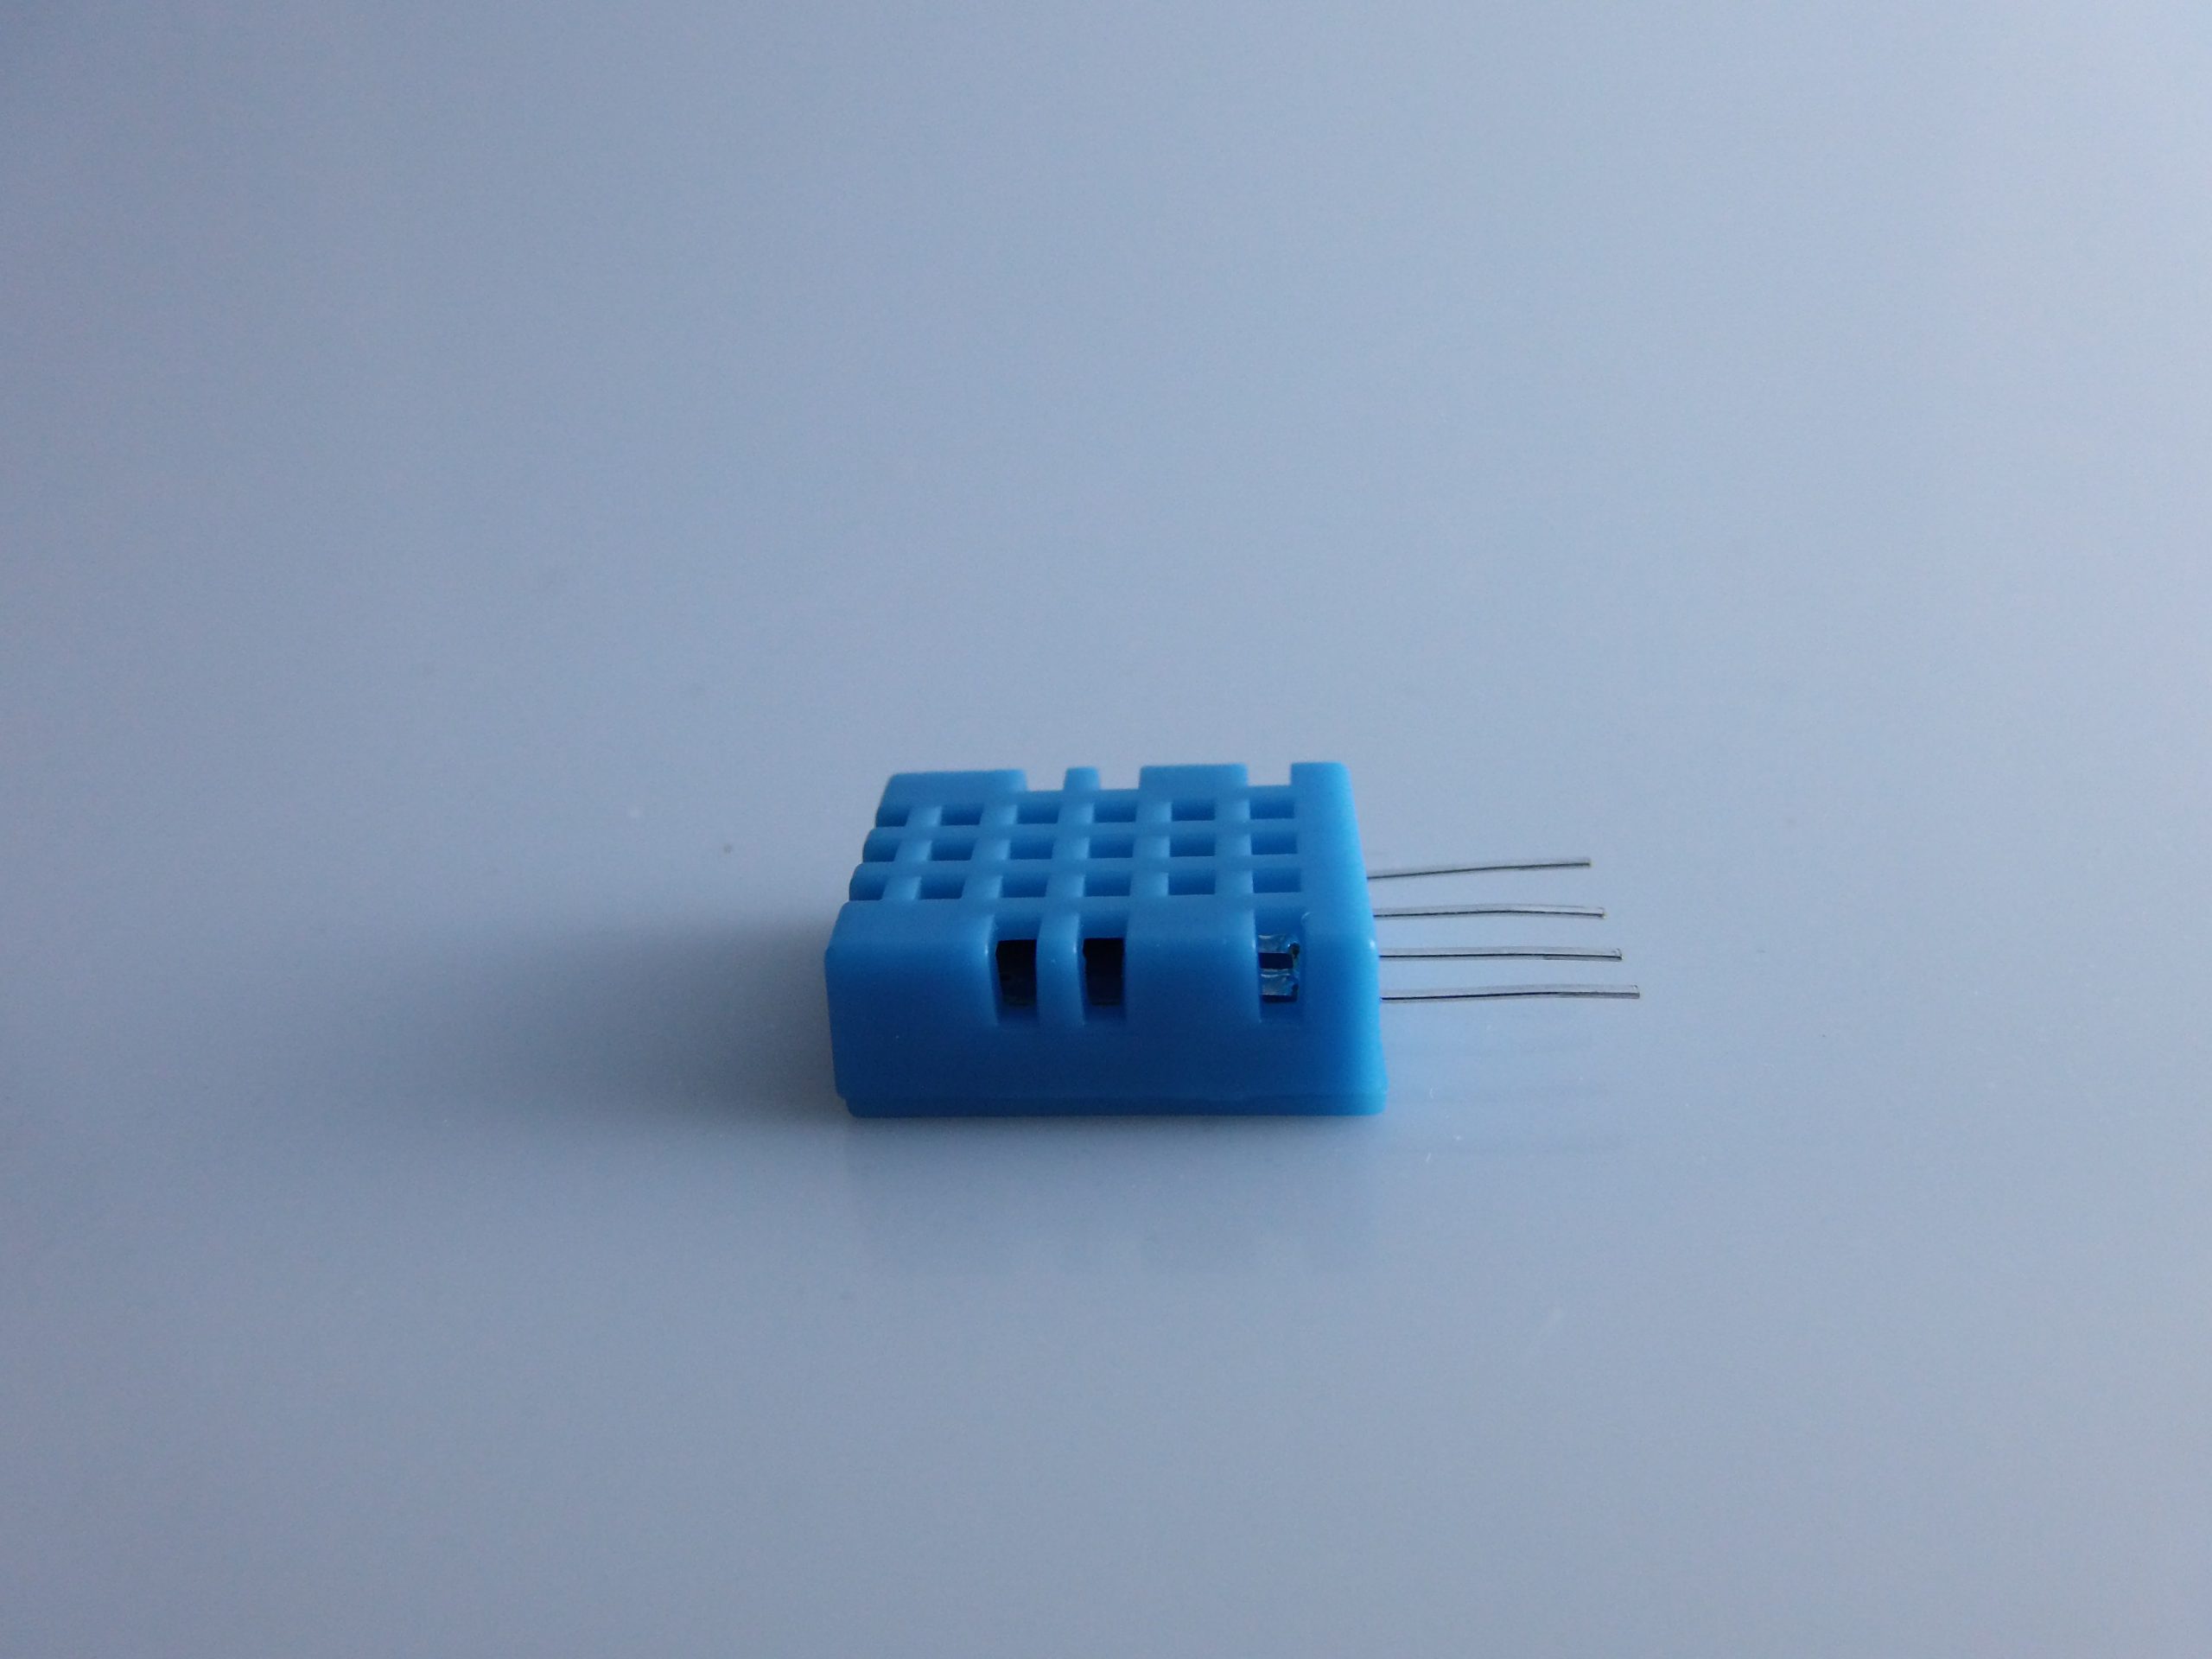
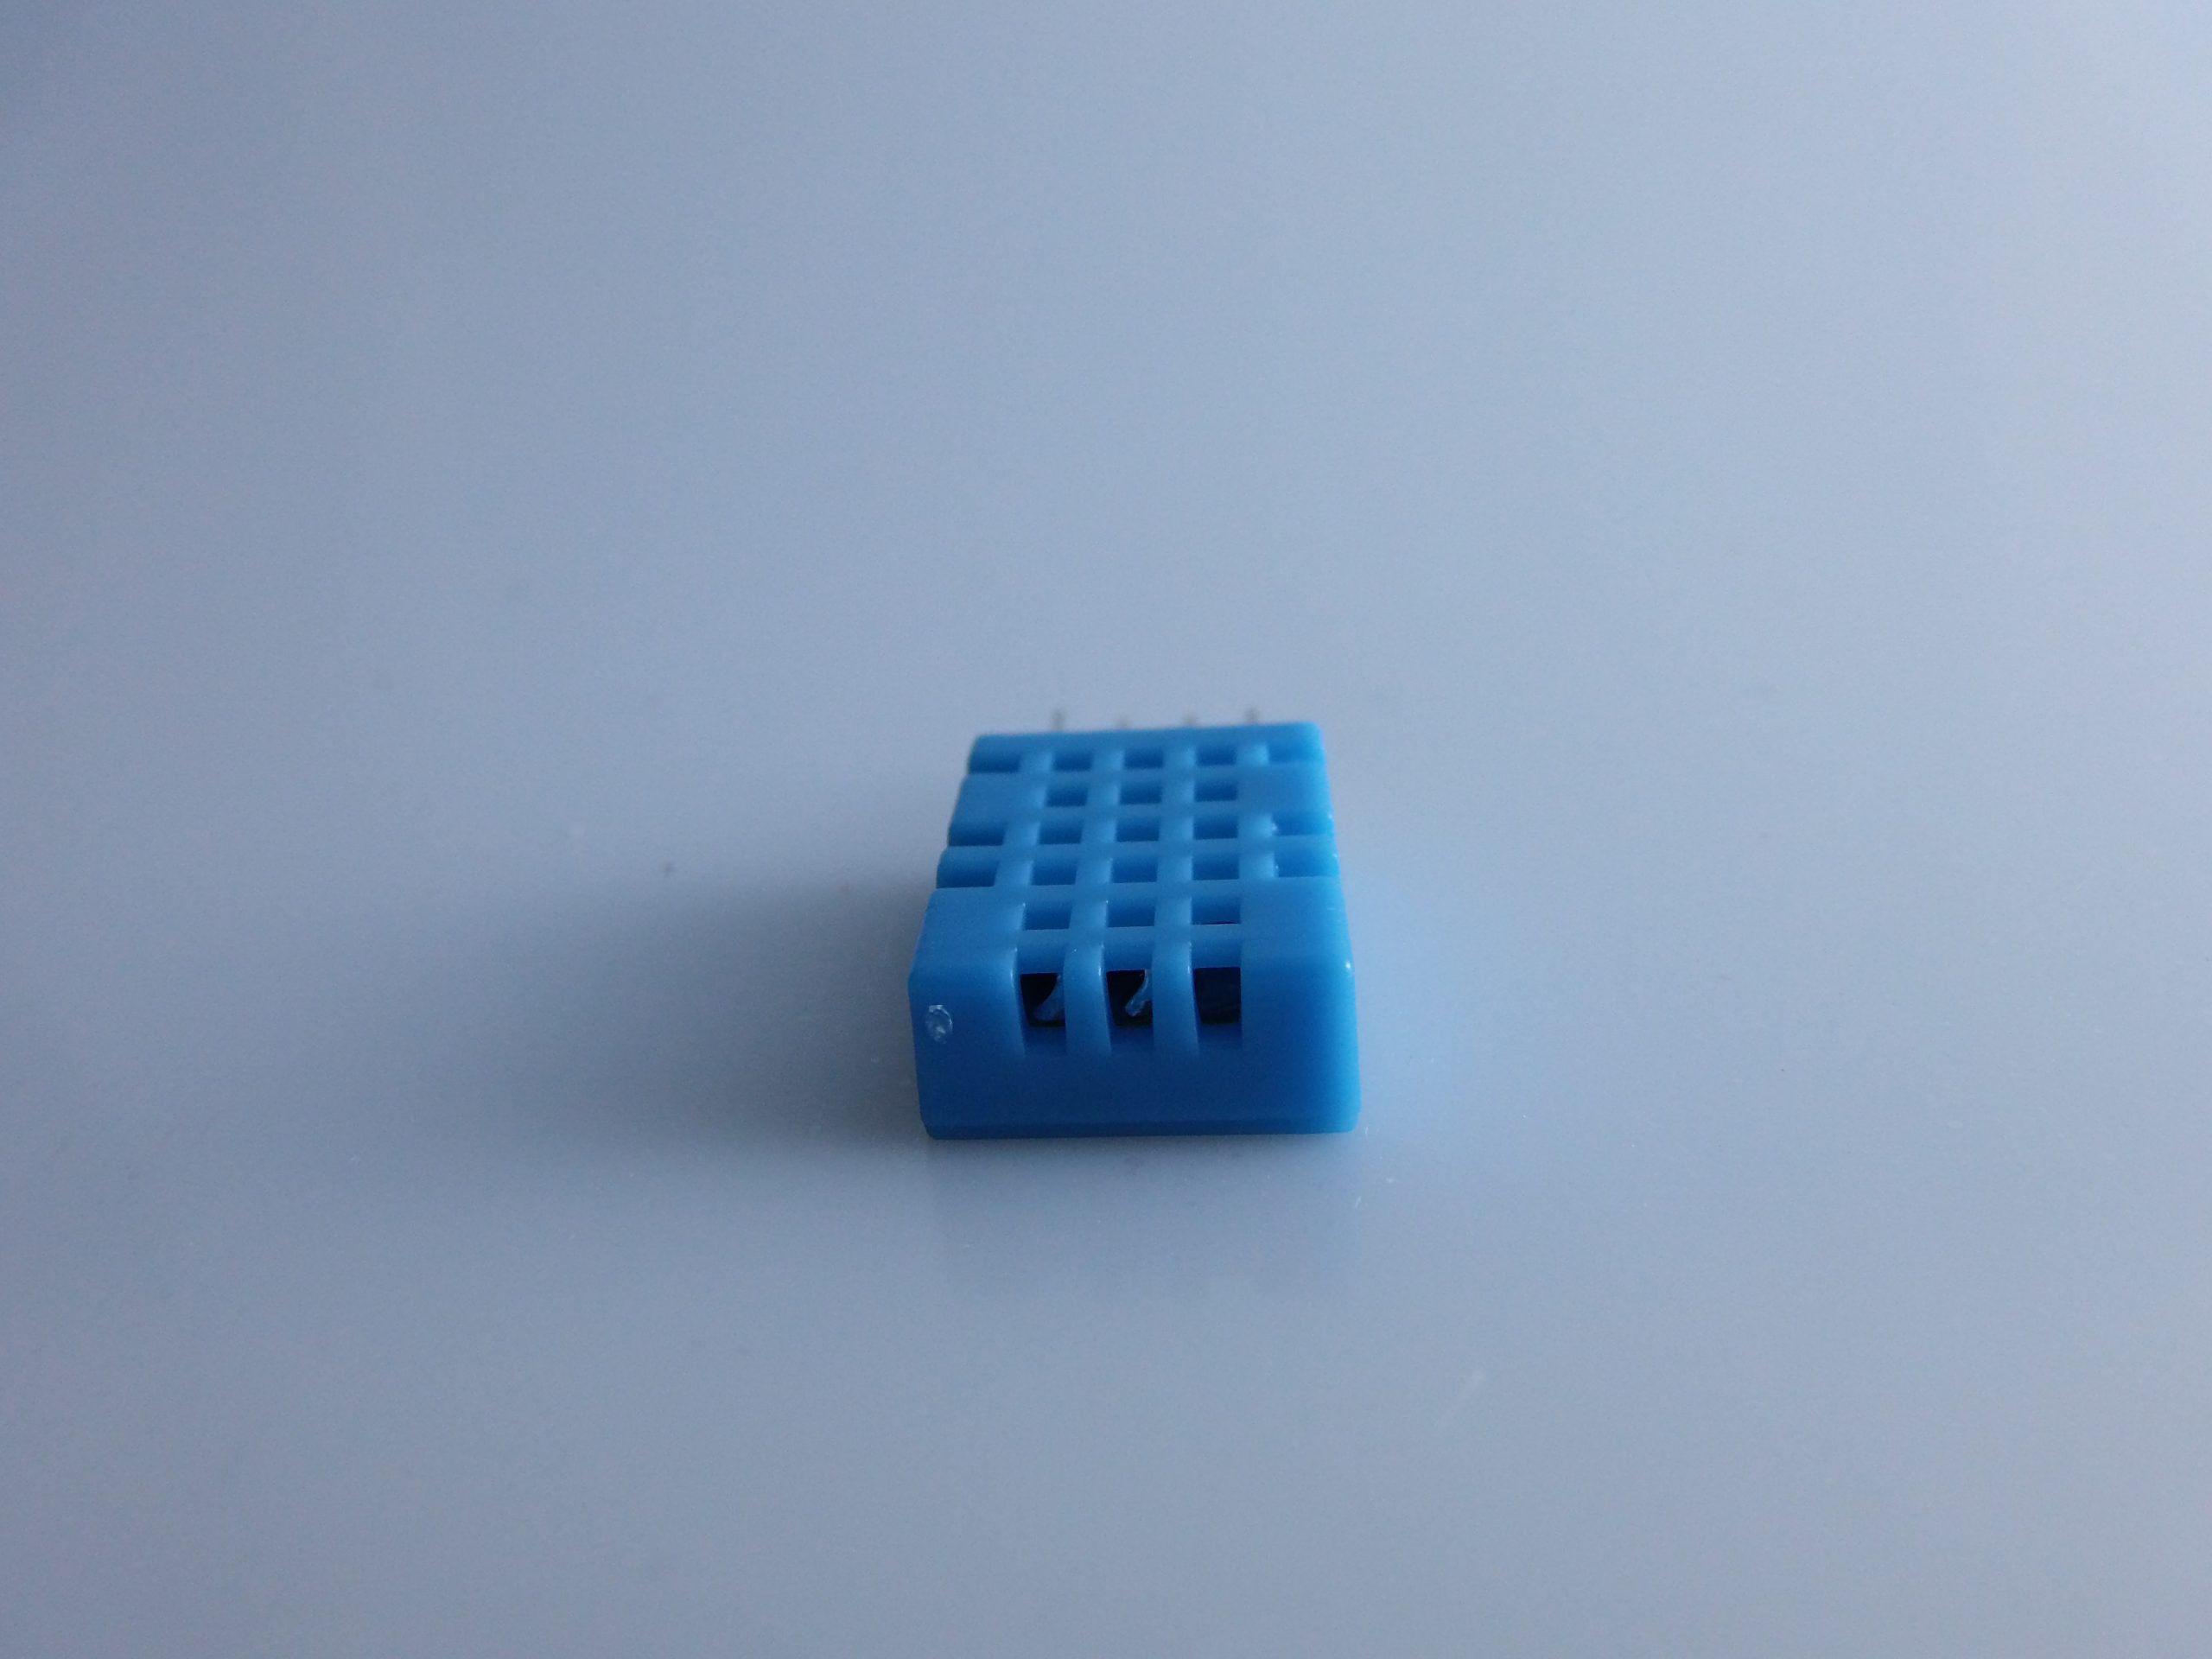
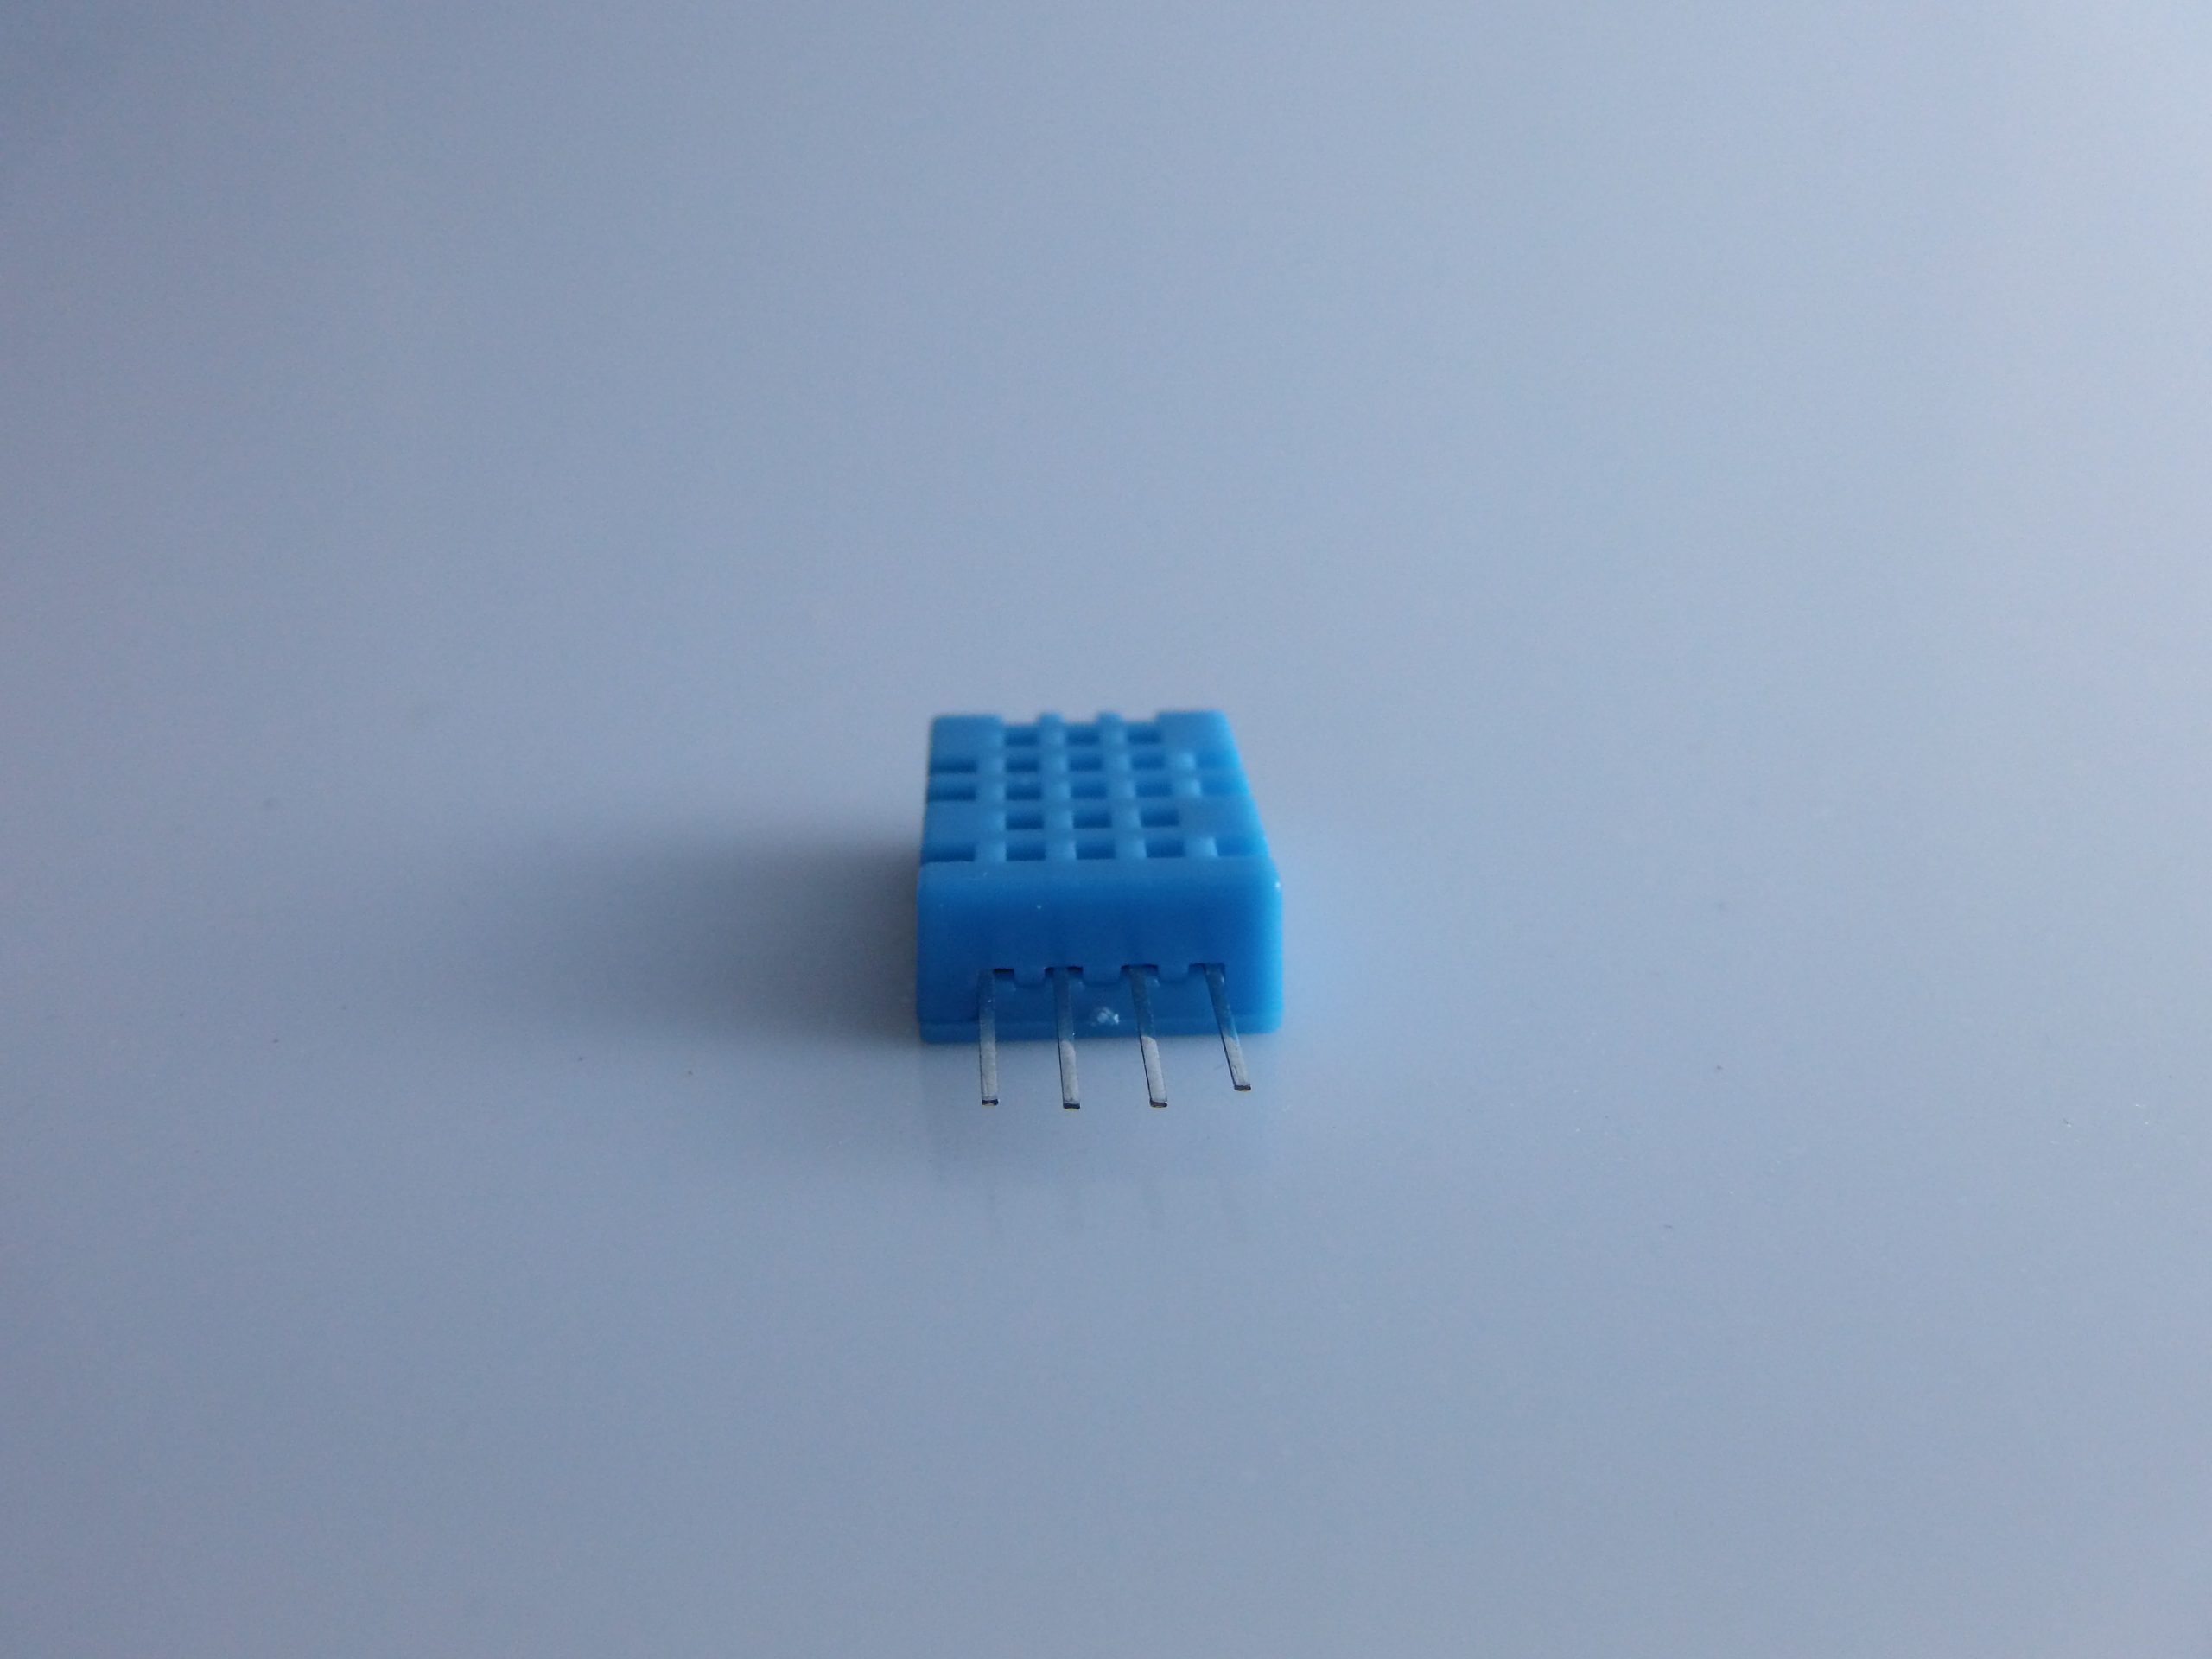
Description
📘 Complete description of the DHT11 module and guide for use with Arduino
🔍 What is the DHT11 module?
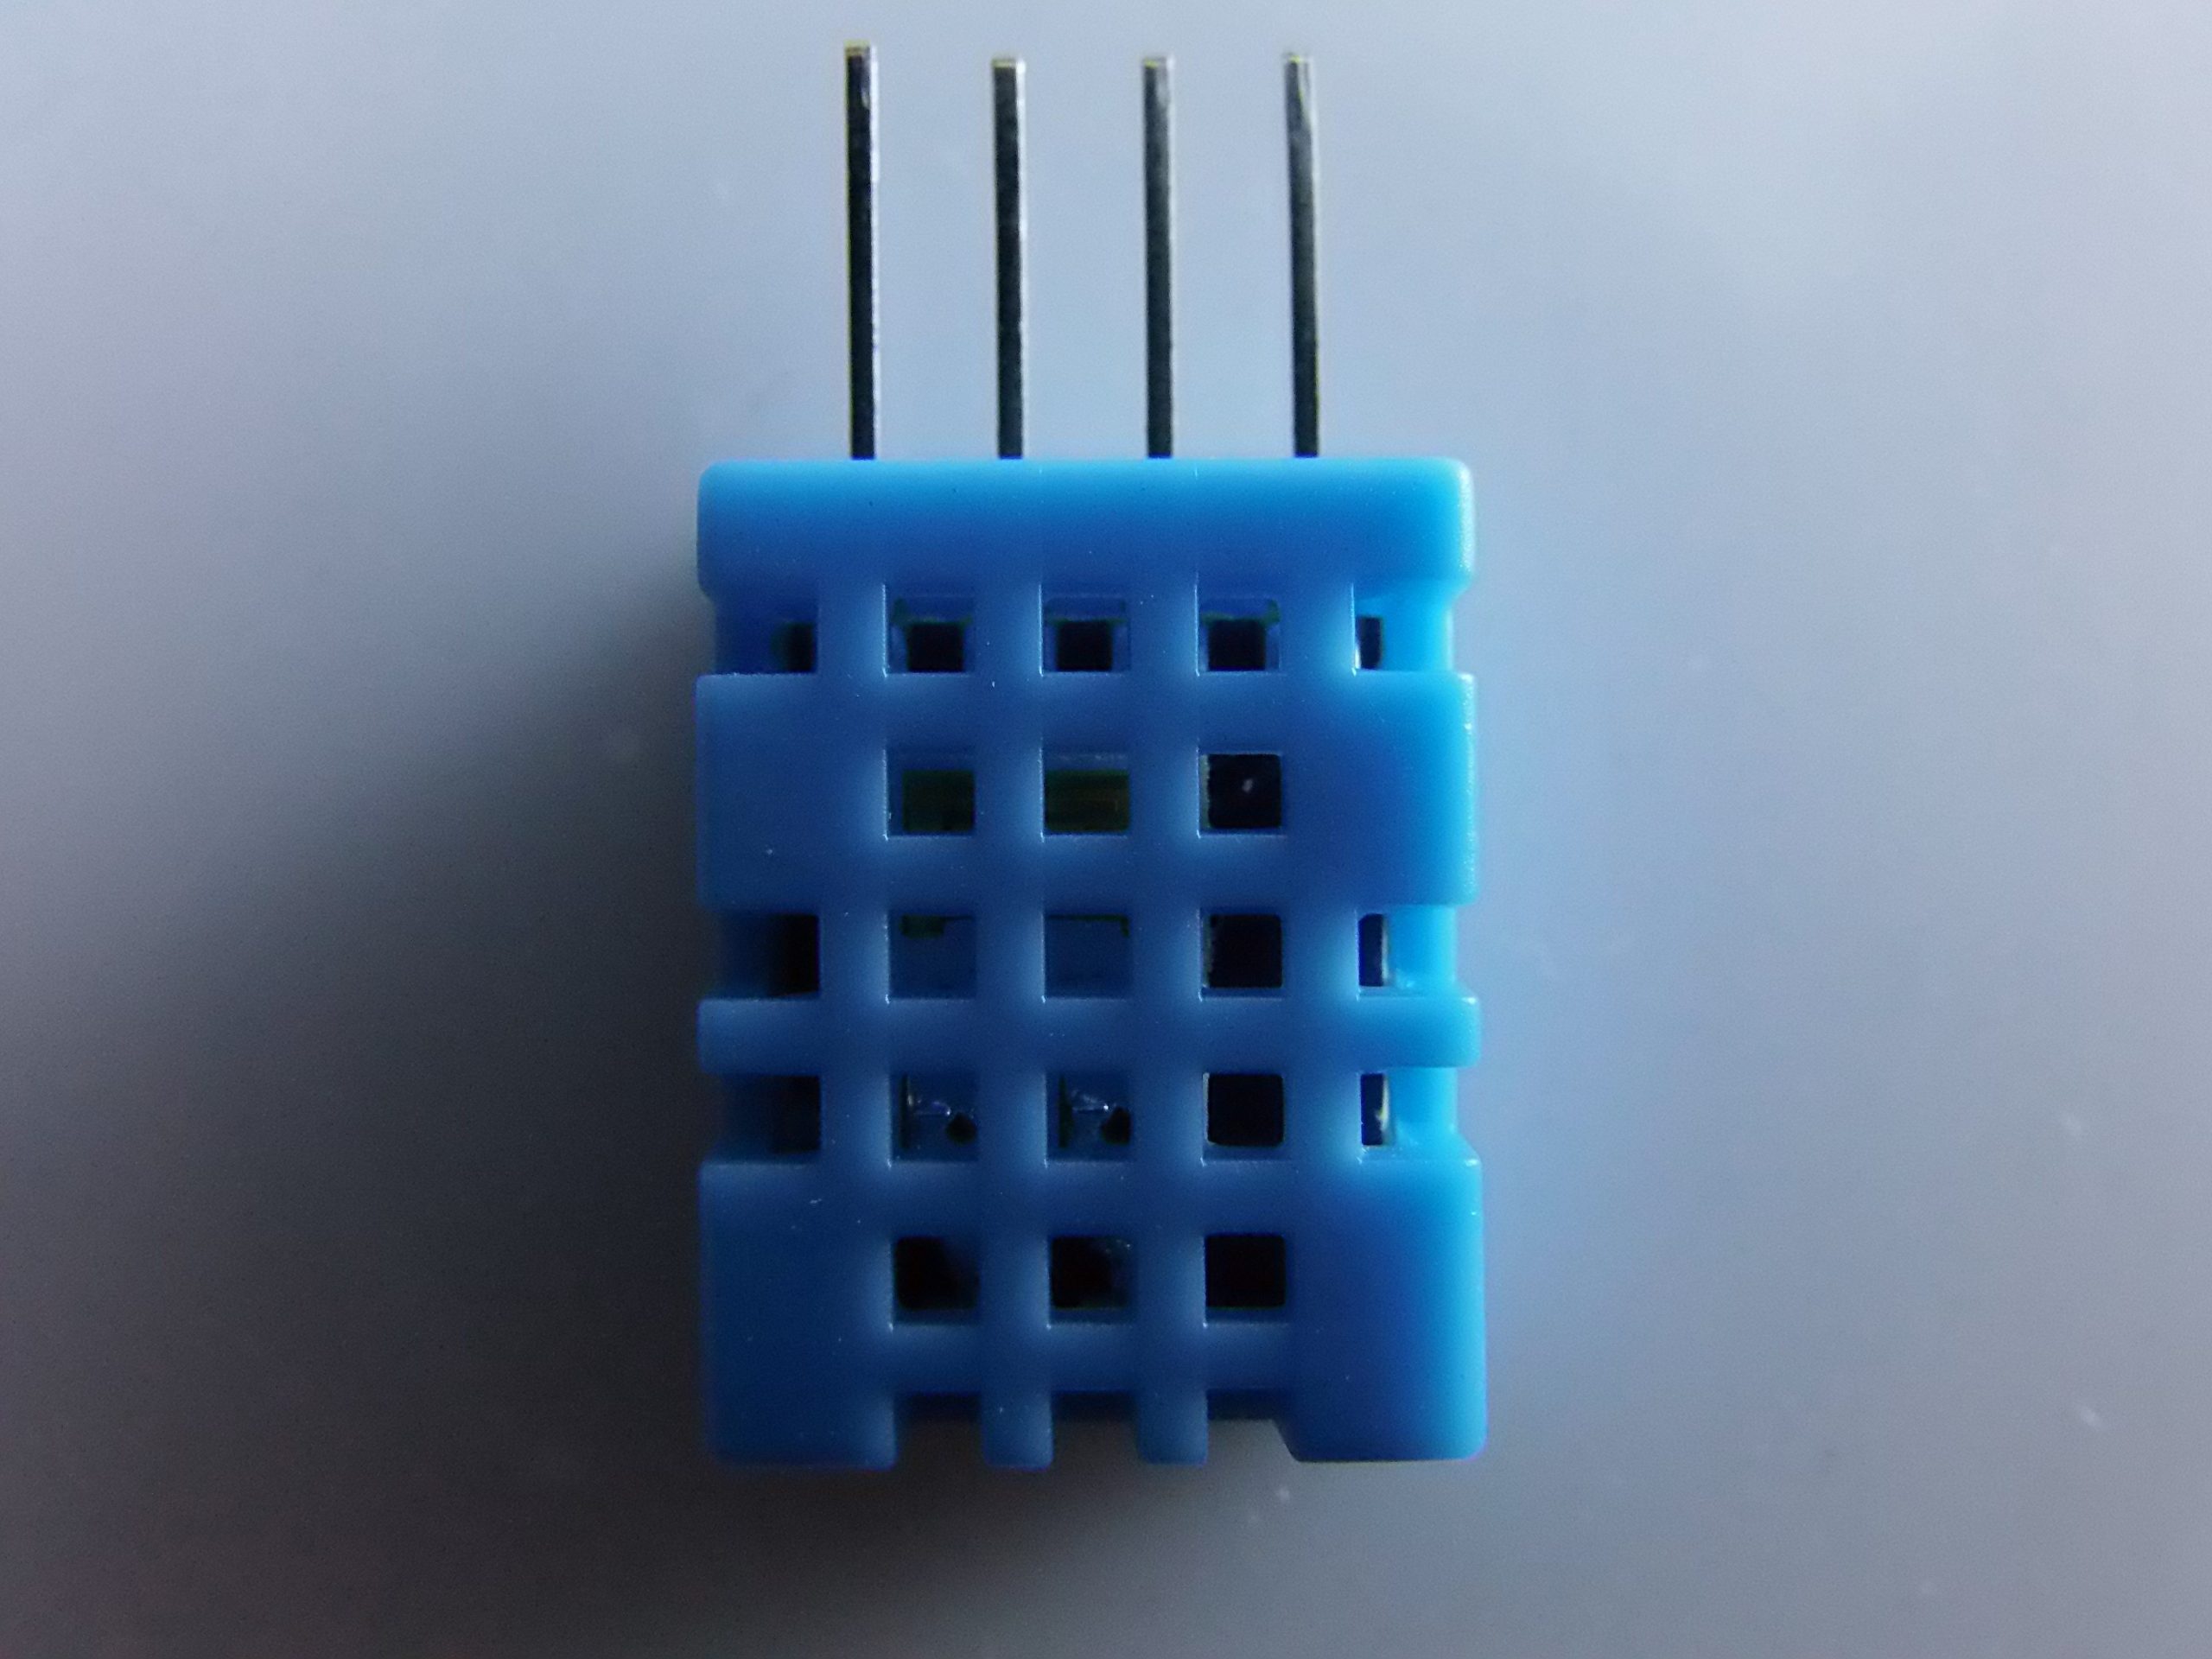
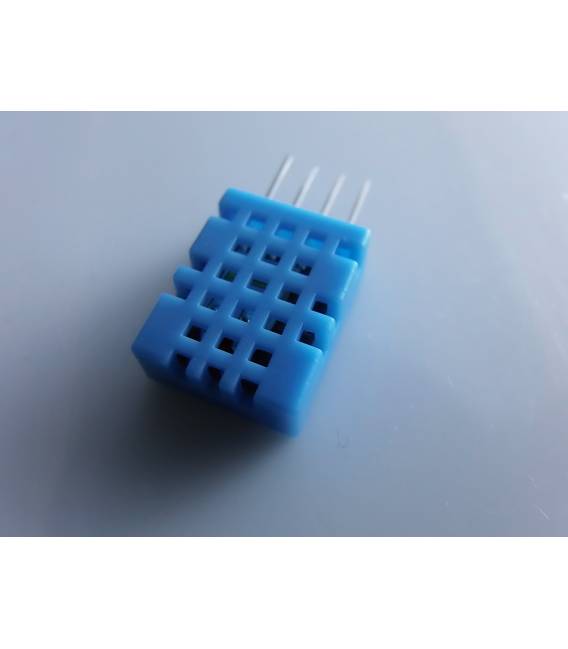
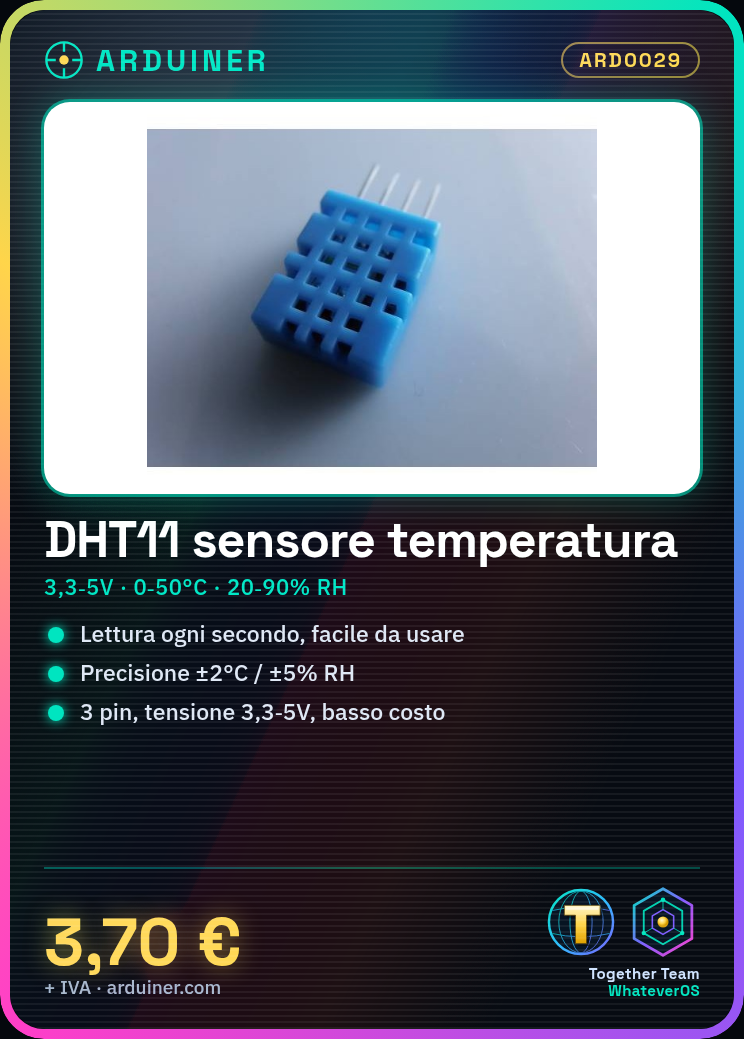
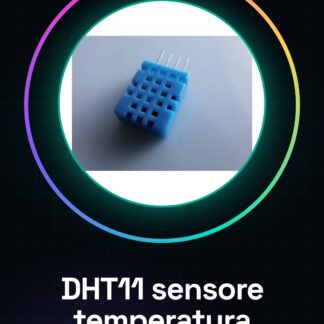
The DHT11 is a digital temperature and humidity sensor widely used in electronics and home automation projects for its ease of use and low cost. It is ideal for non-critical applications where modest accuracy is sufficient.
🧩 Main technical specifications
| Parameter | Specifications |
|---|---|
| Sensor type | Digital (Temperature and Humidity) |
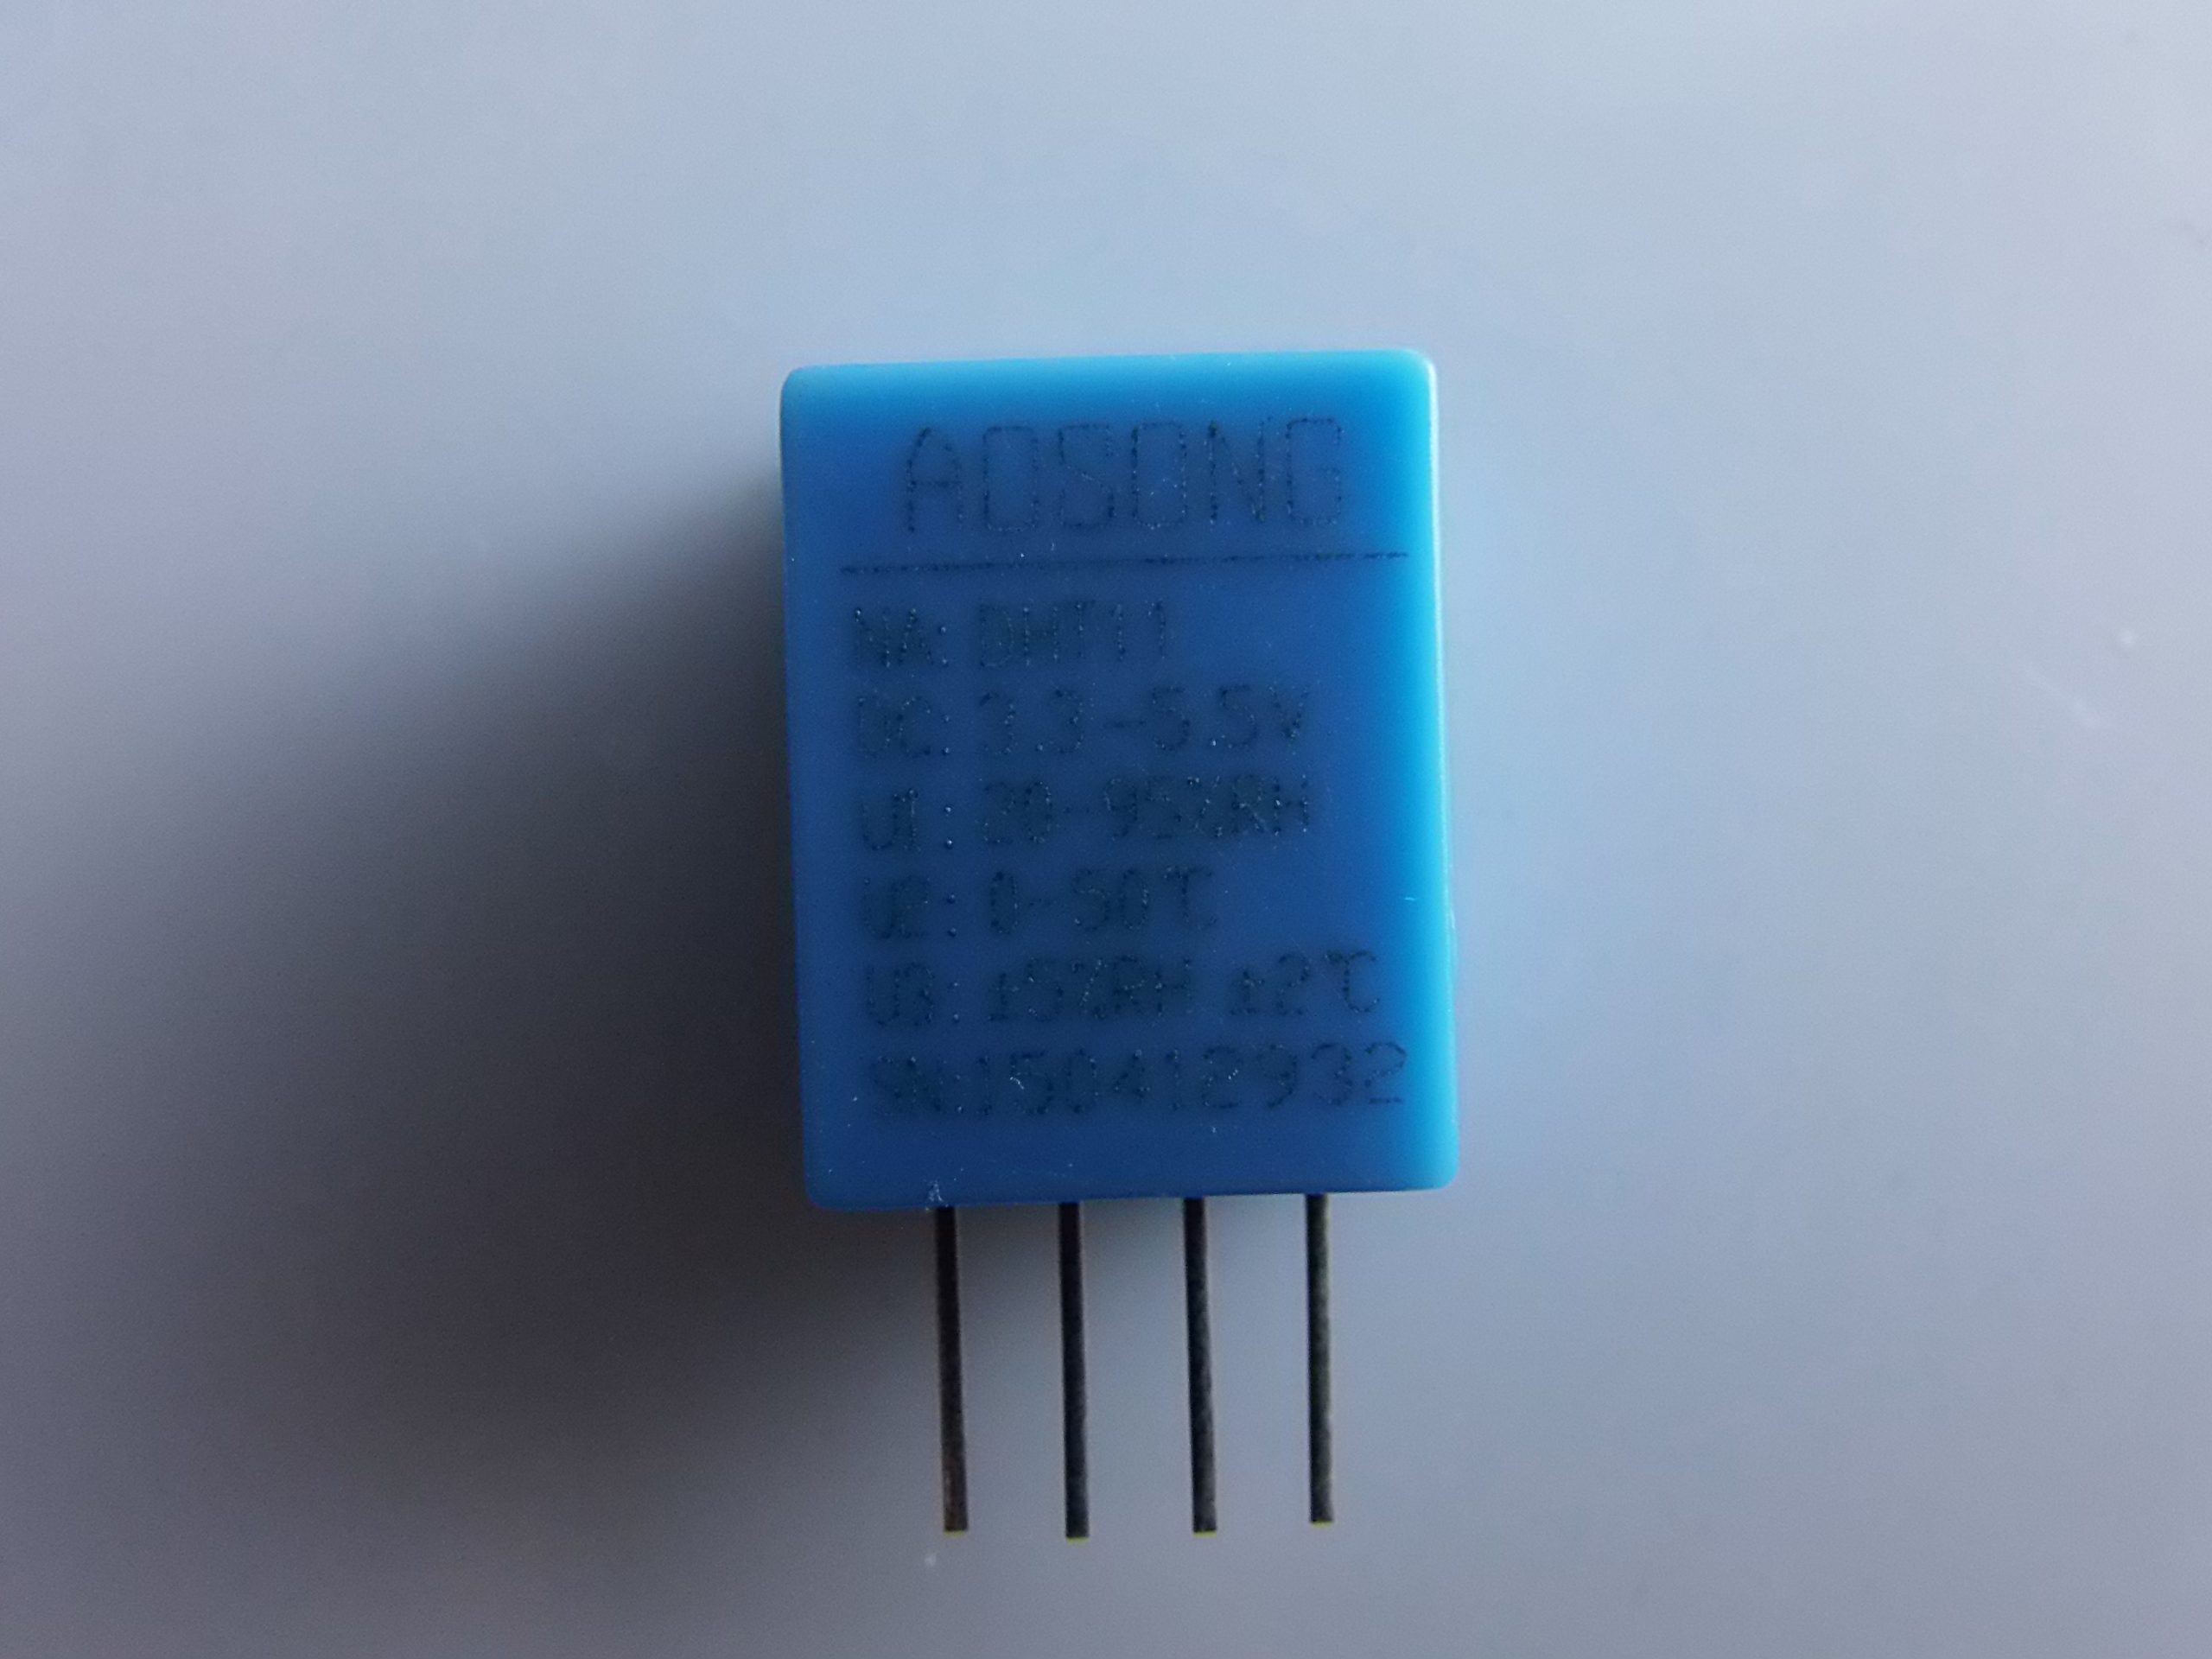
| Operating voltage | 3.3V – 5V DC |
| Humidity range | 20% – 90% RH, ±5% |
| Temperature range | 0°C – 50°C, ±2°C |
| Sampling time | 1 Hz (1 reading per second) |
| Output | Digital signal (proprietary protocol) |
| Pins | VCC, DATA, GND |
⚙️ Connecting the DHT11 to Arduino
The DHT11 has 3 or 4 pins, but in the most common standard modules you will find:
- VCC: connect to 5V of Arduino
- GND: connect to GND of Arduino
- DATA (OUT): connect to a digital pin (e.g., D2)
📌 Note: In some modules, the 4.7kΩ pull-up resistor is already included, otherwise you will need to add it between VCC and DATA.
📷 Connection diagram (3-pin module)
DHT11 Arduino
------ -------
VCC ─────► 5V
DATA ─────► D2
GND ─────► GND
🛠️ Required software and library
To simplify the interface, you can use the official library:
✅ Install library
- Open the Arduino IDE
- Go to Sketch > Include Library > Manage Libraries
- Search for DHT sensor library by Adafruit and install it
- Also install Adafruit Unified Sensor
🧪 Basic code example with Arduino
#include "DHT.h"

#define DHTPIN 2 // Pin collegato al pin DATA del DHT11
#define DHTTYPE DHT11 // Tipo di sensore (DHT11)

DHT dht(DHTPIN, DHTTYPE);

void setup() {
 Serial.begin(9600);
 dht.begin();
 Serial.println("Sensore DHT11 avviato...");
}

void loop() {
 delay(2000); // intervallo di lettura (2 secondi)

 float h = dht.readHumidity();
 float t = dht.readTemperature();

 // Controllo errori
 if (isnan(h) || isnan(t)) {
 Serial.println("Errore nella lettura dal DHT11!");
 return;
 }

 Serial.print("Umidità: ");
 Serial.print(h);
 Serial.print(" %t");
 Serial.print("Temperatura: ");
 Serial.print(t);
 Serial.println(" °C");
}
🔧 Practical tips
- Wait at least 2 seconds between one reading and the next, the sensor is not very fast.
- Use a 4.7kΩ pull-up resistor between VCC and DATA if not present on the module.
- Avoid extending wires too much: the signal can degrade (use shielded cables if necessary).
- Ideal for indoor use in non-critical environments (e.g., rooms, hobby greenhouses). (es. stanze, serre hobbistiche).
💡 Simple projects with DHT11
- Home climate monitoring (with LCD display)
- Weather station with datalogger (writing to SD card)
- Control of fans/humidifiers (automated)
- Web visualization with ESP8266/ESP32
🔚 Conclusion
The DHT11 is an economical and useful sensor for starting to work with environmental data on Arduino. It does not have the accuracy of the DHT22 or professional sensors, but it is great for learning and for hobbyist applications.
If you want, I can provide you with an example using an LCD display, sending data over the Internet (via ESP), data logging, or automatic control. Let me know!
|
GENERAL |
MODEL |
DHT11 |
|
MATERIALS |
metal + components |
|
|
COMPATIBILITY |
ARDUINO |
|
|
ELECTRICAL COMPONENTS |
INPUT VOLTAGE |
1.5 – 6 V |
|
WEIGHT AND DIMENSIONS |
PRODUCT WEIGHT |
7 g |
|
PACKAGE WEIGHT |
0.085 kg |
|
|
PRODUCT DIMENSIONS (L x W x H) |
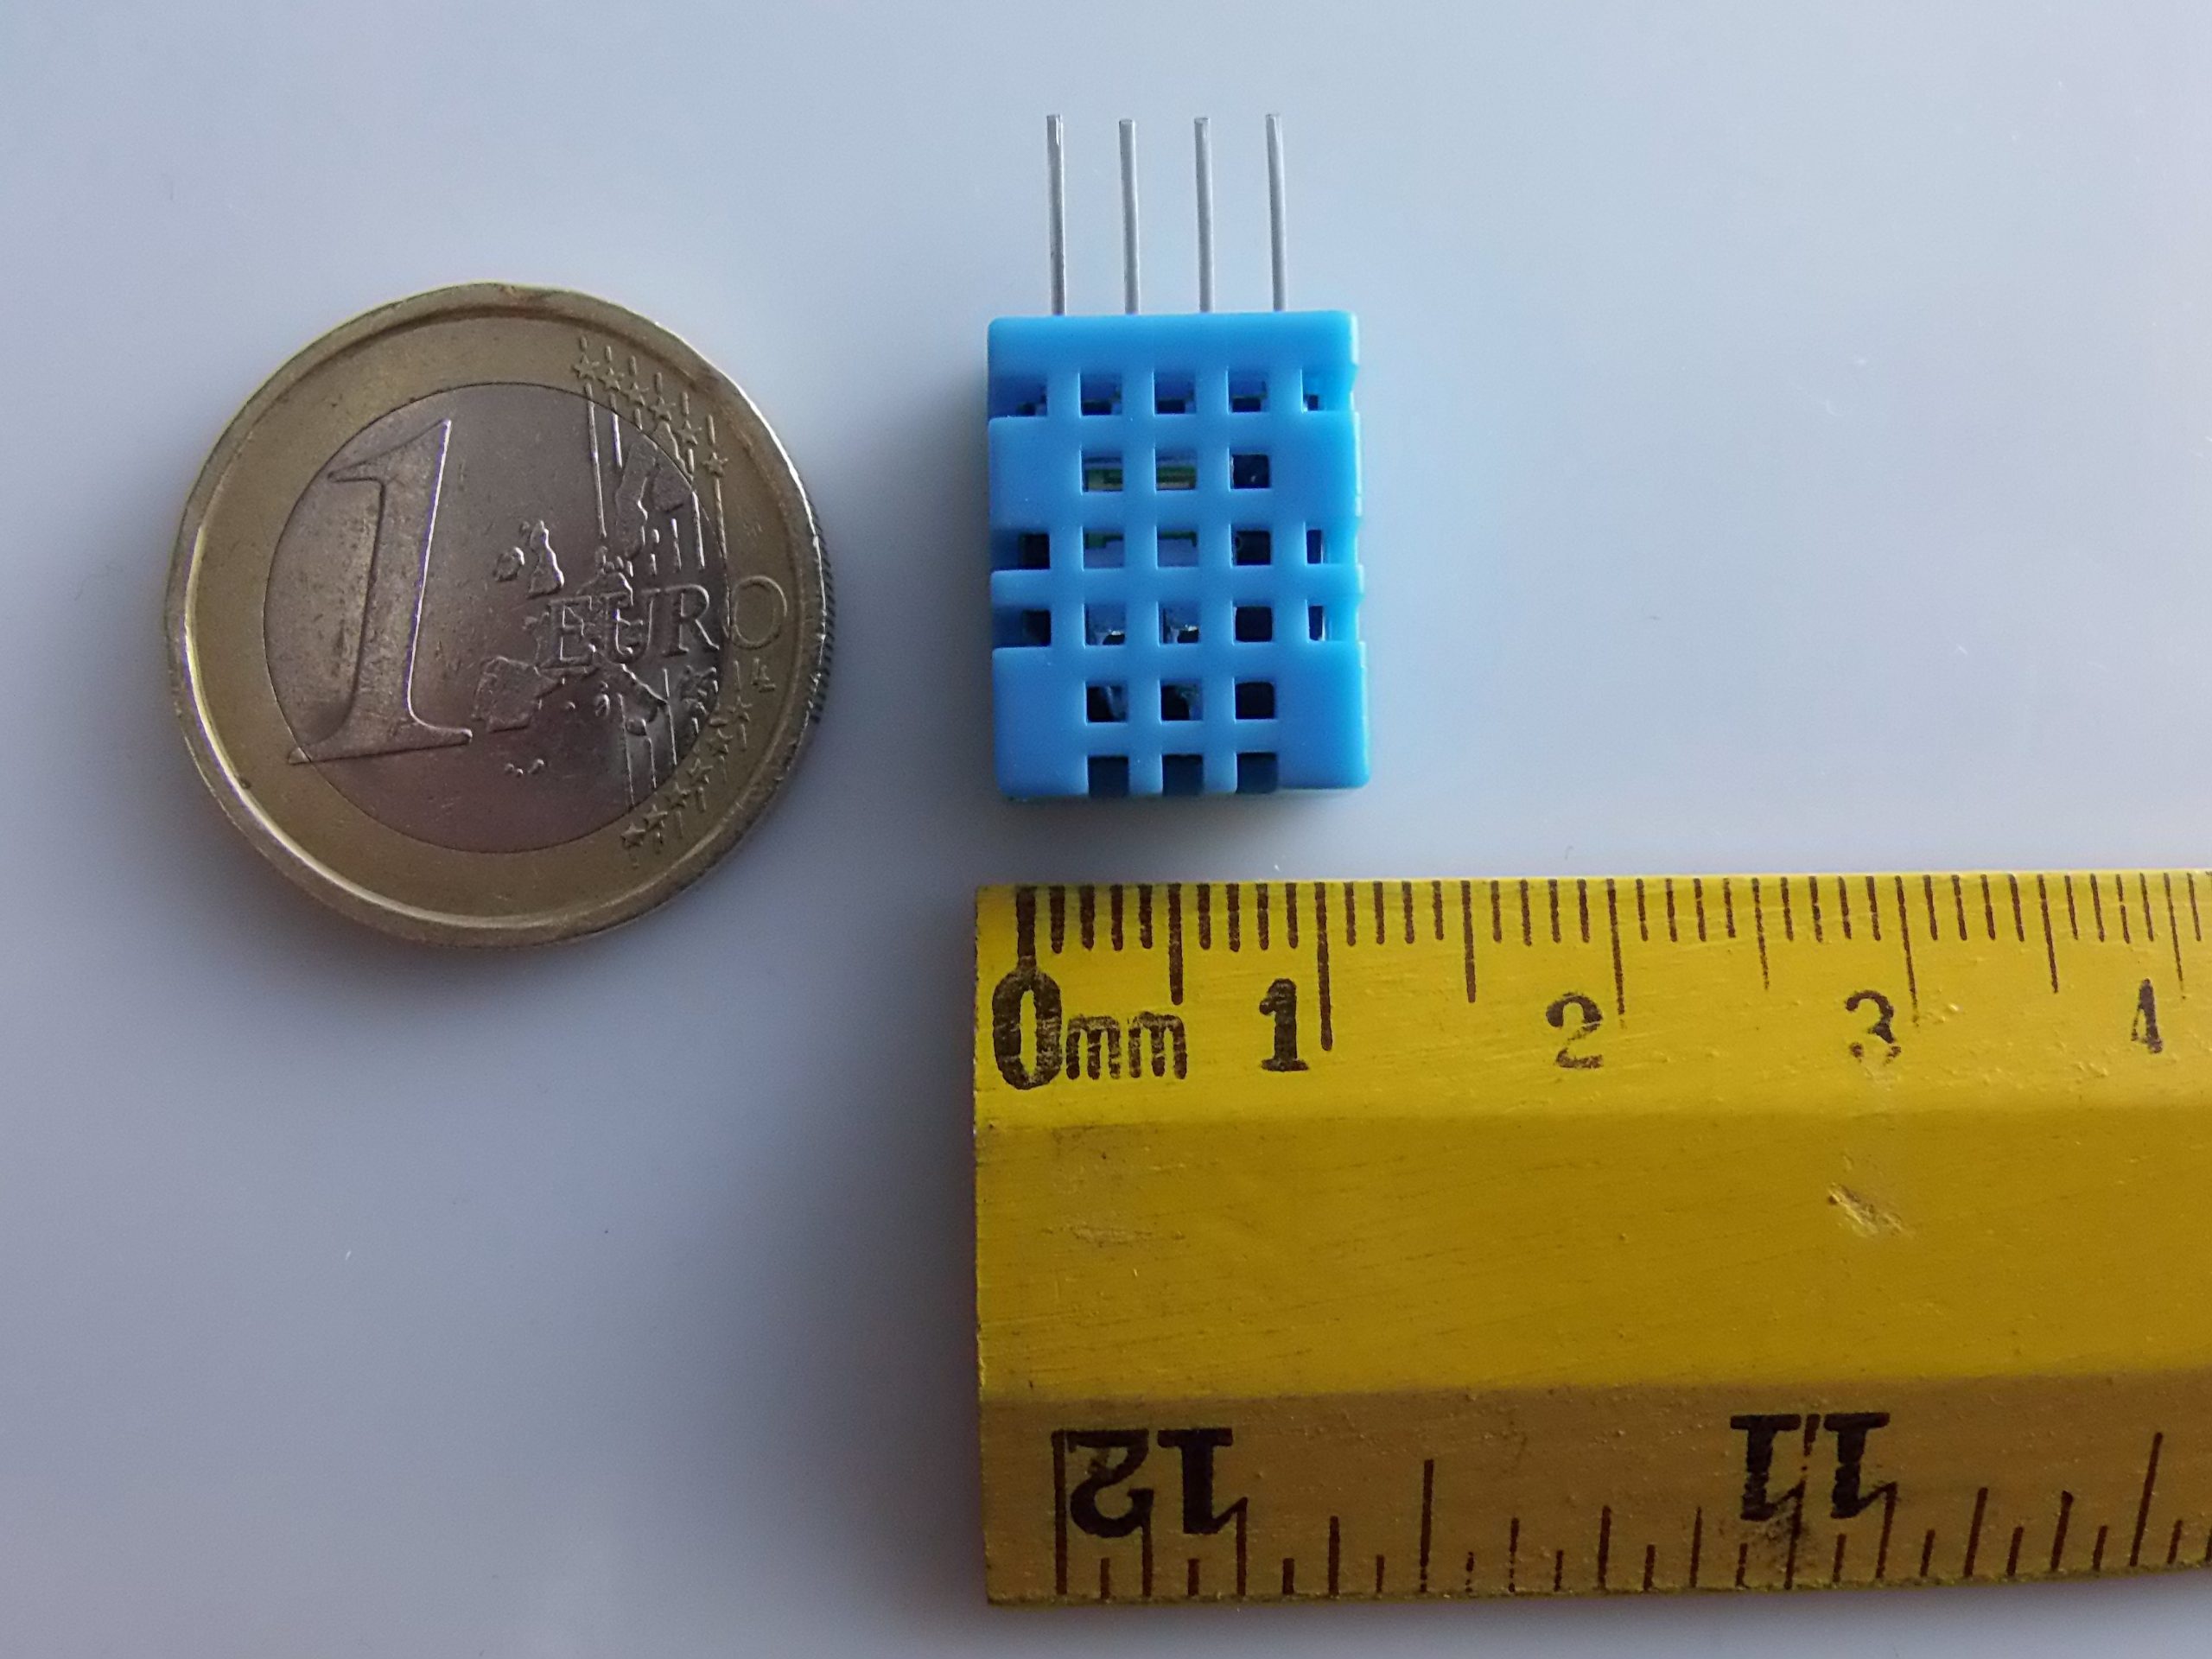
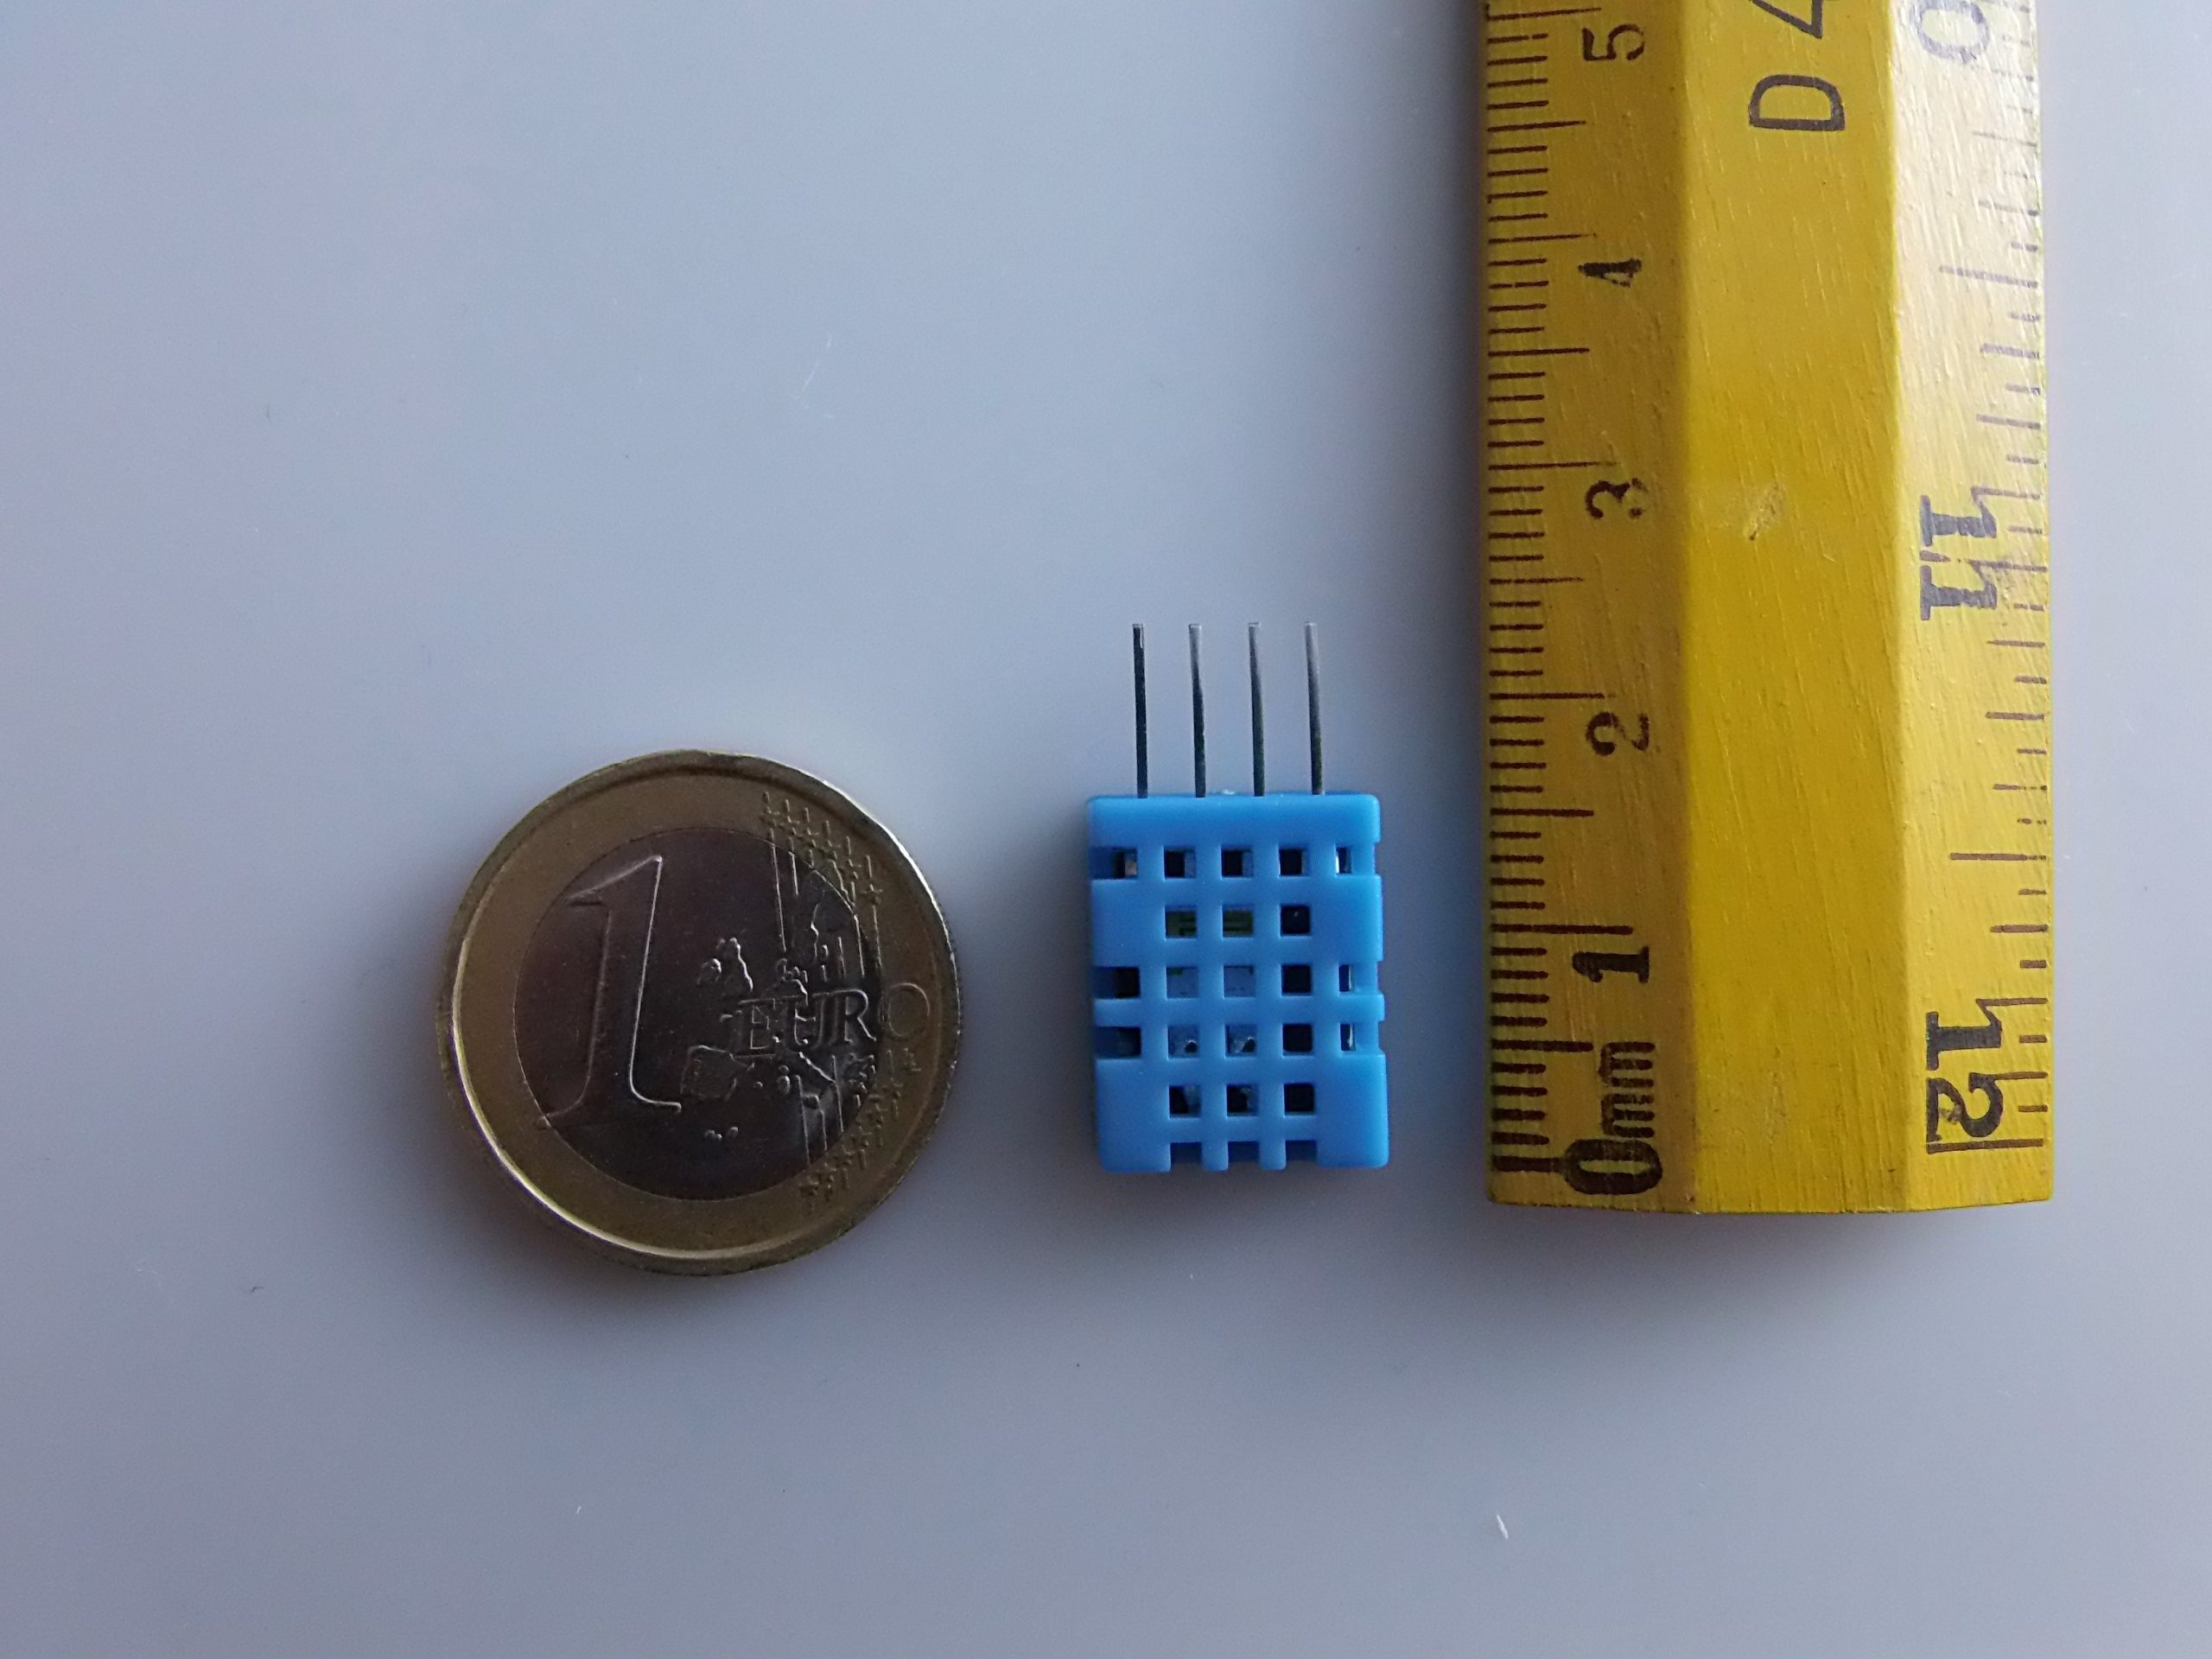
1.2 x 2.5 x 0.4 cm |
|
|
PACKAGE DIMENSIONS (L x W x H) |
2 x 3 x 1 cm |
|
|
CONTENTS OF THE PACKAGE |
CONTENTS OF THE PACKAGE |
1 x Module |
We have available the technical sheet of all components, should it not be present in the product download card, send us a message through the contact us form and we will publish it as soon as possible on our website.
Tutorial: How to use DHT11 Temperature and Humidity Sensor
The DHT11 temperature and humidity sensor is a simple but useful component for Arduino projects. Ideal for beginners, it allows you to measure air humidity and ambient temperature.
What you need
- Arduino Uno or compatible
- USB Type B cable
- Arduino IDE software
Steps
- Connect the DHT11 data pin to a digital pin on the Arduino.
- Check that the power supply voltage is 3.3V or 5V as specified in the datasheet.
- Install the Adafruit_DHT library in the Arduino IDE.
- Upload the example sketch provided by the library to your Arduino.
- Open the Serial Monitor in Arduino IDE to see the data received from the sensor.
Example code
const int DHTPIN = 2; // Definisci il pin di connessione del DHT11
#include "DHT.h"
#define DHTTYPE DHT11 // Tipo di sensore
DHT *dht;
dht = new DHT(DHTPIN, DHTTYPE);
float humidity = dht->readHumidity();
float temperature = dht->readTemperature();
Mini project
Create an alarm system that sends a notification via email or Telegram when the temperature exceeds a certain value.
Common mistakes
- The sensor does not respond: check the connections and power supply.
- The readings are incorrect: it may be necessary to update the firmware of the sensor or the library.
- Library issues: make sure it is installed correctly.
Recommended accessories
- Arduino Uno
- 3D Print Case for Arduino
- ESP8266 Wi-Fi Module
Frequently asked questions
Is the DHT11 sensor suitable for measuring humidity and temperature outdoors?
Yes, but make sure the connection is not exposed to the elements.
Can I use other types of sensors with this sketch?
No, use specific libraries for each type of sensor like DHT11 or DHT22.
Reviews
There are no reviews yet.