 EN
 IT Italiano
 ES Español
 FR Français
 DE Deutsch
Description
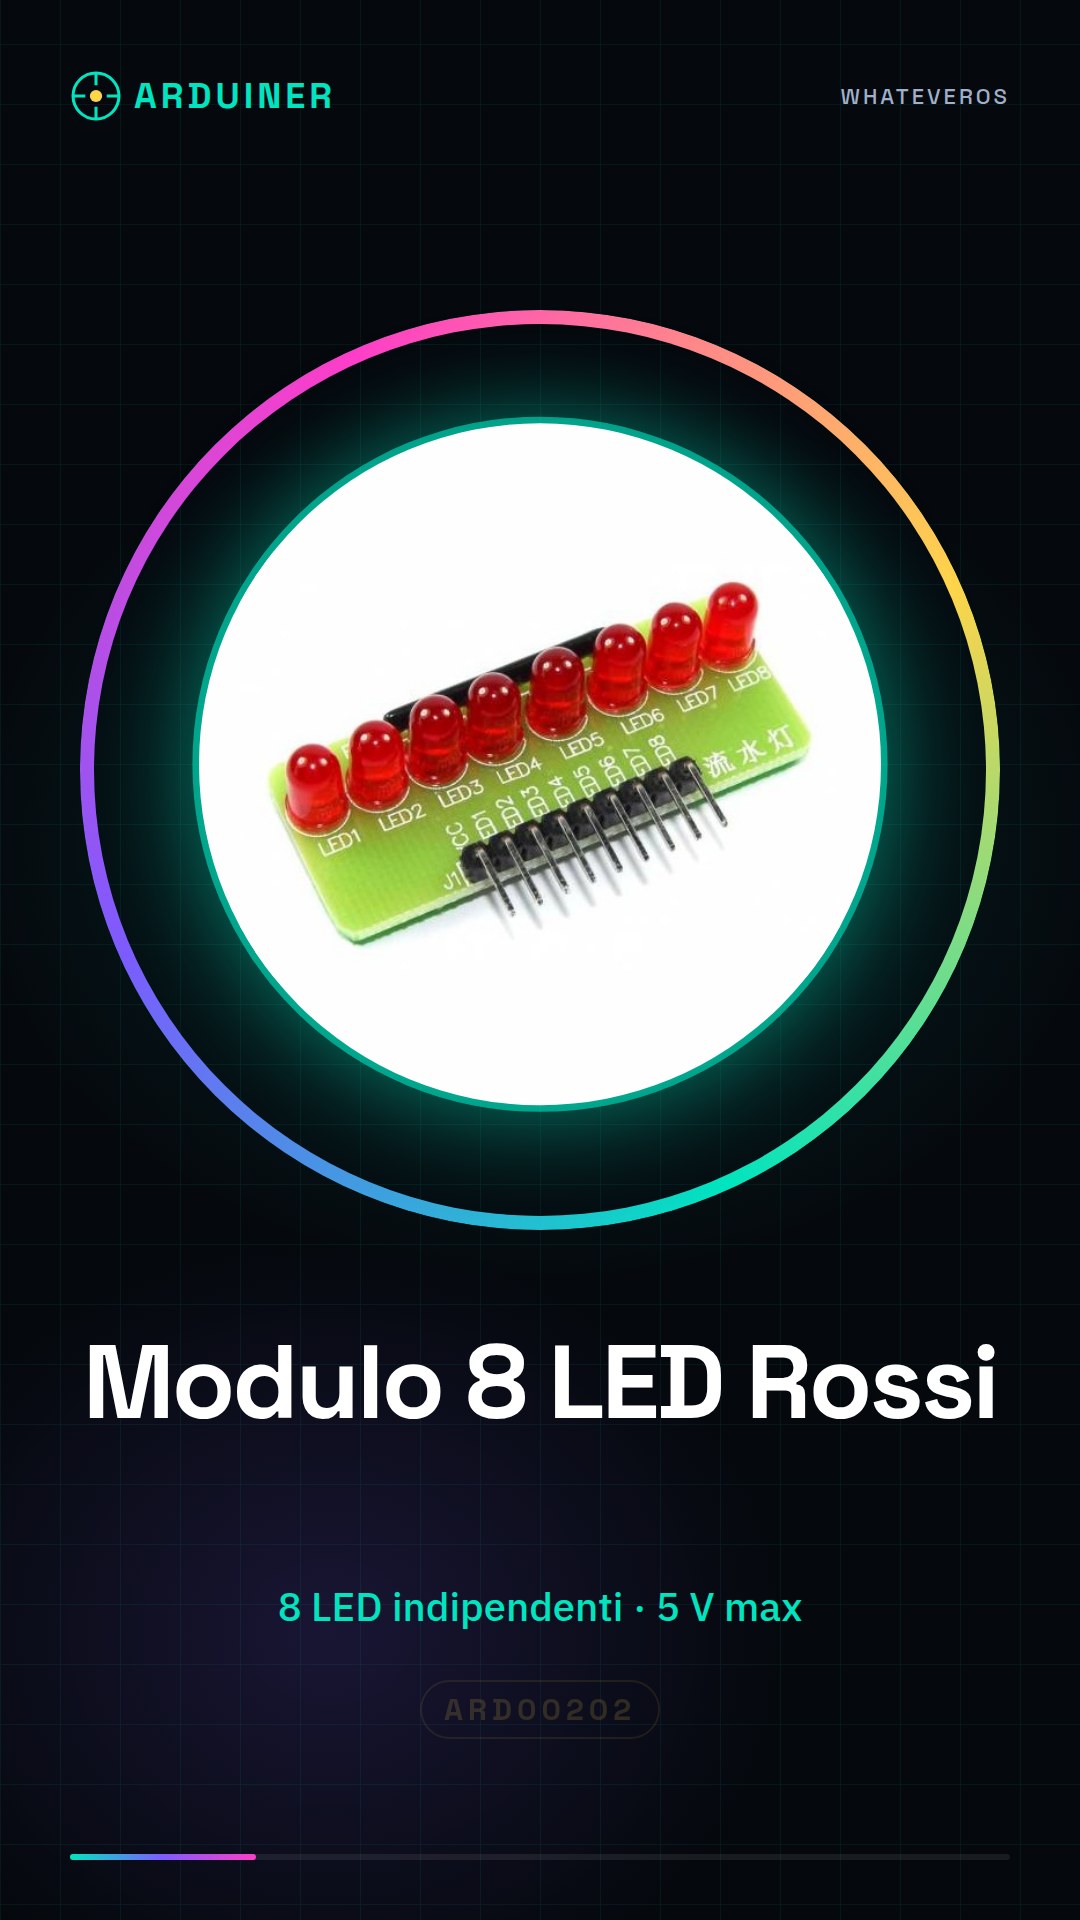
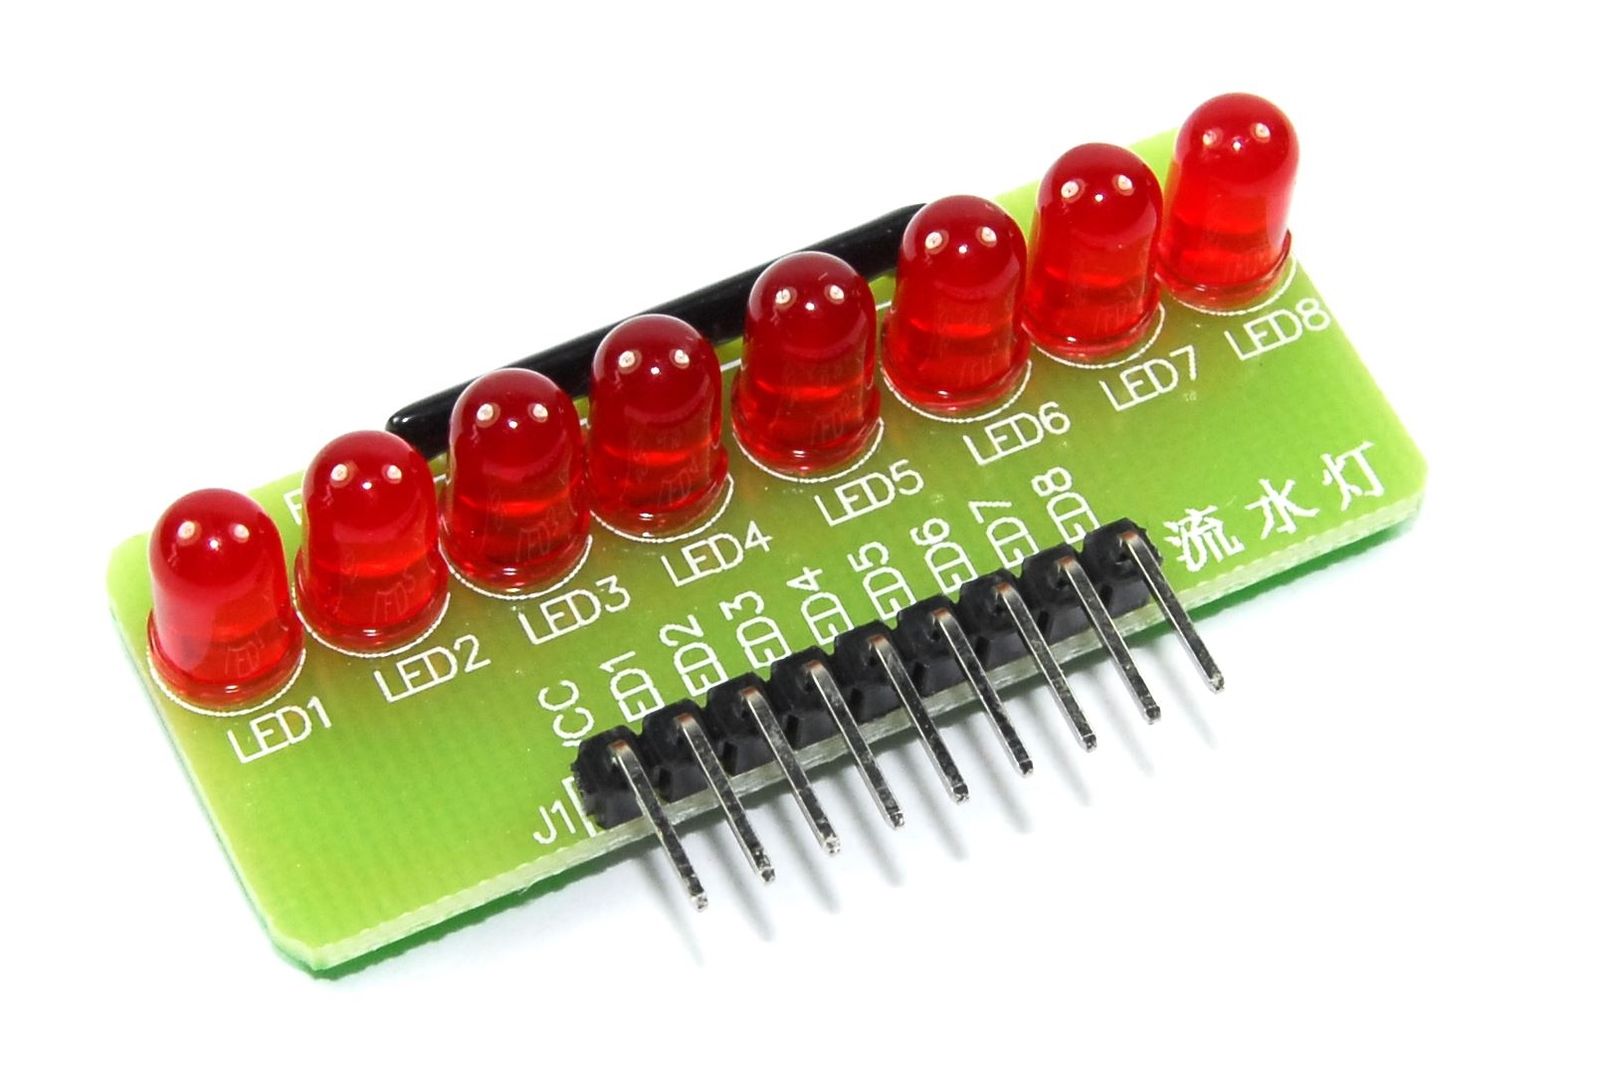
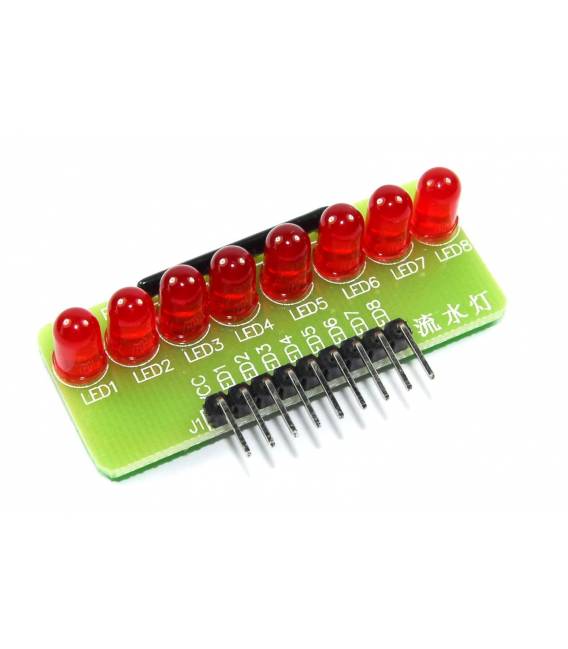
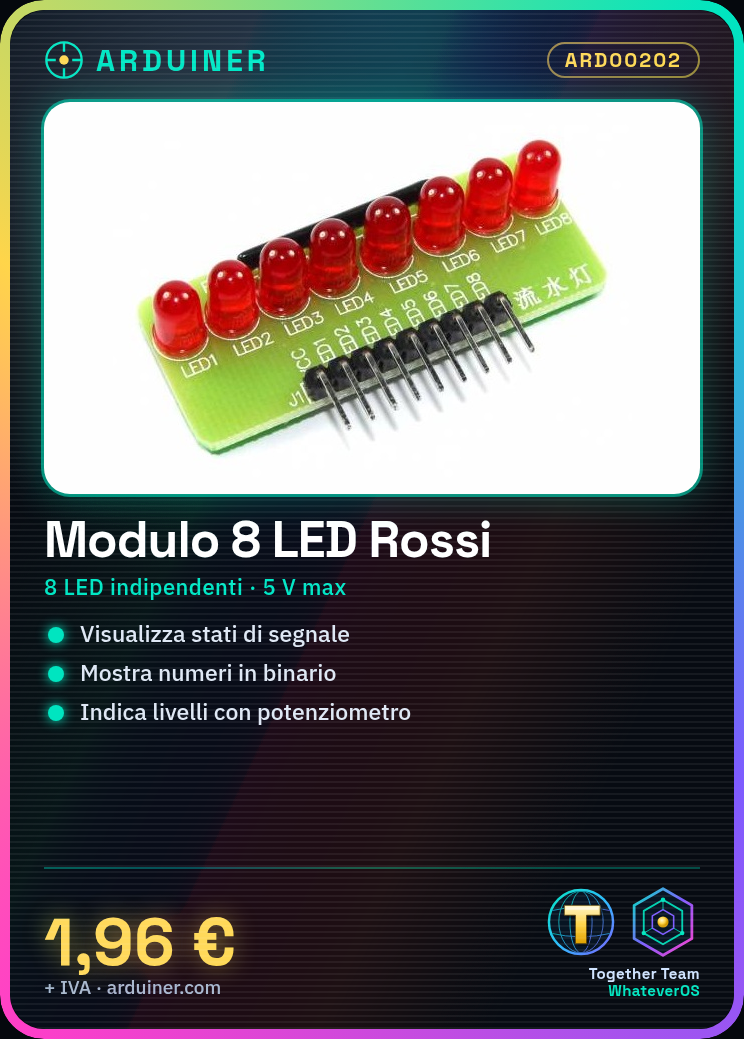
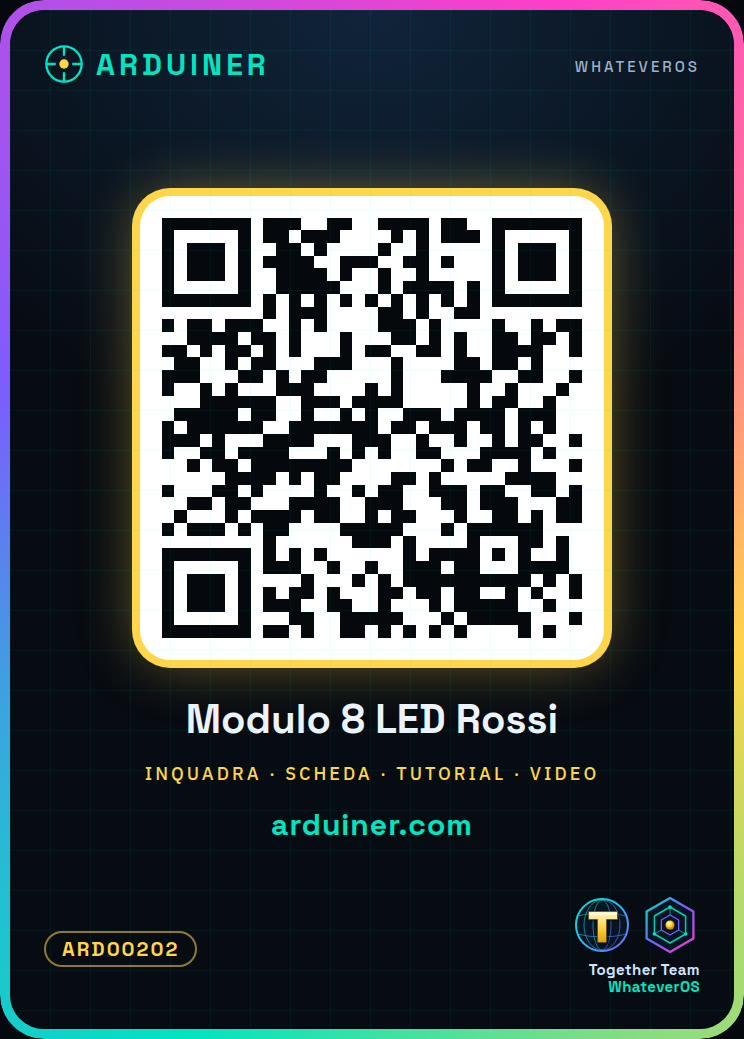
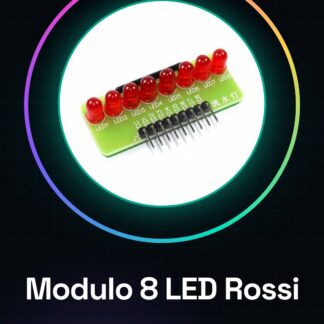
8 Independent Red 5mm LEDs Module for Arduino The module contains 8 independent LEDs, suitable for use as an information display. These can be used to show: – Signal statuses – Responses to stimuli received from the program – Binary number displays – Level visualizations (see potentiometer) Technical specifications: – 8 independent LEDs – LEDs connected to a common cathode – Voltage up to 5V with LEDs having internal resistance, or higher voltages with external current-limiting resistor Connection method: 1. A 9-pin connector with 2.54mm spacing a. Pin-1 Power Supply b. Pin-2 Cathode of LED-1 c. Pin-3 Cathode of LED-2 d. Pin-4 Cathode of LED-3 e. Pin-5 Cathode of LED-4 f. Pin-6 Cathode of LED-5 g. Pin-7 Cathode of LED-6 h. Pin-8 Cathode of LED-7 i. Pin-9 Cathode of LED-8 Details: 1. PCB Dimensions: 47mm (length) * 19mm (width) * 1.6mm (thickness) 2. LED: 5mm red-red red diode 3. 470 ohm exclusion resistor Included in the shipment: 1. Empty PCB 2. 9 red LEDs of 2.5mm (spare) 3. 9-pin 470 ohm resistor 4. Single-row 9-pin connector (2.54mm pitch) We have datasheets for all components, if not available in the product download sheet, please contact us via the contact form and we will publish it as soon as possible on our website. Tutorial: How to Use the 8 Independent Red LEDs Module The 8 independent red LEDs module is ideal for beginners and makers who want to add visual indicators to their Arduino projects. This component can be used to display various states or conditions of the device. What you need: Arduino Uno USB Type B cable Power supply Steps Connect the LED module to pin 2 of the Arduino (check the datasheet for the correct pin positions). Ensure the module’s power supply is connected to the appropriate source (+5V and GND) on the Arduino. Open Arduino IDE and upload the provided tutorial sketch. Configure the on/off time for each LED in the code (check the datasheet). Test the on/off functionality of individual LEDs according to the project logic. Modify the code to implement more complex features such as lighting sequences or special effects. Implement a sensor (such as a button) to control the on/off functionality of the LEDs. Verify that the LEDs respond correctly to sensor commands.
Reviews
There are no reviews yet.