 EN
 IT Italiano
 ES Español
 FR Français
 DE Deutsch
Description
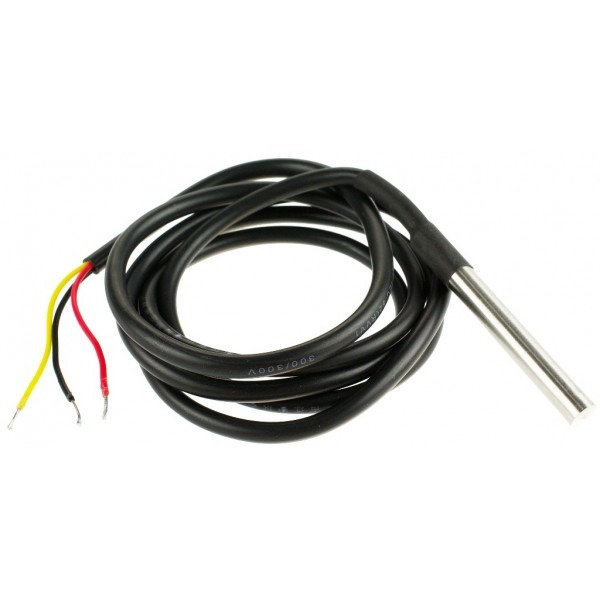
Here is a detailed description of the DS18B20 Waterproof Temperature Probe Moduleaccompanied by a comprehensive guide on how to use it with Arduinoincluding connection examples and programming code.
🌡️ Waterproof DS18B20 Temperature Probe – Digital Temperature Sensor for Arduino
✅ General Description
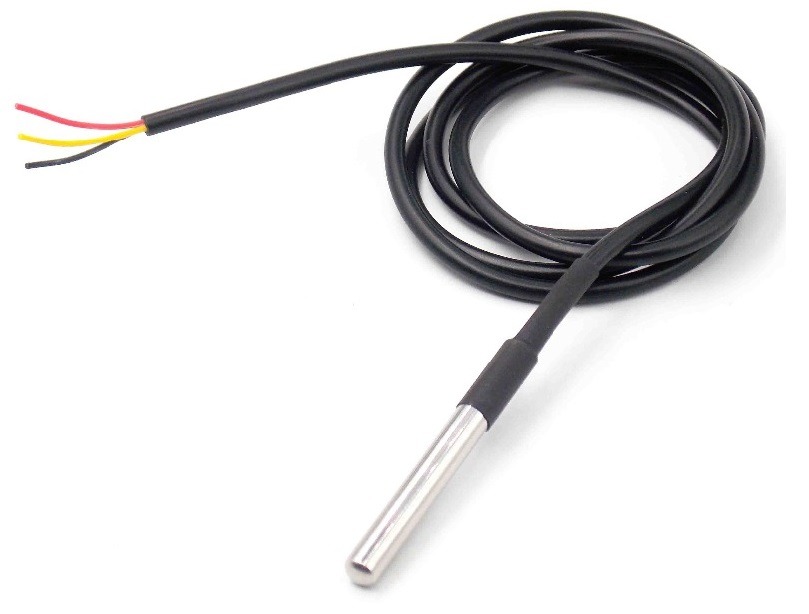
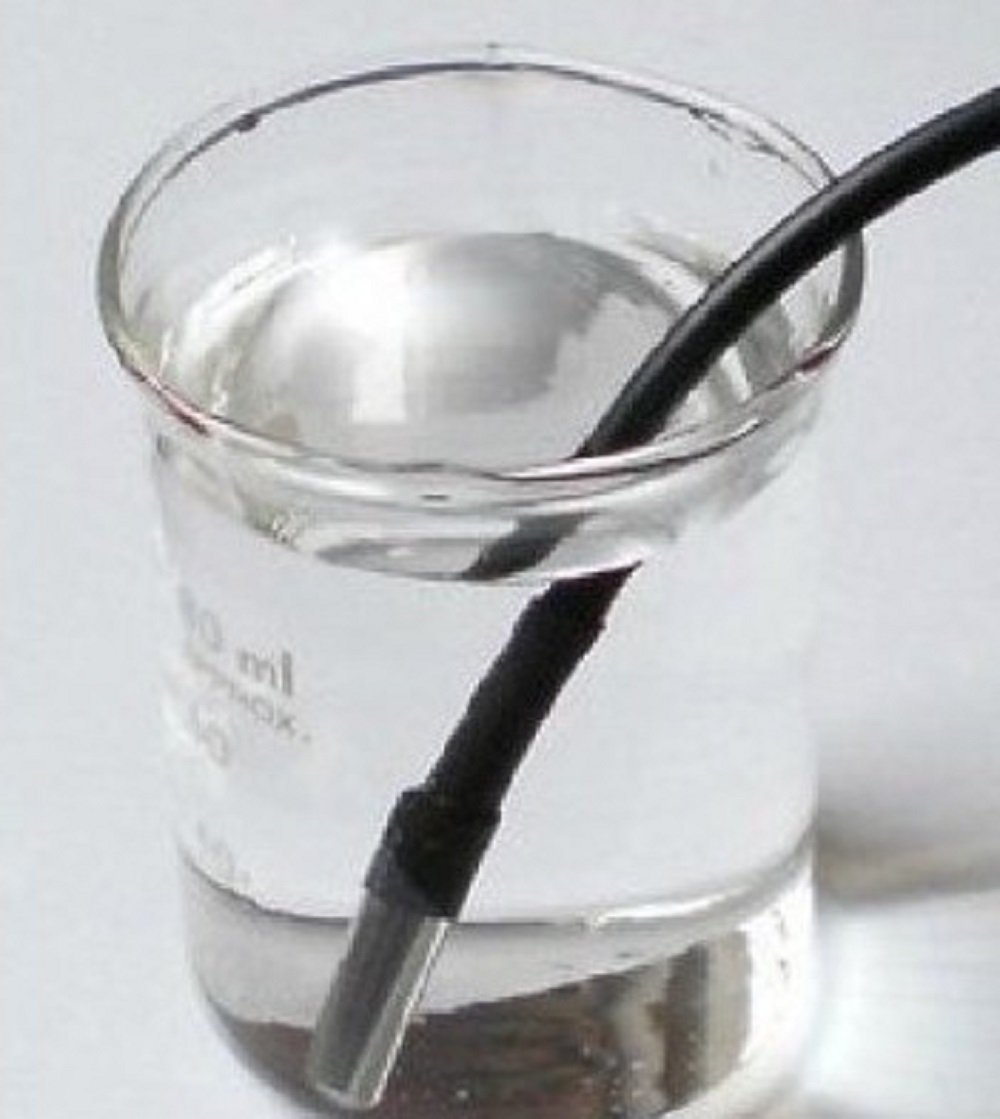
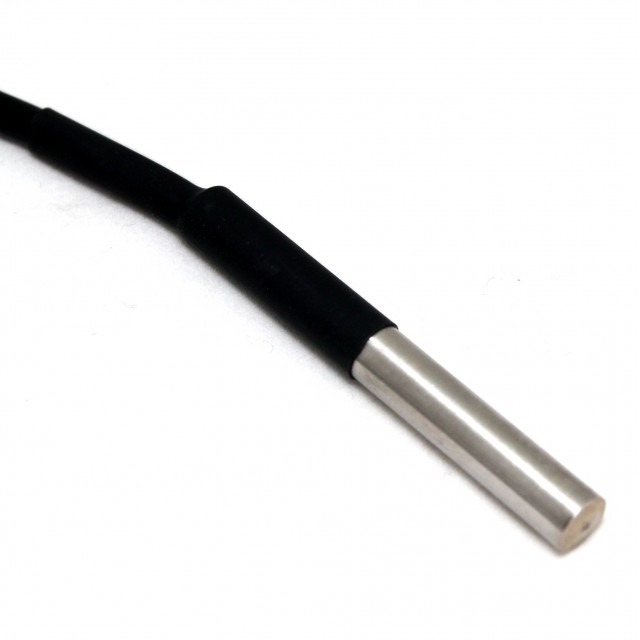
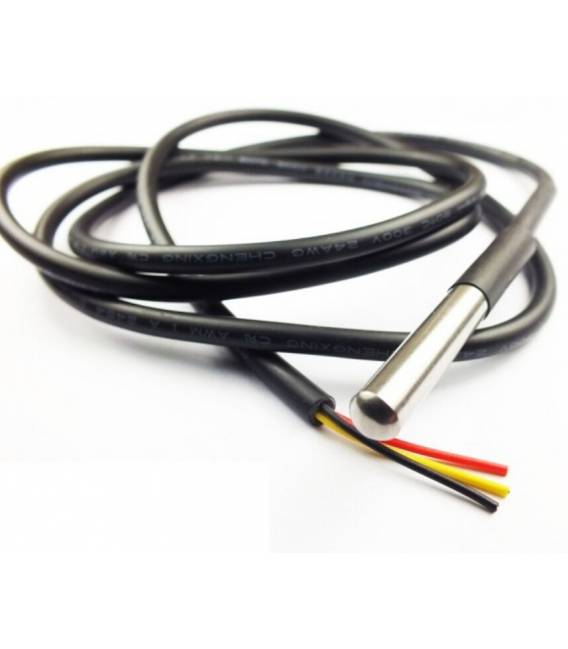
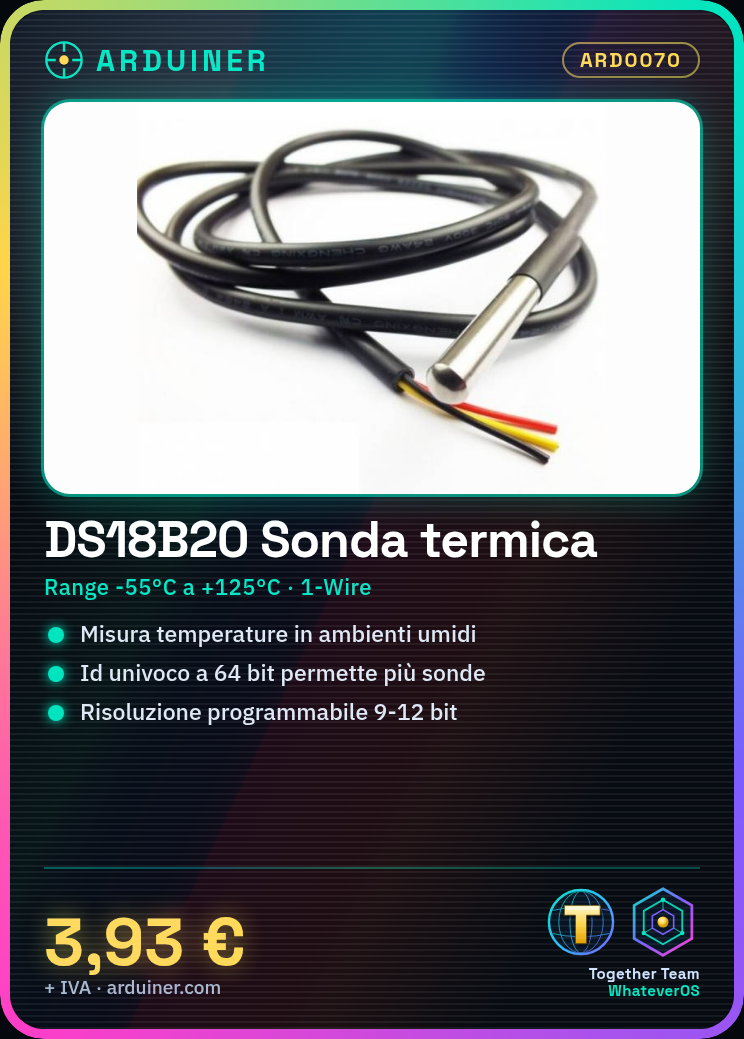
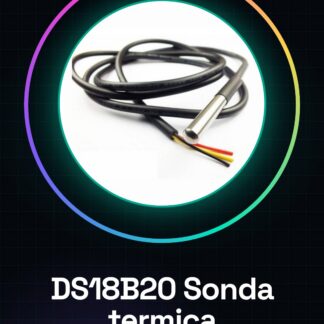
The DS18B20 is a waterproof digital temperature probe that measures temperature with high precision over a wide range (-55°C to +125°C). Encapsulated in a stainless steel tube and equipped with a cable, it is ideal for measurements in wet or liquid environmentssuch as:
- Water
- Ground
- Heating Systems
- Aquariums
⚙️ Technical Specifications
| Feature | Value |
|---|---|
| Internal Sensor | DS18B20 Digital |
| Temperature Range | from -55°C a +125°C |
| Accuracy | ±0.5°C (from -10°C to +85°C) |
| Resolution | Programmable: 9–12 bit |
| Protocol | 1-Wire |
| Power Supply | 3.0 – 5.5V |
| Output | Digital (1-Wire, not analog) |
| Typical cable length | 90–100 cm (varies by seller) |
| Waterproof | Yes (stainless steel 304 or 316) |
📌 Each DS18B20 sensor has a Unique ID of 64 bits, so you can connect multiple of them to the same Arduino pin!
🧪 Connection to Arduino Board
🧰 Required Material
- Waterproof DS18B20 probe
- 1 4.7 kΩ resistor
- Arduino Uno, Nano, Mega, etc.
- Breadboard and jumpers
🔌 Connection Diagram
| Probe Wire | Connection |
|---|---|
| Black | GND |
| Red | 5V |
| Yellow | Data (e.g., D2) |
Important: connect a 4.7 kΩ resistor between the data pin (yellow) and 5V (pull-up), otherwise the sensor will not work correctly.
💻 Arduino Programming
📦 Required Libraries
Install the following libraries from Arduino IDE → Library Manager:
- OneWire by Paul Stoffregen
- DallasTemperature by Miles Burton
📜 Base Code – Reading Temperature from a DS18B20
#include <OneWire.h>
#include <DallasTemperature.h>

// Pin dati della sonda collegato al pin D2
#define ONE_WIRE_BUS 2

// Setup comunicazione OneWire
OneWire oneWire(ONE_WIRE_BUS);
DallasTemperature sensors(&oneWire);

void setup() {
  Serial.begin(9600);
  sensors.begin(); // inizializza i sensori
}

void loop() {
  sensors.requestTemperatures(); // richiede la temperatura da tutti i sensori
  float tempC = sensors.getTempCByIndex(0); // legge la temperatura del primo sensore trovato
  Serial.print("Temperatura: ");
  Serial.print(tempC);
  Serial.println(" °C");
  delay(1000);
}
🧠 Deep Dives and Useful Functions
🔄 Multiple Sensors on the Same Pin
Each DS18B20 has a unique ID: you can read it with sensors.getAddress() and then use it to read the temperature from a specific sensor.
📏 Set Resolution
sensors.setResolution(12); // valori validi: 9, 10, 11, 12 (più bit = maggiore precisione, ma lettura più lenta)
🔋 Advantages of the DS18B20
- ✅ Digital output stable and accurate
- ✅ Great for humid or liquid environments
- ✅ Support for multiple sensors in parallel (thanks to the 1-Wire protocol)
- ✅ Simple and widely supported code
📚 Application Examples
- 🌡️ Soil or greenhouse temperature monitoring
- 💧 Liquid Monitoring (water, beer, wine, etc.)
- 🐟 Aquarium Temperature Control
- 🔥 Boiler or Heating Control
- 🧪 IoT or Data Logging Projects with microSD or WiFi
🛠 Practical Tips
- Use heat shrink tubing or waterproof connectors if extending the cable.
- If powering the sensor from 3.3V (e.g., on ESP32), ensure the cable length is limited (to avoid voltage drops).
- You can power the DS18B20 in parasitic mode, but normal powering is recommended for reliability.
✅ Conclusion
The waterproof DS18B20 probe is one of the most versatile, accurate, and easy-to-use temperature sensors more versatile, precise, and easier to use with Arduino. It is ideal for:
- Use in outdoor or liquid environments
- Multiple projects on a single pin
- IoT temperature applications
✅ 1. Integration with LCD or OLED displays
Option A: 16×2 LCD Display with I2C
🔧 Hardware:
- DS18B20
- 16×2 LCD Display with I2C adapter
- Arduino Uno/Nano
- 4.7kΩ resistor
📦 Libraries:
LiquidCrystal_I2COneWire,DallasTemperature
📜 Basic code available:
#include <Wire.h>
#include <LiquidCrystal_I2C.h>
#include <OneWire.h>
#include <DallasTemperature.h>

#define ONE_WIRE_BUS 2
OneWire oneWire(ONE_WIRE_BUS);
DallasTemperature sensors(&oneWire);
LiquidCrystal_I2C lcd(0x27, 16, 2); // cambia l'indirizzo se necessario

void setup() {
  lcd.init();
  lcd.backlight();
  sensors.begin();
}

void loop() {
  sensors.requestTemperatures();
  float temp = sensors.getTempCByIndex(0);
  lcd.setCursor(0, 0);
  lcd.print("Temp: ");
  lcd.print(temp);
  lcd.print(" C");
  delay(1000);
}
Option B: 128×64 I2C OLED Display (e.g., SSD1306)
📦 Libraries:
Adafruit_SSD1306Adafruit_GFXDallasTemperature,OneWire
📜 Basic code available if you also want custom graphic layouts. Let me know if you want it!
📡 2. Wi-Fi Integration with ESP8266/ESP32 (Remote Monitoring)
Solution A: ESP8266/ESP32 with Local Web Server
📦 Libraries:
WiFiESPAsyncWebServer(oWebServer.h)DallasTemperature,OneWire
📜 Code: ESP creates a web page accessible from PC/smartphone
#include <WiFi.h>
#include <OneWire.h>
#include <DallasTemperature.h>
#include <WebServer.h>

const char* ssid = "TUO_SSID";
const char* password = "TUA_PASSWORD";

#define ONE_WIRE_BUS 4
OneWire oneWire(ONE_WIRE_BUS);
DallasTemperature sensors(&oneWire);
WebServer server(80);

void setup() {
  Serial.begin(115200);
  WiFi.begin(ssid, password);
  while (WiFi.status() != WL_CONNECTED) delay(1000);
  sensors.begin();

  server.on("/", []() {
    sensors.requestTemperatures();
    float t = sensors.getTempCByIndex(0);
    server.send(200, "text/html", "<h1>Temperatura: " + String(t) + " °C</h1>");
  });

  server.begin();
}

void loop() {
  server.handleClient();
}
📲 Open the browser on your smartphone → enter theIP of the ESP module (printed in the Serial Monitor).
Solution B: ESP + Blynk (or Telegram) → Smartphone App
- View real-time temperature
- Add notifications, graphs and logs in the cloud
I can provide you ready-to-use code for Blynk (2.0) if you want apps without writing the interface from scratch.
📁 3. SD Card Storage
🔧 Hardware:
- SD card module (microSD)
- Arduino Uno/Mega
- DS18B20
📦 Libraries:
SD.hSPI.hDallasTemperature,OneWire
📜 Base Code:
#include <SPI.h>
#include <SD.h>
#include <OneWire.h>
#include <DallasTemperature.h>

#define ONE_WIRE_BUS 2
#define SD_CS 10

OneWire oneWire(ONE_WIRE_BUS);
DallasTemperature sensors(&oneWire);
File logFile;

void setup() {
  Serial.begin(9600);
  sensors.begin();
  SD.begin(SD_CS);
}

void loop() {
  sensors.requestTemperatures();
  float temp = sensors.getTempCByIndex(0);

  logFile = SD.open("log.csv", FILE_WRITE);
  if (logFile) {
    logFile.print(millis() / 1000);
    logFile.print(",");
    logFile.println(temp);
    logFile.close();
  }
  delay(5000);
}
📝 Files log.csv ready for Excel/LibreOffice.
📲 4. View Data on Smartphone
Option A: Web Server (ESP)
- Open the module IP in the browser (no app required)
- Customizable HTML layout
Option B: Blynk App 2.0
- Graphical Dashboard: gauge, charts, notifications
- Temperature reading and automation (e.g., “turn on fan if >30°C”)
Option C: Telegram Bot (ESP32/ESP8266)
- Receive temperature messages via Telegram
📦 Complete Project Possible
Smart Temperature Monitor System
✔️ DS18B20 waterproof
✔️ ESP32 with Wi-Fi
✔️ Display on OLED
✔️ Sending to smartphone via Web or Blynk
✔️ Backup on SD card
We have datasheets available for all components, if not present in the product download sheet, send us a message from the contact us module and we will publish it as soon as possible on our website.
Tutorial: How to use DS18B20 Temperature Probe
The DS18B20 temperature probe measures precise temperatures in humid and dry environments. Ideal for humidity and temperature projects.
What you need
- DS18B20 Temperature Probe
- Arduino
- Pull-up resistor (4.7kΩ)
- Connection cable
Steps
- 1. Connect the temperature probe to the DQ pin of the Arduino via the cable.
- 2. Connect the pull-up resistor between the DQ pin and the 5V VCC.
- 3. Connect the GND pin of the probe to the GND of the Arduino.
- 4. Load the provided Arduino code.
- 5. Check the datasheet for measurement accuracy.
- 6. Test the probe with a test application.
- 7. Check the temperature in various environments.
- 8. Configure the temperature alarm if necessary.
Example code
```void loop() { // Leggi la temperatura OneWire ds(DQ); DigitalClock ds; float tempC = ds.getTempC(); Serial.print("Temperatura: "); Serial.print(tempC); Serial.println("°C"); delay(1000);}```Mini project
Build a water tank temperature monitoring system.
Common mistakes
- Forget the pull-up resistor.
- Connect the DQ pin to VCC.
- Do not check the connection before use.
- Set the temperature alarm without configuring it.
Recommended accessories
- Arduino UNO
- 16×2 LCD Display
- 3.7V Battery
- USB Cable
Frequently asked questions
How can I check the connection?
Check that the probe is properly connected and that the pull-up resistor is installed correctly.
What is the measurement accuracy?
Check the datasheet for measurement accuracy.
Can I use this probe with a different microcontroller?
Yes, but verify the compatibility with the DQ pin and the supply voltage.
Reviews
There are no reviews yet.