 EN
 IT Italiano
 ES Español
 FR Français
 DE Deutsch
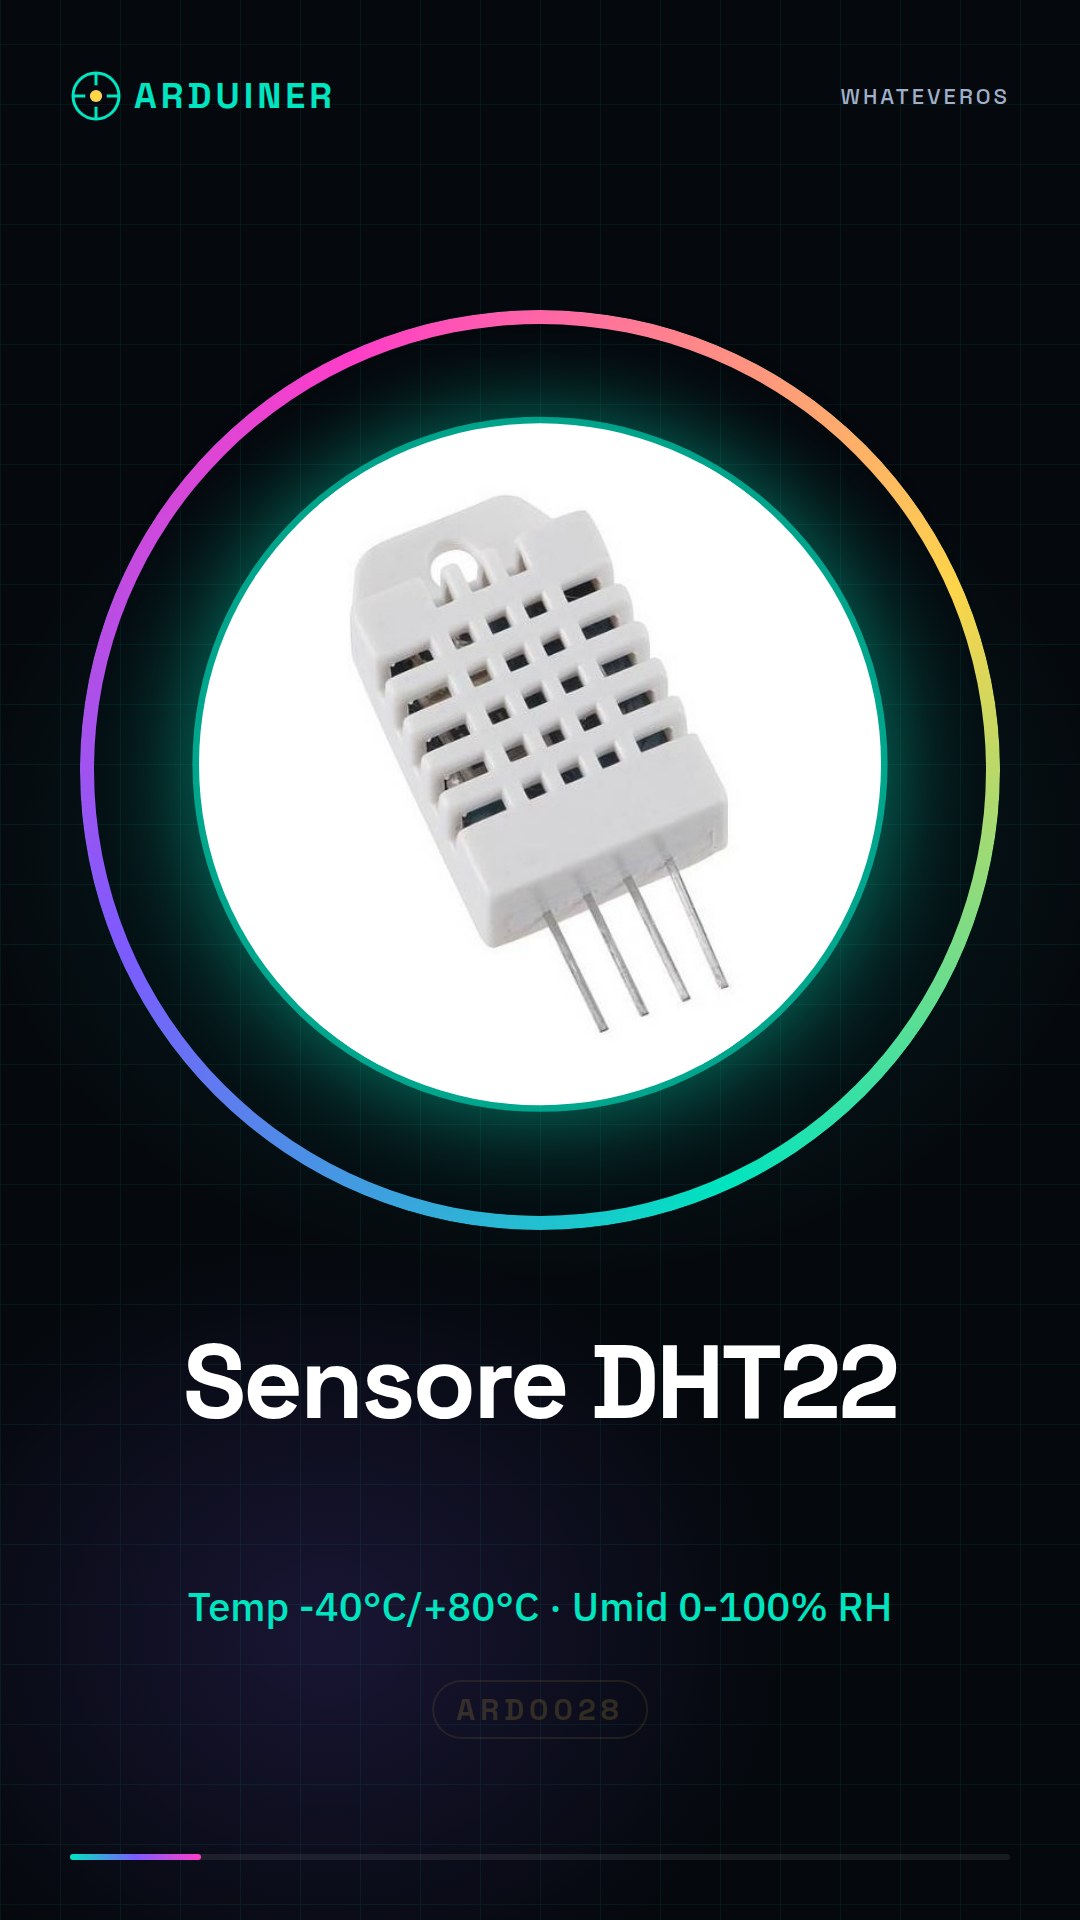
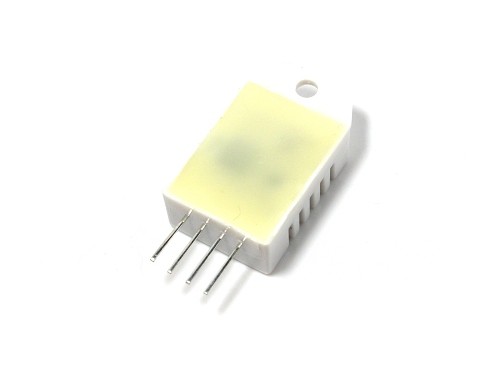
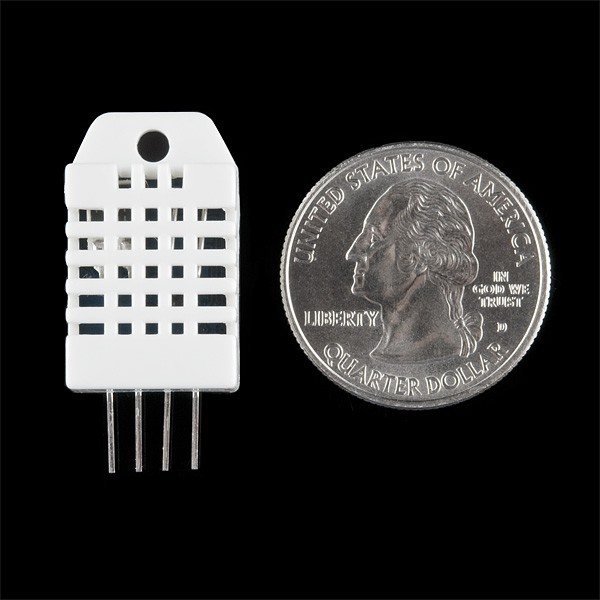
Description
Here is a complete description of the DHT22 module (or AM2302), a guide to using it with Arduino, and some practical programming examples.
✅ COMPLETE DESCRIPTION OF THE DHT22 MODULE
🔹 What is the DHT22?
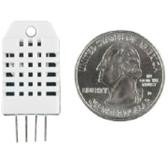
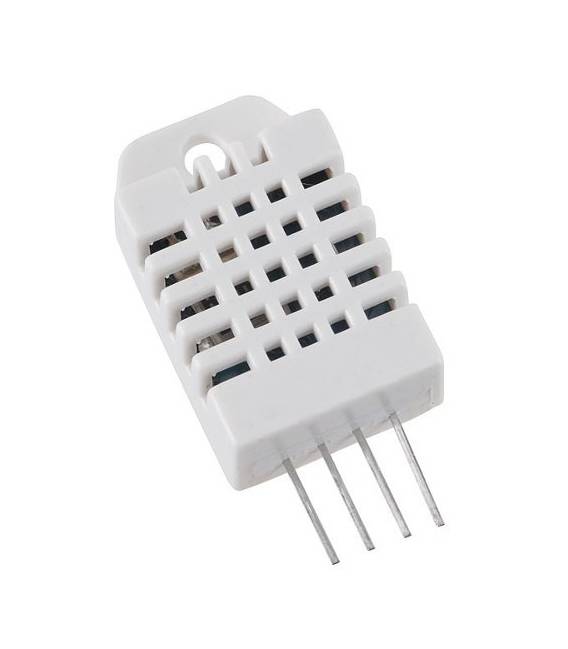
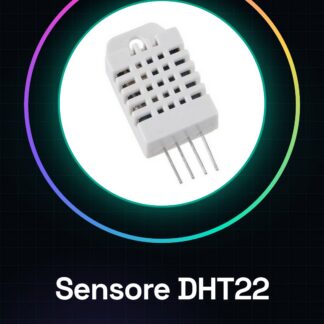
The DHT22 is a digital temperature and humidity sensor. It provides accurate and reliable digital data, making it ideal for environmental monitoring projects with Arduino or other microcontrollers.
🔹 Main technical specifications:
| Parameter | Value |
|---|---|
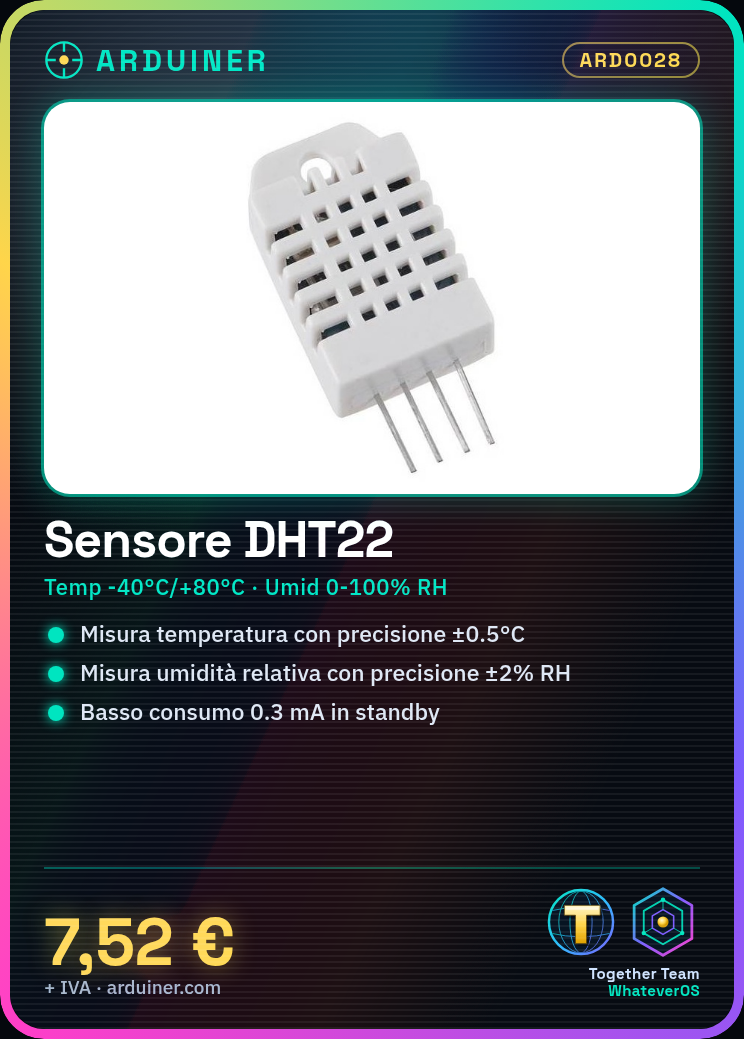
| Temperature | -40°C a +80°C (±0.5°C) |
| Relative Humidity | 0% to 100% RH (±2% RH) |
| Power Supply | 3.3V – 6V |
| Power Consumption | Low (0.3 mA in standby) |
| Interface | Digital, proprietary protocol |
| Reading Frequency | Max 0.5 Hz (1 reading every 2 s) |
| Output Pins | 1 data pin (bidirectional) |
| Shape | Plastic housing, 4 pins |
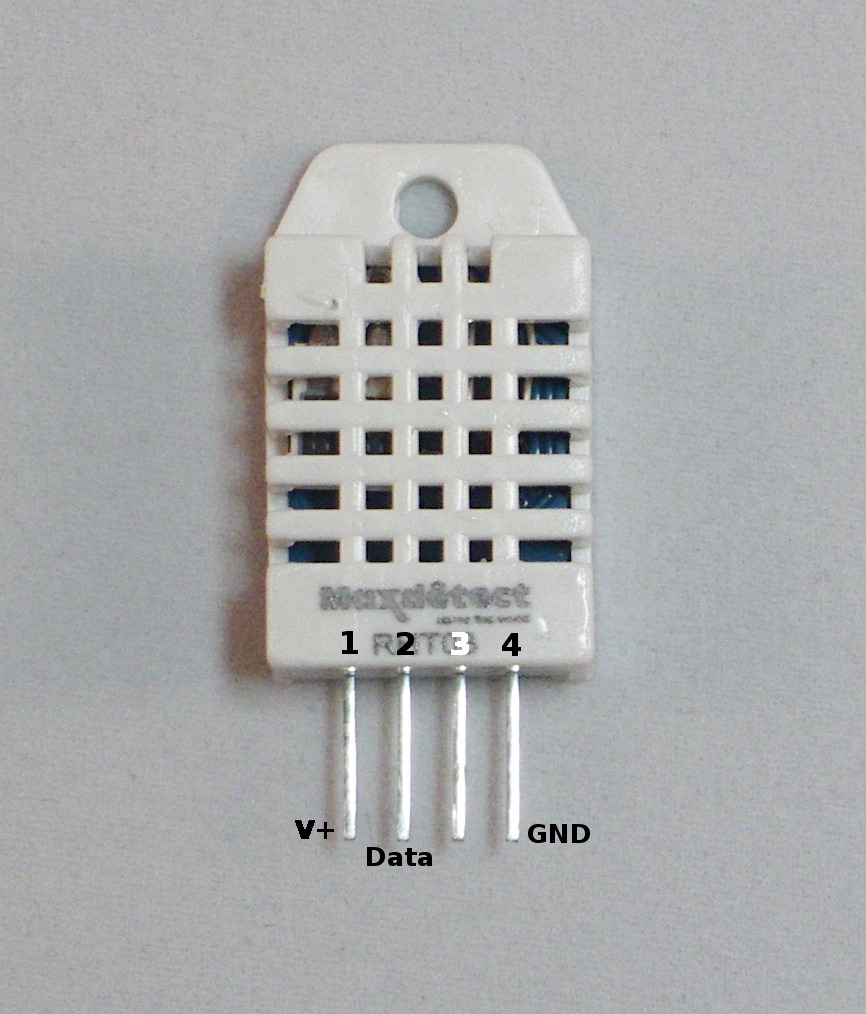
🔹 Module Pinout:
+------------+
|   DHT22    |
|            |
| 1  2  3  4  |
| |  |  |  |  |
| V  D  N  G  |
| c  a  C  N  |
| c  t     D  |
+------------+
- Pin 1 (VCC): power supply (3.3V or 5V)
- Pin 2 (DATA): data pin
- Pin 3 (NC): not connected
- Pin 4 (GND): ground
⚠️ Note: It is recommended to use a 10kΩ pull-up resistor between VCC and the data pin.
🔧 HOW TO USE DHT22 WITH ARDUINO
🔸 Required materials:
- 1 x Arduino UNO/Nano/MEGA
- 1 x DHT22 Module
- 1 x 10kΩ Resistor
- Jumper wires
- Breadboard (optional)
🧪 ELECTRICAL CONNECTION
| DHT22 | Arduino UNO |
|---|---|
| VCC | 5V |
| DATA | Pin 2 (or any digital pin) |
| GND | GND |
🔧 Insert a 10kΩ resistor between VCC and DATA.
💻 PROGRAMMING GUIDE (WITH ARDUINO IDE)
🔹 1. Install the DHT library
Go to:
Sketch > #include Library > Manage Libraries...
Search for DHT sensor library by Adafruit and install it. Also install the dependency Adafruit Unified Sensor.
🔹 2. Example base code
#include "DHT.h"

// Definizione del tipo di sensore
#define DHTTYPE DHT22

// Collegamento del pin dati
#define DHTPIN 2

// Inizializzazione del sensore
DHT dht(DHTPIN, DHTTYPE);

void setup() {
  Serial.begin(9600);
  Serial.println("Avvio del sensore DHT22...");
  dht.begin();
}

void loop() {
  // Aspetta 2 secondi tra una lettura e l'altra
  delay(2000);

  // Leggi l'umidità
  float humidity = dht.readHumidity();
  // Leggi la temperatura in Celsius
  float temperature = dht.readTemperature();

  // Controlla errori
  if (isnan(humidity) || isnan(temperature)) {
    Serial.println("Errore nella lettura del sensore!");
    return;
  }

  // Stampa i dati su Serial Monitor
  Serial.print("Umidità: ");
  Serial.print(humidity);
  Serial.print(" %t");
  Serial.print("Temperatura: ");
  Serial.print(temperature);
  Serial.println(" °C");
}
📌 USAGE TIPS
- Position the sensor in ventilated environments for more realistic readings.
- Avoid direct exposure to sun or heat sources.
- Take readings every 2 seconds (as per specifications).
🧰 PRACTICAL APPLICATIONS
- DIY Weather Stations
- Environmental Control in Greenhouses
- Indoor Monitoring
- Home Automation Systems
🛠️ EXPANSION: DISPLAY ON LCD SCREEN
You can display the data on an LCD screen (16×2) with I2C. Let me know if you want an example of this type.
🔚 CONCLUSIONS
The DHT22 is an economical, accurate, and easy-to-use sensor. With Arduino, it only takes a few minutes to start collecting reliable environmental data.
If you need a PDF guide, an integration with other sensors or a dashboard on the Internet (such as with ESP8266 or ESP32), I can help you with that too. Do you want to proceed with some advanced projects?
Tutorial: How to Use DHT22
The DHT22 sensor measures temperature and humidity, ideal for indoor climate and environmental monitoring projects.
What you need
- Arduino Uno or compatible
- 5V power cable
- 4.7kΩ resistor
- DHT22 connector
Steps
- 1. Connect Arduino pin D2 to the DATA pin of the DHT22.
- 2. Connect the 4.7kΩ resistor between GND and DATA.
- 3. Connect GND of the DHT22 to GND of Arduino.
- 4. Connect VCC of the DHT22 to 5V of Arduino.
- 5. Load the following code onto Arduino.
- 6. Check the temperature and humidity readings.
- 7. Refer to the datasheet for further details.
- 8. Adapt the code to your needs.
Example code
```cpp
#include <DHT.h>

#define DHTPIN 2
#define DHTTYPE DHT22

DHT dht(DHTPIN, DHTTYPE);

void setup() {
  Serial.begin(9600);
  dht.begin();
}

void loop() {
  float humidity = dht.readHumidity();
  float temperature = dht.readTemperature();
  Serial.print("Humidity: ");
  Serial.print(humidity);
  Serial.print("% ");
  Serial.print("Temp: ");
  Serial.print(temperature);
  Serial.println(" *C");
  delay(2000);
}
```
Mini project
Build a home humidity monitor, measuring and displaying data on an LCD display.
Common mistakes
- Ensure the resistor is correct.
- Make sure the DHT pin is correct.
- Check the VCC and GND connections.
- Verify the Arduino firmware version.
Recommended accessories
- 16×2 LCD display
- Arduino Nano
- OLED Display 128×64
Frequently asked questions
The sensor does not read correctly.
Check the connection and the resistor. Check the ambient temperature.
Which pins to use?
Use any Arduino I/O pin.
Do I need separate power?
No, power is provided by Arduino.
Can it read atmospheric pressure?
No, the DHT22 measures only temperature and humidity.
Reviews
There are no reviews yet.