 EN
 IT Italiano
 ES Español
 FR Français
 DE Deutsch
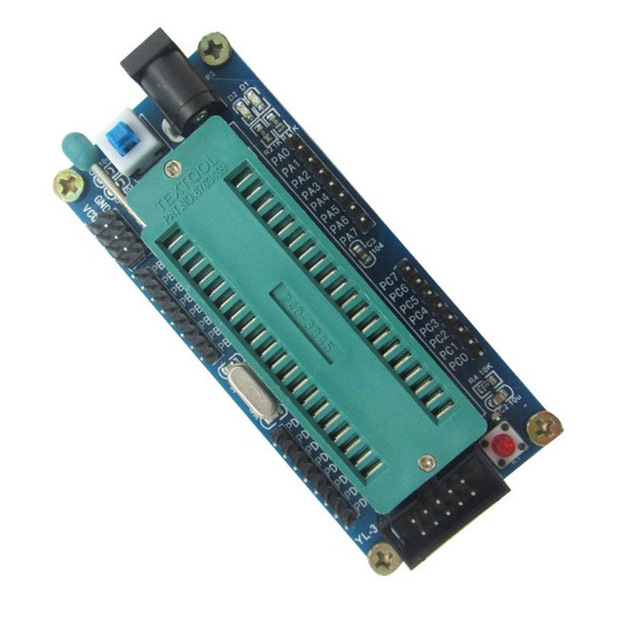
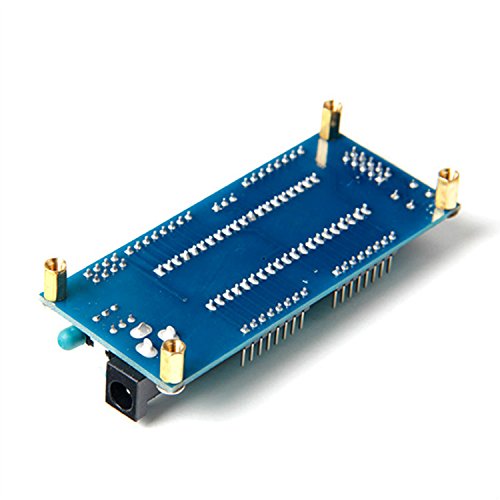
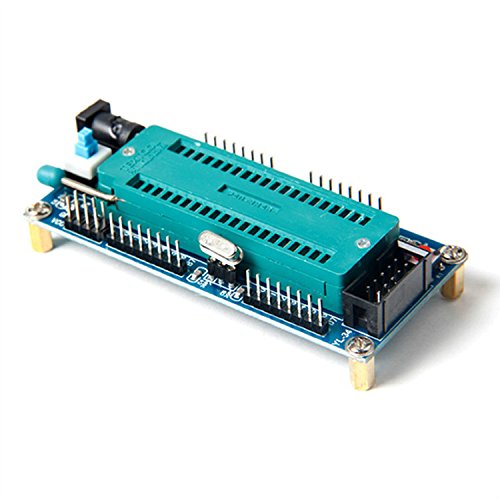
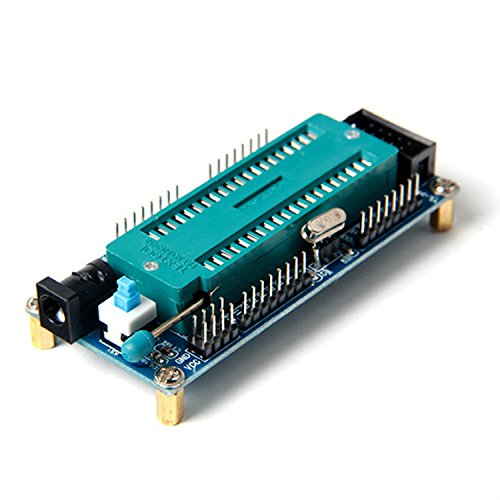
Description
What it is
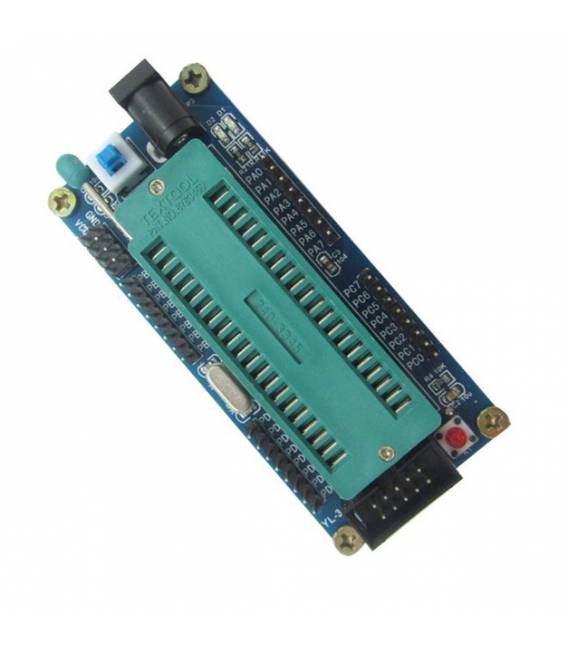
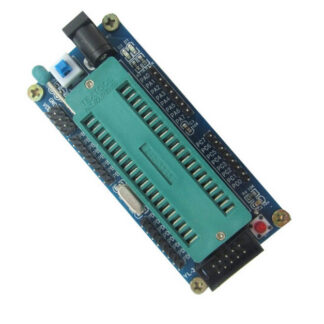
The development board for ATmega16, 32, 8535 with ZIF socket is a tool for programming and testing ATmega microcontrollers. It allows connecting the microcontroller to your workstation via USB and loading the programming code.
Features
- Compatible with ATmega16, 32, 8535 microcontrollers
- ZIF socket for easy insertion and removal of the microcontroller
- USB connection for programming
- SKU: ARD0010457
- Price: 4.7 €
What it is for
The board is ideal for programming ATmega16, 32, 8535 microcontrollers. It can be used to create simple electronic projects such as an LED blinker or to experiment with microcontroller programming. The presence of the ZIF socket facilitates the insertion and removal of the microcontroller, allowing the testing of different models without having to constantly reconnect the cables.
Tutorial: How to use ATmega16/32/8535 Board
This board allows you to program ATmega16, 32, 8535 microcontrollers directly from your computer. Ideal for beginners and those who want to explore electronic programming.
What you need
- PC with Arduino IDE installed
- ATmega16, 32, 8535 microcontroller
- USB cable
- Check the datasheet for detailed specifications
Steps
- 1. Connect the board to your PC using the USB cable.
- 2. Open Arduino IDE on your PC.
- 3. Select ‘Arduino Uno’ as the serial port.
- 4. Check the datasheet for the microcontroller specifications.
- 5. Load the ‘Blink’ example code onto Arduino IDE.
- 6. Select ‘Program microcontroller’ in Arduino IDE.
- 7. Wait for the program to load.
- 8. Check if the microcontroller powers on and blinks as expected.
Example code
void loop() {}Mini project
Create a simple blink that turns on and off every 2 seconds.
Common mistakes
- Incorrectly select the serial port.
- Incorrectly load the code.
- Connect the board to the PC incorrectly.
- Do not check the specifications of the microcontroller.
Recommended accessories
- Microcontroller ATmega16, 32, 8535
- USB cable
- Arduino IDE
- Datasheet ATmega16, 32, 8535
Frequently asked questions
How can I verify if the microcontroller is correctly programmed?
Check if the LED blinks as expected in the code.
What are the minimum requirements needed to program the microcontroller?
Check the datasheet for detailed specifications.
Can I use this board for microcontrollers other than ATmega16, 32, 8535?
No, this board is specifically designed for these microcontrollers.
Reviews
There are no reviews yet.