 EN
 IT Italiano
 ES Español
 FR Français
 DE Deutsch
Description
What it is
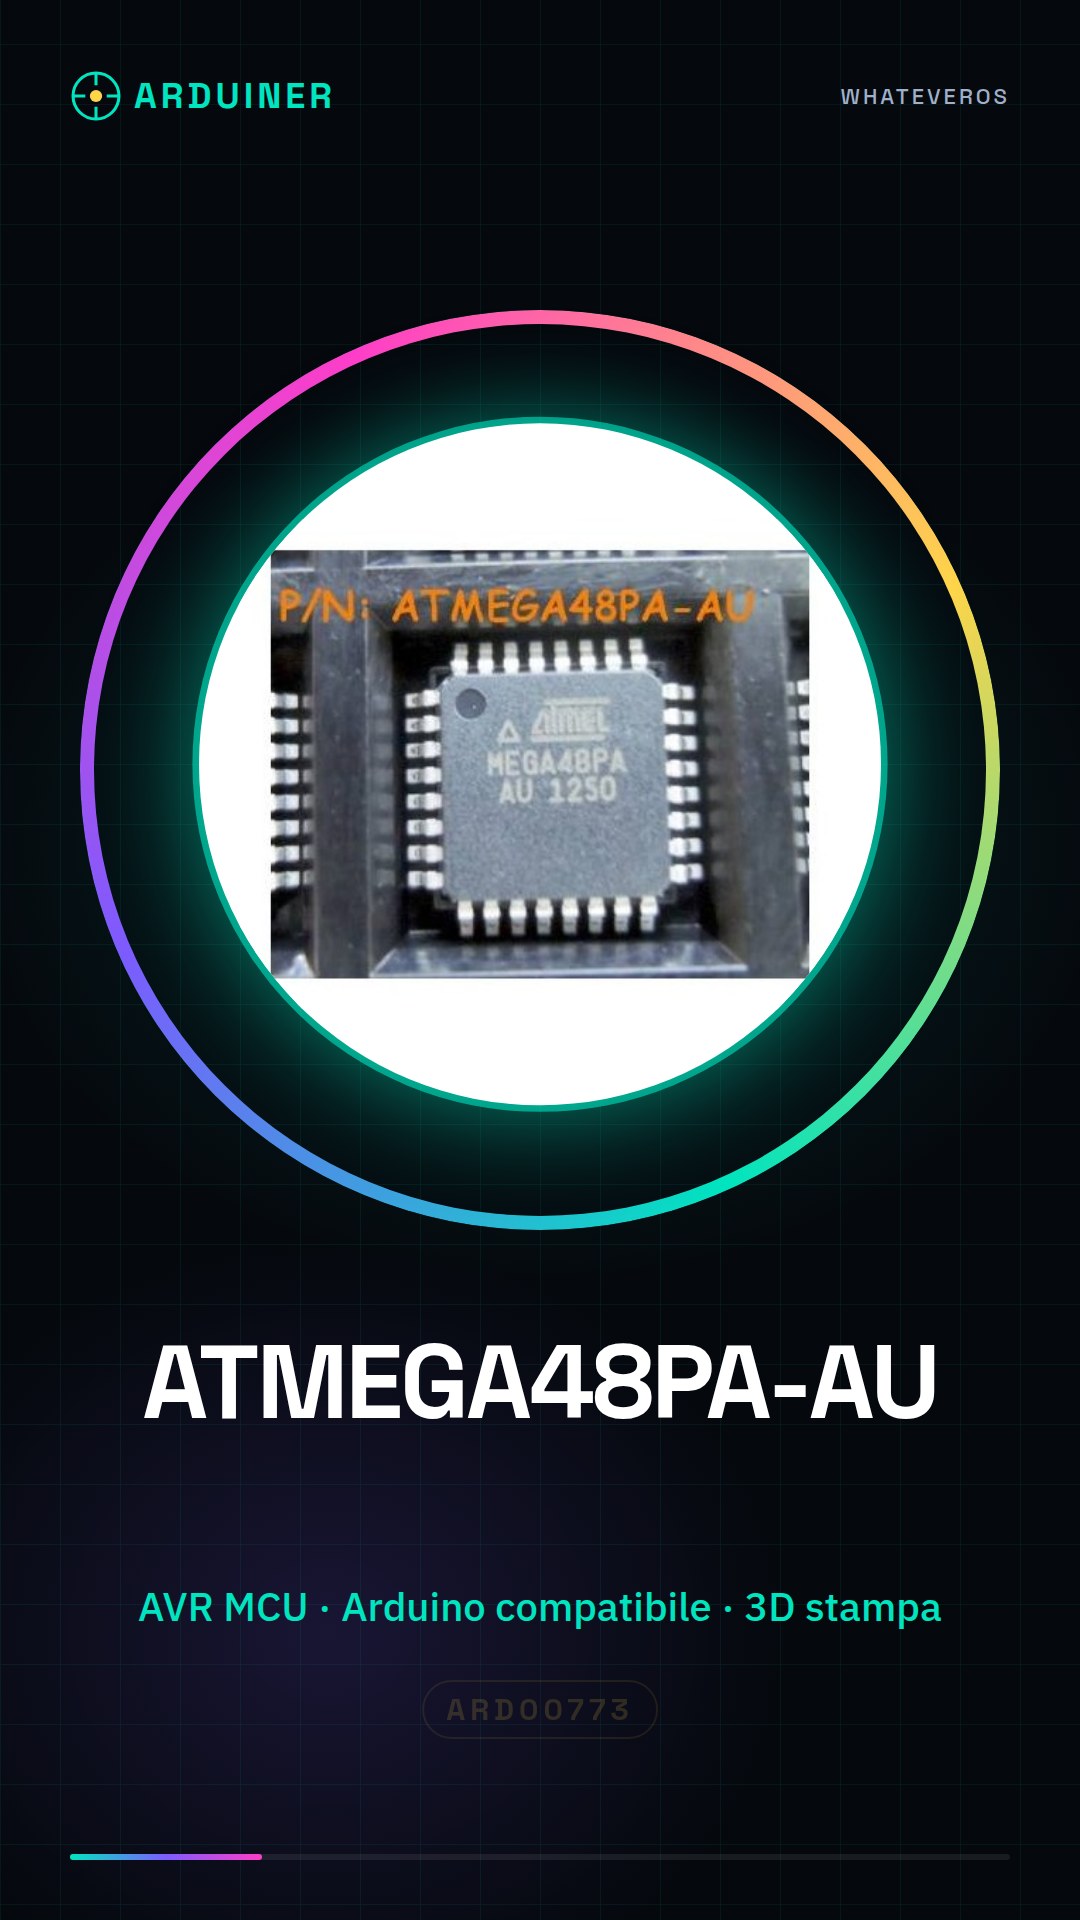
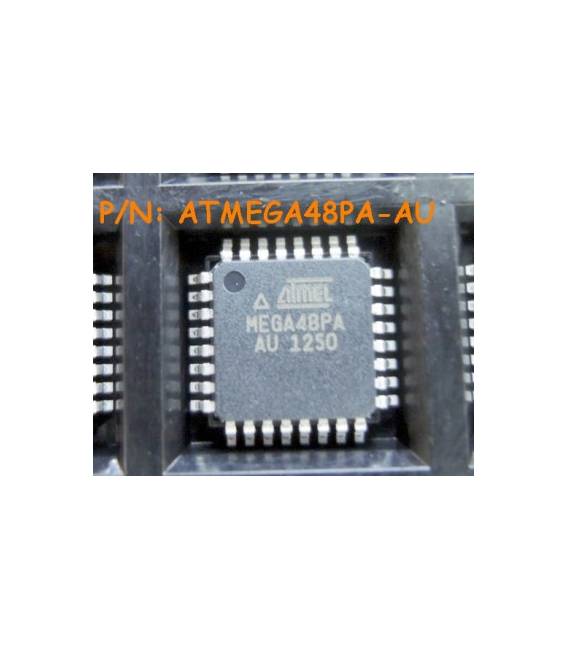
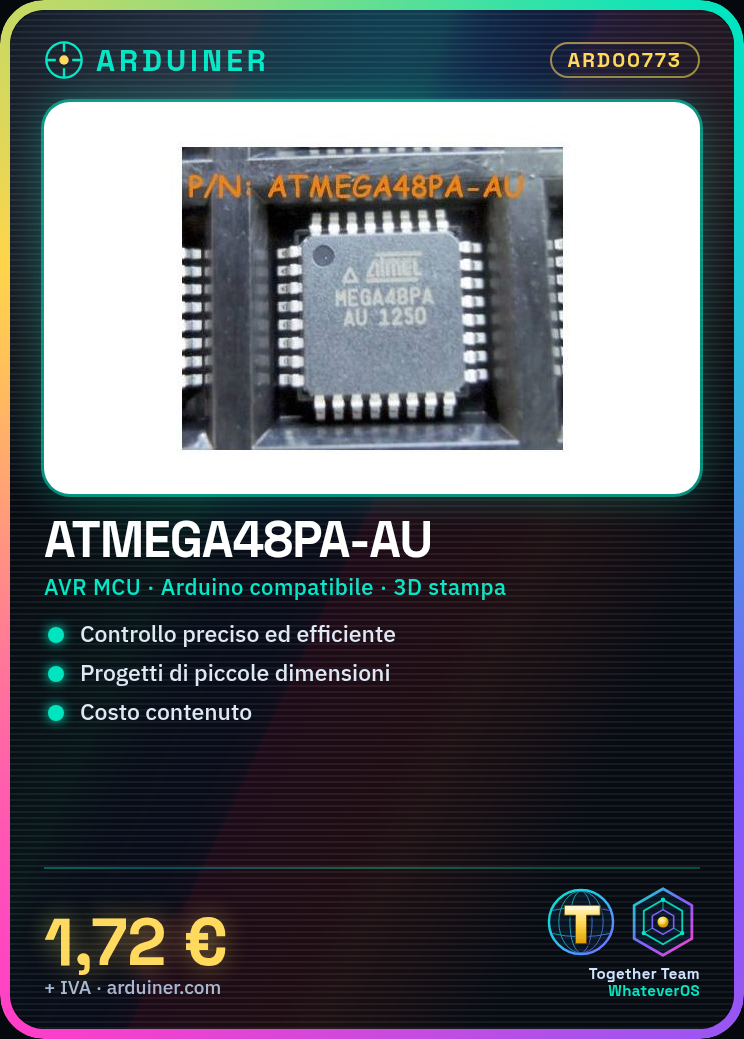
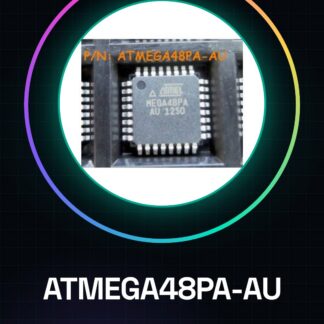
The ATMEGA48PA-AU is an AVR microcontroller, ideal for small projects that require precise and efficient control. This component provides a solid foundation for starting embedded programming.
Features
- AVR microcontroller
- Ideally suited for Arduino projects and small integrated circuits
- Great for beginner and intermediate makers
What it is for
The ATMEGA48PA-AU is usable in various fields, such as 3D printing, sensing, and small robots. It is compatible with Arduino and can be used to create devices that change color based on data read from a sensor.
Tutorial: How to use ATMEGA48PA-AU
The AVR ATMEGA48PA-AU microcontroller is ideal for small projects that require precise and efficient control. This component is perfect for beginner and intermediate makers who want to explore embedded programming. With its affordable price, the ATMEGA48PA-AU offers a solid foundation for 3D printing, sensor projects, or small robots.
What you need
- Arduino Uno
- Arduino IDE Development Program
- USB Male-Female Cable
Steps
- Install the Arduino IDE and load the necessary driver for communication with Arduino Uno.
- Open a new project in the Arduino IDE and select ‘Arduino Uno’ as the board.
- Check the ATMEGA48PA-AU datasheet for available clock frequencies and set the desired one in the code.
- Compile the code to generate the binary file necessary for programming the microcontroller.
- Connect the ATMEGA48PA-AU to Arduino Uno following the specific pinout of the board (check the datasheet).
- Load the compiled firmware onto the microcontroller via Arduino Uno.
- Verify proper functionality by executing simple input/output commands.
- Configure additional microcontroller parameters such as fuse bits (check the datasheet).
Mini project
Create a small projectile that changes color based on data read from a light sensor. Use Arduino Uno to load the firmware onto the ATMEGA48PA-AU and monitor ambient light levels.
Common mistakes
- Incorrect clock frequency setting.
- Incorrect pin connection between ATMEGA48PA-AU and Arduino Uno.
- Ignore the correct setting of fuse bits.
- Lack of necessary drivers for USB communication with Arduino Uno.
Recommended accessories
- Arduino Uno
- Prototype board
- Light sensors
- RGB LED
Frequently asked questions
What is the difference between ATMEGA48PA-AU and other microcontrollers?
ATMEGA48PA-AU offers an optimized combination of RAM, Flash, and I/O for small but complex projects.
Can it be used directly without Arduino Uno?
Yes, it is possible to program the ATMEGA48PA-AU directly with a development program that supports its architecture.
Reviews
There are no reviews yet.