 EN
 IT Italiano
 ES Español
 FR Français
 DE Deutsch
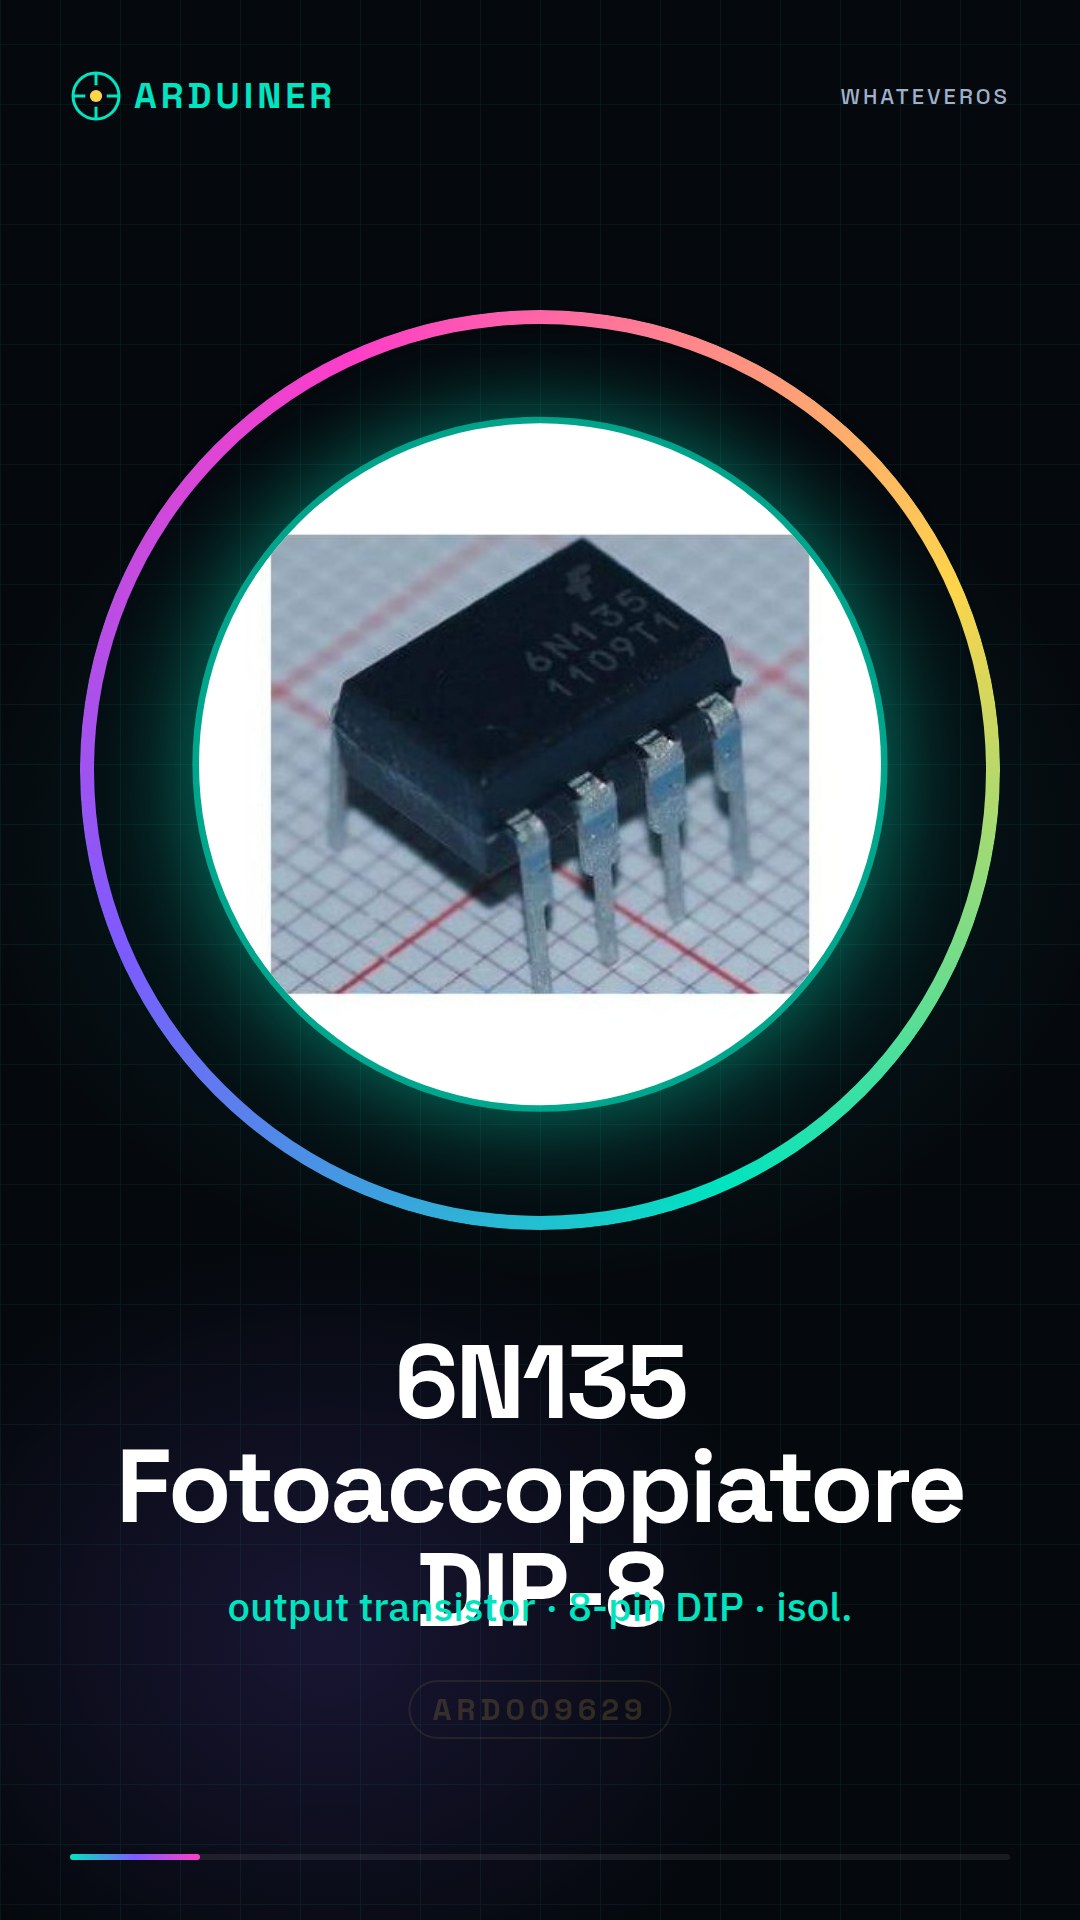
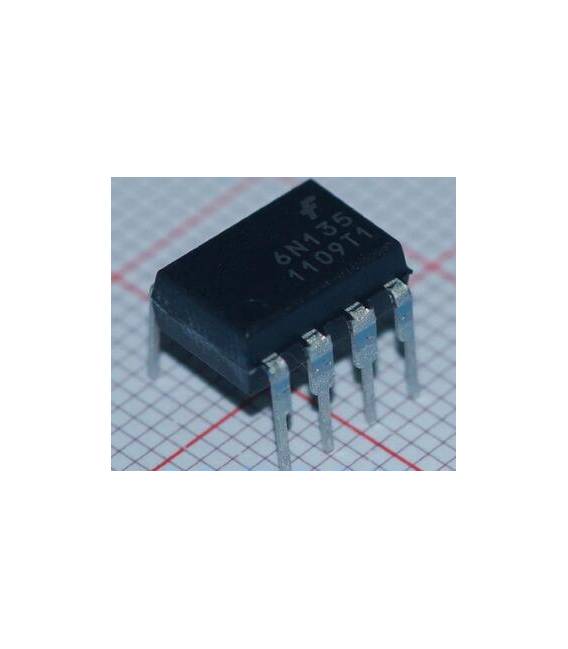
Description
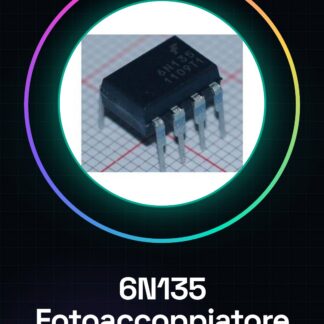
Tutorial: How to Use the 6N135 Optocoupler
The 6N135 optocoupler is an extremely useful electronic component for isolating electrical circuits, thereby protecting hardware from potential damage. It is ideal for both beginners and more experienced makers who want to implement safety solutions in their projects.
What you need
- Arduino Uno
- 5V power supply
- USB cable
- prototyping board
Steps
- Install the 6N135 optocoupler on a prototyping board.
- Connect the input side of the optocoupler to a digital pin on the Arduino (check the datasheet for specific pins).
- Connect the output side to the internal transistor, which acts as a switch. Check the datasheet for exact connections.
- Connect the power supply to the correct pins of the optocoupler (check the datasheet).
- Write an Arduino sketch to turn on and off an LED connected to the internal transistor of the 6N135.
- Check that the LED turns on when the digital pin of the Arduino is high, and turns off when it is low.
Example code
void setup() {
pinMode(2, OUTPUT);
}

void loop() {
digitalWrite(2, HIGH);
delay(1000);
digitalWrite(2, LOW);
delay(1000);
}
Mini project
[‘Create a simple home security system that activates an alarm when the light is interrupted (PIR sensors or photoresistors can be used to detect motion or presence).’]
Common mistakes
- Do not check the datasheet specifications before connecting.
- Connect the pins incorrectly, causing damage to the component.
- Use electrical voltage higher than the tolerance of the optocoupler.
- Omit bypassing (decoupling capacitors) for power supply stability.
Recommended accessories
- LED
- 330 ohm resistor
- Prototype board
- USB cable
Frequently asked questions
What types of projects are suitable for the 6N135 optocoupler?
Projects that require electrical isolation, such as interfaces with systems at different voltages or to protect hardware from electronic shocks.
How can I check if the 6N135 optocoupler is working correctly?
Check that the resistance between input and output changes when the light on the sensor changes. Use a multimeter to measure.
Reviews
There are no reviews yet.