 EN
 IT Italiano
 ES Español
 FR Français
 DE Deutsch
Description
What it is
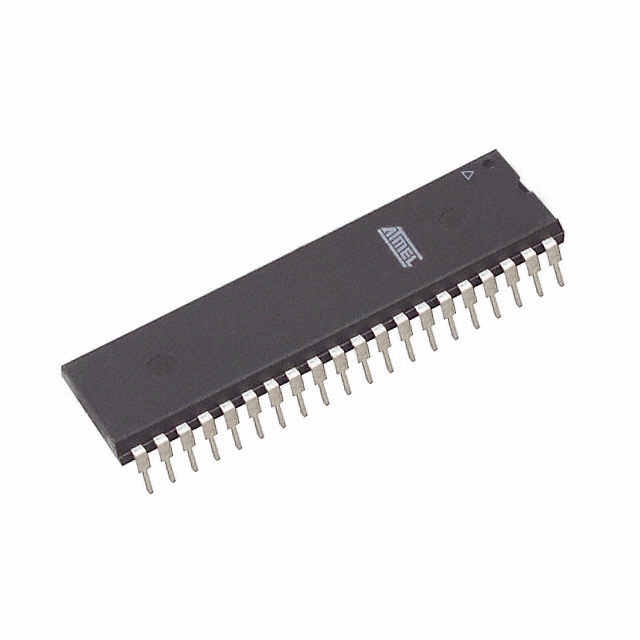
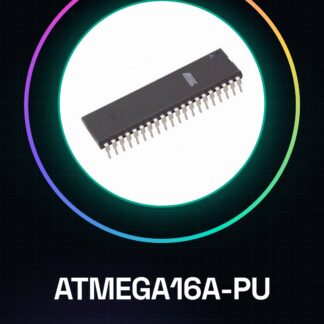
L’ATMEGA16A-PU is an integrated circuit (IC) used in various electronic projects. It is a microcontroller suitable for both beginners and intermediate developers, particularly useful for Arduino-based projects.
Features
- ATMEGA16A-PU Microcontroller
What it is for
The ATMEGA16A-PU can be used to create simple projects such as LED timers with a button. It is compatible with Arduino and suitable for various types of applications that require electronic programming.
Tutorial: How to Use ATMEGA16A-PU
The IC ATMEGA16A-PU is a microcontroller usable for electronic programming projects. Suitable for beginners and intermediates.
What you need
- ATMEGA16A-PU IC
- Arduino IDE
- USB Cable
- 10 kΩ Resistor
Steps
- 1. Download and install the Arduino IDE.
- 2. Connect the ATMEGA16A-PU to your computer via a USB cable.
- 3. Check the datasheet for the correct pin configuration.
- 4. Connect a 10 kΩ resistor between VCC and RESET.
- 5. Load the example ‘Blink’ sketch in the Arduino IDE.
- 6. Modify the sketch to use the ATMEGA16A-PU.
- 7. Upload the modified sketch to the ATMEGA16A-PU.
- 8. Test functionality with an LED
Example code
void setup() { pinMode(13, OUTPUT);}void loop() { digitalWrite(13, HIGH); delay(1000); digitalWrite(13, LOW); delay(1000);}Mini project
Create a simple LED timer using the ATMEGA16A-PU and a button.
Common mistakes
- Forget to connect the 10 kΩ resistor between VCC and RESET.
- Use an incompatible USB cable.
- Fail to properly verify the pin configuration.
- Load the sketch without modifications.
Recommended accessories
- LED
- Button
- 220 Ω resistor
- Breadboard
Frequently asked questions
How can I verify the pin configuration?
Check the datasheet or use a simulation software.
Can I use the ATMEGA16A-PU with Arduino?
Yes, but you will need to program it manually using an Arduino as a programmer.
Which pins are available for connection?
Check the datasheet for the correct pin configuration.
Reviews
There are no reviews yet.