 EN
 IT Italiano
 ES Español
 FR Français
 DE Deutsch

Description
What it is
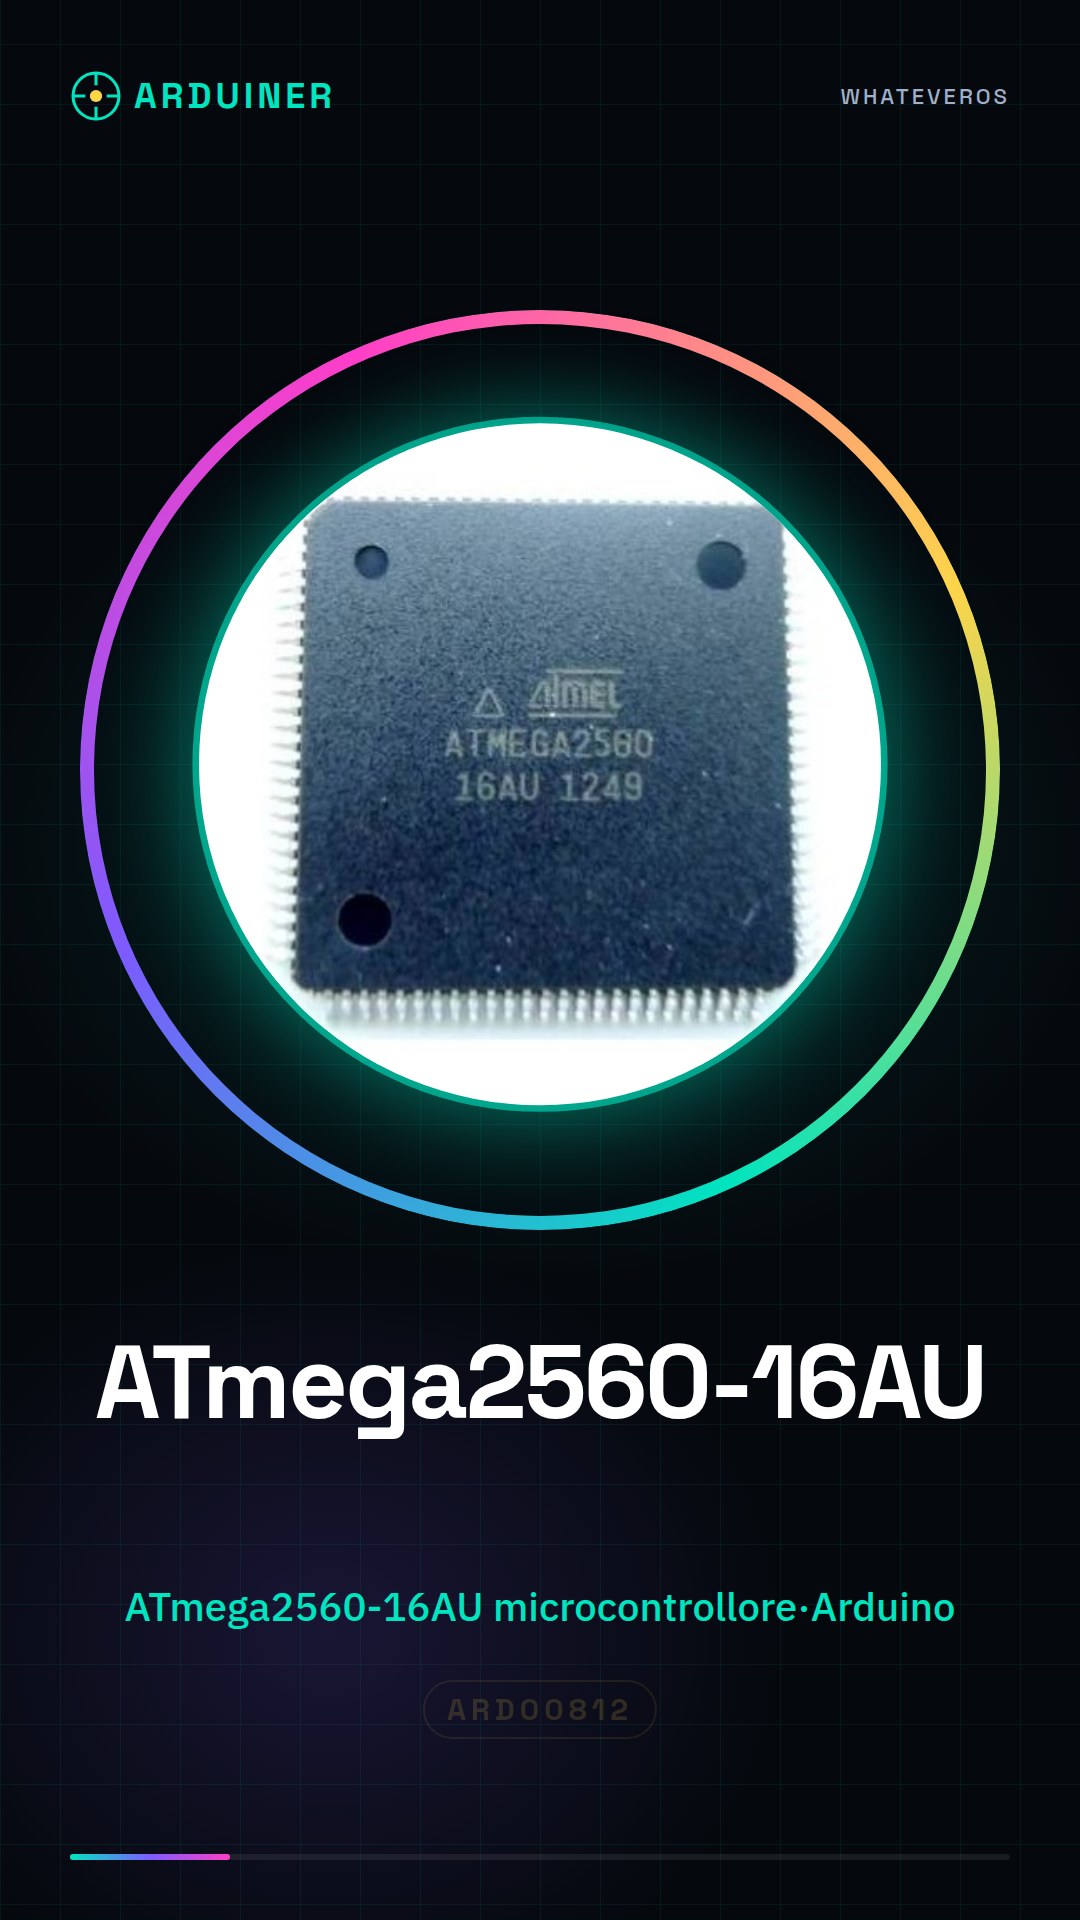
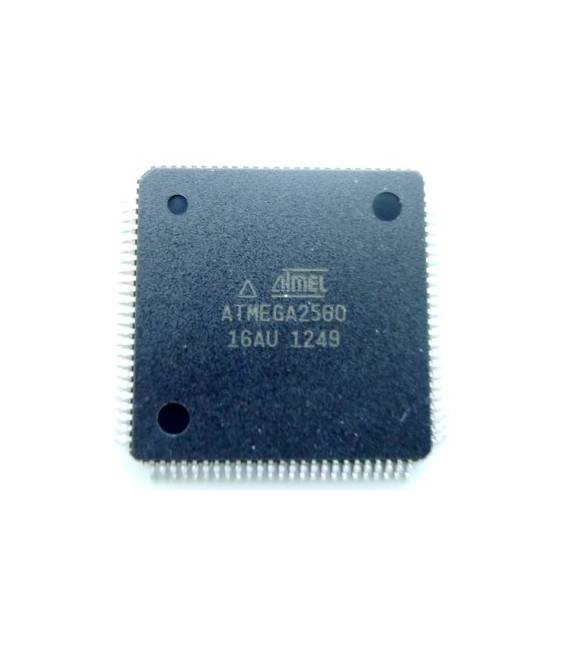
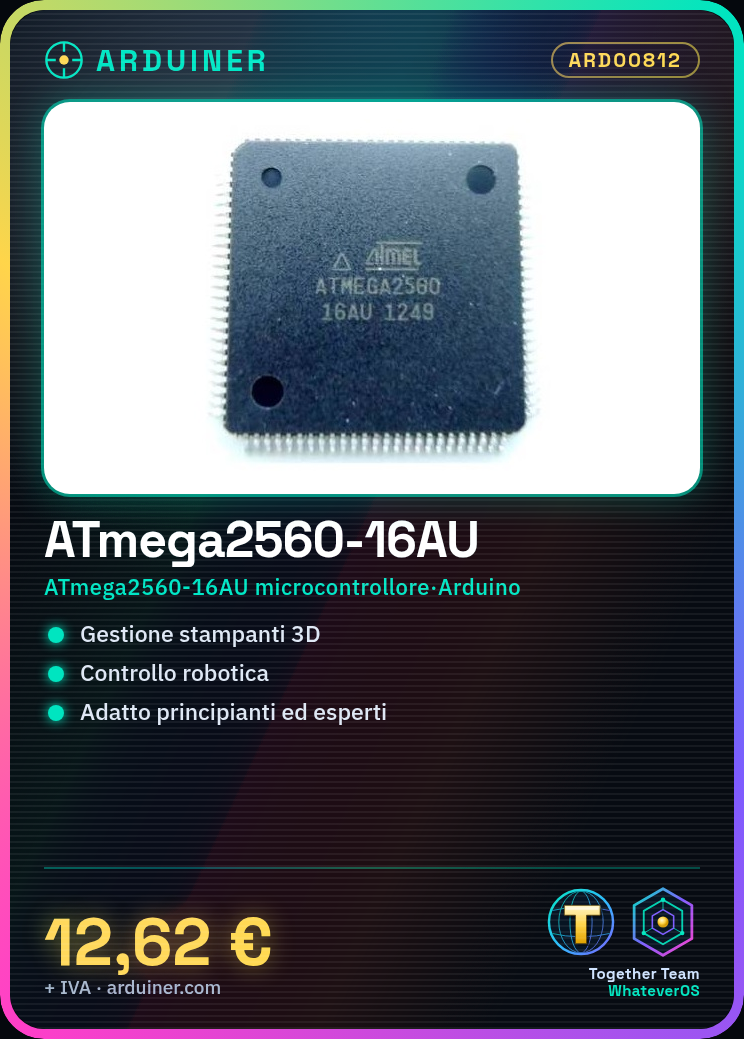
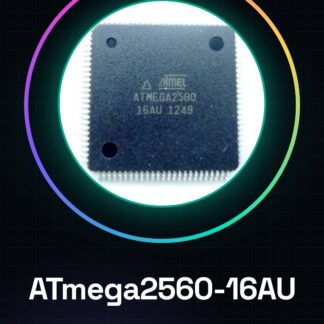
The ATmega2560-16AU is an integrated circuit that serves as a microcontroller for Arduino projects. It is known for its flexibility and ability to handle complex applications such as 3D printers and robotics.
Features
- Integrated Circuit ATmega2560-16AU
- Compatible with Arduino
What it is for
The ATmega2560-16AU is used to develop robotics, 3D printing, and other automated systems projects. It is suitable for both beginners and experts thanks to its configurability and ability to perform complex functions.
Tutorial: How to Use ATmega2560-16AU
The ATmega2560-16AU is a microcontroller used in various Arduino projects. Suitable for beginners and intermediates.
What you need
- Microcontroller ATmega2560-16AU
- Arduino IDE
- USB cable
- 10kΩ resistor
- LED
Steps
- Download and install the Arduino IDE.
- Create a new project and select ATmega2560-16AU as the microcontroller.
- Upload the ‘Blink’ example sketch to the Arduino IDE.
- Connect the microcontroller to your PC with the USB cable.
- Load the code onto the microcontroller.
- Connect the LED to pin 13 and the 10kΩ resistor.
- Turn on your PC and check that the LED is blinking.
- Check the datasheet for the power supply configuration
Example code
void loop() {}Mini project
Create a simple button counter using the pushbutton and an LED.
Common mistakes
- Forget to load the code onto the microcontroller.
- Connect the LED to the wrong pin.
- Omit the 10kΩ resistor between the LED and GND.
- Use incorrect power supply.
Recommended accessories
- Pushbutton
- 10kΩ resistor
- LED
- USB cable
Frequently asked questions
How can I verify the power supply configuration?
Check the datasheet for power supply specifications.
Can I use this microcontroller with Arduino Uno?
No, you need to use the Arduino IDE configured for ATmega2560-16AU.
Does the microcontroller support Wi-Fi?
No, the ATmega2560-16AU does not support Wi-Fi.
Which pins are available for I/O signals?
Check the datasheet for available I/O pins.
Reviews
There are no reviews yet.