 EN
 IT Italiano
 ES Español
 FR Français
 DE Deutsch
Description
What it is
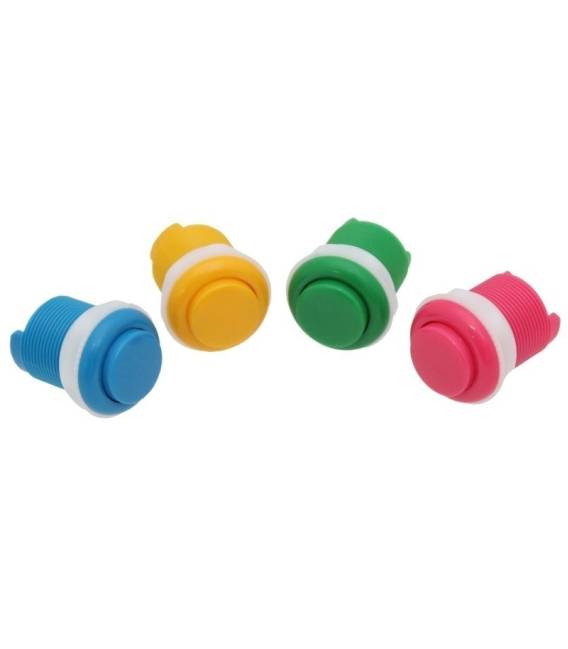
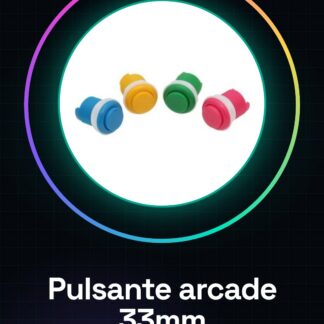
Arcade button 33mm, an ideal component for Arduino projects requiring fast and precise interactions. This button is perfect for creating arcade-style user interfaces.
Features
- Diameter: 33mm
- Ideally suited for Arduino projects
What it is for
The use of the 33mm arcade button is particularly useful for creating simple games or interfaces that require quick on and off actions, such as LED control. Useful for both beginners and experts.
Tutorial: How to use Arcade Button 33mm
The 33mm arcade button is ideal for projects that require quick and precise manual intervention, such as simulation games or controls for electronic devices. Useful for beginners and intermediates.
What you need
- Arcade button 33mm
- Arduino microcontroller
- Pull-up resistor (10kΩ)
- 2 pole connections
Steps
- 1. Check that the button works correctly.
- 2. Prepare an Arduino microcontroller.
- 3. Connect the button to the microcontroller using a pull-up resistor.
- 4. Connect the button to the digital pin of the microcontroller.
- 5. Write the code to read the state of the button.
- 6. Upload the code to the microcontroller.
- 7. Test the button to ensure it works correctly.
- 8. Adapt the button to your project.
Example code
```int buttonPin = 2; int buttonState = 0; void setup() { pinMode(buttonPin, INPUT_PULLUP); } void loop() { buttonState = digitalRead(buttonPin); if (buttonState == LOW) { // Pulsante premuto } }```Mini project
Create a simple on/off LED game using the 33mm arcade button.
Common mistakes
- Do not use an incompatible microcontroller.
- Connect the button correctly with the pull-up resistor.
- Write the correct code to read the state of the button.
- Do not test the button before uploading the code.
Recommended accessories
- LED
- LED resistor
- Pull-up resistor (10kΩ)
- Connection cable
Frequently asked questions
How to connect the button?
Connect one end of the button to a digital pin of the microcontroller and the other end to the pull-up resistor, then connect one end of the resistor to the power supply.
Which pin should be used?
You can use any digital pin of the microcontroller, for example pin 2.
What is the minimum code to control the button?
“`int buttonPin = 2; int buttonState = 0; void setup() { pinMode(buttonPin, INPUT_PULLUP); } void loop() { buttonState = digitalRead(buttonPin); if (buttonState == LOW) { // Button pressed } }“`
Can I use a button with a different power supply?
Check the datasheet to see if the button supports the power supply of your project.
Reviews
There are no reviews yet.