 EN
 IT Italiano
 ES Español
 FR Français
 DE Deutsch

Description
What it is
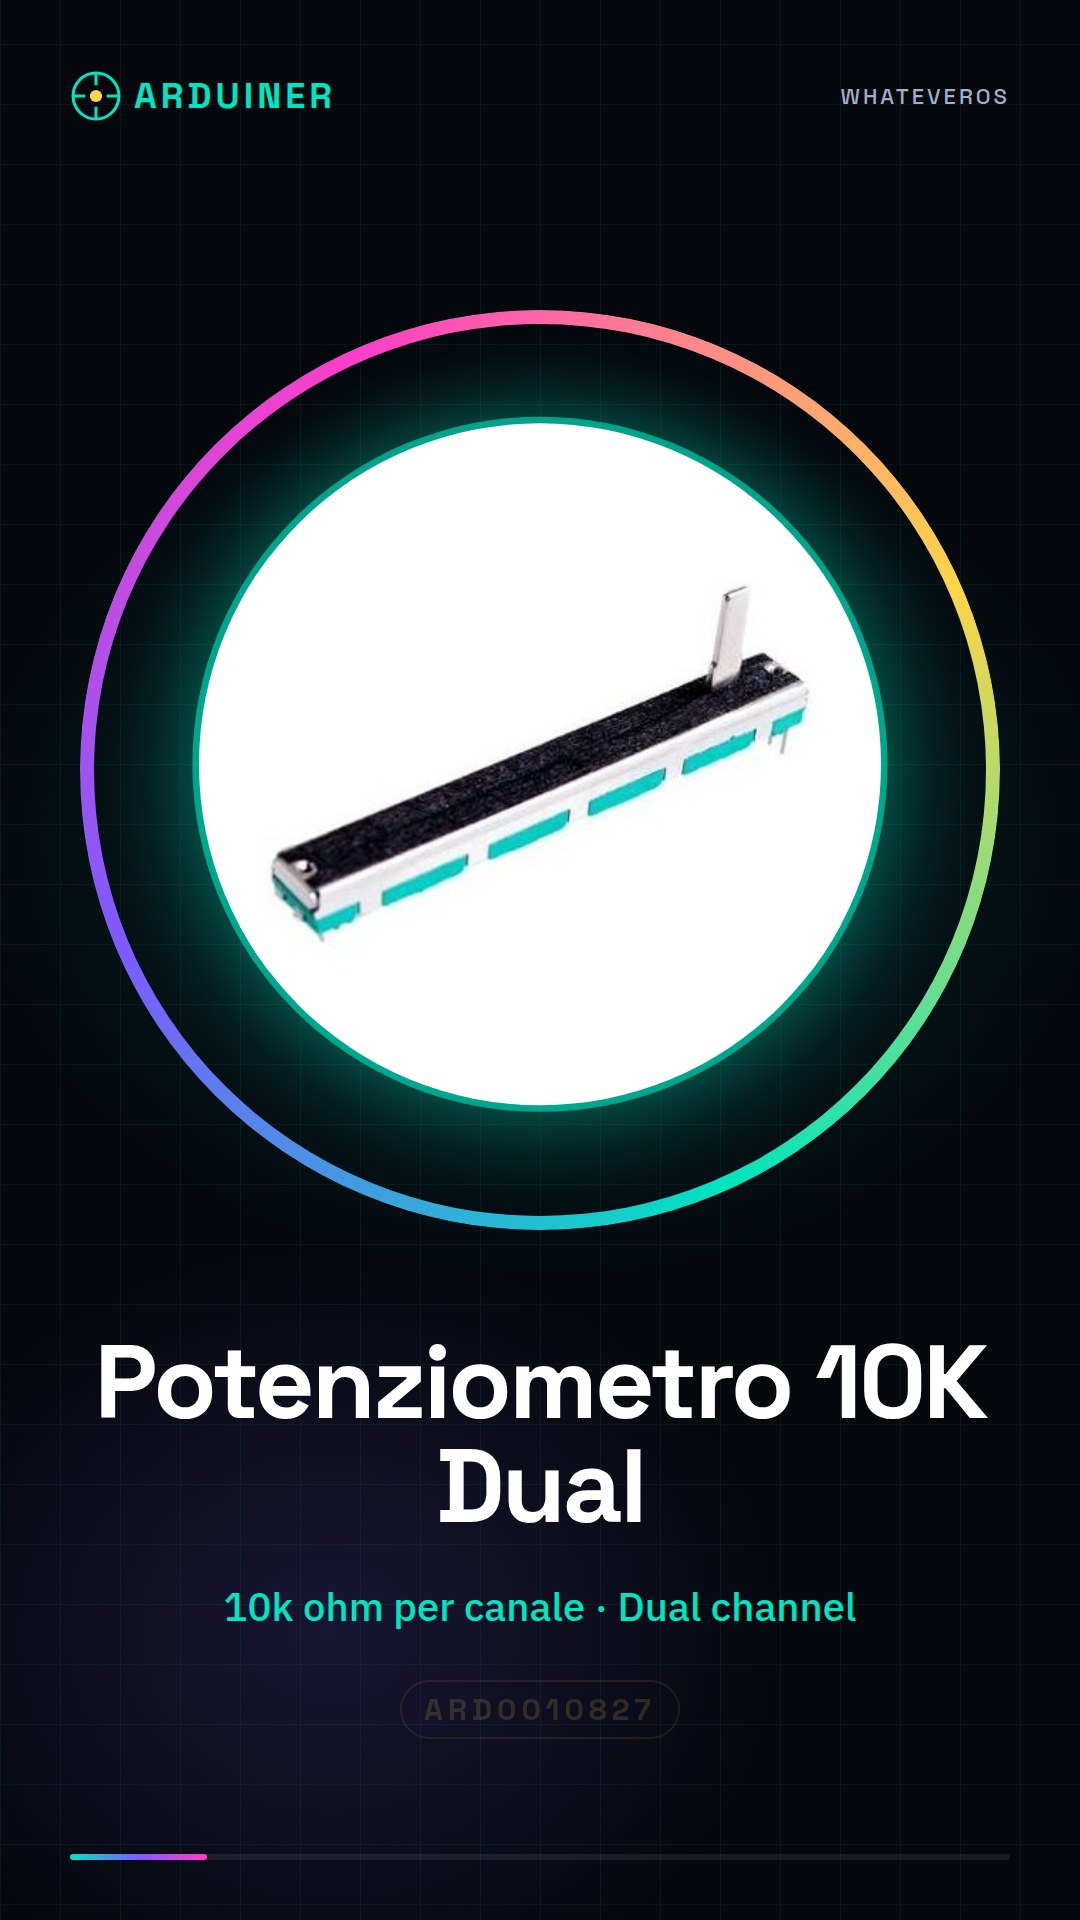
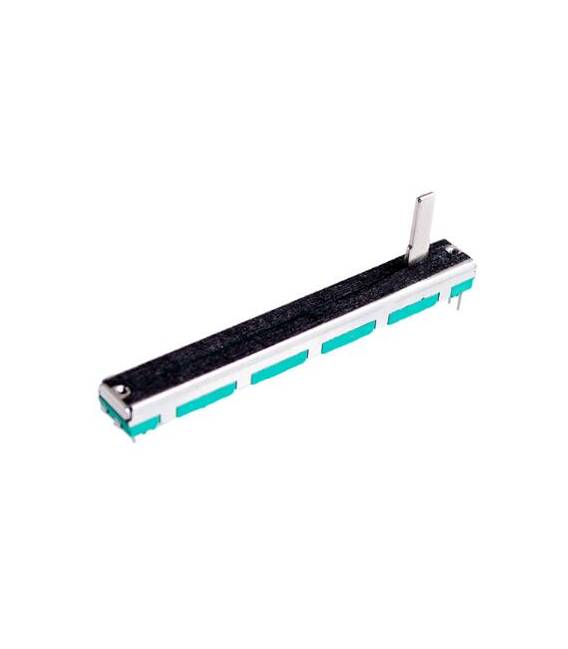
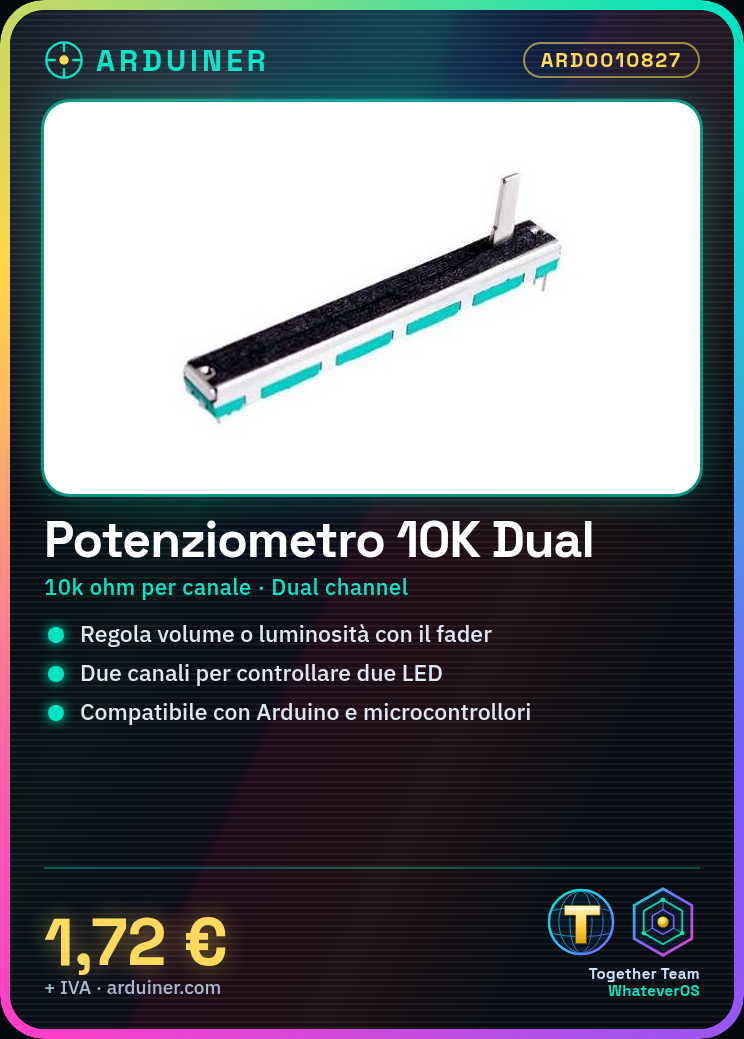
The Dual Channel Slide B 10K fader potentiometer is an electronic component that allows for continuous adjustment of an electrical value through a sliding motion. This potentiometer has two independent channels, each with a resistance of 10k ohms.
Features
- Type: Dual Channel Slide Potentiometer
- Resistance: 10k ohms per channel
- SKU: ARD0010827
- Price: 1.72 €
What it is for
This potentiometer is ideal for adjusting volume or brightness in electronic projects. Thanks to the two independent channels, it can be used to control two values simultaneously, for example, the brightness of two separate LEDs. It is compatible with Arduino and other microcontrollers.
Tutorial: How to use Dual Channel Slide B 10K fader Potentiometer
The Dual Channel Slide B 10K Potentiometer is an ideal component for adjusting volume or brightness in electronic projects. Suitable for both beginners and more experienced makers, this fader offers a simple and efficient solution.
What you need
- Arduino Uno
- Jumper Connections
- An LED
Steps
- Connect the potentiometer pins to the Arduino’s analog bus A0 and A1 using jumper connections.
- Connect the potentiometer GND pin to one of the Arduino’s GND pins.
- Connect the other end of the potentiometer (VCC pin) to the Arduino’s 5V pin.
- Connect an LED to the Arduino’s digital pin 13 and to a pull-down resistor.
- Open the Arduino IDE software and create a new sketch.
- Enter the provided code in the ‘code’ field.
- Upload the sketch to the Arduino by connecting the USB adapter.
- Move the potentiometer’s slider to adjust the LED brightness.
Example code
int sliderPinA = A0;
int sliderPinB = A1;
const int ledPin = 13;
void setup() {
pinMode(ledPin, OUTPUT);
}

void loop() {
int valA = analogRead(sliderPinA);
int valB = analogRead(sliderPinB);
analogWrite(ledPin, map(valA, 0, 1023, 0, 255));
analogWrite(ledPin, map(valB, 0, 1023, 0, 255));
}
Mini project
Create a light control system with a double lever to independently adjust two LEDs.
Common mistakes
- Connect the potentiometer to the digital bus instead of the analog one.
- Do not connect the GND pin of the potentiometer.
- Use a resistor that is too high or too low for the LED.
- Ignore the Arduino documentation on the map() and analogWrite() functions.
Recommended accessories
- 220 Ohm resistor
- Various color LEDs
- Various jumper connections
- Arduino Uno R3
Frequently asked questions
Can this lever be used to adjust the volume?
Yes, you can connect it to a speaker and use it as a volume control.
What is the difference between this fader and a rotary potentiometer?
The fader slides along a line while the potentiometer rotates on itself, offering different ways to adjust values.
Can I connect more LEDs to this fader?
Yes, you can connect more LEDs using multiple digital pins and reading separately the two channels of the potentiometer.


Reviews
There are no reviews yet.