 EN
 IT Italiano
 ES Español
 FR Français
 DE Deutsch
Description
What it is
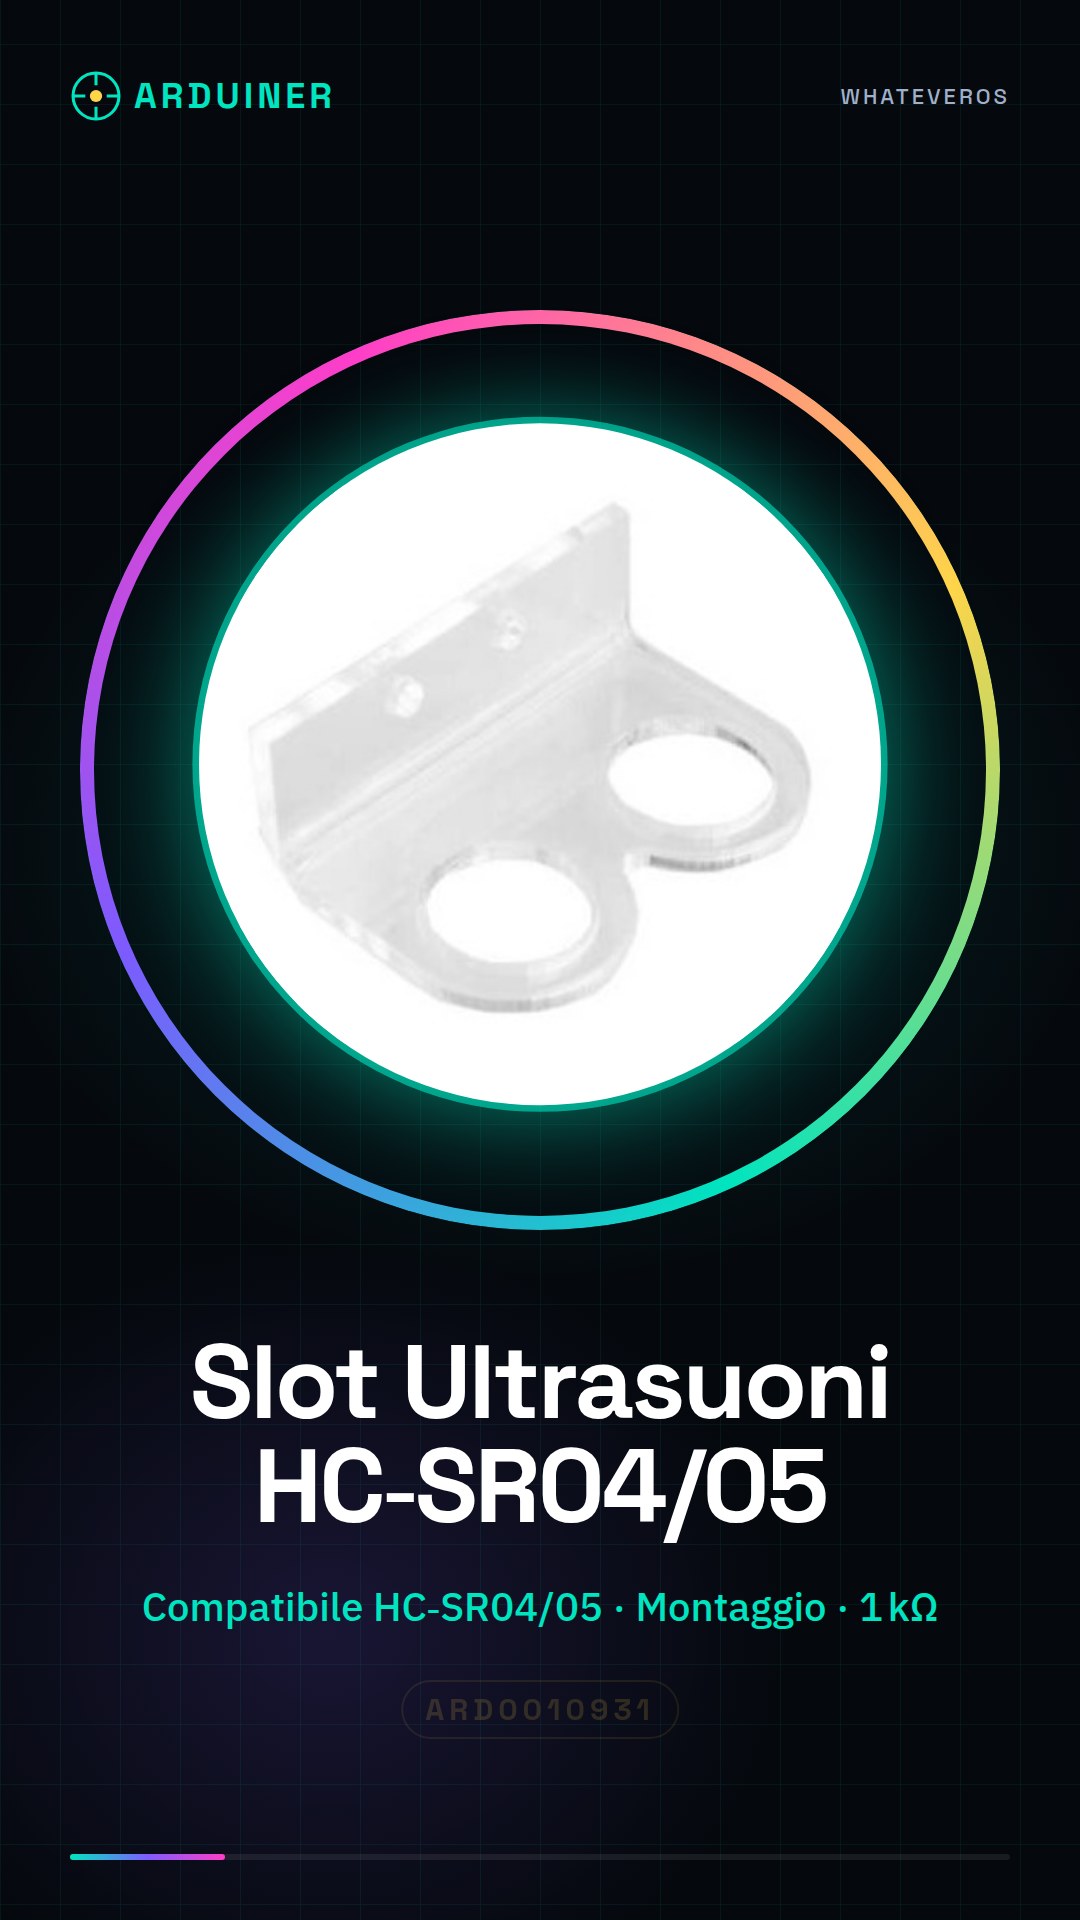
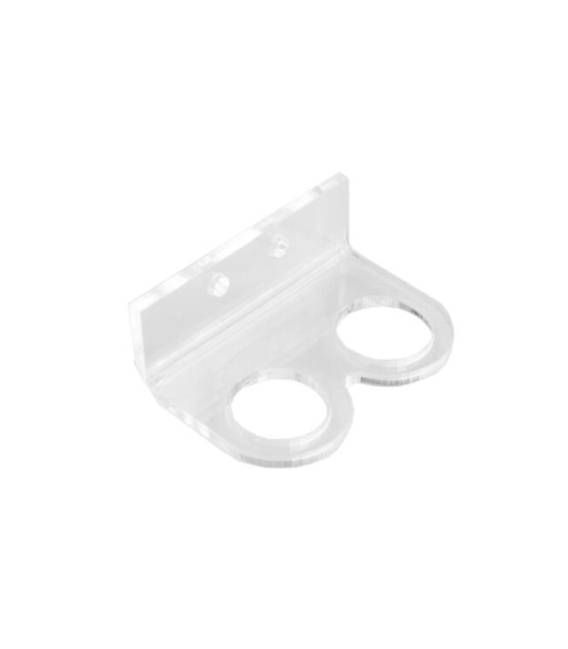
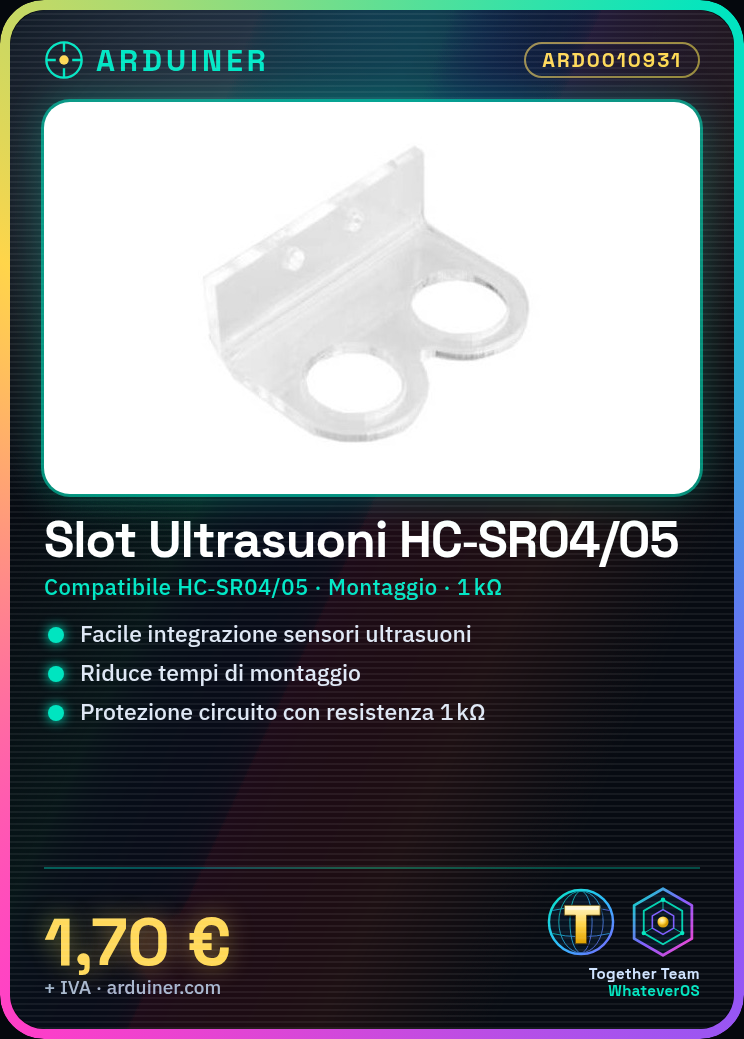
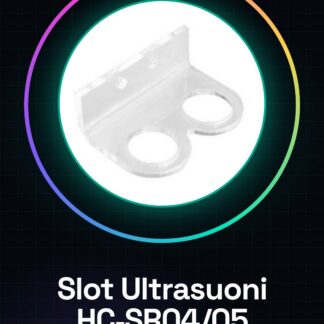
This mounting slot is designed for the integration of HC-SR04 and HC-SR05 ultrasonic sensors in electronics and robotics projects. Simplifies the installation and use of these sensors for distance measurement.
Features
- Compatible with HC-SR04 and HC-SR05 ultrasonic sensors
- Design for easy mounting in robots and autonomous vehicles
- SKU: ARD0010931
- Price: 1.7 €
What it is for
Ideal for creating robots that react to obstacles by measuring the distance from them. The ultrasonic sensor emits sound waves and measures the time it takes for them to return to determine the distance. Compatible with Arduino and other microcontrollers.
Tutorial: How to Use Ultrasonic Sensor Mounting Slot
This component allows for distance measurement in a robot or an electronics project. Ideal for beginners and intermediates.
What you need
- Ultrasonic Sensor Mounting Slot HC 05 04 03
- Arduino or compatible microcontroller
- Power cable
- 1 kΩ resistor
Steps
- 1. Mount the sensor on the mounting slot.
- 2. Connect the VCC pin to the +5V of the Arduino.
- 3. Connect the GND pin to the GND of the Arduino.
- 4. Connect the TRIG pin to an available digital pin on the Arduino.
- 5. Connect the ECHO pin to another available digital pin on the Arduino.
- 6. Connect the VCC pin to the +5V of the Arduino.
- 7. Connect the GND pin to the GND of the Arduino.
- 8. Install a 1 kΩ resistor between the VCC and GND pins for protection.
Example code
```
#include <NewPing.h>

NewPing sonar(7, 8, 200);

void setup() {
  Serial.begin(9600);
}

void loop() {
  int dist = sonar.ping_cm();
  Serial.print(dist);
  Serial.println(" cm");
  delay(1000);
}
```
Mini project
Create a simple robot that stops when it encounters an obstacle. In 30 minutes, you can mount the sensors, program the Arduino, and test the project.
Common mistakes
- Fail to connect the VCC and GND pins correctly.
- Forget to protect the circuit with a resistor.
- Connect the TRIG and ECHO pins incorrectly.
- Forget to install the driver for the sensors.
Recommended accessories
- Arduino Uno
- Power cable
- 1 kΩ resistor
- Compatible microcontroller
Frequently asked questions
How can I test the sensors before mounting them?
Connect the TRIG and ECHO pins to a digital pin and an analog pin respectively, then use an oscilloscope or multimeter to verify the signals.
Which Arduino pins can I use?
Any digital pin can be used for TRIG, but make sure it is not the same one used for ECHO.
Does the sensor work with Arduino Mini?
Check the datasheet: the sensor can work with any compatible microcontroller operating at 5V.
Reviews
There are no reviews yet.