 EN
 IT Italiano
 ES Español
 FR Français
 DE Deutsch
Description
Tutorial: How to Use 91 Ohm Resistor Kit
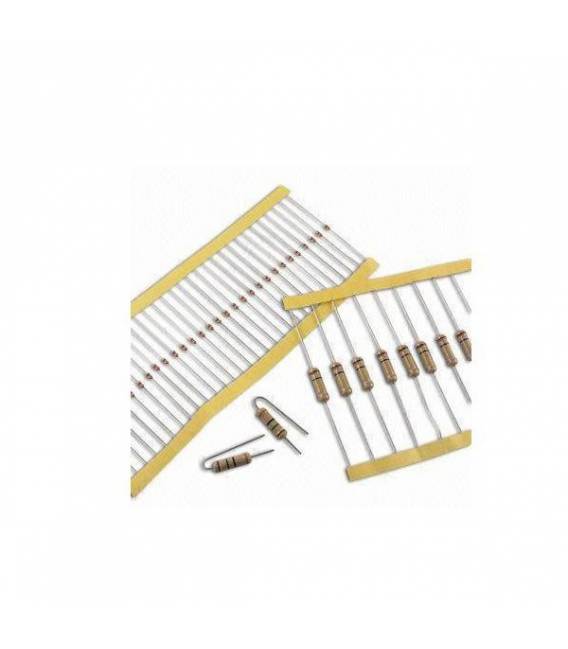
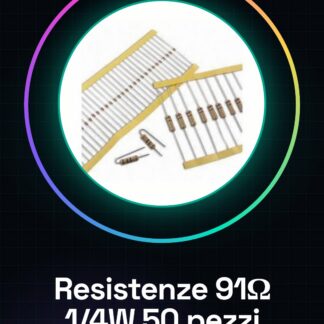
The 91 ohm resistor kit is essential for electronic projects that require specific current limits. Ideal for beginners and intermediate makers.
What you need
- 91 Ohm Resistor Kit
- Arduino Uno or Compatible
- Connectors
Steps
- Check the desired resistance (91 ohm) on the datasheet.
- Connect one end of the resistor to the Arduino pin used for the project.
- Connect the other end to ground or another reference point in the circuit.
- Verify the correct connection with a multimeter (if available).
- Write a simple sketch in Arduino that reads the value of the resistor connected to the pin.
Example code
int ledPin = 13;
void setup() {
pinMode(ledPin, OUTPUT);
}
void loop() {
digitalWrite(ledPin, HIGH); // accendi la lampadina
 delay(1000); // attesa di un secondo
 digitalWrite(ledPin, LOW); // spegni la lampadina
 delay(1000);}
Mini project
Create a simple light interface with Arduino and 91 ohm resistors. Connect the resistors to different LEDs to create a variable lighting effect.
Common mistakes
- Using the wrong resistor.
- Connecting the resistor to the circuit without first checking the value.
- Do not use a multimeter to check the connection and value of the resistance.
Recommended accessories
- Arduino Uno
- LED of various colors
- Digital multimeter
- Connectors
Frequently asked questions
How can I verify the value of a resistance?
Use a multimeter to measure the resistance or check the color band on the resistance.
Why is it important to use resistors with a certain value?
Resistors regulate the electric current in the circuit, preventing damage to components such as LEDs and transistors.
Reviews
There are no reviews yet.