 EN
 IT Italiano
 ES Español
 FR Français
 DE Deutsch
Description
Tutorial: How to Use 82 Ohm Resistor Kit
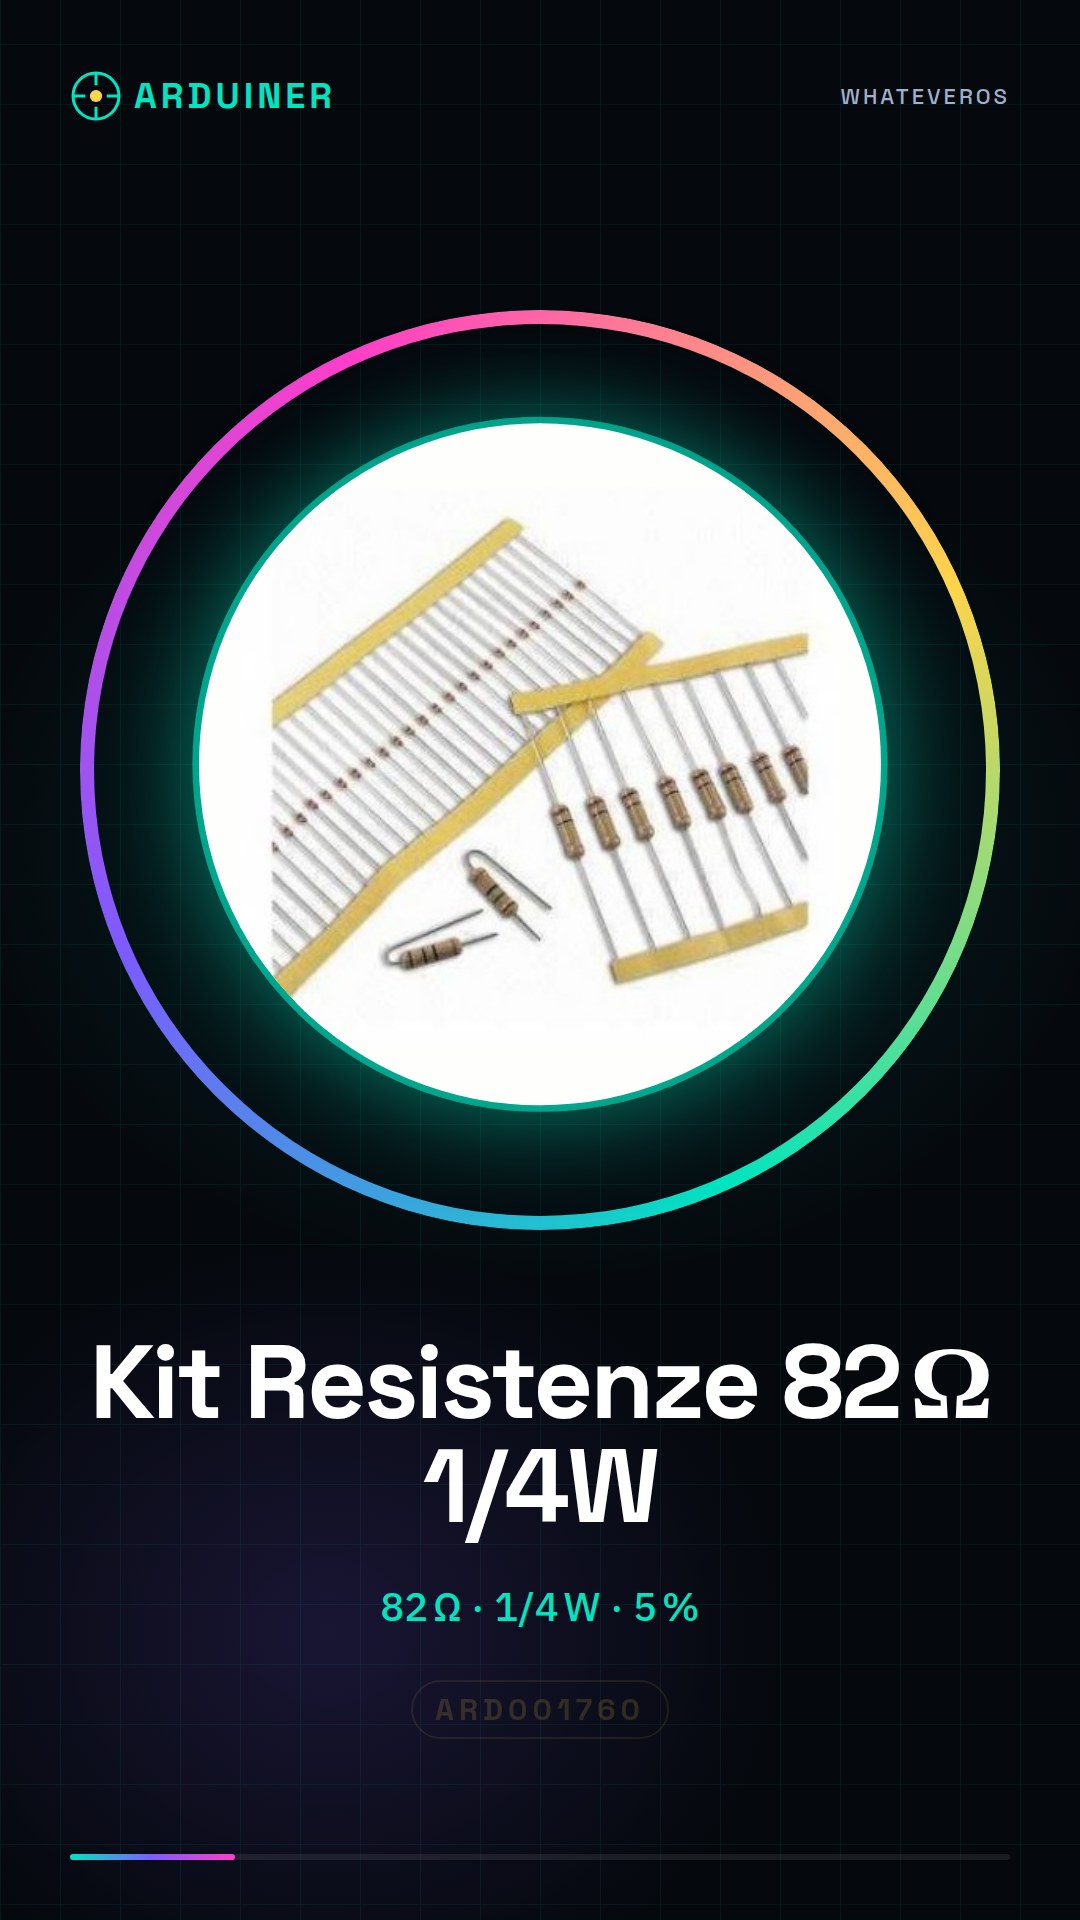
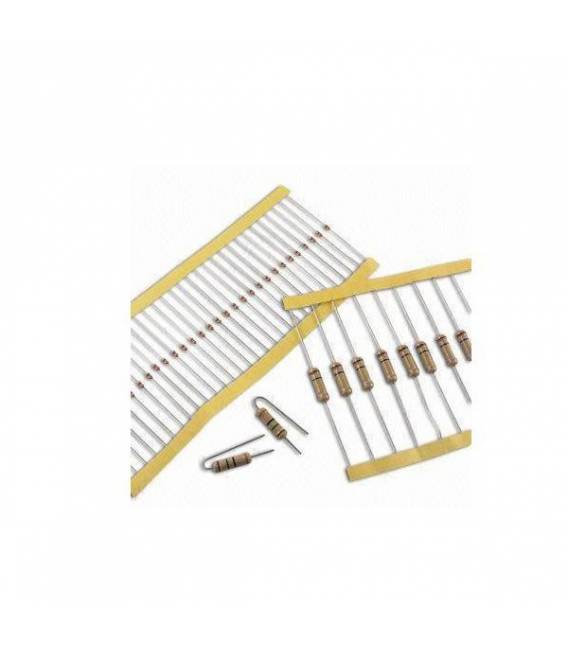
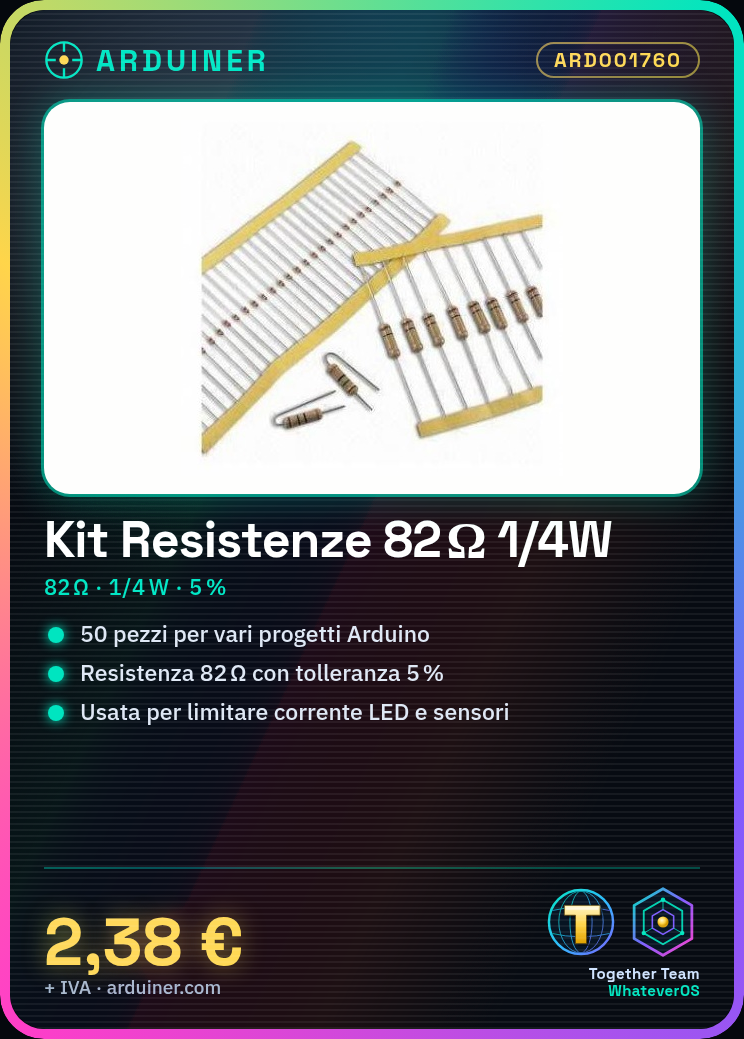
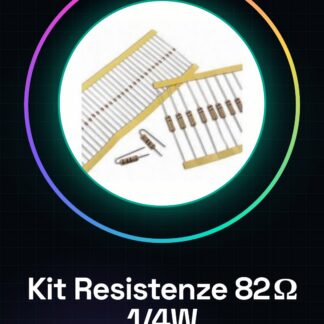
This 82 ohm resistor kit is ideal for electronic projects that require a specific resistance. Suitable for both beginners and experienced makers, this kit offers a good quality-price ratio.
What you need
- Arduino Projects
- Breadboard Circuits
- Electric Current Regulation
Steps
- Check the resistor specifications (82 ohm, 1/4W, 5%) by consulting the datasheet if necessary.
- Select the connection points in your circuit where the resistor will be used.
- Connect the ends of the resistor to the circuit terminals using appropriate pins or connectors.
- Verify the installation with a multimeter to ensure the value is correct.
- If necessary, use the resistor in combination with other components such as LEDs or sensors.
- Test the complete circuit to verify its functionality and the effect of the resistor.
Mini project
Create a simple LED projector using an 82 ohm resistor to limit the electric current. Connect the LED to a digital pin of the Arduino, use the resistor between the anode of the LED and the positive voltage.
Common mistakes
- Incorrect connection of the resistor that can cause a short circuit or damage components.
- Use of a resistor with an inappropriate value for the specific project.
- Do not check the resistor before use, it may have a value different from the declared one.
Recommended accessories
- Connector and pin kit
- Multimeter
- Arduino Uno
Frequently asked questions
What is the tolerance of the resistor?
The tolerance is 5%, check the datasheet for specific details.
How can I use this resistor in a circuit?
You can use it as a current limiter or as part of a voltage divider, consult the component datasheet for further information.
Reviews
There are no reviews yet.