 EN
 IT Italiano
 ES Español
 FR Français
 DE Deutsch

Description
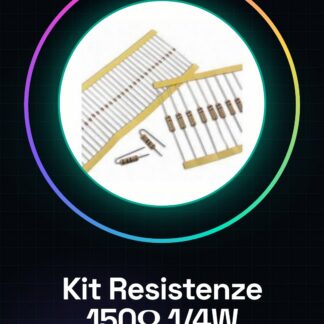
Tutorial: How to Use 150 Ohm Resistance Kit
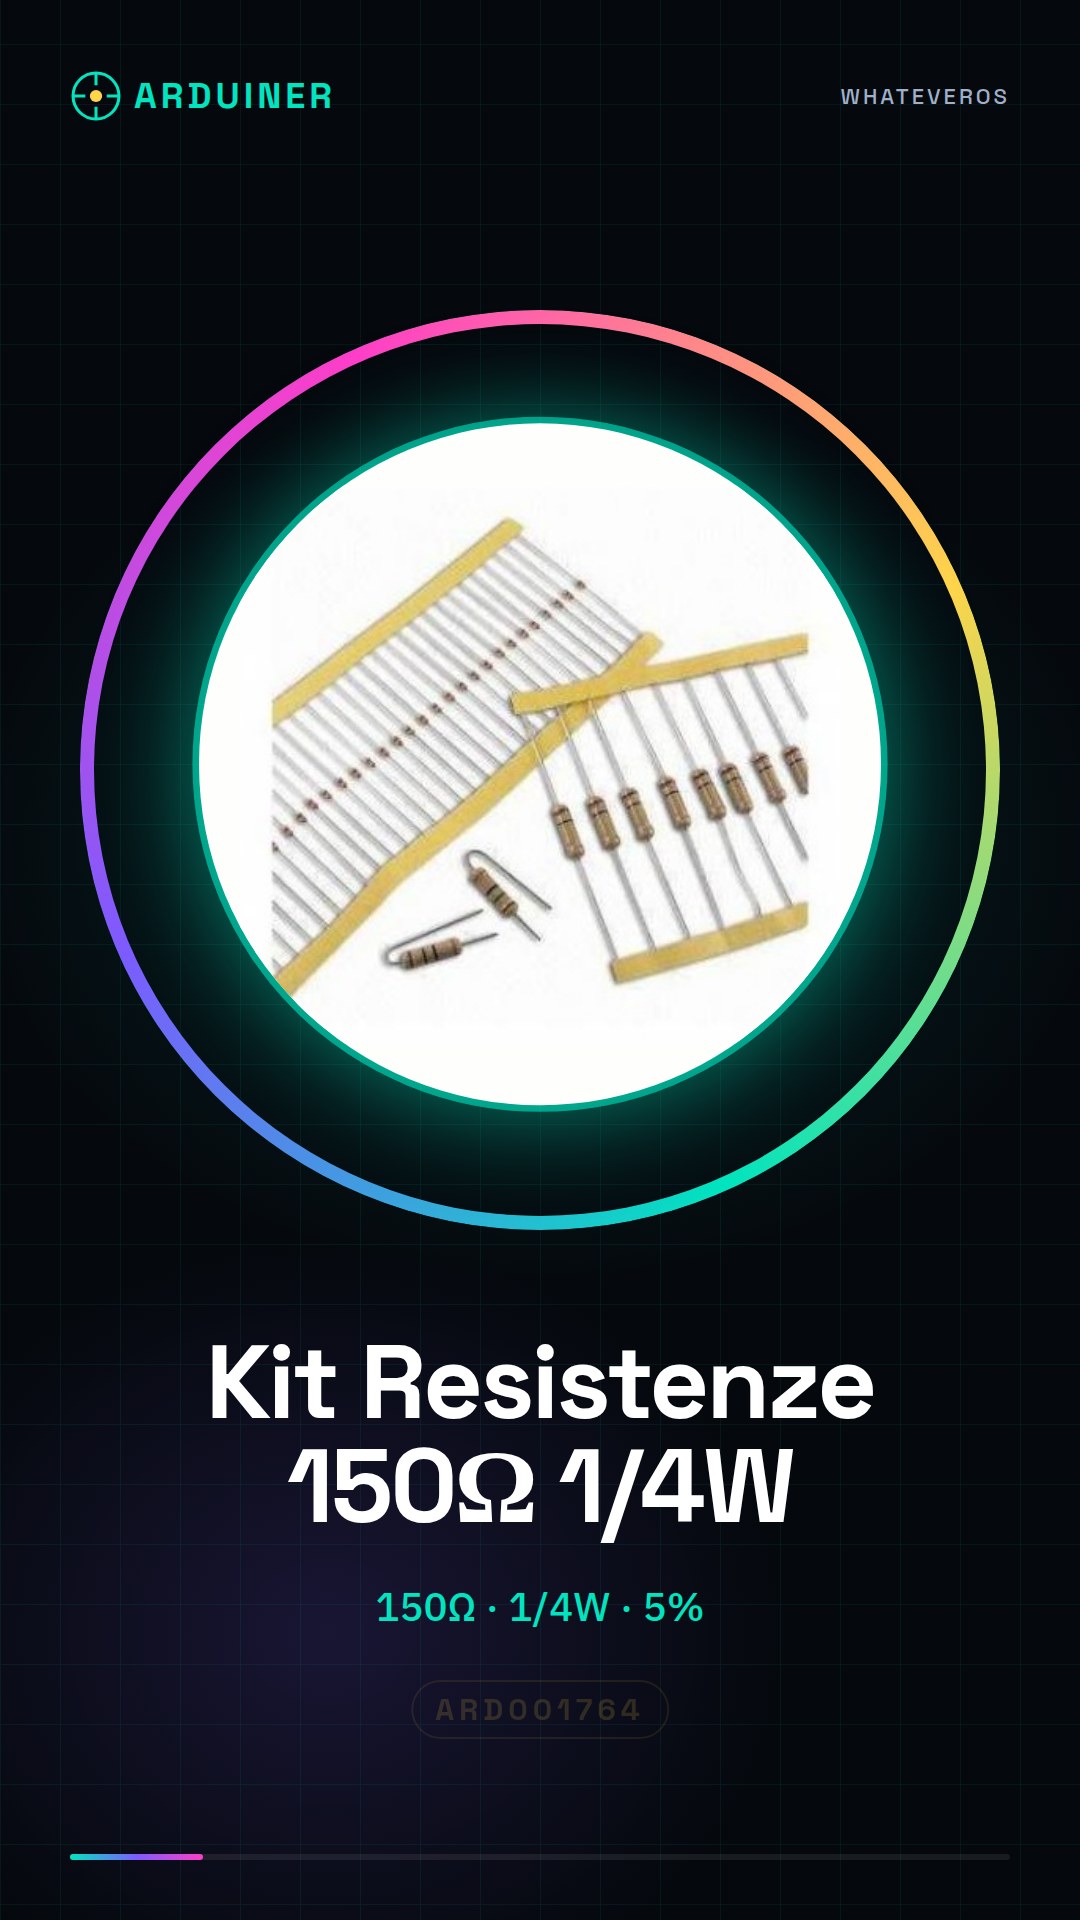
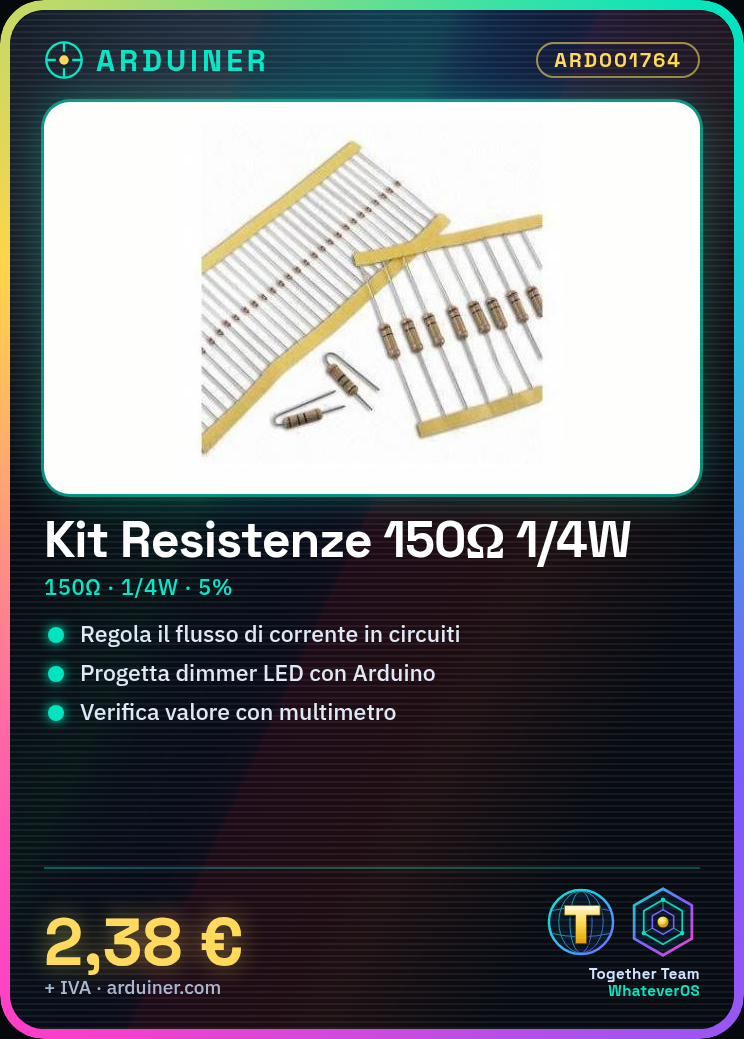
Resistors are essential for regulating the flow of electrical current in a circuit. These 150 ohm resistors, suitable for small applications, are ideal for beginners learning the basics of electronics.
What you need
- Arduino Projects
- Prototype Circuits
- Current Regulation
- Testing and Measurement
Steps
- Check the resistance value using a multimeter or a resistor color code reader.
- Select the appropriate position in the circuit where you want to insert the resistor.
- Connect the power and signal wires to the corresponding terminal of the resistor.
- Verify that the circuit works correctly after installation.
Mini project
Create a simple dimmer for an LED bulb using the resistor as part of a variable circuit. Use Arduino to adjust the brightness of the LED.
Common mistakes
- Using a resistor with an incorrect value that does not meet the project requirements.
- Connecting the resistor to the circuit without first checking its value.
- Failing to check the effect of the resistor on the current flow in the circuit.
Recommended accessories
- Arduino Starter Kit
- Digital Multimeter
- 3D Print Cases for Projects
- Jumper Wire M/F
Frequently asked questions
What is the maximum power I can apply to this resistor?
Check the datasheet, but generally they are suitable up to 1/4 Watt.
Can I use these resistors for professional projects?
They are ideal for prototypes and small projects, not recommended for high current applications.

Reviews
There are no reviews yet.