 EN
 IT Italiano
 ES Español
 FR Français
 DE Deutsch
Description
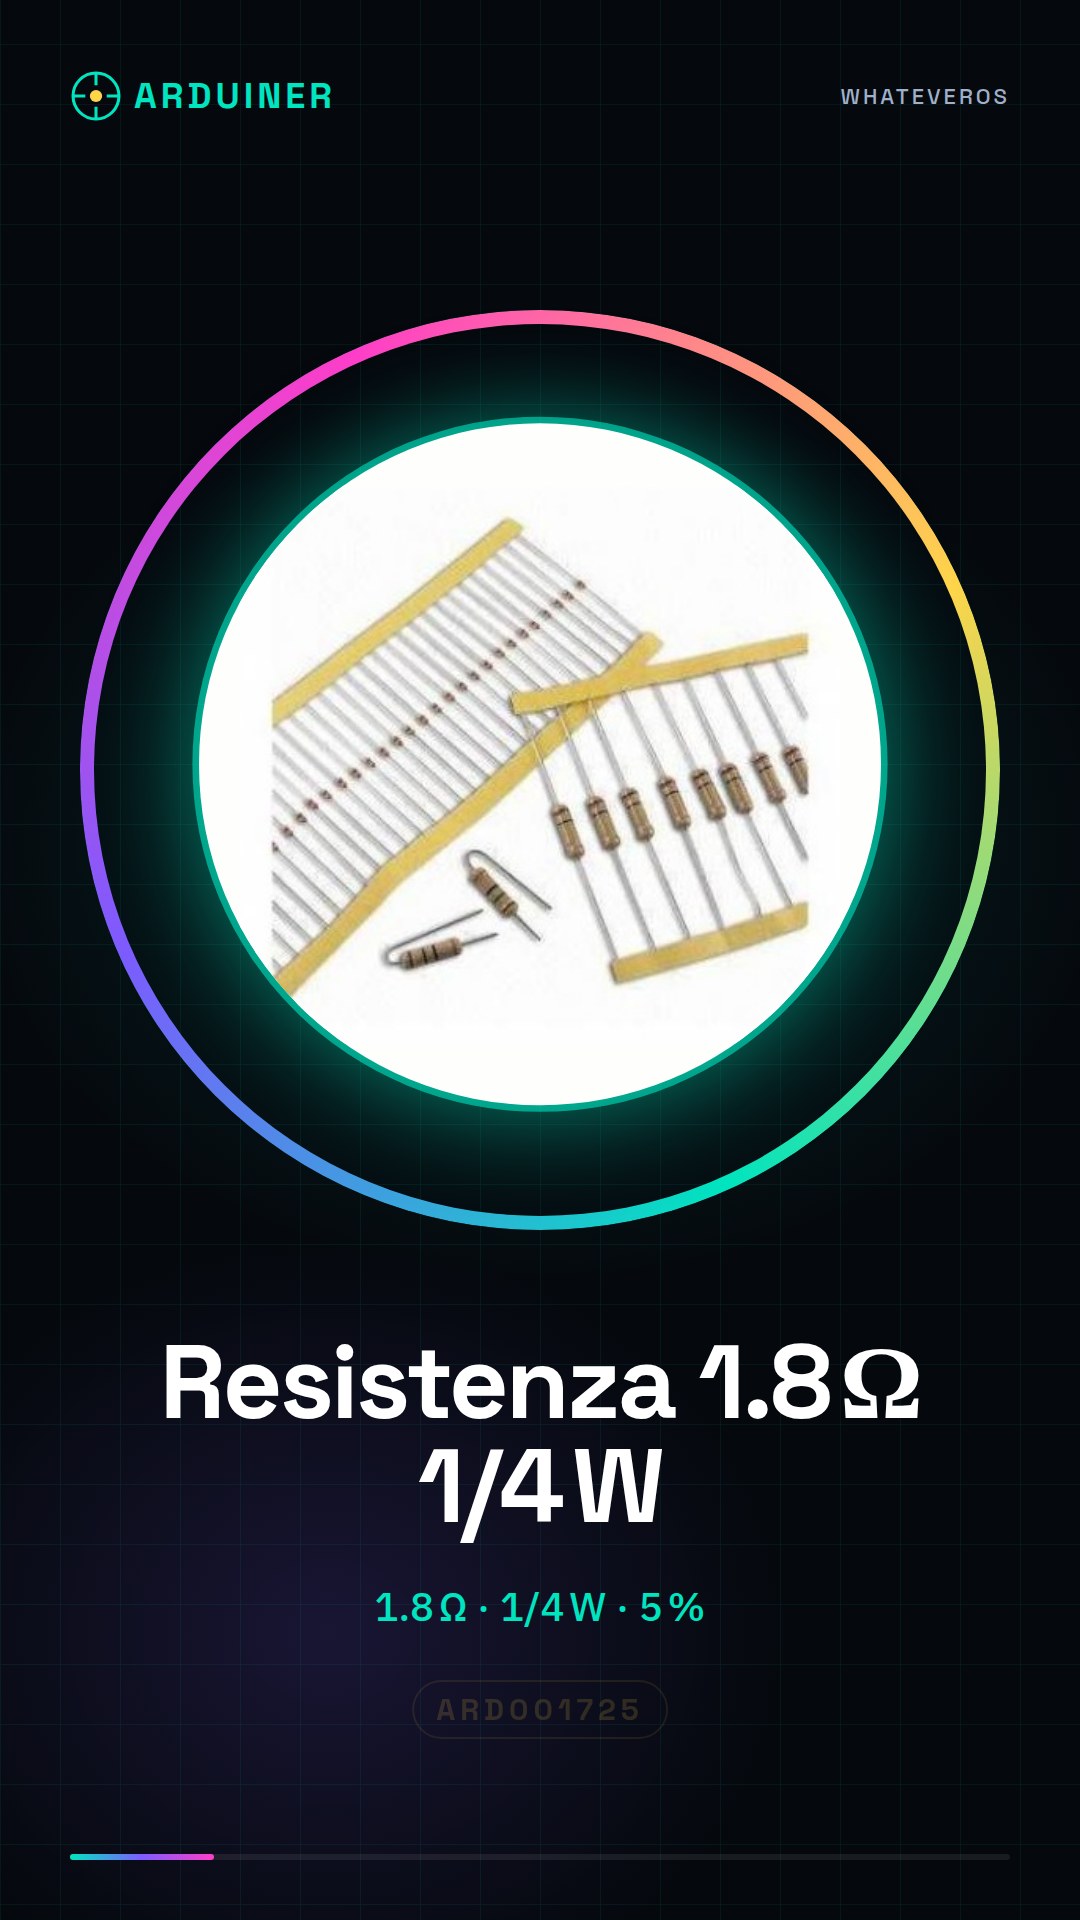
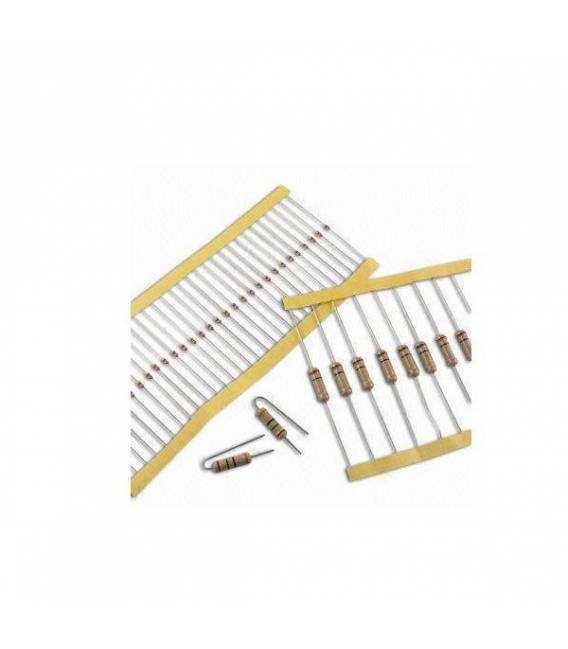
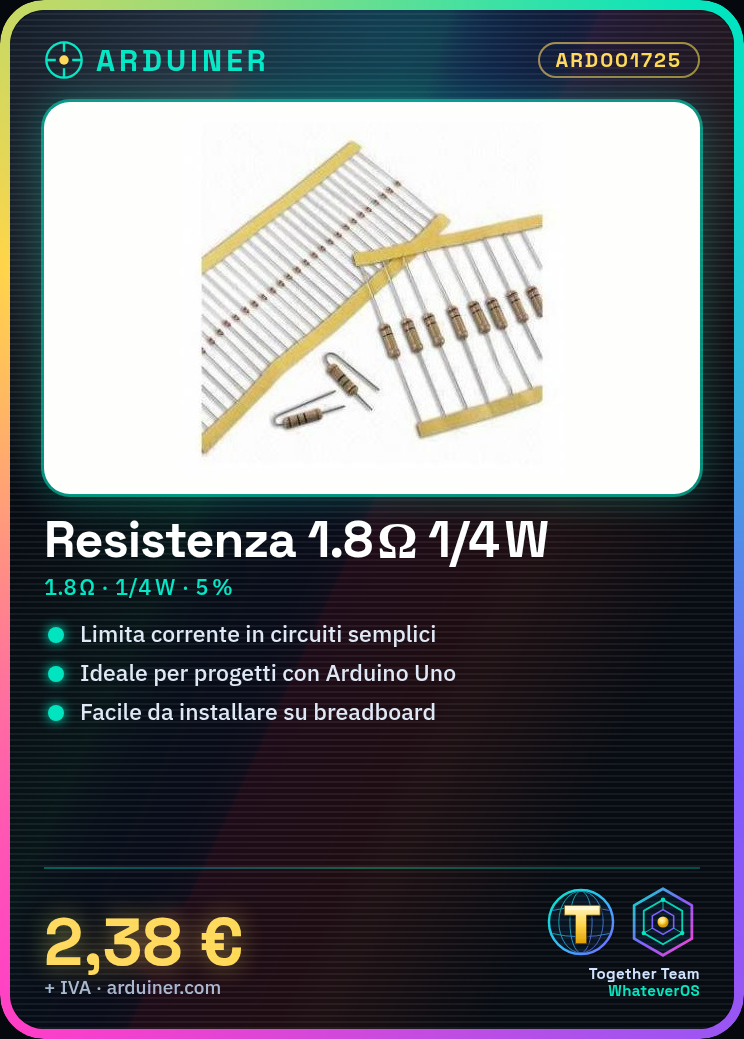
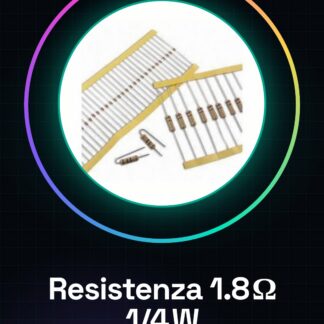
50PCS 1.8 ohm 1/4w 1/4 w 5%
Tutorial: How to Use 1.8 Ohm Resistor
The 1.8 ohm resistor is a fundamental component for limiting electrical current in electronic circuits. It is ideal for beginners who are learning to design simple schematics.
What you need
- Arduino Uno
- Breadboard
- Jumper wires
Steps
- Install the resistor between an input/output pin of the Arduino and the ground via a breadboard.
- Connect the jumper wires to the ends of the resistor to connect it to the Arduino.
- Write an Arduino sketch that reads the value of the resistor connected to an analog pin.
- Check the voltage reading on the serial monitor of the Arduino IDE.
Example code
const int sensorPin = A0; // pin di connessione
int val;
void setup() {
  Serial.begin(9600);
}
void loop() {
  val = analogRead(sensorPin);
  Serial.println(val);
}
Mini project
Design a simple circuit to measure the resistance and display the value on the serial monitor of the Arduino IDE.
Common mistakes
- Incorrect resistor connection.
- Voltage reading error.
- Impedance too low or high compared to the desired circuit.
Recommended accessories
- Breadboard
- Arduino Uno
- Jumper wires
Frequently asked questions
How can I check the resistance?
Use a multimeter in ohmmeter mode to measure the actual value of the resistance.
What are the usage limits of the 1.8 Ohm resistor?
Check the datasheet to determine operational specifications such as maximum power and tolerance.
Reviews
There are no reviews yet.