 EN
 IT Italiano
 ES Español
 FR Français
 DE Deutsch
Description
Technical Description
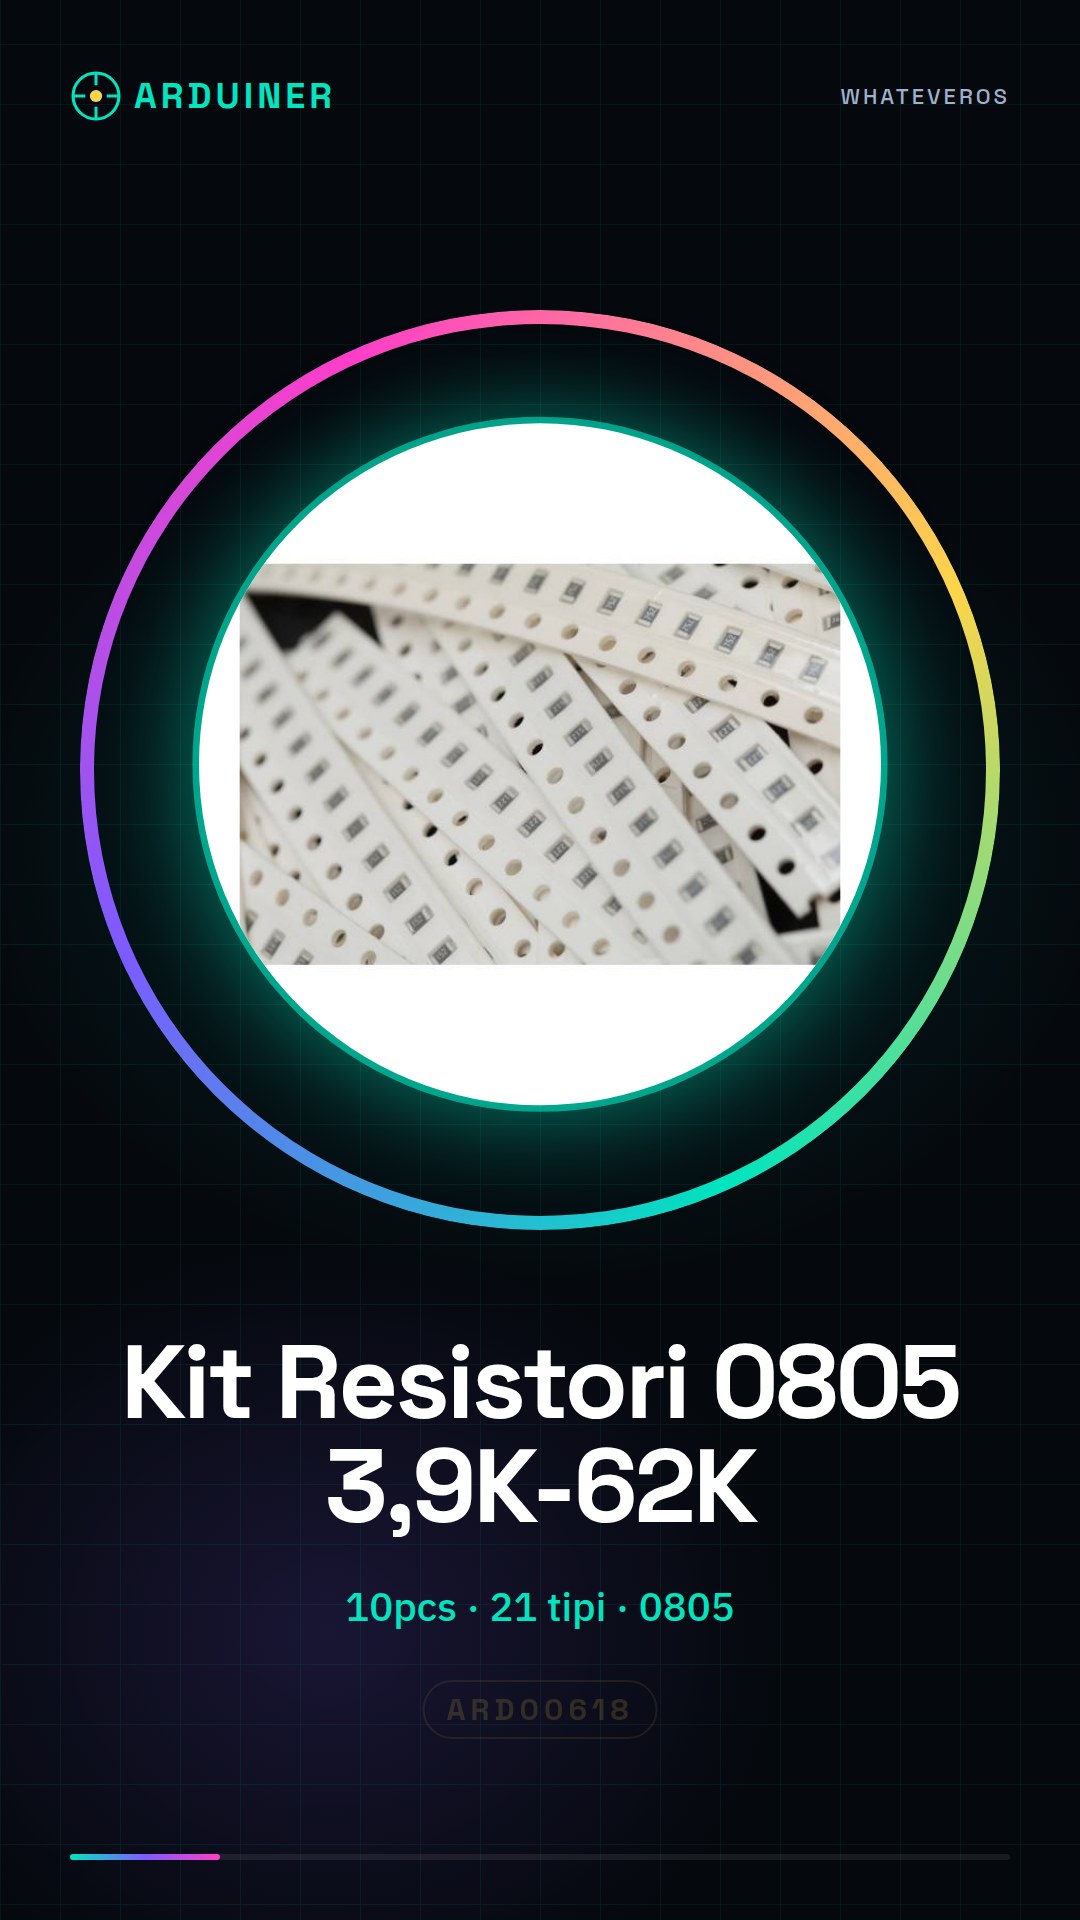
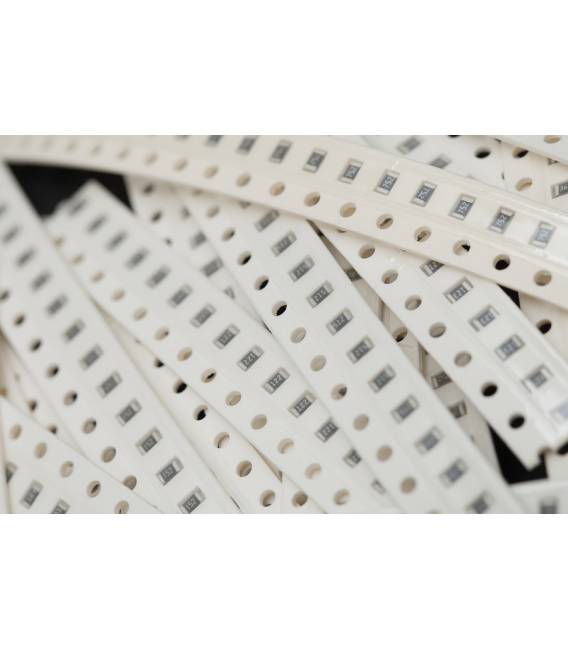
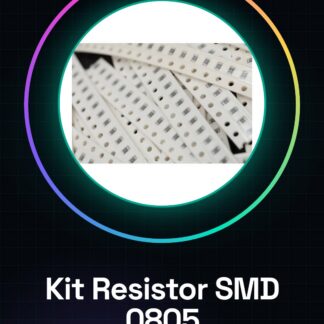
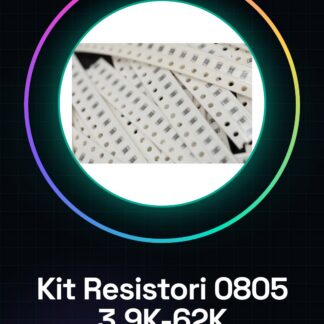
The ARD00618 SMD 0805 Resistor Kit contains 10 pieces of 21 types of SMD resistors with values ranging from 3.9 K to 62 K. These resistors are designed for use in electronic circuits where a small footprint and low heat dissipation are required. SMD resistors are connected to PCB circuits using hot plate soldering techniques or with a paste printing machine.
SMD 0805 resistors are suitable for projects that require precision and compactness. Their small size allows them to be integrated into densely populated PCB circuits. The selection of resistance values is crucial for optimizing circuit performance.
For proper use, it is necessary to follow the product’s datasheet specifications and use tools such as multimeters to verify the resistance.
Key Specifications
| Parameter | Value |
| Model | ARD00618 |
| Quantity | 10 pieces |
| Values | 3,9 K 4,7 K 5,1 K 5,6 K 6,2 K 9,1 K 10 K 12 K 15 K 18 K 20 K 22 K 27 K 30 K 33 K 39 K 43 K 47 K 51 K 56 K 62 K |
| Dimensions | 0805 |
| Voltage | N/D (see manufacturer’s datasheet) |
| Current | N/D (see manufacturer’s datasheet) |
| Interface | SMD |
| Container | Plastic packaging |
Installation and Usage
- Open the product datasheet to verify the specifications of the resistors.
- Select the required resistors from the kit based on the project requirements.
- Prepare the PCB board or dot matrix print with the correct slots for SMD 0805 resistors.
- Solder the resistors to the PCB using a hot air soldering plate.
- Ensure that all connections are stable and secure.
Compatibility and Requirements
- The kit is compatible with standard PCBs and prototyping systems such as Arduino.
- A multimeter is required to verify the resistance.
- A soldering iron or hot air soldering plate is needed for the connection.
Limitations and Important Notes
- These resistors cannot be used in circuits requiring high heat dissipation.
- Be cautious with the correct selection of resistance value for the project.
- Ensure proper soldering to avoid short circuits.
Troubleshooting
Measured resistance does not match the specified value.
Possible cause: Insufficient or excessive soldering.
Solution: Remove the component and solder it correctly again.
Short circuit on the PCB.
Probable cause: Incorrect or excessive soldering.
Solution: Remove the solder and re-solder the component.
Resistance not connected properly.
Probable cause: Improper placement of the component.
Solution: Remove the component and reposition it correctly.
Resistance value not conforming.
Probable cause: Incorrect selection of the component.
Solution: Verify the required resistance value from the project and select the correct component.
Use cases
Home temperature sensor
Objective: Measure ambient temperature at various points in the home.
What’s needed: ARD00618 SMD 0805 Resistor Kit
Steps: 1) Select the appropriate resistance value for the temperature sensor. 2) Connect the sensor to the PCB circuit. 3) Test the circuit with a multimeter.
Expected result: The temperature sensor functions correctly.
Light Control with Arduino
Objective: Adjust the light intensity based on ambient light.
What you need: ARD00618 SMD 0805 Resistor Kit
Steps: 1) Select the appropriate resistance value for the light control circuit. 2) Connect the circuit to the PCB. 3) Test the circuit with a multimeter.
Expected Result: The light control circuit works correctly.
Electronic Prototyping Project
Objective: Test the functionality of an electronic circuit.
What you need: ARD00618 SMD 0805 Resistor Kit
Steps: 1) Select the appropriate resistance value for the prototyping circuit. 2) Connect the circuit to the PCB. 3) Test the circuit with a multimeter.
Expected Result: The prototyping circuit works correctly.
Overload Protection Circuit
Objective: Prevent damage to the circuit in case of overload.
What’s needed: SMD 0805 Resistor Kit ARD00618
Steps: 1) Select the appropriate resistance value for the protection circuit. 2) Connect the circuit to the PCB. 3) Test the circuit with a multimeter.
Expected result: The protection circuit works correctly.
Power Control Circuit
Objective: Adjust the power level of the circuit.
What’s needed: SMD 0805 Resistor Kit ARD00618
Steps: 1) Select the appropriate resistance value for the power control circuit. 2) Connect the circuit to the PCB. 3) Test the circuit with a multimeter.
Expected result: The power control circuit works correctly.
Current Control Circuit
Objective: Adjust the current flow in the circuit.
What’s needed: SMD 0805 Resistor Kit ARD00618
Steps: 1) Select the appropriate resistance value for the current control circuit. 2) Connect the circuit to the PCB. 3) Test the circuit with a multimeter.
Expected result: The current control circuit works correctly.
Voltage control circuit
Objective: Adjust the voltage level in the circuit.
Required: ARD00618 SMD 0805 Resistor Kit
Steps: 1) Select the appropriate resistance value for the voltage control circuit. 2) Connect the circuit to the PCB. 3) Test the circuit with a multimeter.
Expected result: The voltage control circuit works correctly.
Power control circuit
Objective: Adjust the power level in the circuit.
Required: ARD00618 SMD 0805 Resistor Kit
Steps: 1) Select the appropriate resistance value for the power control circuit. 2) Connect the circuit to the PCB. 3) Test the circuit with a multimeter.
Expected result: The power control circuit works correctly.
In the package
- 10 pieces of 21 types of SMD 0805 resistors
Complete the project
- 0805 SMD resistor kit, 3.9 K-62 K, 10 pieces of 21 types: 3.9 K 4.7 K 5.1 K 5.6 K 6.2 K 9.2 K 10 K 12 K 15 K 18 K 20 K 22 K 27 K 33 K 39 K 43 K 47 K 51 K 56 K 62 K: For resistance verification during prototyping.
Technical FAQs
How do SMD resistors connect?
Use a hot air soldering plate to properly position and solder the component.
What is the difference between through-hole resistors and SMD resistors?
SMD resistors are smaller, lighter, and save space on the PCB.
How to verify the resistance of an SMD component?
Use a multimeter to measure the resistance of the component.
What tools are needed to use the SMD resistor kit?
A multimeter and a solder paste printer or a hot air soldering plate are required.
Tutorial: How to use SMD Resistor Kit 0805
SMD resistor kit for electronic projects. Perfect for beginners.
What you need
- Arduino Uno
- PCB printer or solder paste printer
Steps
- Open the product datasheet to check the specifications of the resistors.
- Select the required resistors from the kit based on the project requirements.
- Prepare the PCB or solder paste printer with the correct slots for SMD 0805 resistors.
- Solder the resistors to the PCB using a hot air soldering plate.
- Ensure that all connections are stable and secure.
- Test the circuit with a multimeter to verify the resistance.
- If necessary, repeat steps 3-5 until satisfied with the result.
Mini project
Create a simple light control circuit with Arduino and SMD resistors.
Common mistakes
- Error in selecting the correct resistor.
- Inaccurate connection of the component to the PCB board.
- Insufficient or excessive soldering.
Recommended accessories
- Dot matrix printer
- Hot air soldering iron
Frequently asked questions
How do SMD resistors connect?
Use a hot air soldering iron to properly place and solder the component.
What is the difference between through-hole resistors and SMD resistors?
SMD resistors are smaller, lighter, and save space on the PCB board.
Reviews
There are no reviews yet.