 EN
 IT Italiano
 ES Español
 FR Français
 DE Deutsch
Description
Technical Specifications
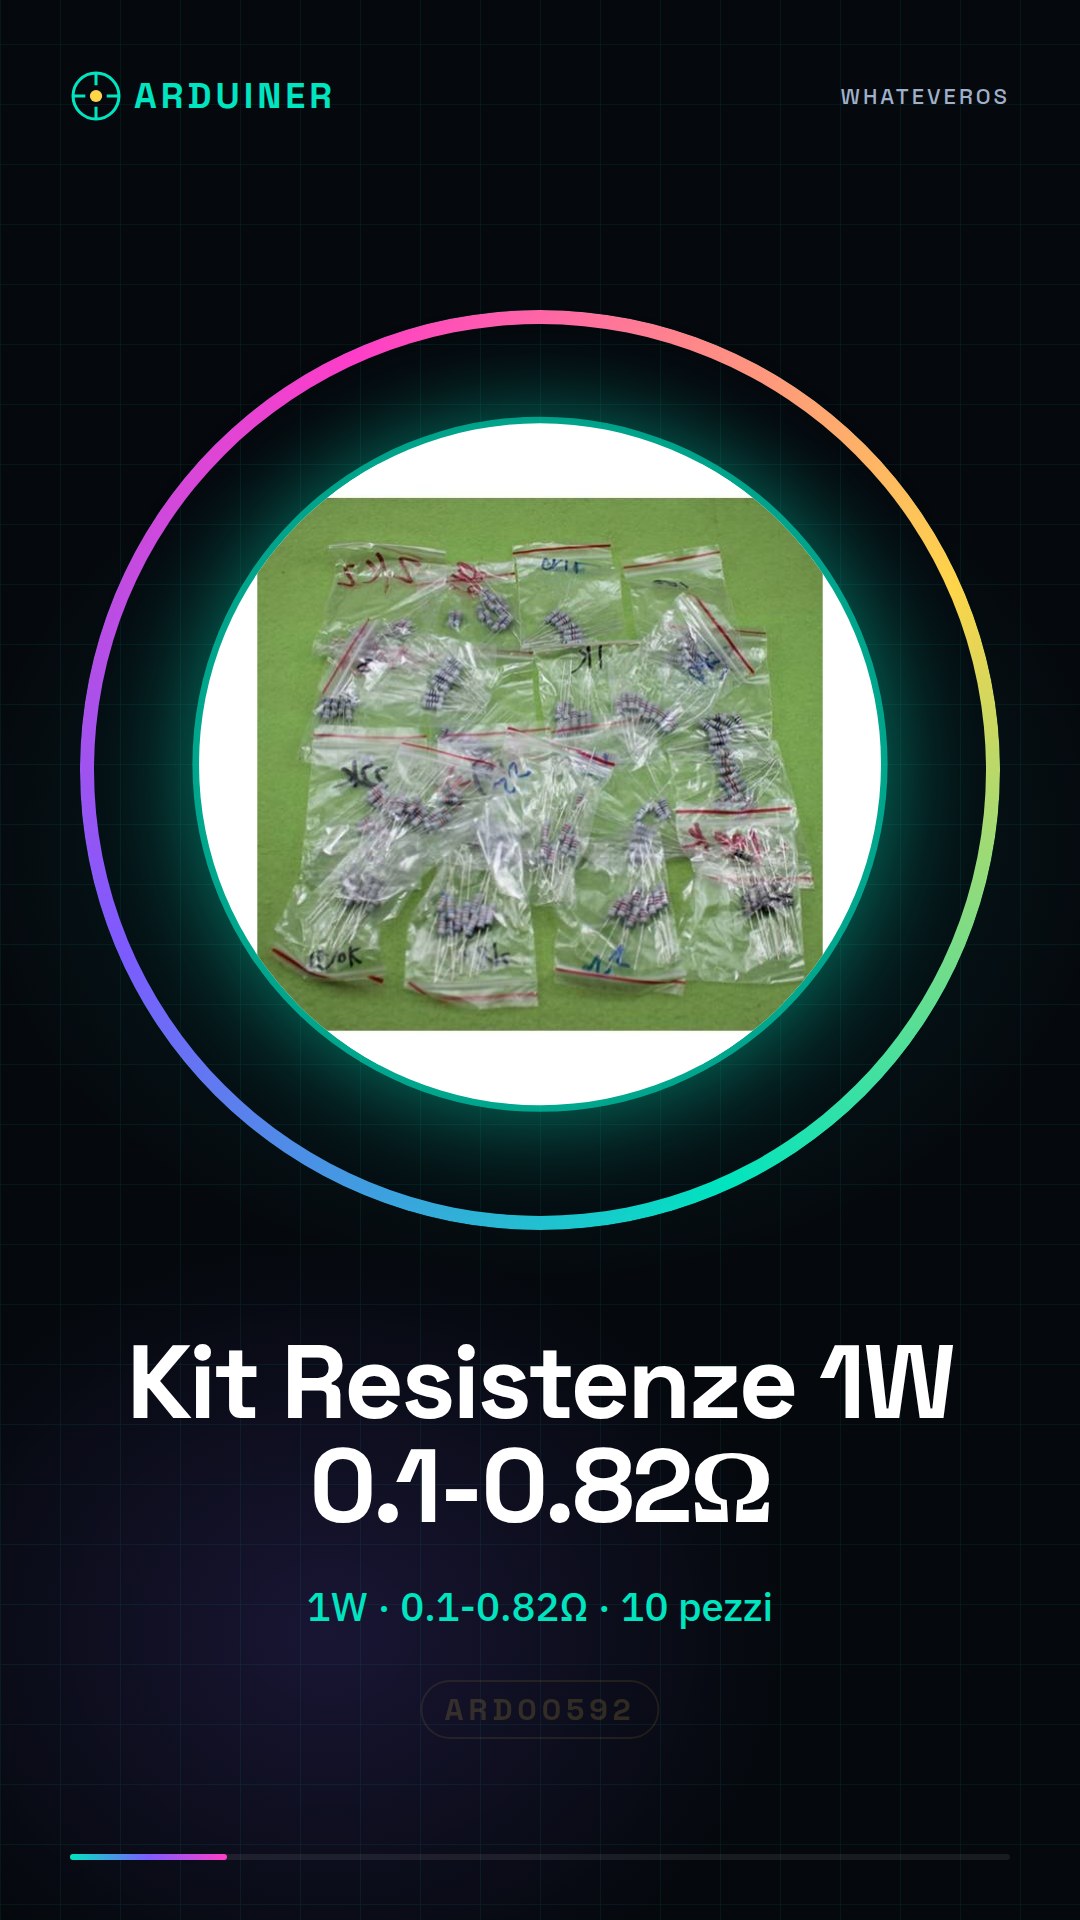
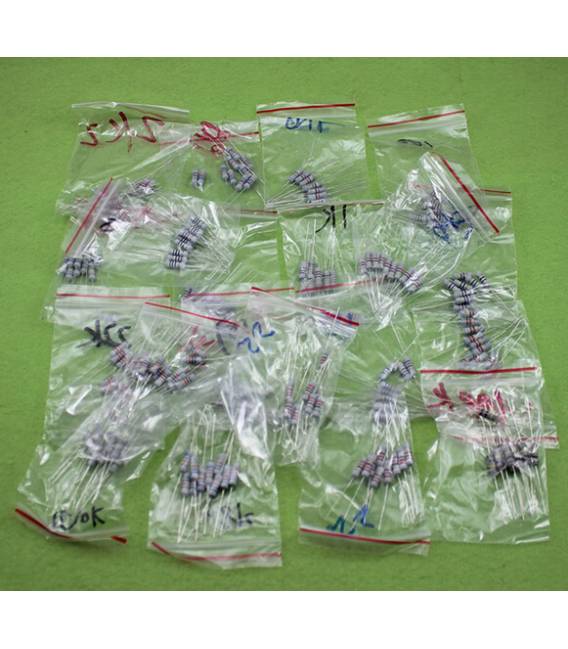
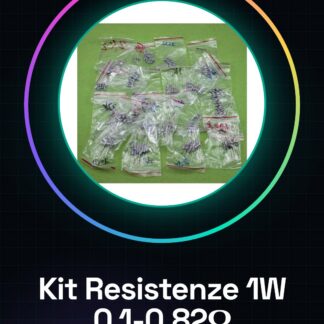
The product ARD00592 is a 1 watt resistor kit that includes ten pieces of eight different values ranging from 0.1 ohm to 0.82 ohm. These resistors are used to limit electrical current or to divide signals in electronic circuits. Each resistor in the kit is labeled with its value in ohms to facilitate identification and use.
Resistors are available in a kit that allows for a range of values suitable for various types of electronic projects. Each resistor in the kit is built to handle a maximum flow of 1 watt, ensuring good resistance to overload.
For safe and correct use, it is important to consult the provided datasheet to verify the precise values of the resistors and the usage specifications.
Key Specifications
| Parameter | Value |
| Model | ARD00592 |
| Quantity | 10 pieces |
| Values | 0.1 ohm, 0.22 ohm, 0.27 ohm, 0.33 ohm, 0.5 ohm, 0.56 ohm, 0.68 ohm, 0.82 ohm |
| Maximum Voltage | N/D (see manufacturer’s datasheet) |
| Maximum Current | N/D (see manufacturer’s datasheet) |
| Dimensions | N/D (see manufacturer’s datasheet) |
| Interface | N/D (see manufacturer’s datasheet) |
| Container | N/D (see manufacturer’s datasheet) |
Installation and Usage
- Open the datasheet to verify the precise values of the resistors in the kit.
- Connect a resistor to the circuit using the multi-function pliers.
- Verify correct installation with a multimeter.
- Use the Arduino Uno to measure the electrical current through the resistor.
- Modify the Arduino sketch to test different resistors in the kit.
Compatibility and Requirements
- The resistor kit is compatible with Arduino Uno and other prototyping systems.
- A multimeter is required to verify the value of the resistors.
- To test the resistors, an Arduino Uno or an equivalent system is necessary.
- The kit can be used in projects that require low-value resistors.
Limitations and Important Notes
- The resistors in the kit are not suitable for circuits requiring resistance values higher than 0.82 ohm.
- It is important to verify the value of the resistors before using them in the circuit.
- Do not use the resistors under overload conditions to avoid the risk of damage.
- Refer to the datasheet for usage specifications and operating conditions.
Troubleshooting
The resistor does not measure the expected value.
Probable cause: Incorrect resistor value or improper connection.
Solution: Check the resistance value with a multimeter and verify the connection.
The circuit does not work properly.
Probable cause: The resistance value does not match the circuit requirements.
Solution: Choose a resistance with an appropriate value for the circuit requirements.
The resistance overheats during use.
Probable cause: Electrical load exceeds the resistance capacity.
Solution: Reduce the electrical load or use a resistance with higher capacity.
The resistance value does not match the expected value.
Probable cause: Damage to the resistance or reading error.
Solution: Check the resistance value with a multimeter and replace the resistance if necessary.
Use cases
Temperature sensor for the garage
Objective: Measure the temperature of the garage.
What is needed: 1W resistor kit, Arduino Uno, LM35 thermal resistance.
Steps: 1) Verify the value of the thermal resistor with a multimeter. 2) Connect the thermal resistor to the circuit. 3) Use an Arduino Uno to measure the temperature. 4) Modify the Arduino sketch to display the values.
Expected result: The circuit correctly measures the temperature of the garage.
Protection circuit for power supplies
Objective: Protect the power supply from overload.
What you need: 1W resistor kit, Arduino Uno.
Steps: 1) Verify the value of the resistor. 2) Connect the resistor to the circuit. 3) Use an Arduino Uno to monitor the electrical flow. 4) Modify the Arduino sketch to disable the power supply in case of overload.
Expected result: The circuit protects the power supply from overload.
Resistor test for laboratory
Objective: Verify the value of the resistors.
What you need: 1W resistor kit, multimeter.
Steps: 1) Verify the value of each resistor in the kit. 2) Connect each resistor to the multimeter. 3) Check that the measured value corresponds to the expected value.
Expected result: The value of each resistor in the kit has been verified correctly.
Signal Divider Circuit
Objective: To divide a signal into two equal parts.
What you need: 1W Resistor Kit, Arduino Uno.
Steps: 1) Verify the value of the resistor. 2) Connect two equal resistors in parallel. 3) Use the Arduino Uno to measure the divided signals.
Expected result: The signal has been correctly divided into two equal parts.
Low Value Power Supply Protection Circuit
Objective: To protect the power supply from overload using low value resistors.
What you need: 1W Resistor Kit, Arduino Uno.
Steps: 1) Check the value of the resistance. 2) Connect the resistance to the circuit. 3) Use the Arduino Uno to monitor the electrical flow. 4) Modify the Arduino sketch to disable the power supply in case of overload.
Expected result: The circuit protects the power supply from overload with low-value resistors.
Home automation project
Objective: Adjust the lighting based on external light.
What you need: 1W resistor kit, Arduino Uno, photodiode.
Steps: 1) Check the value of the resistance. 2) Connect the resistance to the circuit. 3) Use the Arduino Uno to measure external light. 4) Modify the Arduino sketch to adjust the lighting.
Expected result: The lighting has been correctly adjusted based on external light.
Energy consumption monitoring project
Objective: Monitor energy consumption of a device.
What’s needed: 1W resistor kit, Arduino Uno.
Steps: 1) Check the value of the resistor. 2) Connect the resistor to the circuit. 3) Use the Arduino Uno to measure energy consumption. 4) Modify the Arduino sketch to display values.
Expected result: The device’s energy consumption has been monitored correctly.
Environmental noise control project
Objective: Measure environmental noise.
What’s needed: 1W resistor kit, Arduino Uno, microphone.
Steps: 1) Check the value of the resistor. 2) Connect the resistor to the circuit. 3) Use the Arduino Uno to measure environmental noise. 4) Modify the Arduino sketch to display values.
Expected result: Environmental noise has been measured correctly.
In the package
- 10 pieces of resistors from 0.1 ohm to 0.82 ohm
Complete the project
- 50 Pieces Resistor, 10000 ohm, 10k, ohm 1/4w 1/4 w 5%, Compatible with Arduino: To test the resistors in the kit.
Technical FAQs
Which resistors are included in the kit?
The kit contains resistors of 0.1 ohm, 0.22 ohm, 0.27 ohm, 0.33 ohm, 0.5 ohm, 0.56 ohm, 0.68 ohm, 0.82 ohm.
How to check the value of a resistor?
Check the value of a resistor with a multimeter.
What is the maximum voltage that a resistor in the kit can handle?
N/D (see manufacturer’s datasheet)
What is the maximum current that a resistor in the kit can handle?
N/D (see manufacturer’s datasheet)
Tutorial: How to use 1W Resistor Kit
This kit contains resistors of various values between 0.1 ohm and 0.82 ohm, useful for projects that require precise current limiting or signal division.
What you need
- Arduino Uno
- 1W Resistor Kit ARD00592
- Multifunction Pliers
Steps
- Open the datasheet to verify the precise values of the resistors in the kit.
- Connect a resistor to the circuit using the multi-function pliers.
- Verify the correct installation with a multimeter.
- Use the Arduino Uno to measure the electrical current through the resistor.
- Modify the Arduino sketch to test different resistors from the kit.
Example code
void setup() {
  Serial.begin(9600);
}

void loop() {
  int sensorValue = analogRead(A0);
  float voltage = sensorValue * (5.0 / 1023.0);
  float resistance = (voltage == 0) ? 0 : ((5 - voltage) / voltage) * 4700;
  Serial.println(resistance);
}
Mini project
Create a circuit that measures resistance and temperature with a thermistor. Use the provided sketch to display the values.
Common mistakes
- Using incorrect value resistors
- Not verifying the connection before use
- Ignoring the datasheet specifications
Recommended accessories
- Arduino Uno
- Digital Multimeter
- Thermistor LM35
- USB Cable for Arduino
Frequently asked questions
Which resistors are included in the kit?
0.1 ohm, 0.22 ohm, 0.27 ohm (check the datasheet), 0.33 ohm (check the datasheet), 0.5 ohm, 0.56 ohm (check the datasheet), 0.68 ohm, 0.82 ohm
How can I check the value of a resistor?
Use a multimeter to measure the resistance directly or connect the resistor to an electronic circuit such as an Arduino.
Reviews
There are no reviews yet.