 EN
 IT Italiano
 ES Español
 FR Français
 DE Deutsch
Description
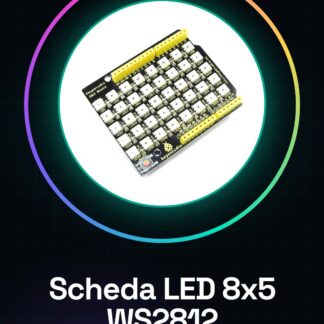
Tutorial: How to Use WS2812 LED Matrix Driver Board
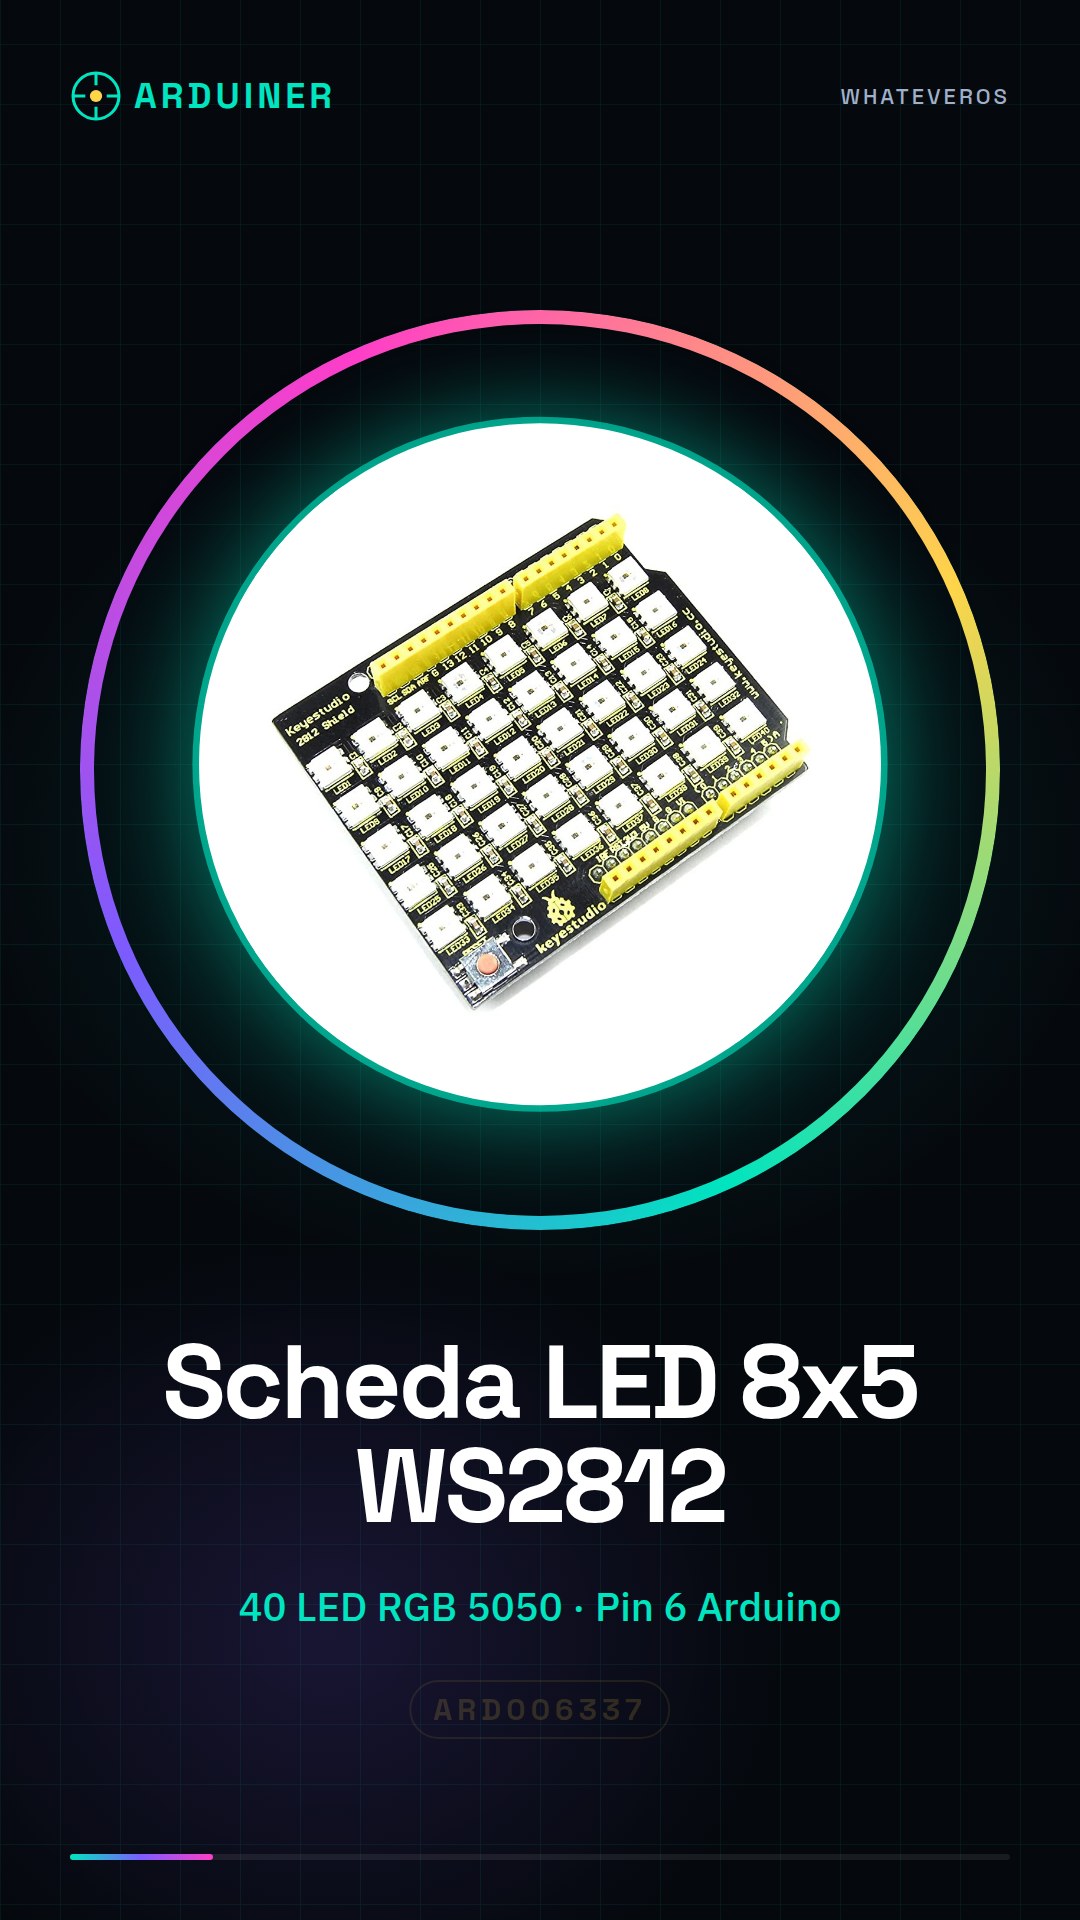
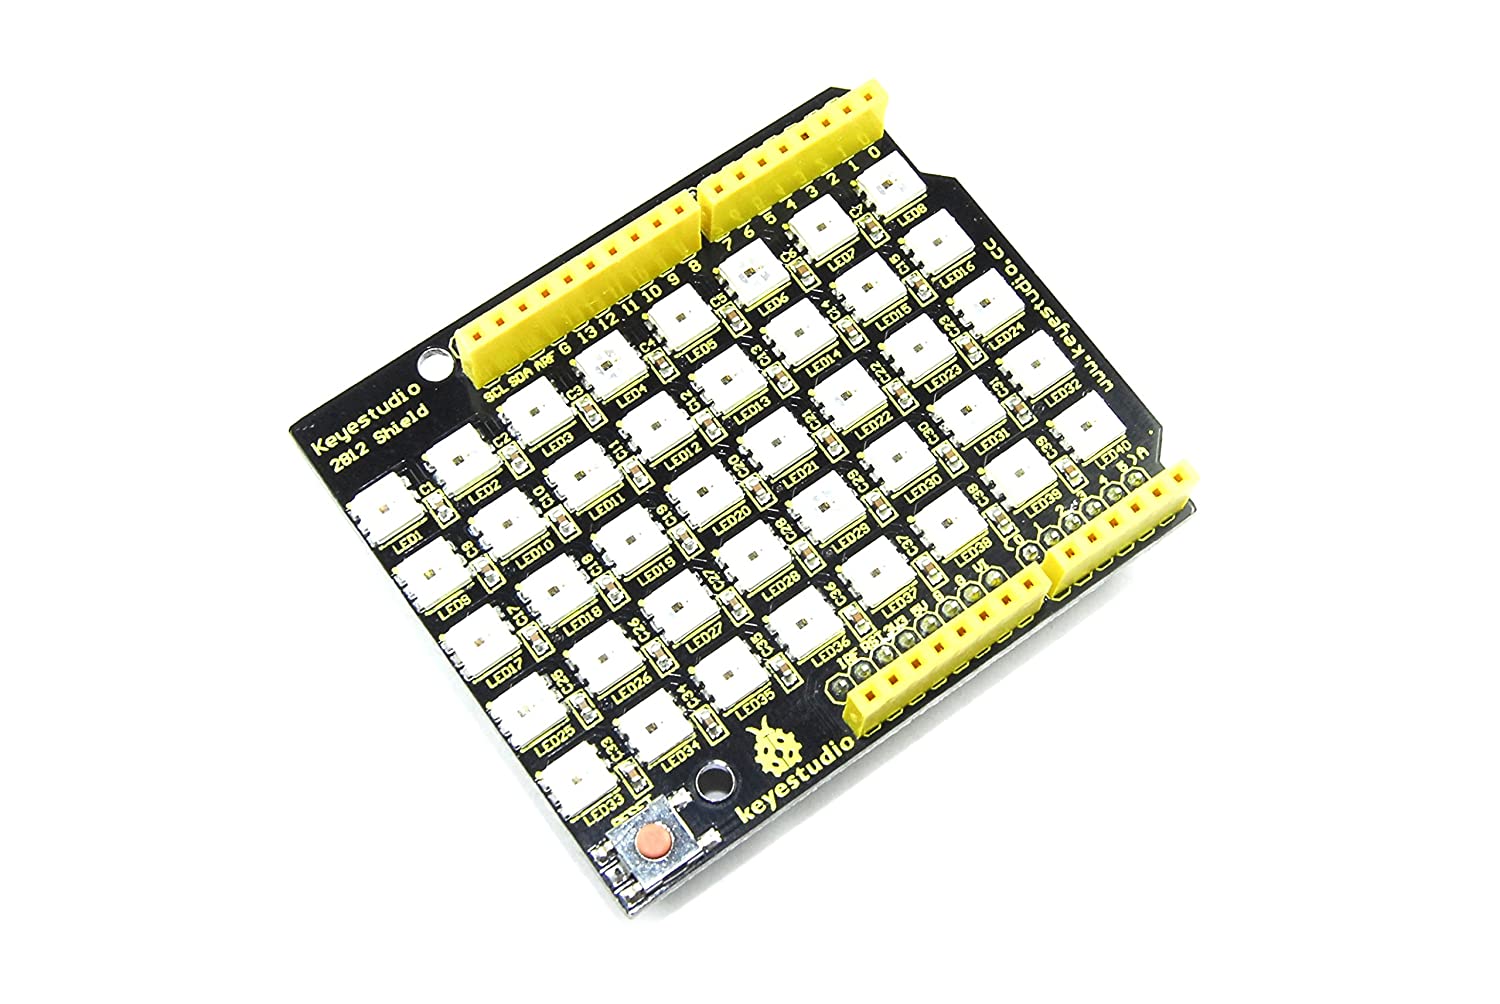
The WS2812 LED Matrix Driver Board is perfect for creating interactive color displays. It is ideal for makers who want to explore the programming of RGB matrices.
What you need
- Arduino Uno or compatible
- USB cable
- WS2812 LED Matrix Board
Steps
- Connect the data pin of the board to pin 6 of the Arduino (check the datasheet for the correct configuration).
- Download and install the Adafruit_NeoPixel library.
- Create a new sketch in Arduino and include the NeoPixel library.
- Initialize the number of LEDs and the RGB color order in the NeoPixel variable.
- In the setup(), start the LEDs with the strip.begin() function.
- Use the strip.setPixelColor() function to set the color of individual LEDs.
- Add a loop() cycle to update the LED output.
- Save and upload the sketch to Arduino.
Example code
Adafruit_NeoPixel strip = Adafruit_NeoPixel(40, 6, NEO_GRB + NEO_KHZ800);

void setup() {
  strip.begin();
}

void loop() {
  strip.setPixelColor(0, strip.Color(255, 0, 0)); // rosso
  strip.show();
}
Mini project
Create a display that changes color based on the ambient temperature measured with a DHT11 sensor.
Common mistakes
- Connect the data pin to the wrong pin on the Arduino.
- Fail to install the NeoPixel library correctly.
- Set the number of LEDs or the RGB color order incorrectly.
- Omit strip.show() in the loop().
Recommended accessories
- DHT11 Sensor
- 220 Ohm Resistor
- Ethernet Cable for Arduino Uno
- PIR Motion Sensors
Frequently asked questions
What is the difference between WS2812 and WS2811?
WS2812 has an integrated chip that manages the RGB LEDs, while WS2811 requires a separate driver for every group of 3 LEDs.
Can I use this board with other microcontrollers besides Arduino?
Yes, but it may be necessary to modify the wiring and library installation.
How many different colors can I create with these LEDs?
Each LED can produce up to 16 million colors (256x256x256).
Reviews
There are no reviews yet.