 EN
 IT Italiano
 ES Español
 FR Français
 DE Deutsch
Description
Tutorial: How to use DS18B20
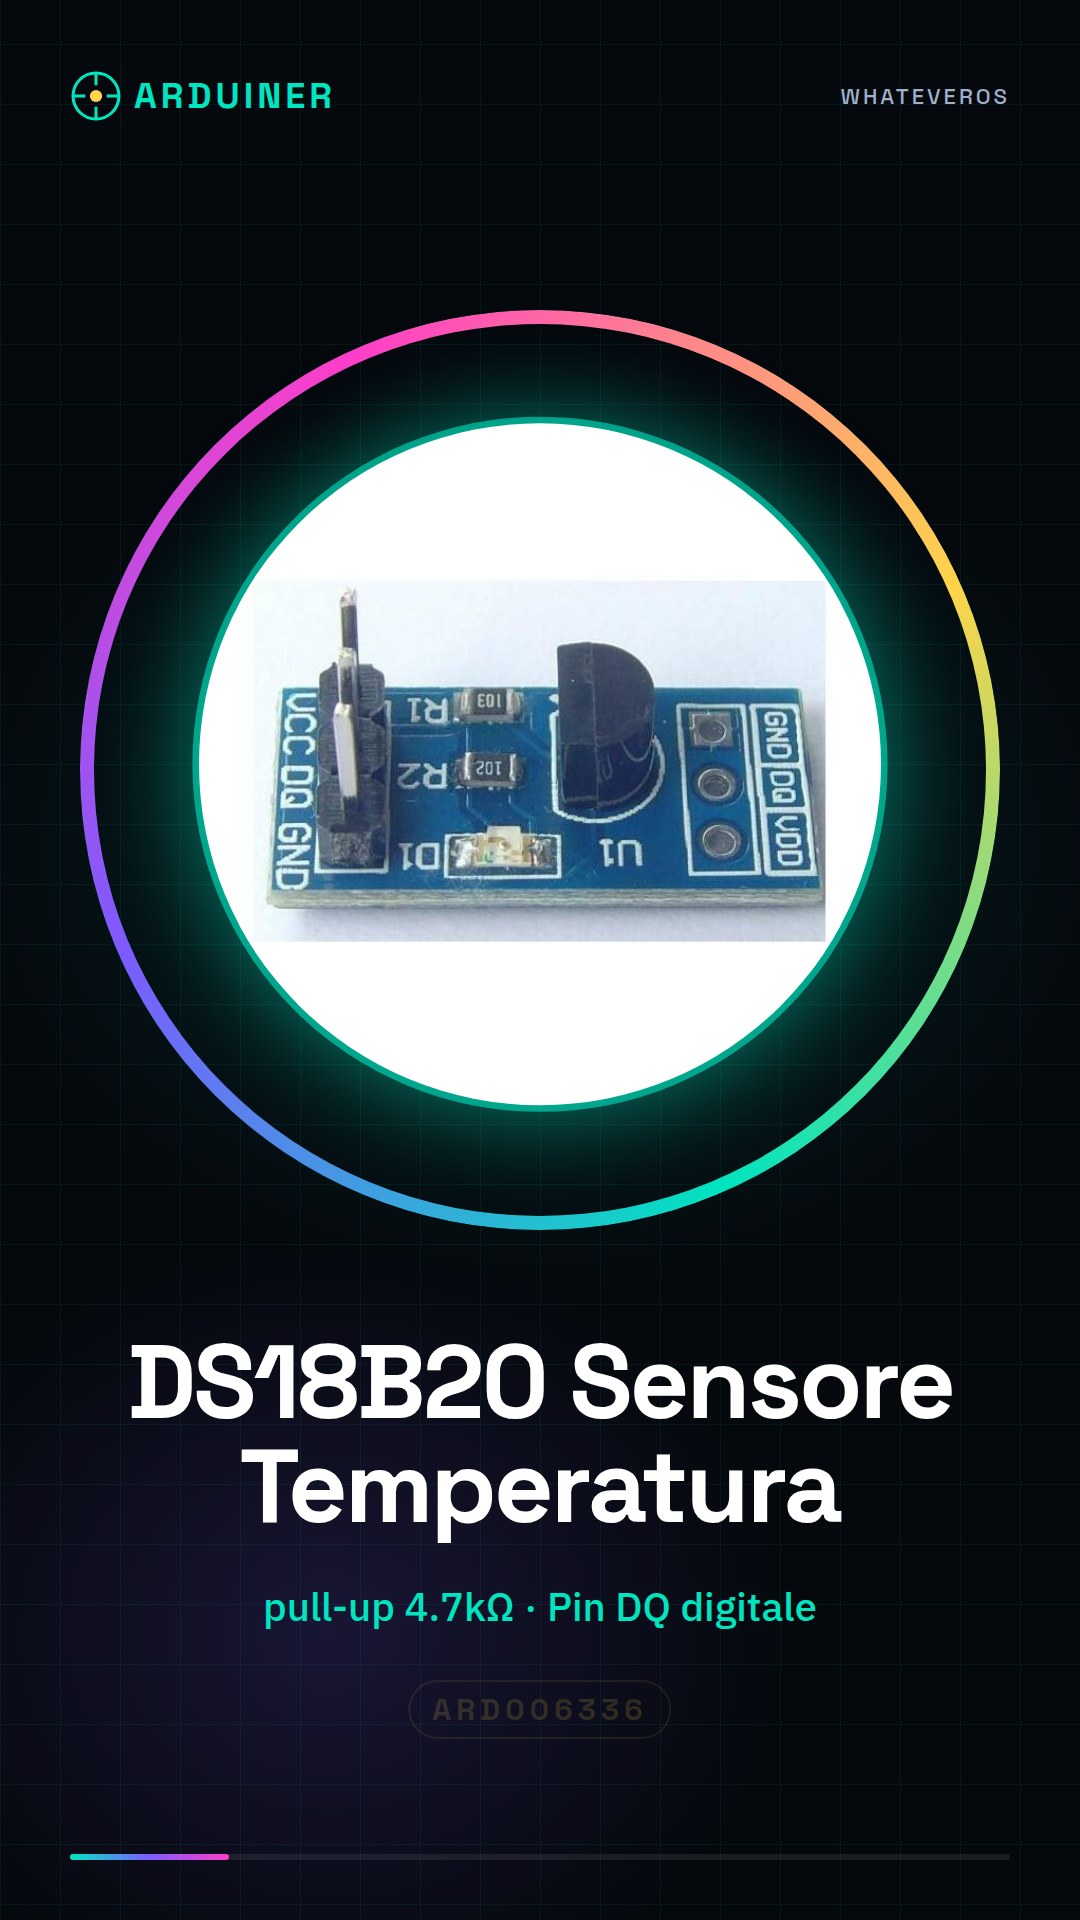
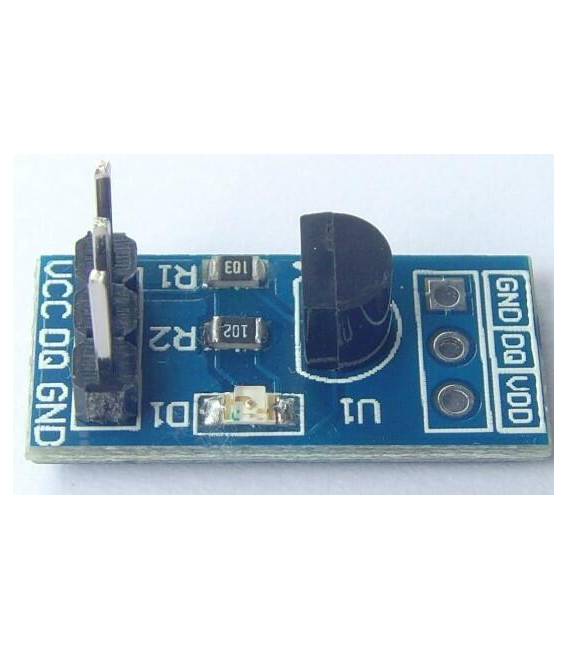
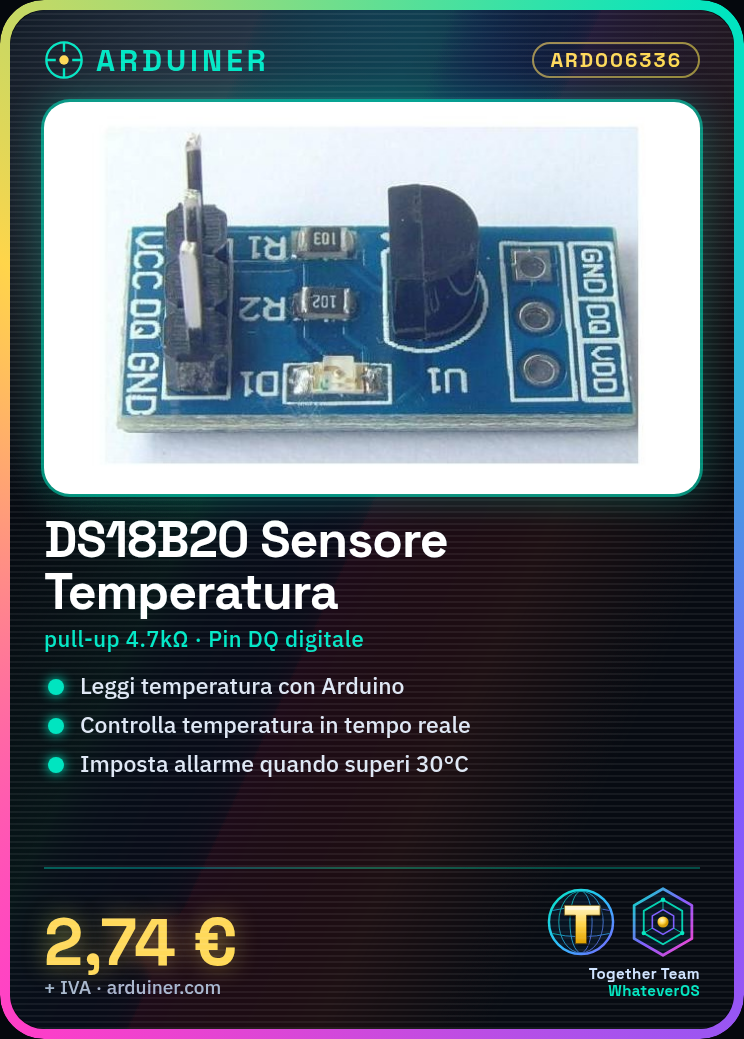
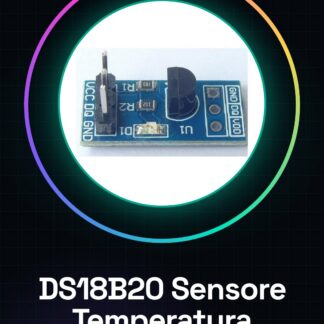
The DS18B20 temperature sensor measures temperature with precision and ease of interfacing with Arduino. Ideal for environmental monitoring and control projects.
What you need
- Arduino
- DS18B20
- Pull-up resistor
- Connection cable
Steps
- 1. Connect the VCC pin of the sensor to the 5V of the Arduino.
- 2. Connect the GND pin of the sensor to the GND of the Arduino.
- 3. Connect the DQ pin of the sensor to a digital pin of the Arduino (e.g., D2).
- 4. Connect a pull-up resistor (4.7kΩ) between the DQ pin of the sensor and 5V.
- 5. Upload the following code to the Arduino.
- 6. Check the datasheet to see if you need a 1-Wire extension.
- 7. Read the temperature with a simple sketch.
- 8. Check the connection and communication with the sensor.
Example code
```cpp
#include <OneWire.h>
#include <DallasTemperature.h>

OneWire oneWire(D2);
DallasTemperature sensors(&oneWire);

void setup() {
  sensors.begin();
}

void loop() {
  sensors.requestTemperatures();
  Serial.println(sensors.getTempCByIndex(0));
}
```
Mini project
Create a temperature alert system for a home area. Connect the sensor to the Arduino and set an alarm when the temperature exceeds 30°C.
Common mistakes
- Forget the pull-up resistor.
- Connect the DQ pin directly to GND or 5V.
- Use an unsupported digital pin for the sensor.
- Omit the inclusion of necessary libraries.
Recommended accessories
- LCD Display
- Relay
- Battery
- Humidity Sensors
Frequently asked questions
How can I connect multiple DS18B20 sensors?
Connect the DQ pins of all sensors to the pull-up and the Arduino, using a 1-Wire extension.
Why do I need a pull-up resistor?
The pull-up resistor keeps the 1-Wire bus in a high logic state when no sensor is active.
Does the sensor work with 3.3V?
Check the datasheet, but generally it works with 3.3V.
Which Arduino pins can I use?
Any digital pin can be used, but make sure it is supported by the library.
Reviews
There are no reviews yet.