Description
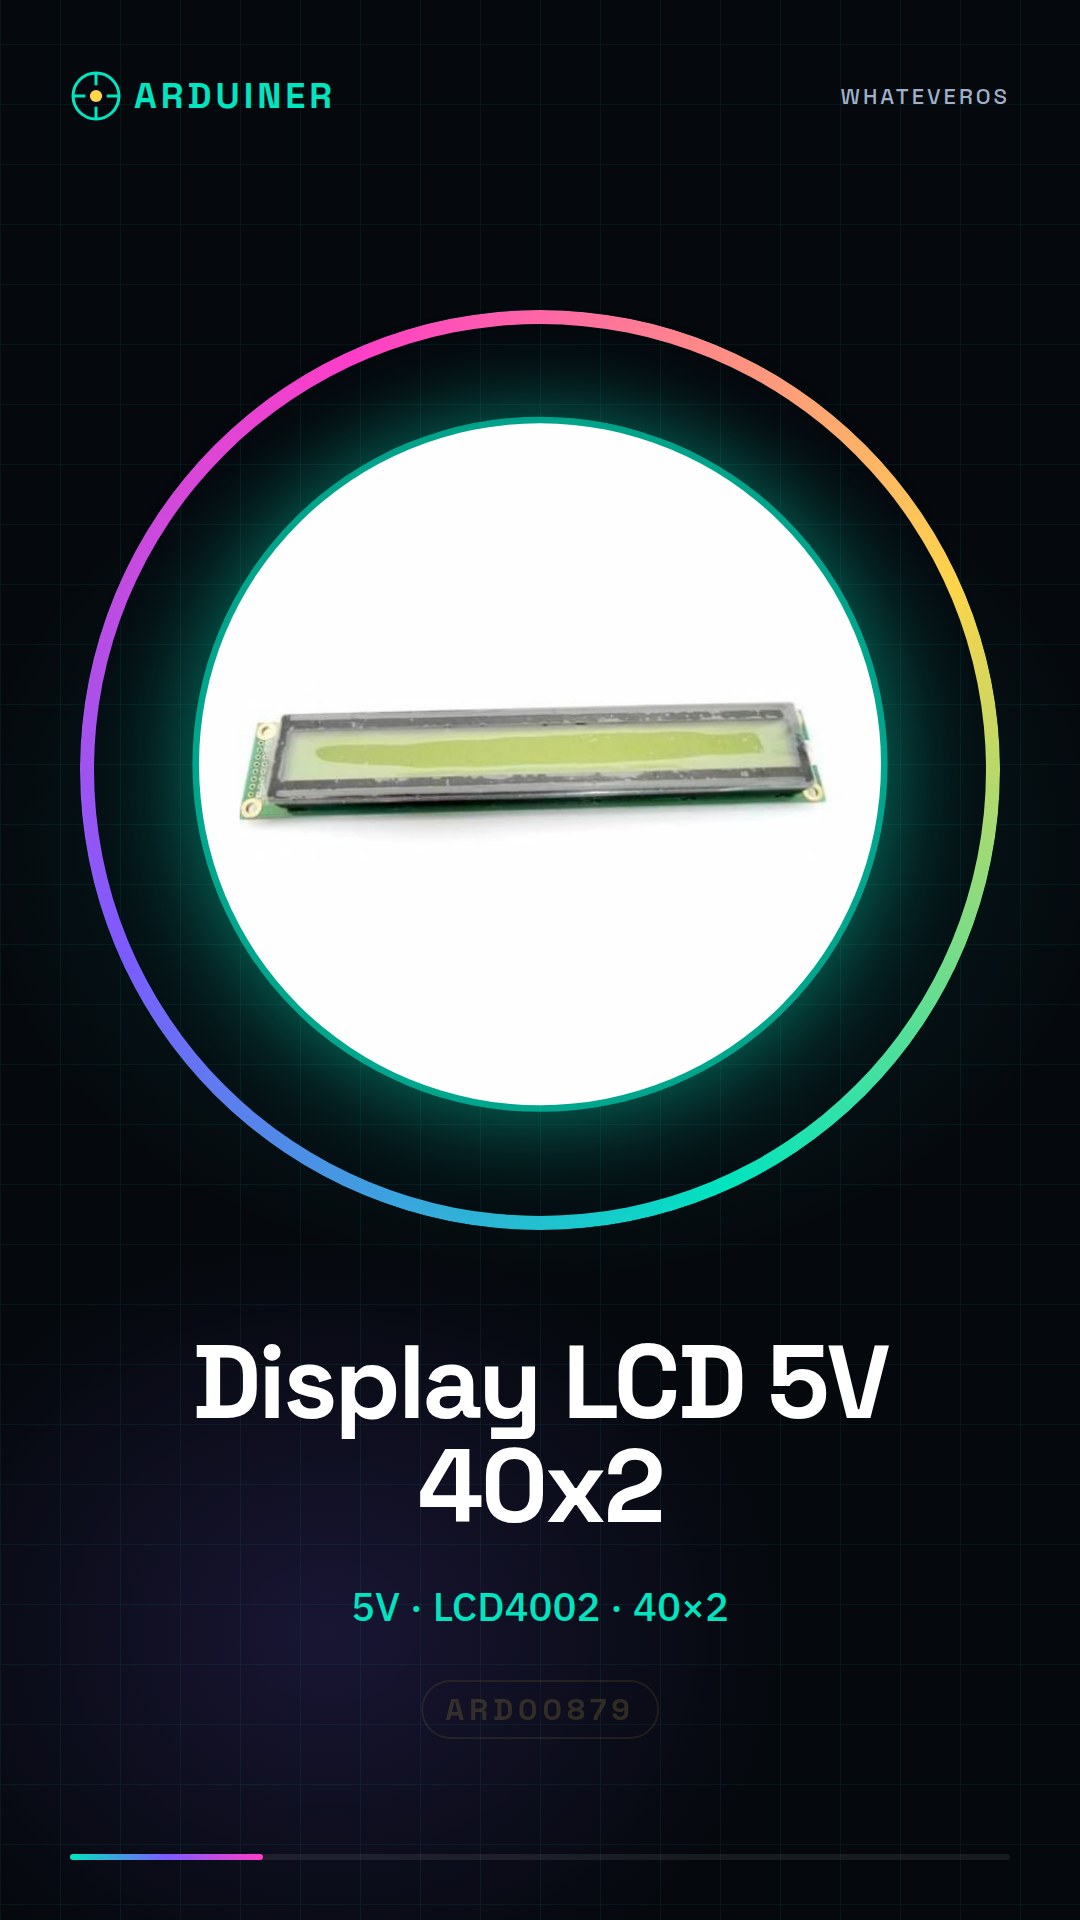
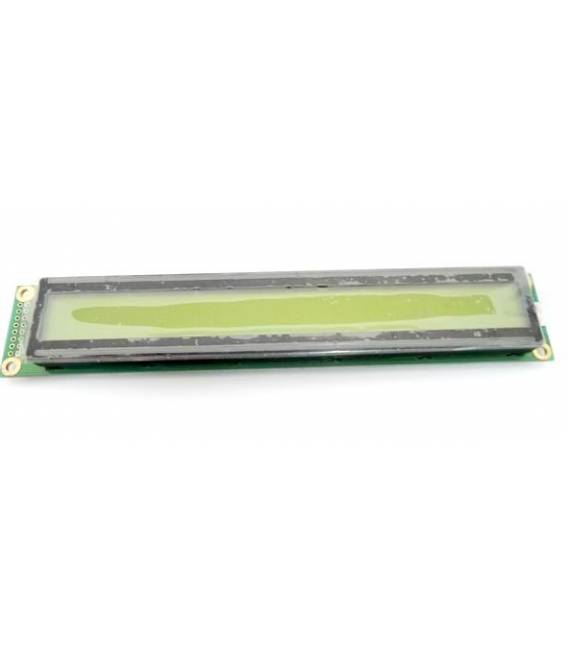
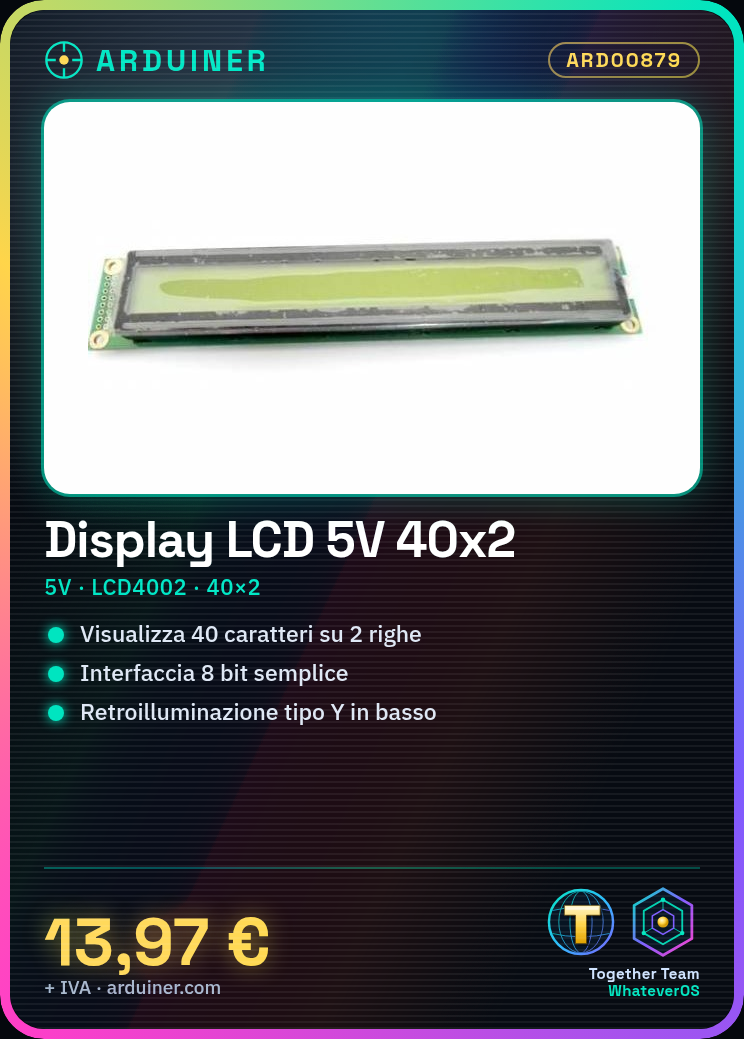
40×2 Character Display Module 5V LCD4002 for Arduino 40 Characters 2 Lines
Specifications
Lcd4002 display, 40 characters 2 lines.
Model: 404a y / yg
display: 40 x 4 characters
frame size: 190.0×54.0x15.0
viewing angle: 147.
Model: 404a y / yg
Display: 40 x 4 characters
Frame size: 190.0×54.0x15.0
Viewing angle: 147.0×43.1
IC: splc780d
1.1 features
|
character
|
standard value
|
|
display type
|
characters 40 ' 2 lines
|
|
LCD type
|
STN , positive ( Yg ) transflective
|
|
driver condition
|
LCD Module: 1/16duty, 1/5bias
|
|
display direction
|
6 OE & RS clock
|
|
backlight type
|
Y down
|
|
interface
|
8-bit MPU interface
|
|
driver IC
|
SPLC780D
|
1.2 Mechanical specifications
|
voice
|
standard value
|
of
|
|
frame size
|
182 (l) * 33.5 (w) * 14 (t)
|
millimeters
|
|
display area
|
154,4 (l) * 16,5 (w)
|
millimeters
|
|
dot dimensions
|
0.6 (w) ' 0.65 (h)
|
millimeters
|
|
dot pitch
|
0.65 (w) ' 0.7 (h)
|
millimeters
|
|
character size
|
3.2 (w) ' 5.55 (h)
|
millimeters
|
We have the technical sheet of all components available, should it not be present in the product download card, send us a message through the contact us form and we will publish it as soon as possible on our website.
Tutorial: How to use 40×2 LCD Module
This LCD module is used to display simple text on an Arduino project. It is useful for beginners and those who want to add a visual interface.
What you need
- Arduino
- Jumper cable
- Pull-up resistor (10kΩ)
Steps
- 1. Connect the VCC of the module to the 5V of Arduino.
- 2. Connect GND of the module to GND of Arduino.
- 3. Connect RS to pin 12 of Arduino.
- 4. Connect RW to GND.
- 5. Connect EN to pin 11 of Arduino.
- 6. Connect D4 to pin 5 of Arduino.
- 7. Connect D5 to pin 4 of Arduino.
- 8. Connect D6 to pin 3 of Arduino.
- 9. Connect D7 to pin 2 of Arduino.
- 10. Connect the pull-up resistor to the VCC and D0 of the module.
Example code
```cpp
#include <LiquidCrystal.h>
LiquidCrystal lcd(12, 11, 5, 4, 3, 2);
void setup() {
 lcd.begin(16, 2);
}
void loop() {
 lcd.clear();
 lcd.print("Benvenuto su ");
 lcd.setCursor(0, 1);
 lcd.print("Arduino!");
}
```
Mini project
Create a simple stopwatch that displays elapsed time on a 40×2 display. Start counting when a button is pressed.
Common mistakes
- Forgetting to correctly connect pins RS and EN.
- Not using pull-up resistors.
- Connect GND of the module to GND of Arduino.
- Forgetting to include the LiquidCrystal library.
Recommended accessories
- Push button
- 10kΩ resistor
- Jumper wire
- Arduino
Frequently asked questions
How can I update the text on the display?
Use the `lcd.print()` function to update the text.
Which pins can I use to connect the module?
You can use any Arduino pin, but it is recommended to use pins 2-7.
Does the module support special characters?
Check the datasheet for supported characters.
You're viewing: 5V LCD4002 40×2 Character Display Module for Arduino
19,28 € Original price was: 19,28 €.13,97 €Current price is: 13,97 €. Excluding VAT
Add to basket
 EN
 IT Italiano
 ES Español
 FR Français
 DE Deutsch
Reviews
There are no reviews yet.