 EN
 IT Italiano
 ES Español
 FR Français
 DE Deutsch
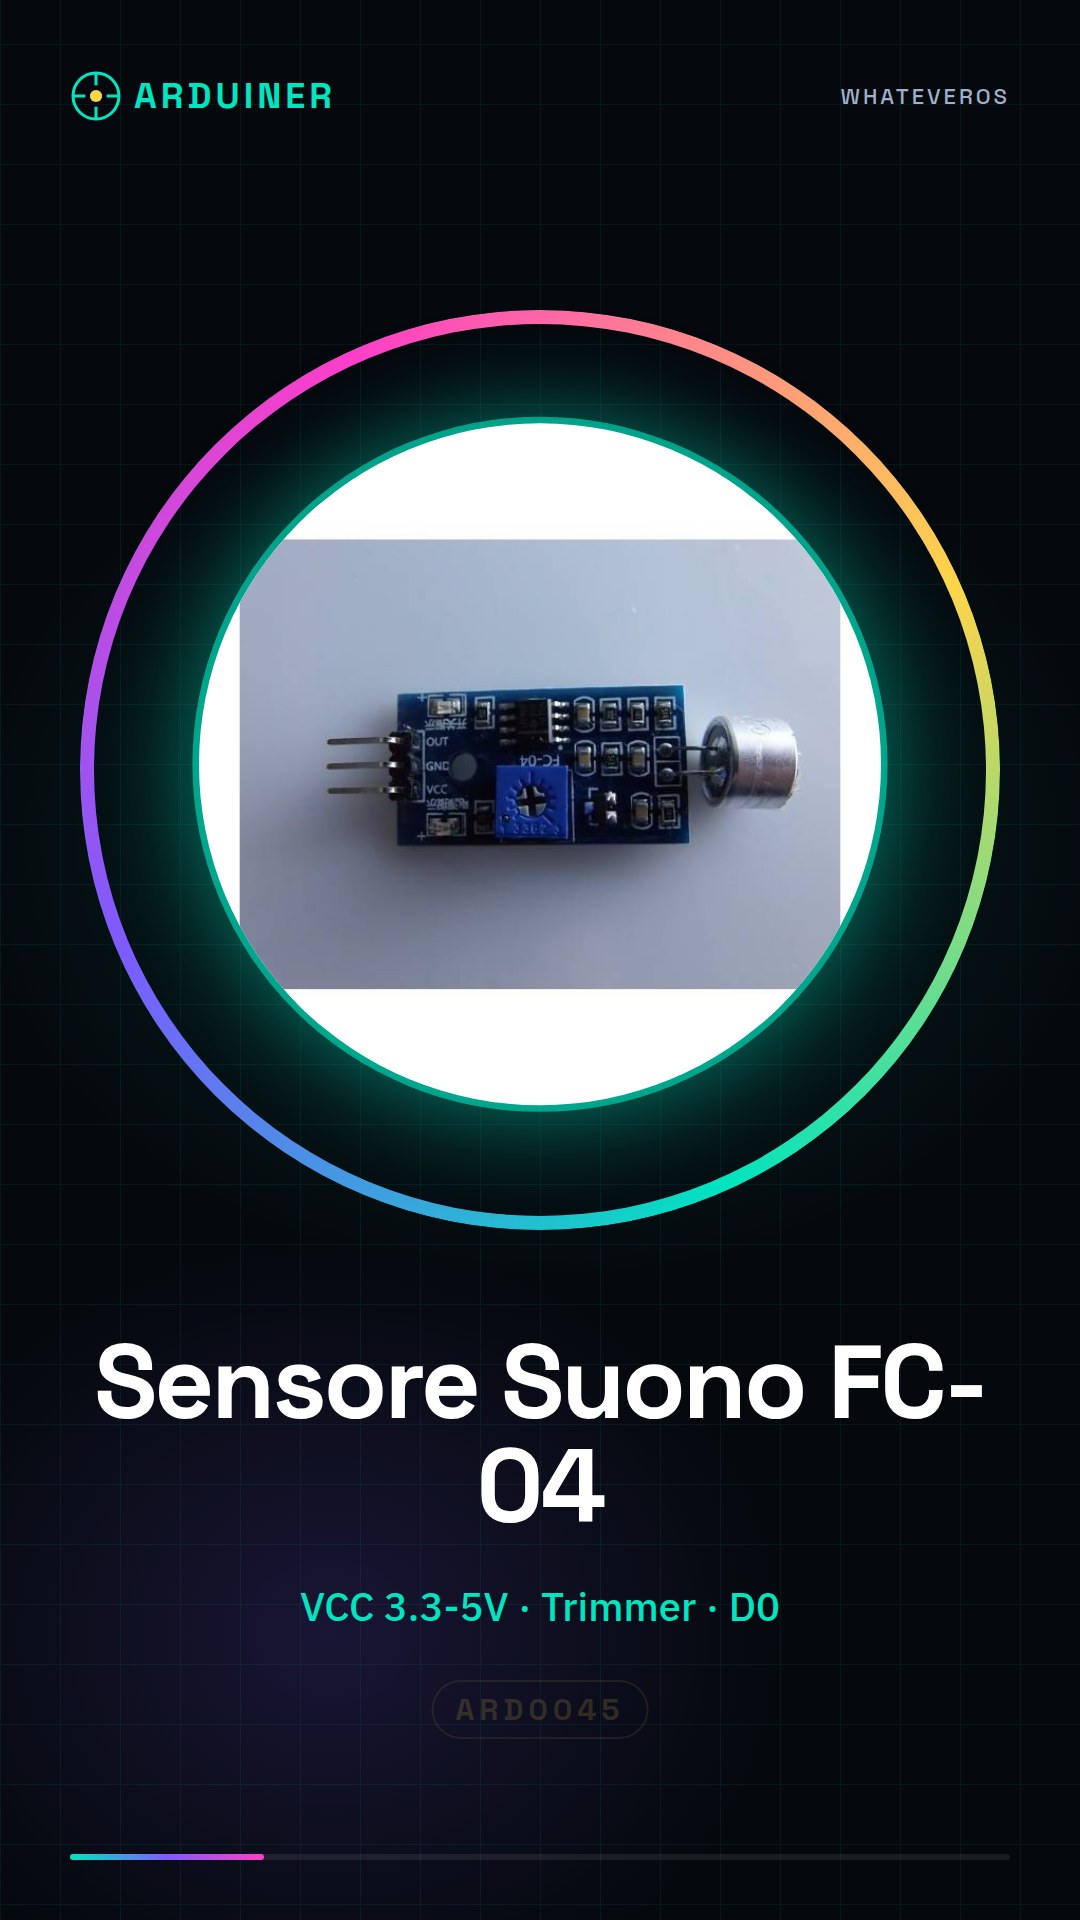
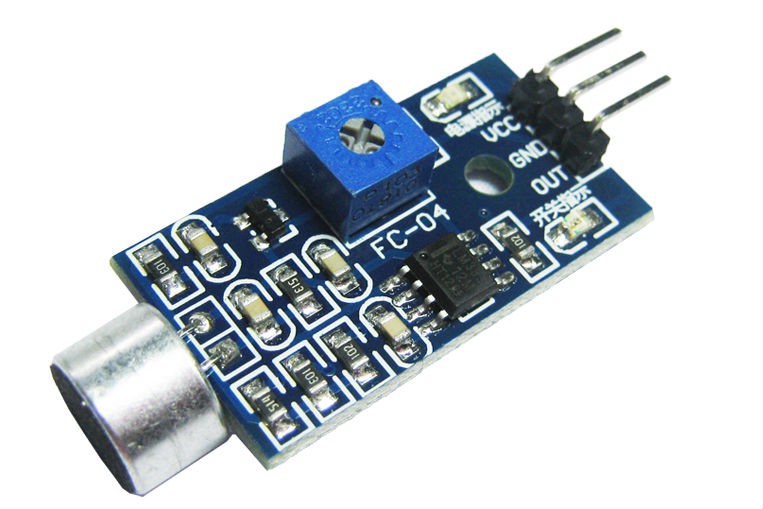
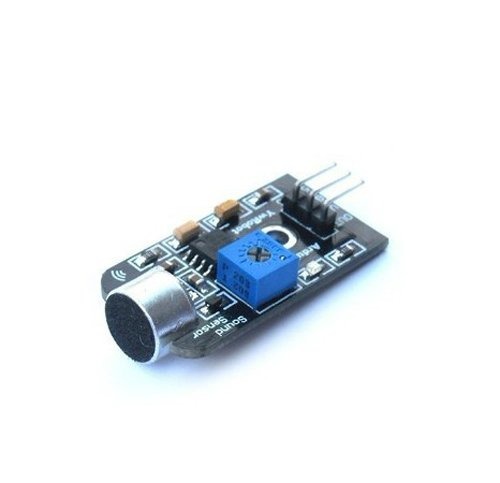
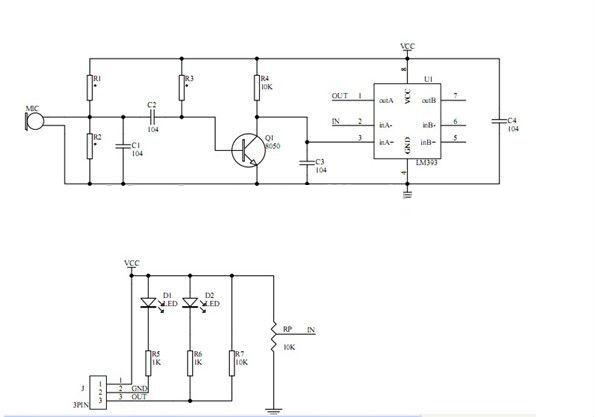
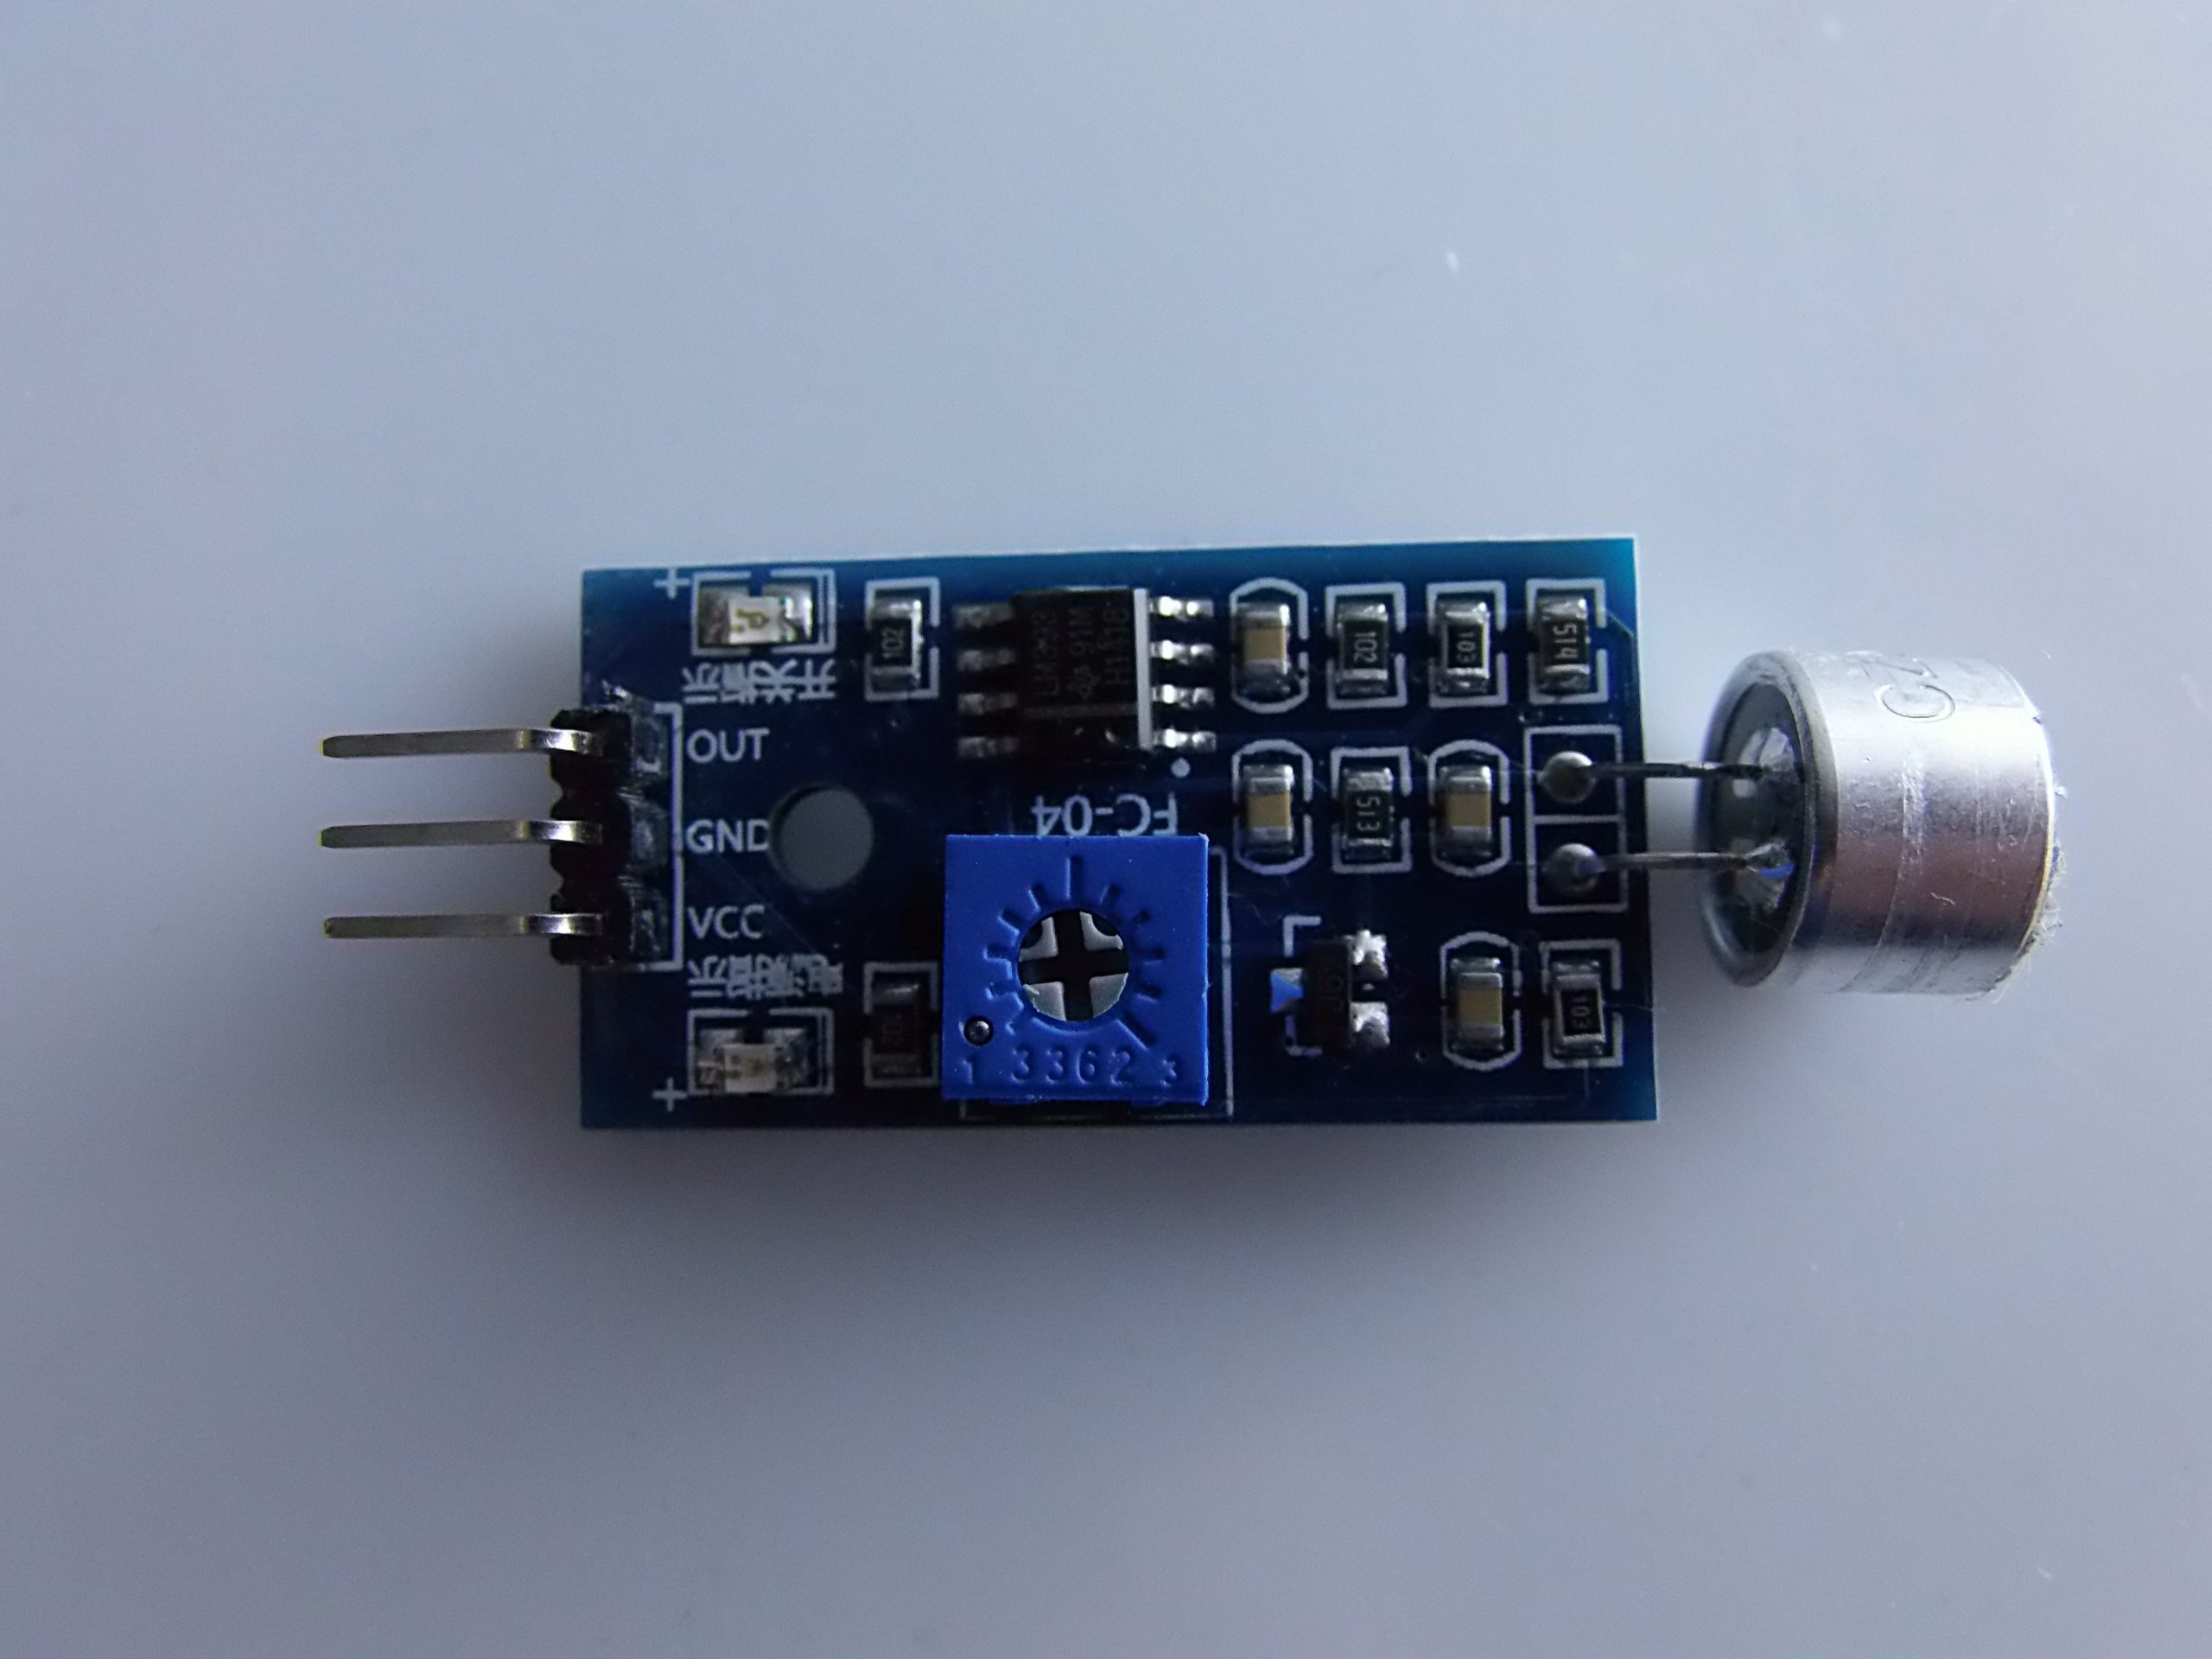
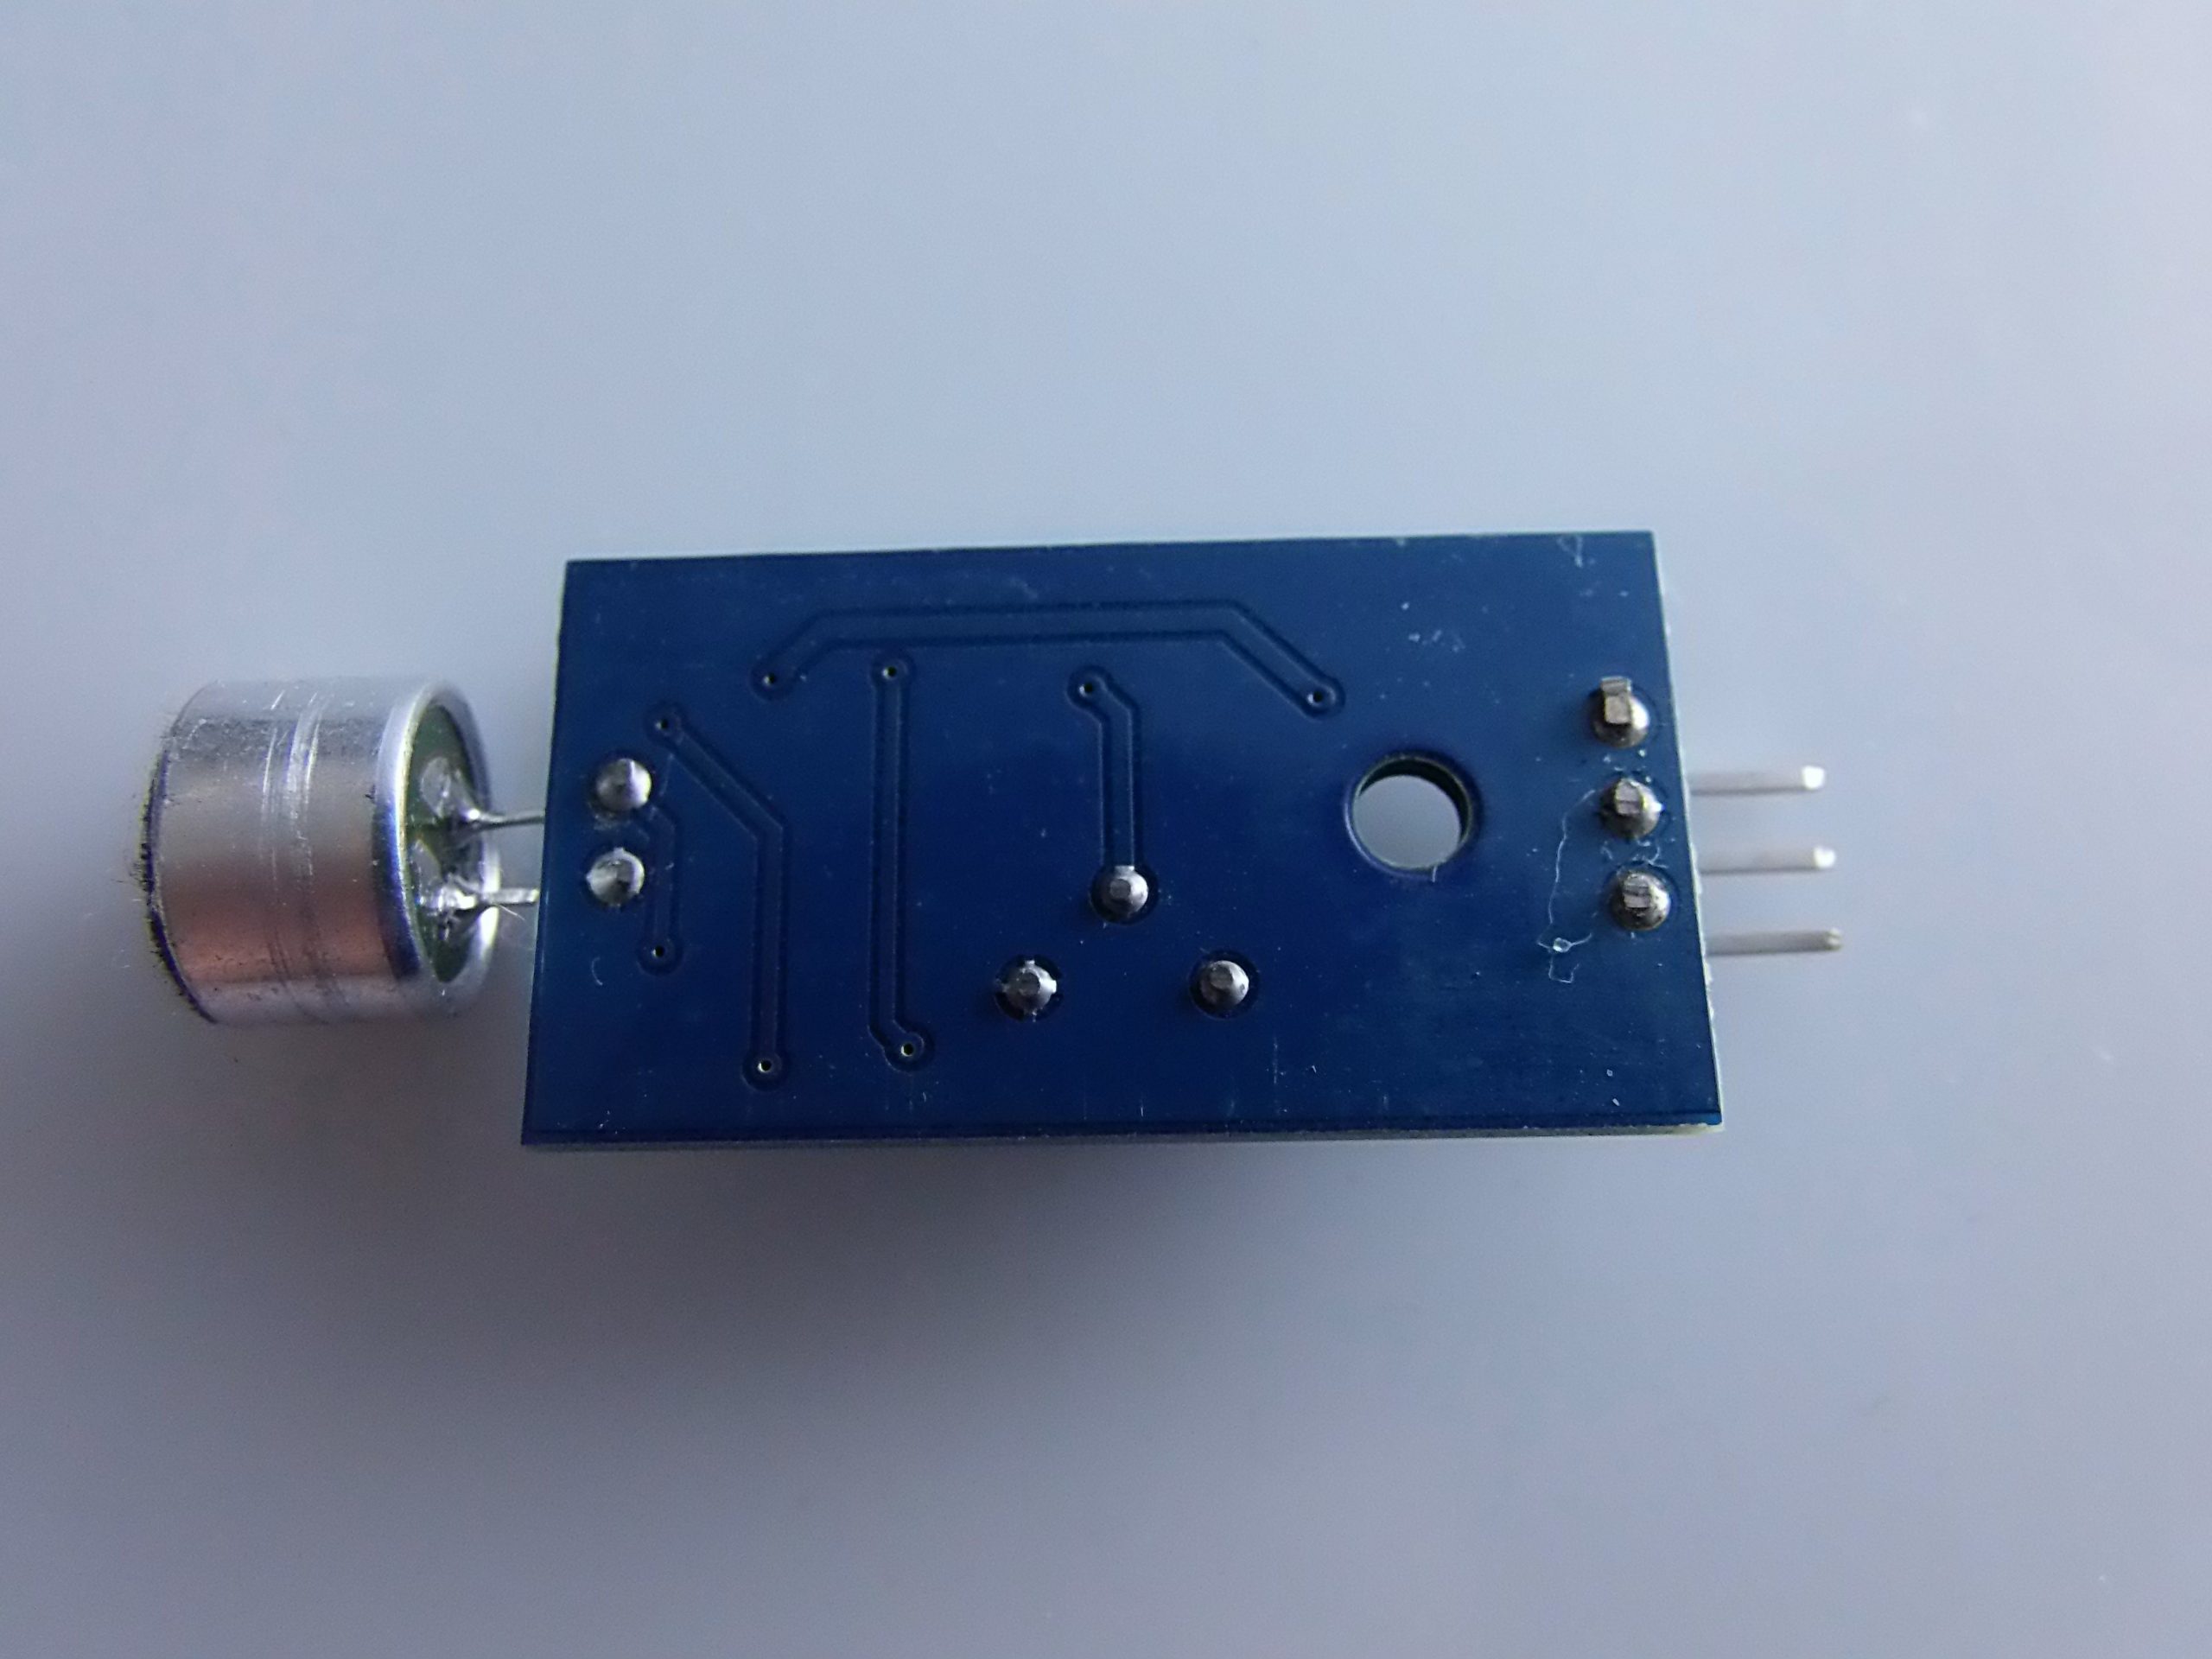
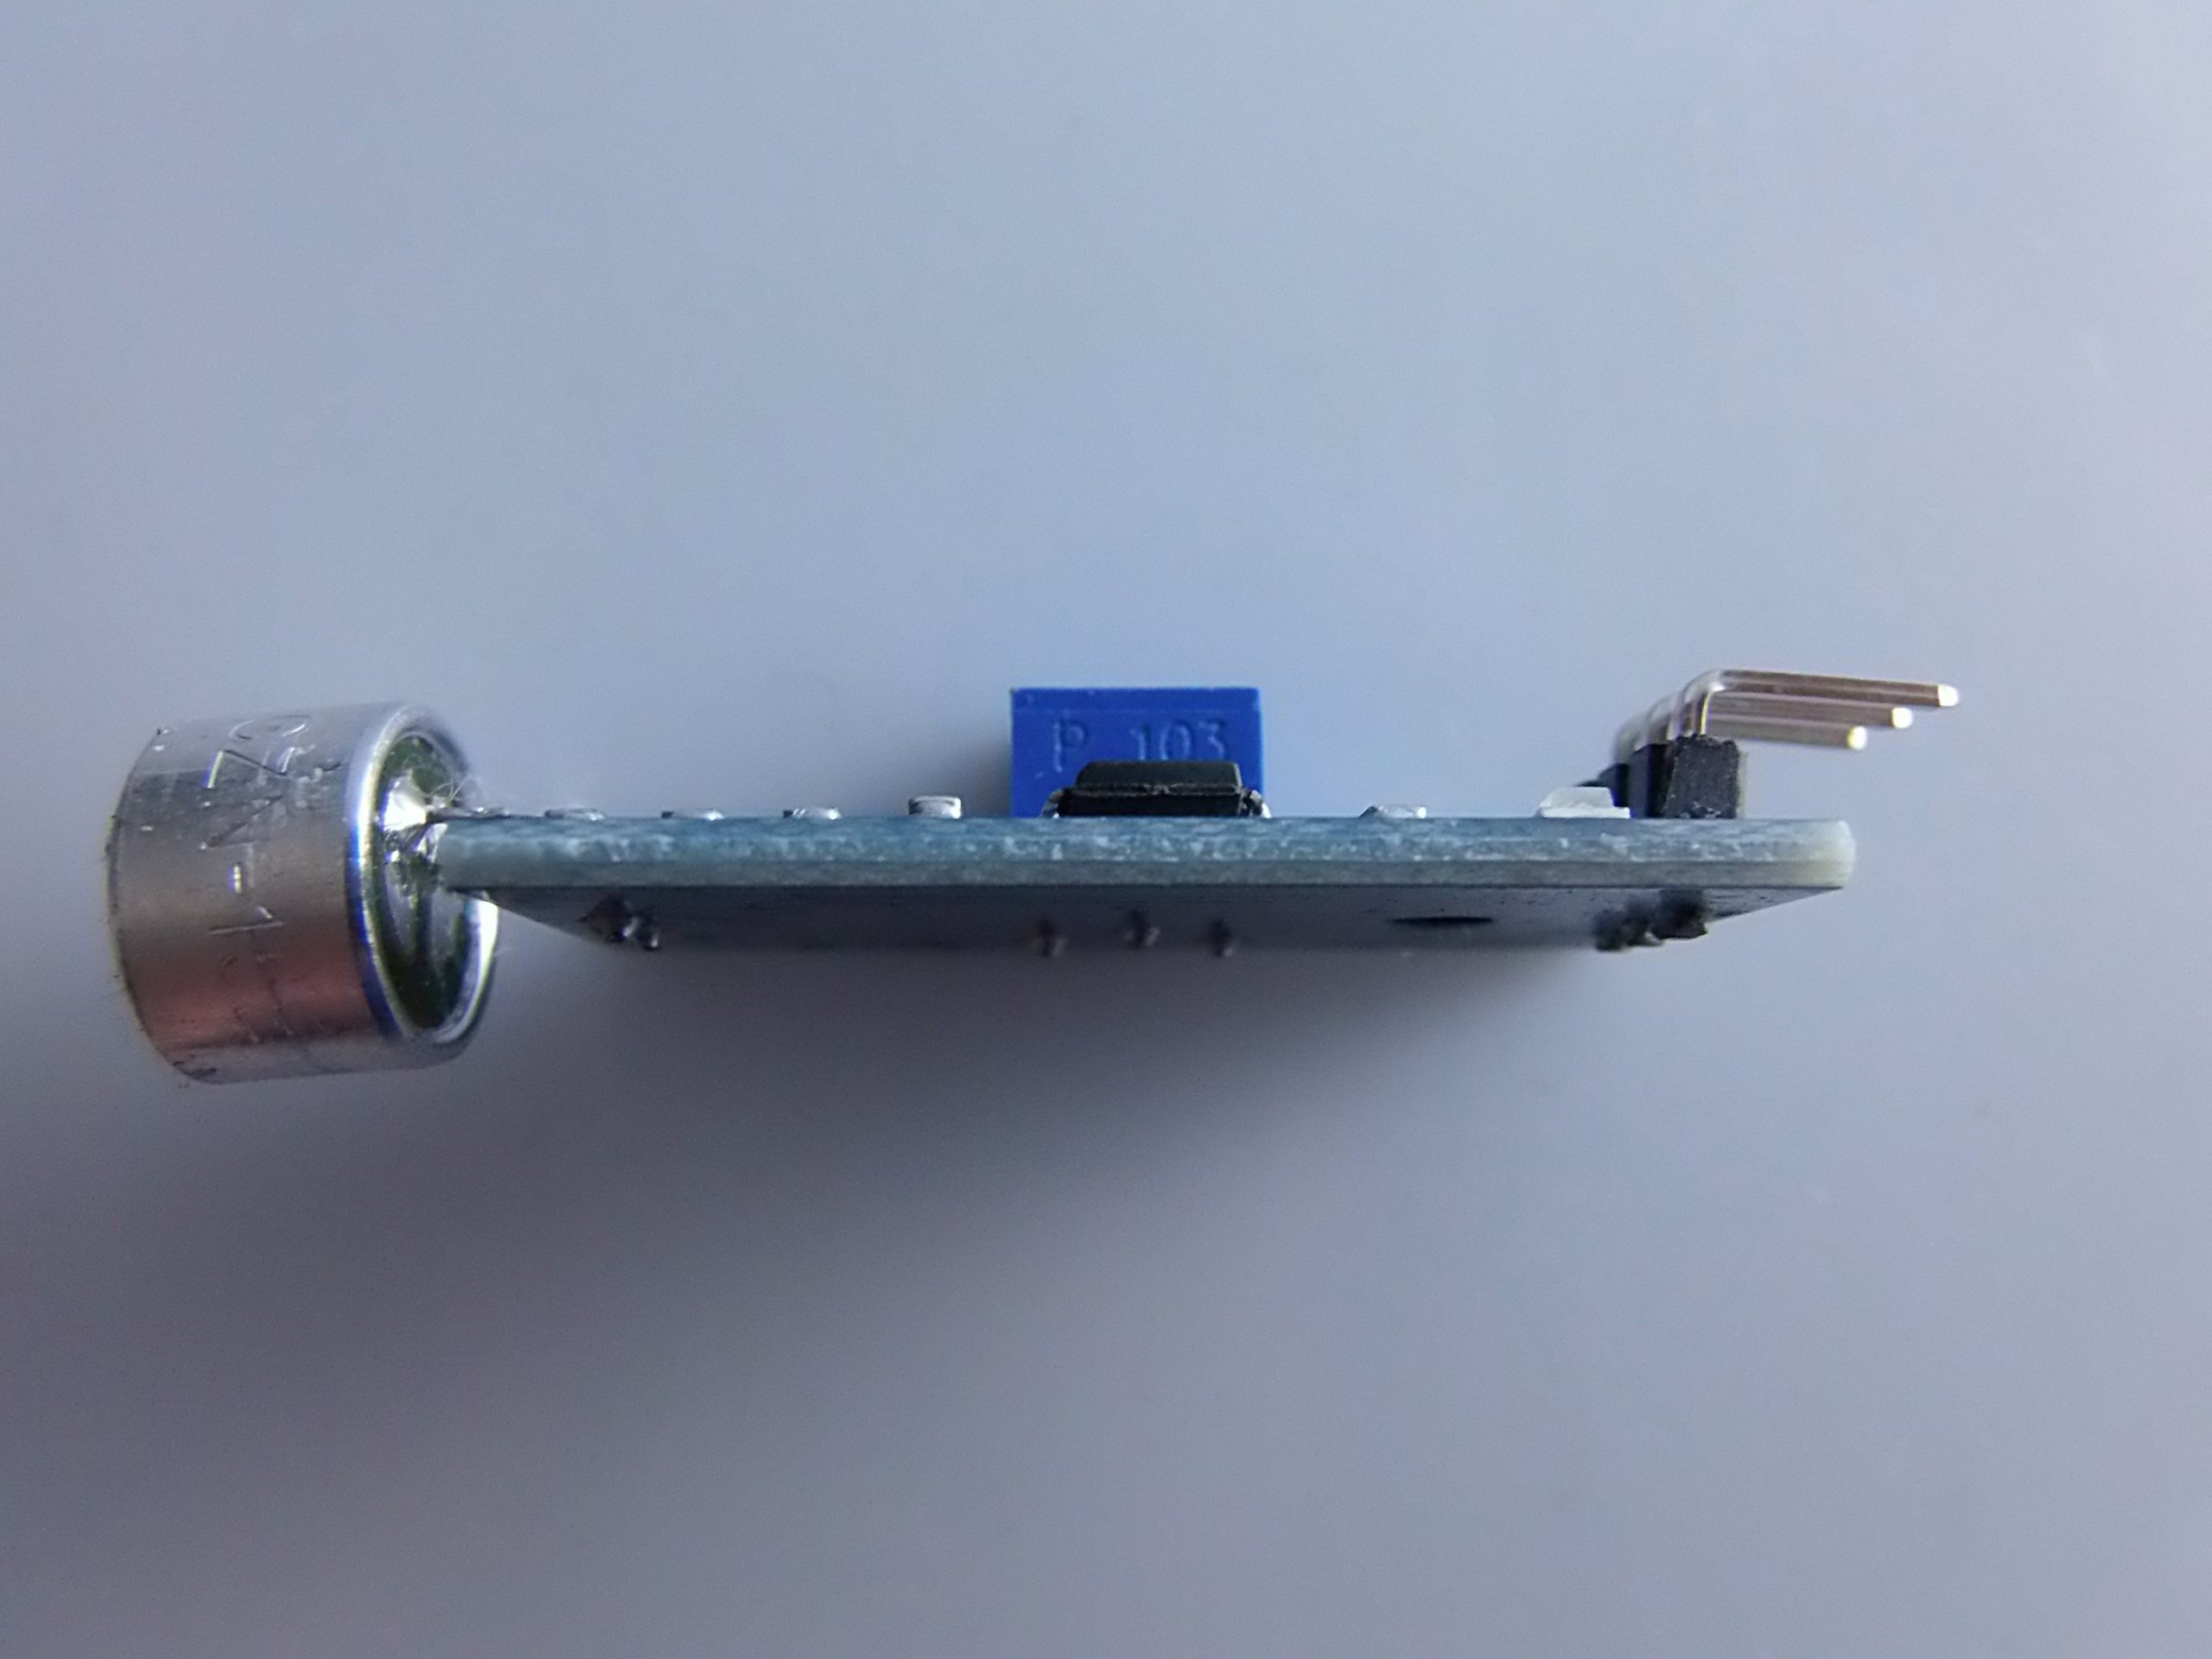
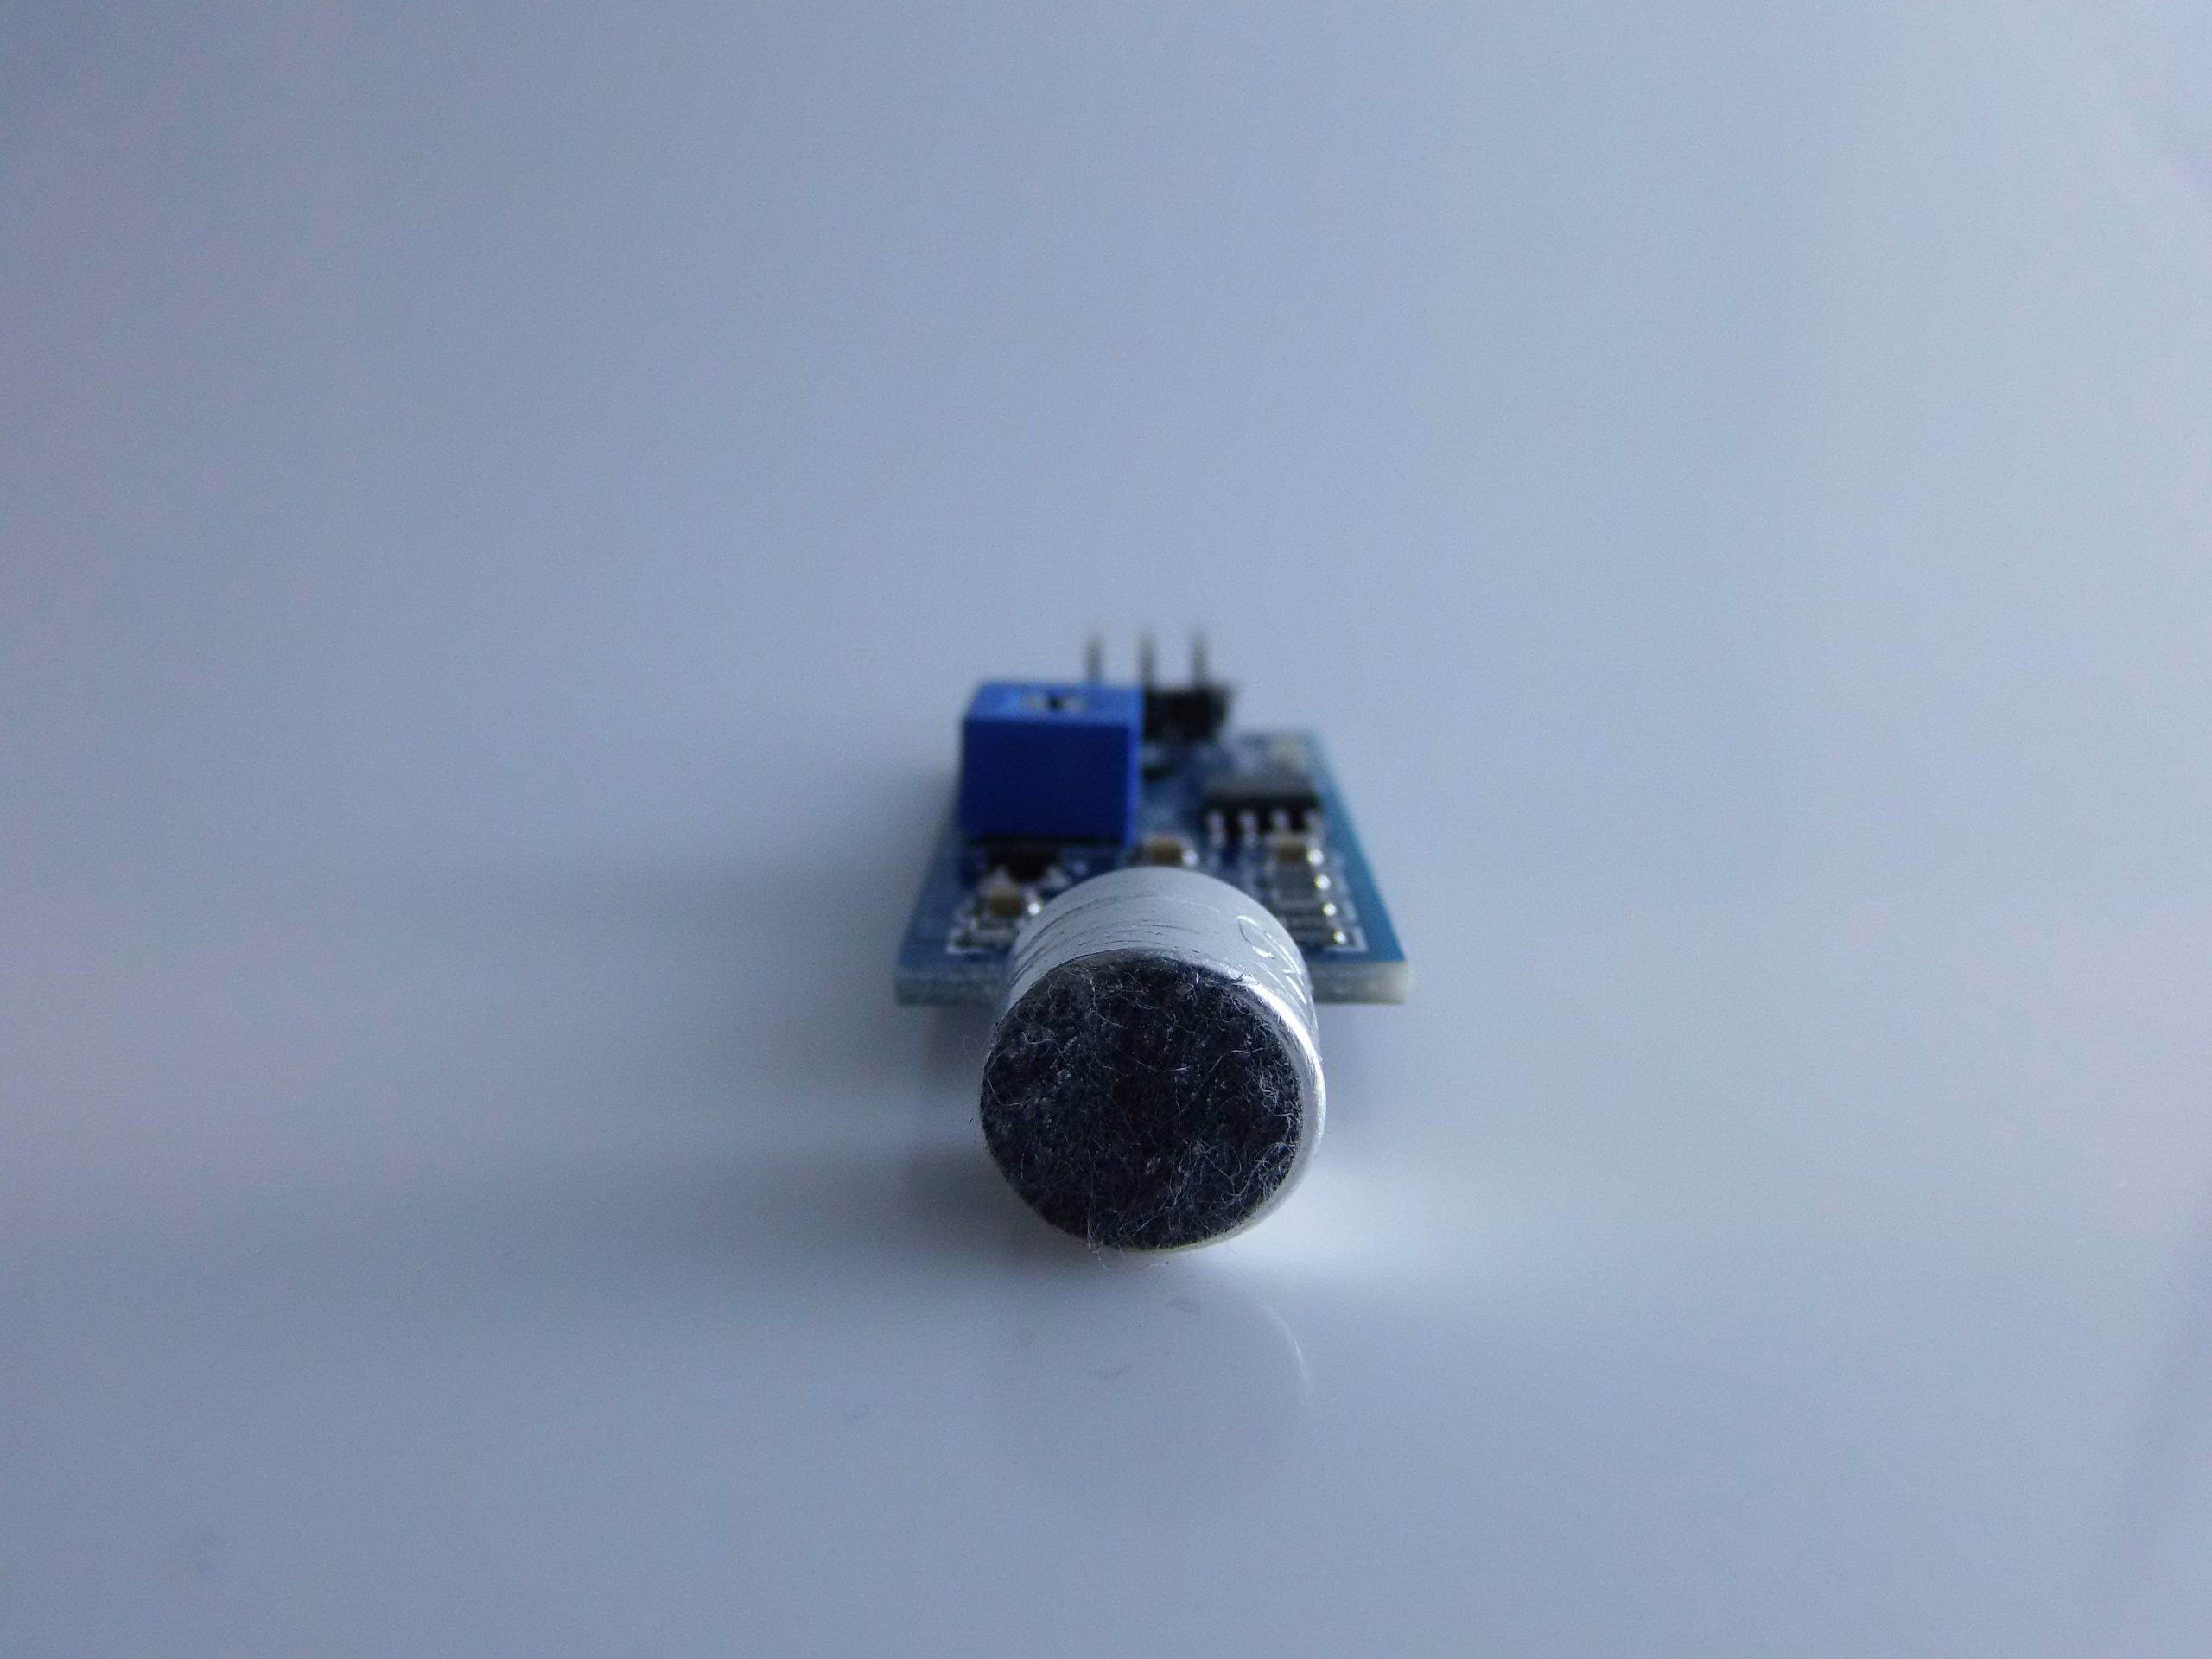
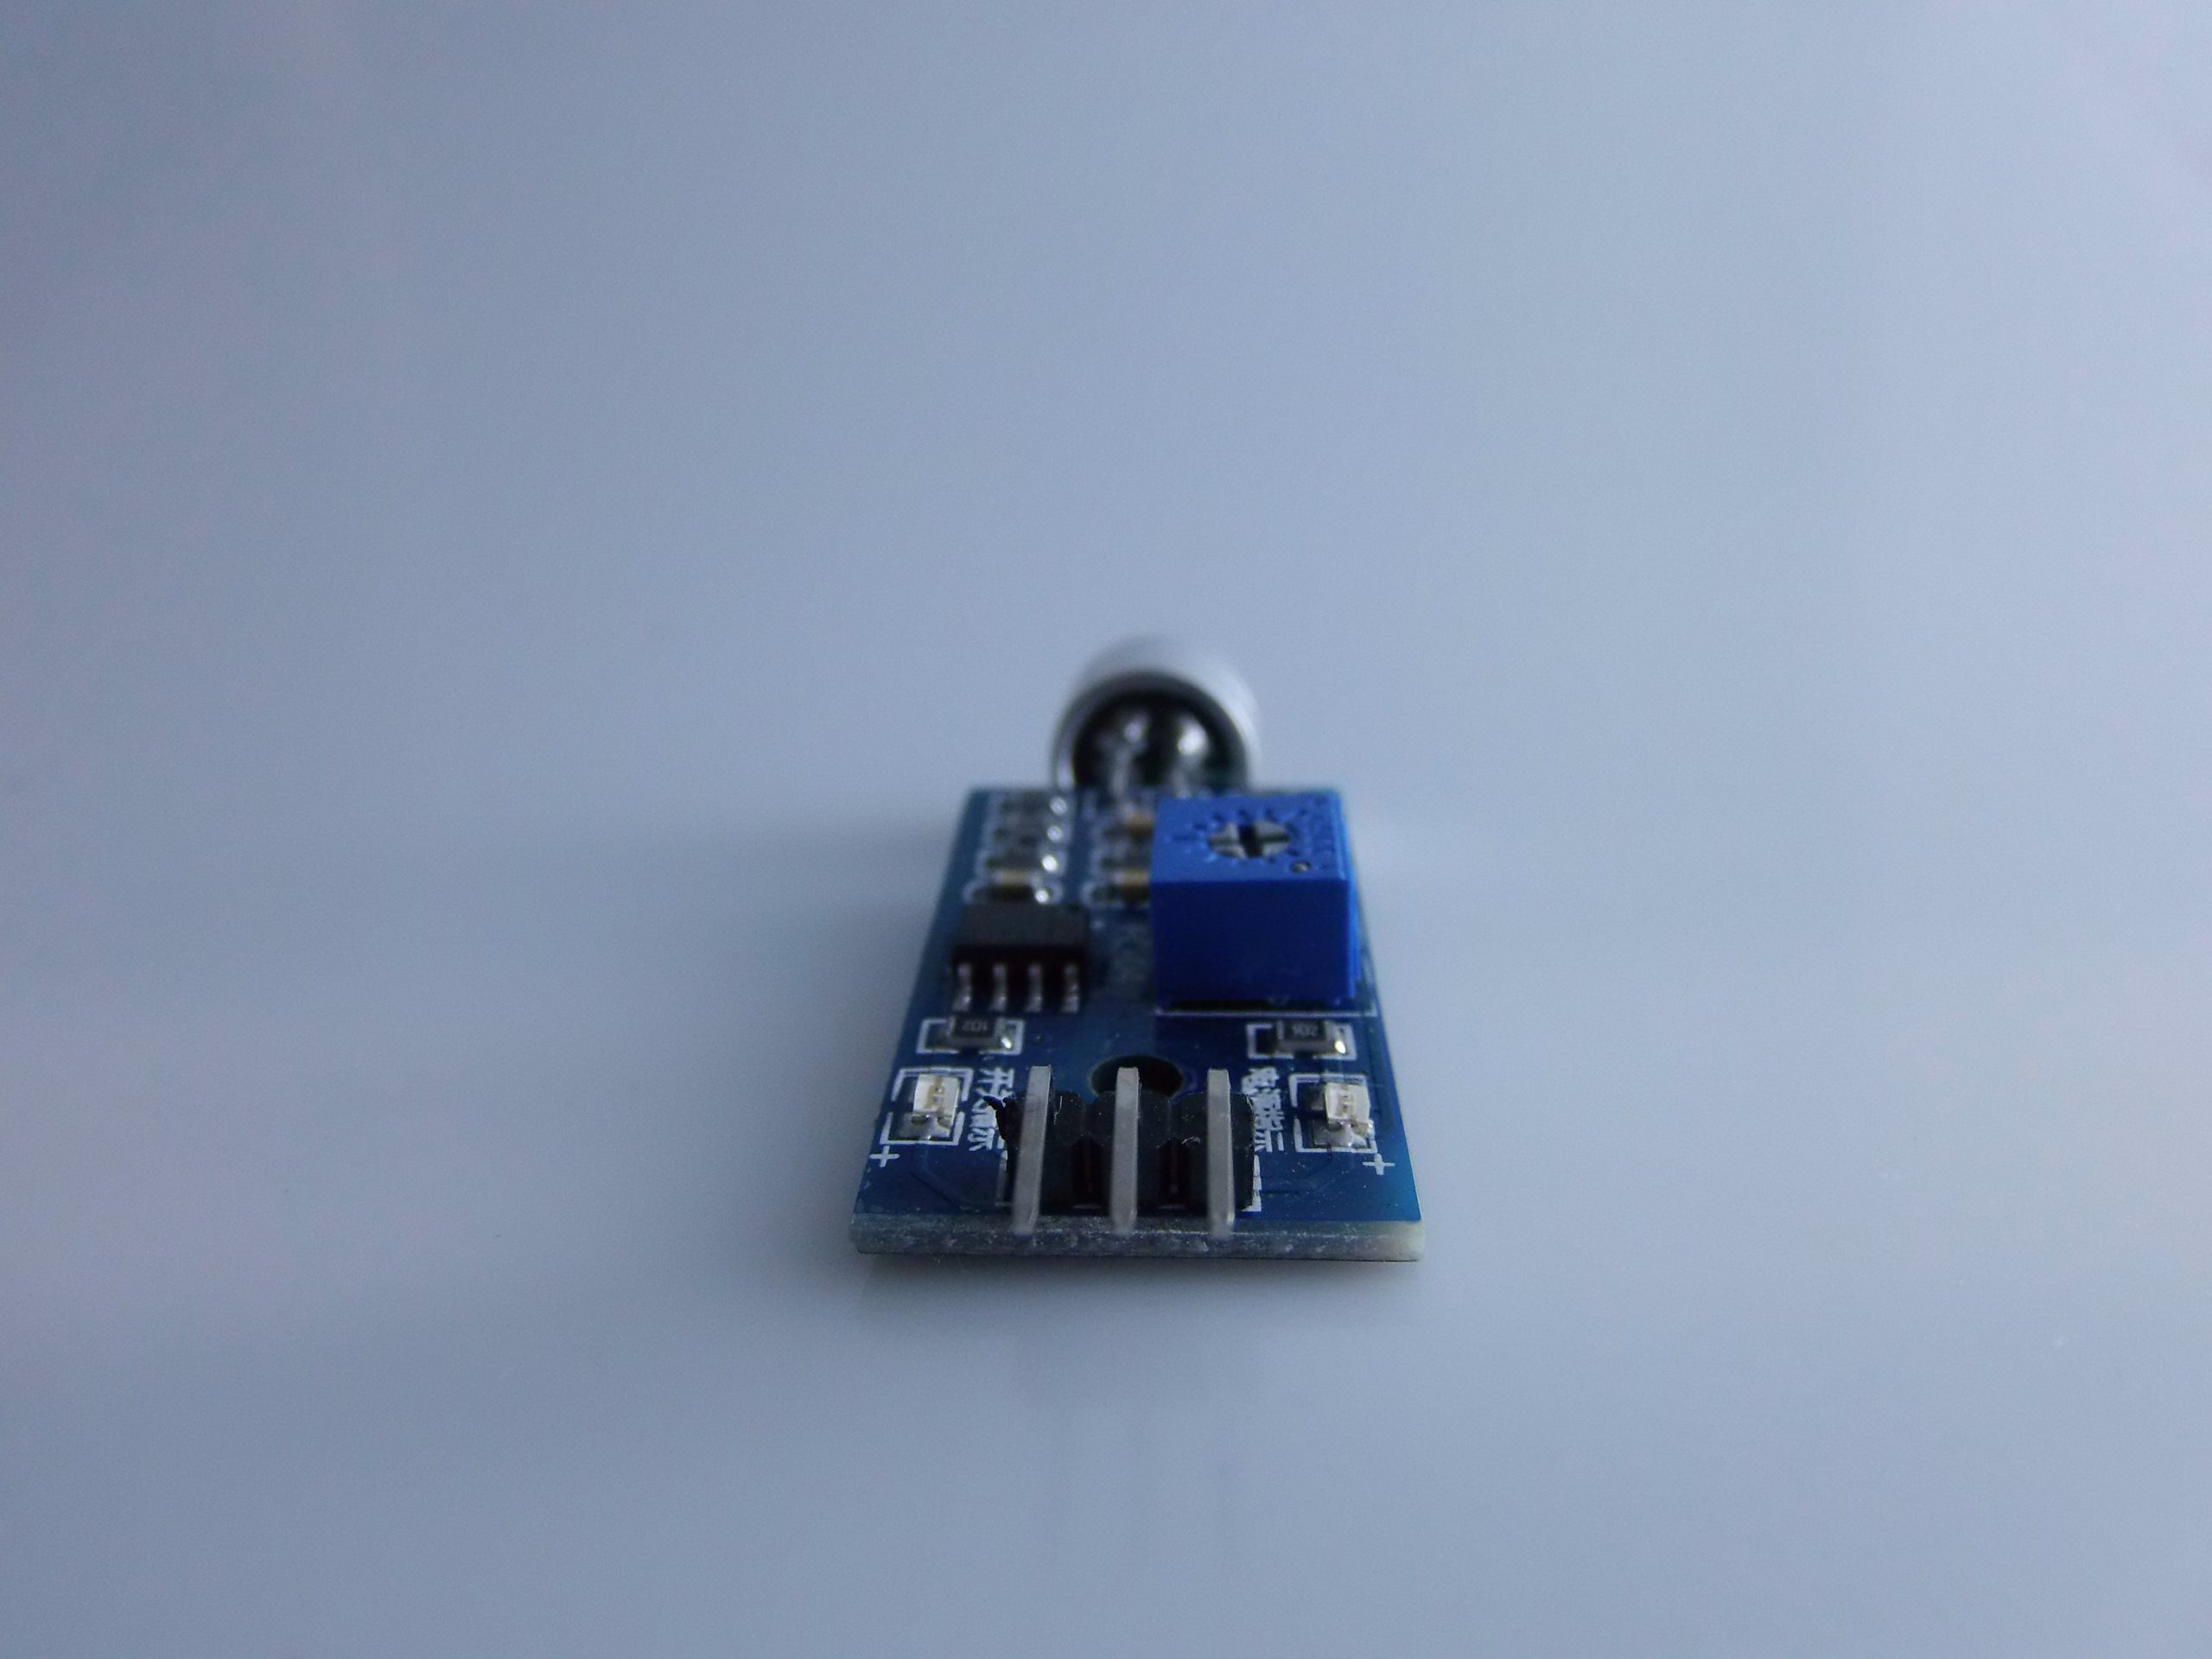
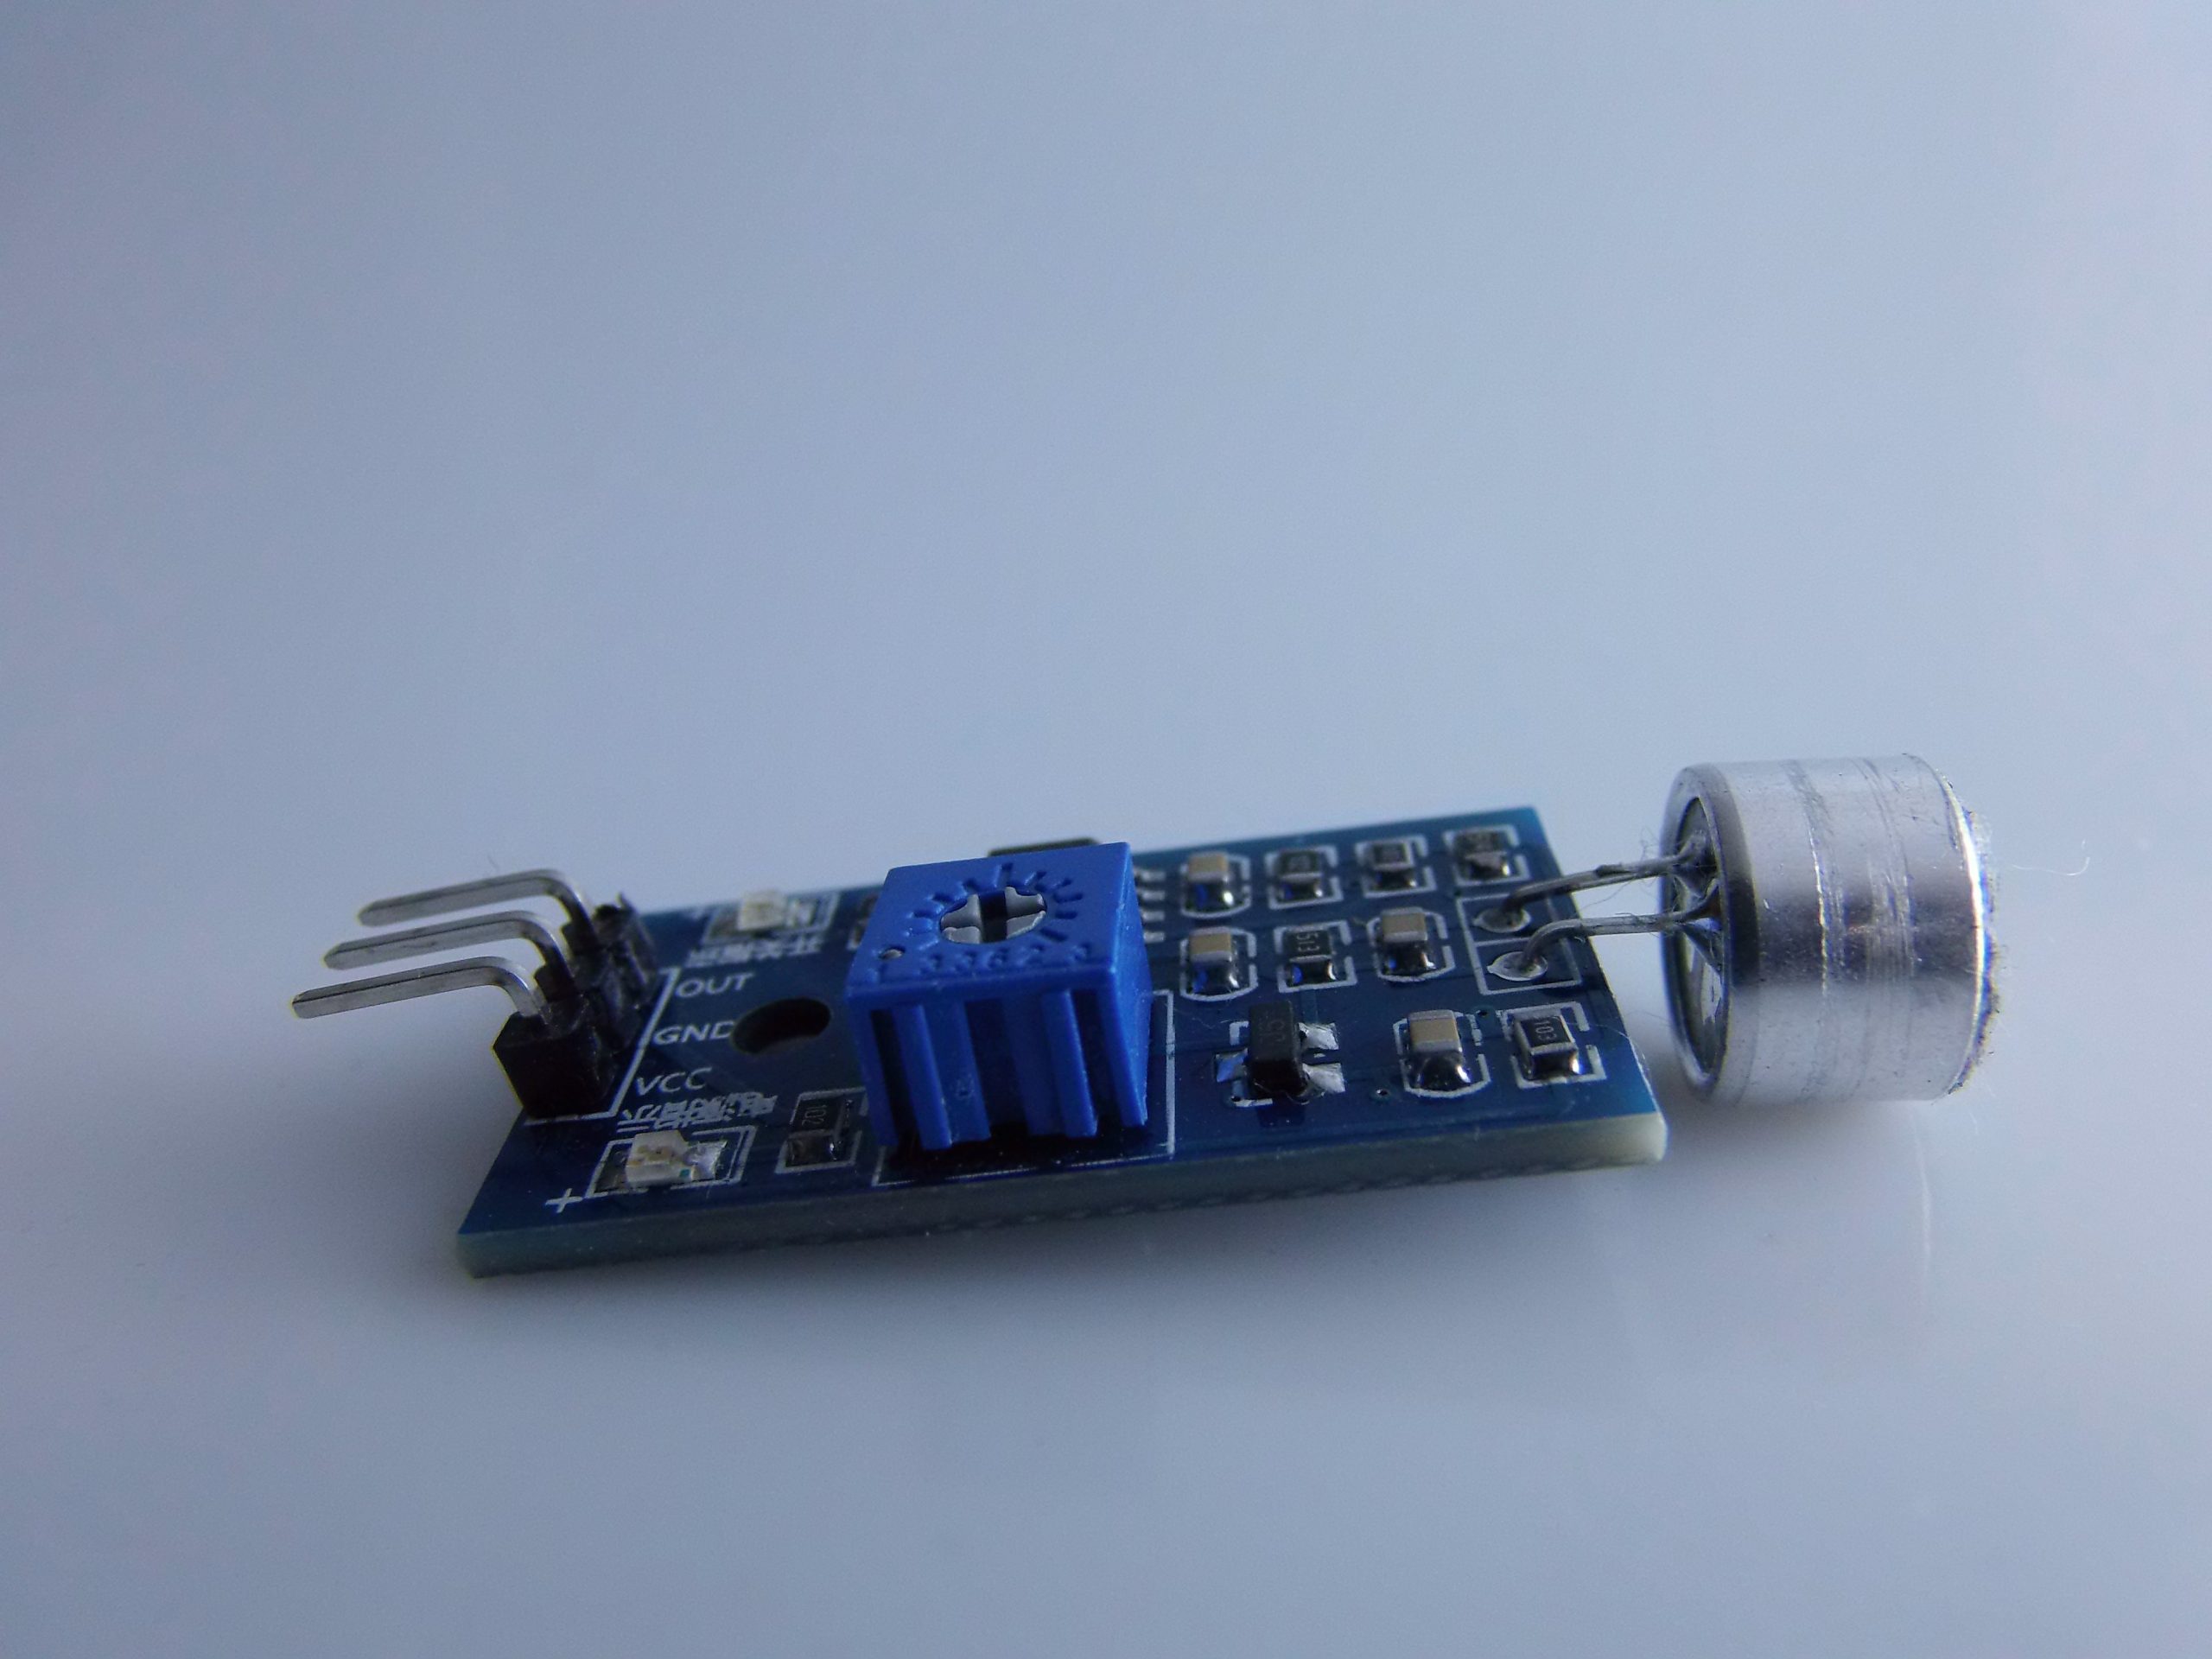
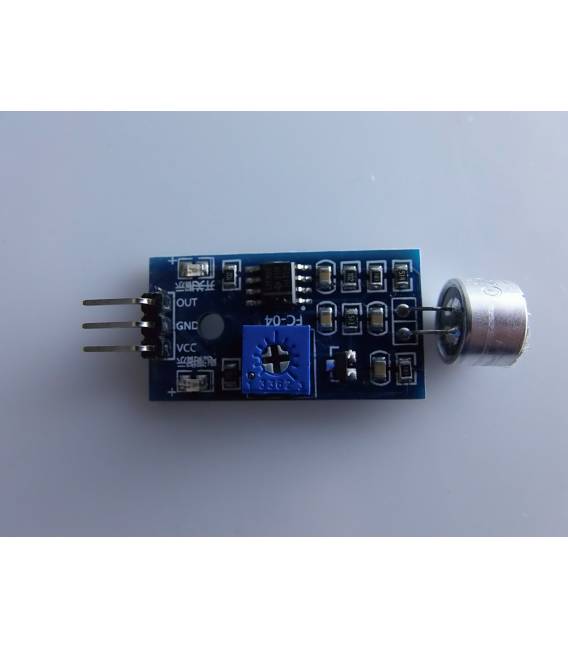
Description
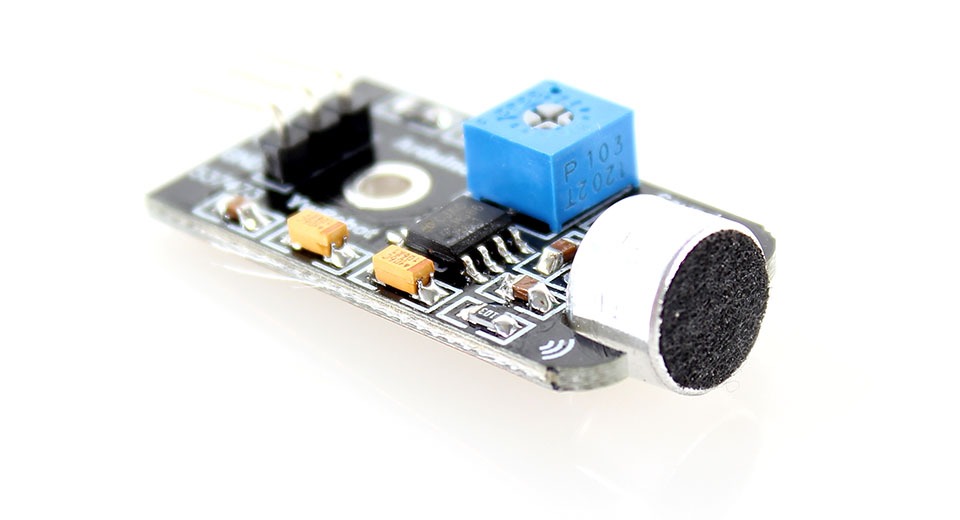
Here is a complete description of the FC-04 Sound Sensor Module, followed by a usage guide with Arduino, practical examples and programming code.
🔊 FC-04 Sound Sensor Module – Complete Description
📦 Main Features:
- Name: FC-04 Sound Sensor
- Sensor Type: Analog Microphone + Digital Comparator
- Outputs:
- Digital (D0): High or low depending on the set threshold
- Analog (A0): Voltage level proportional to the sound intensity (not always available on all versions of the module)
- Operating Voltage: 3.3V – 5V DC
- Sensitivity Adjustment: Trimmer (potentiometer) to adjust the signal threshold
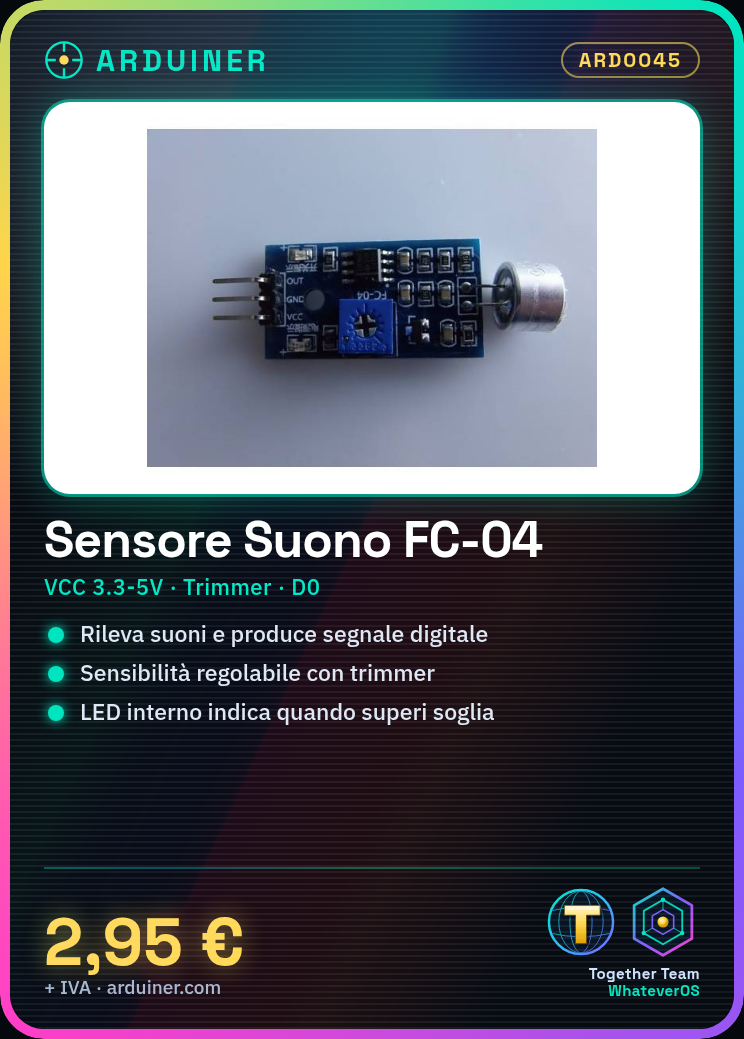
- LED Indicator: Lights up when the sound level exceeds the set threshold
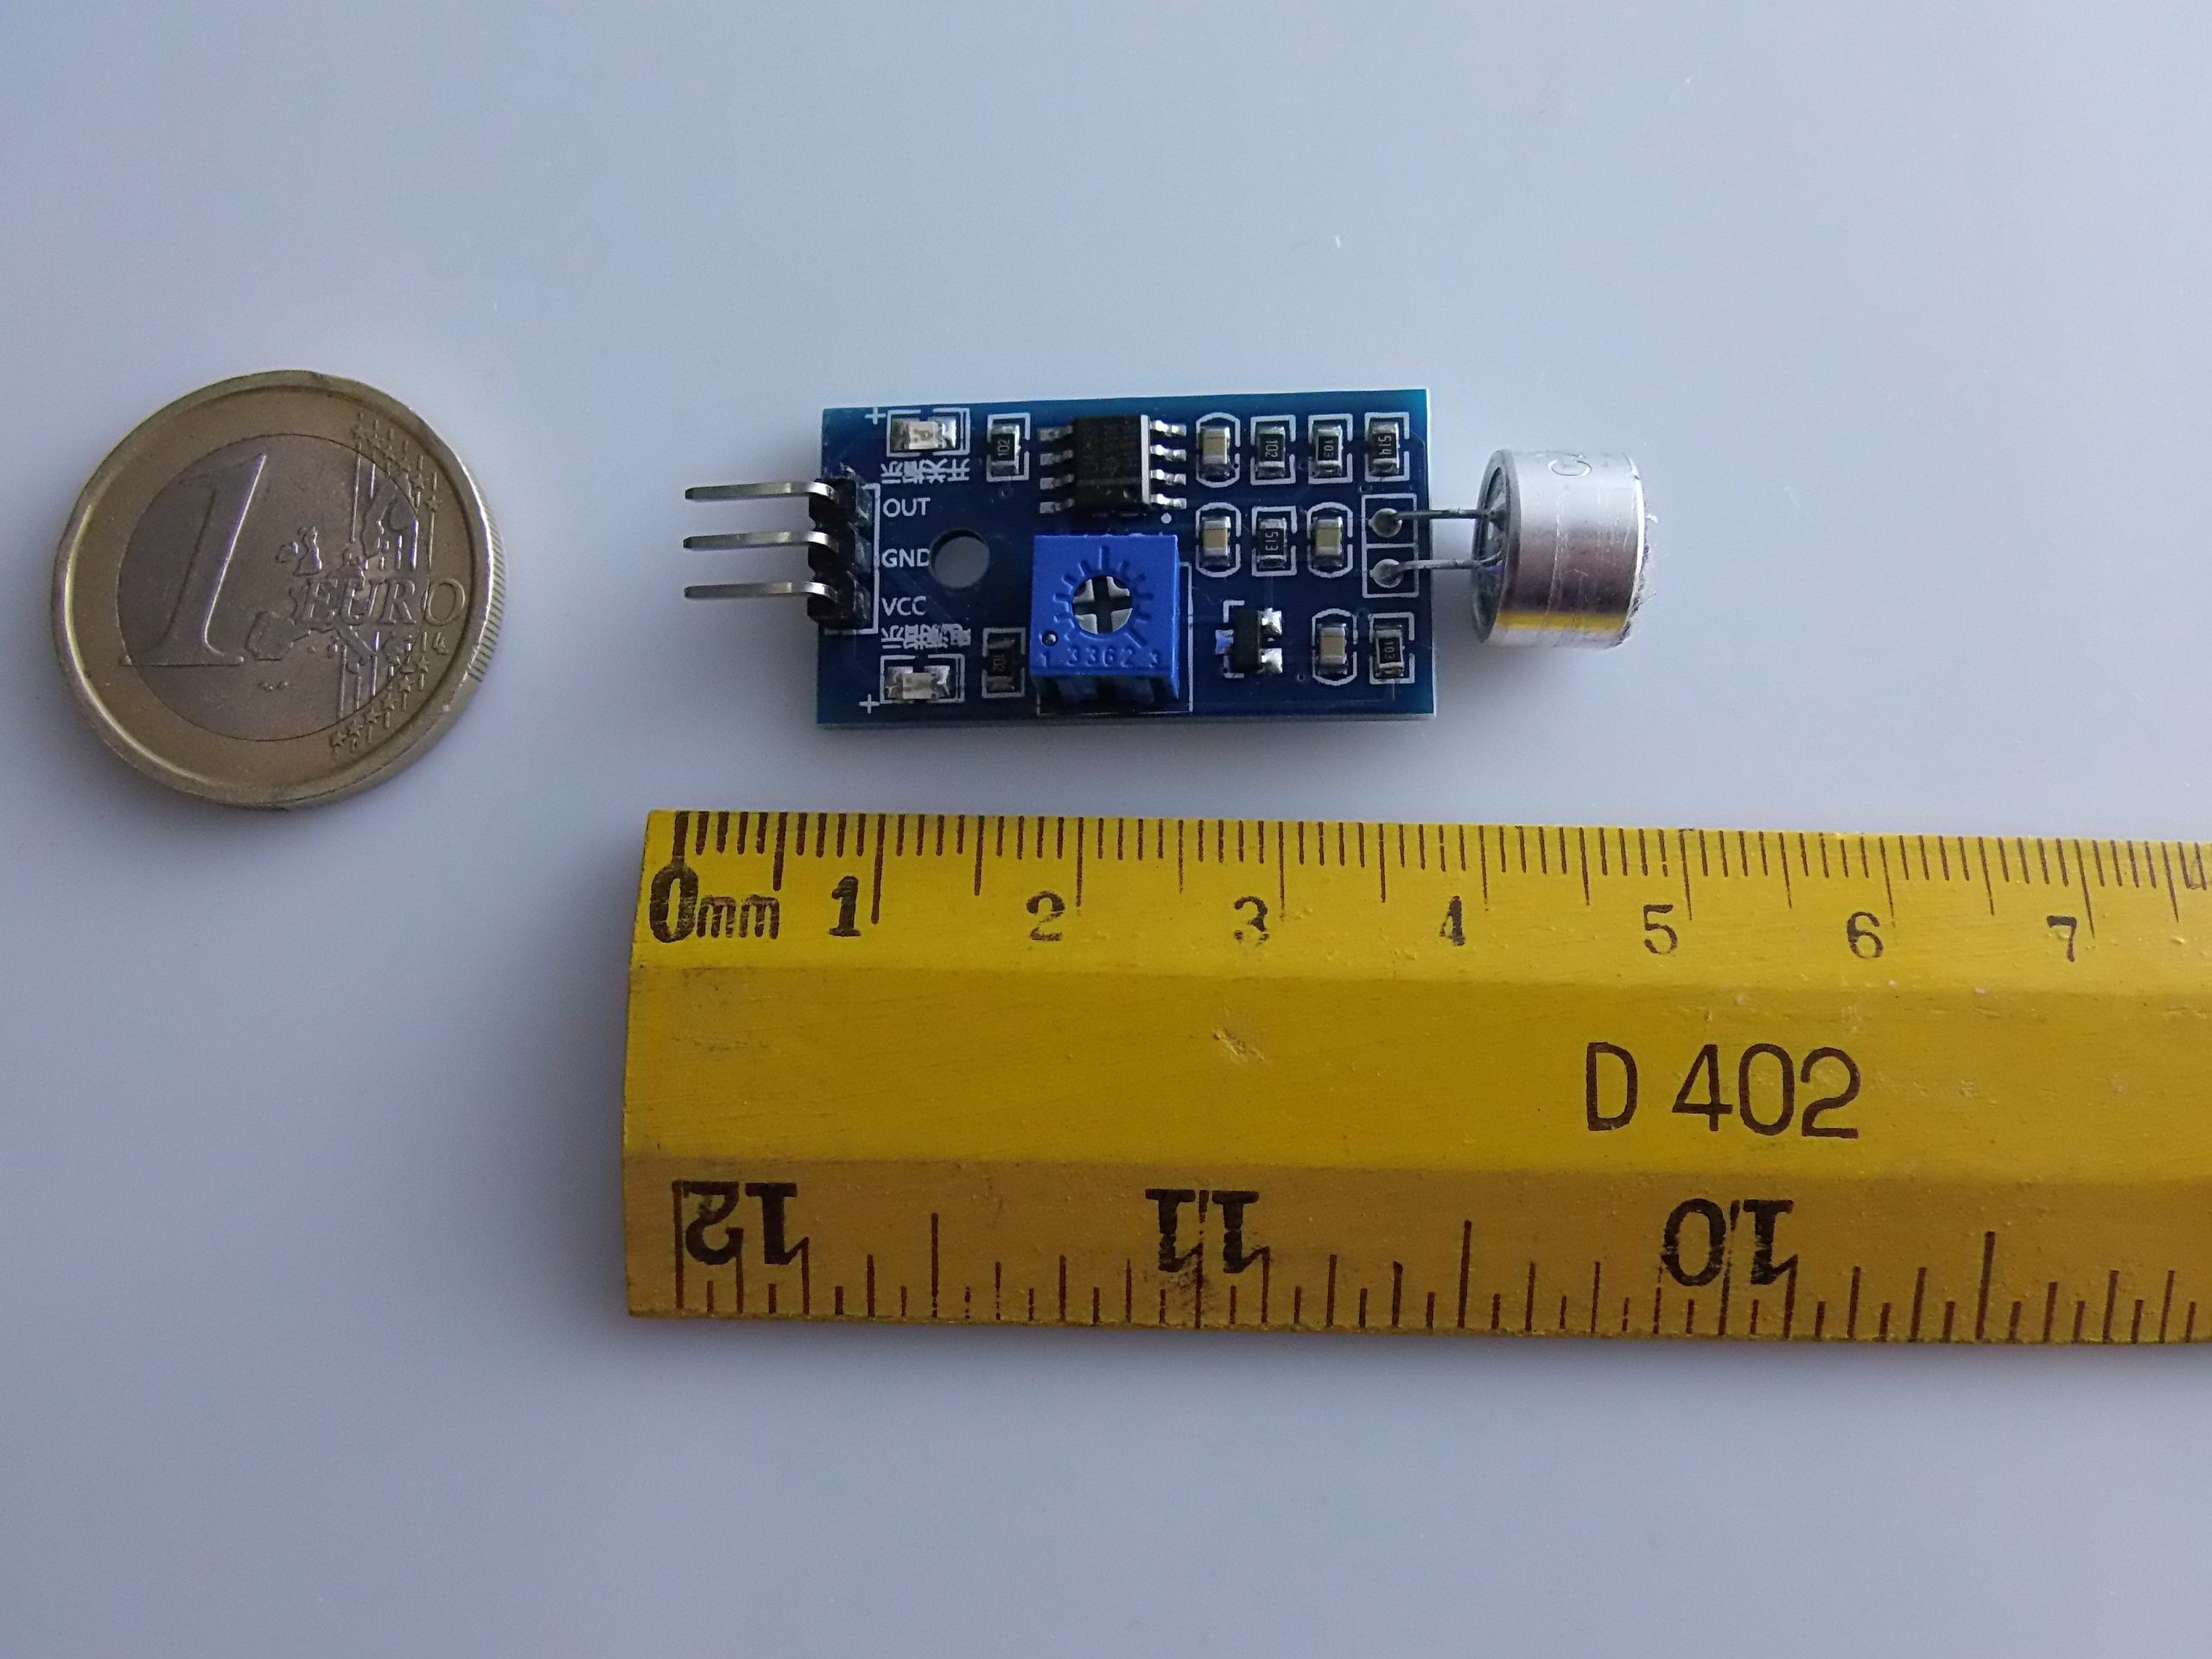
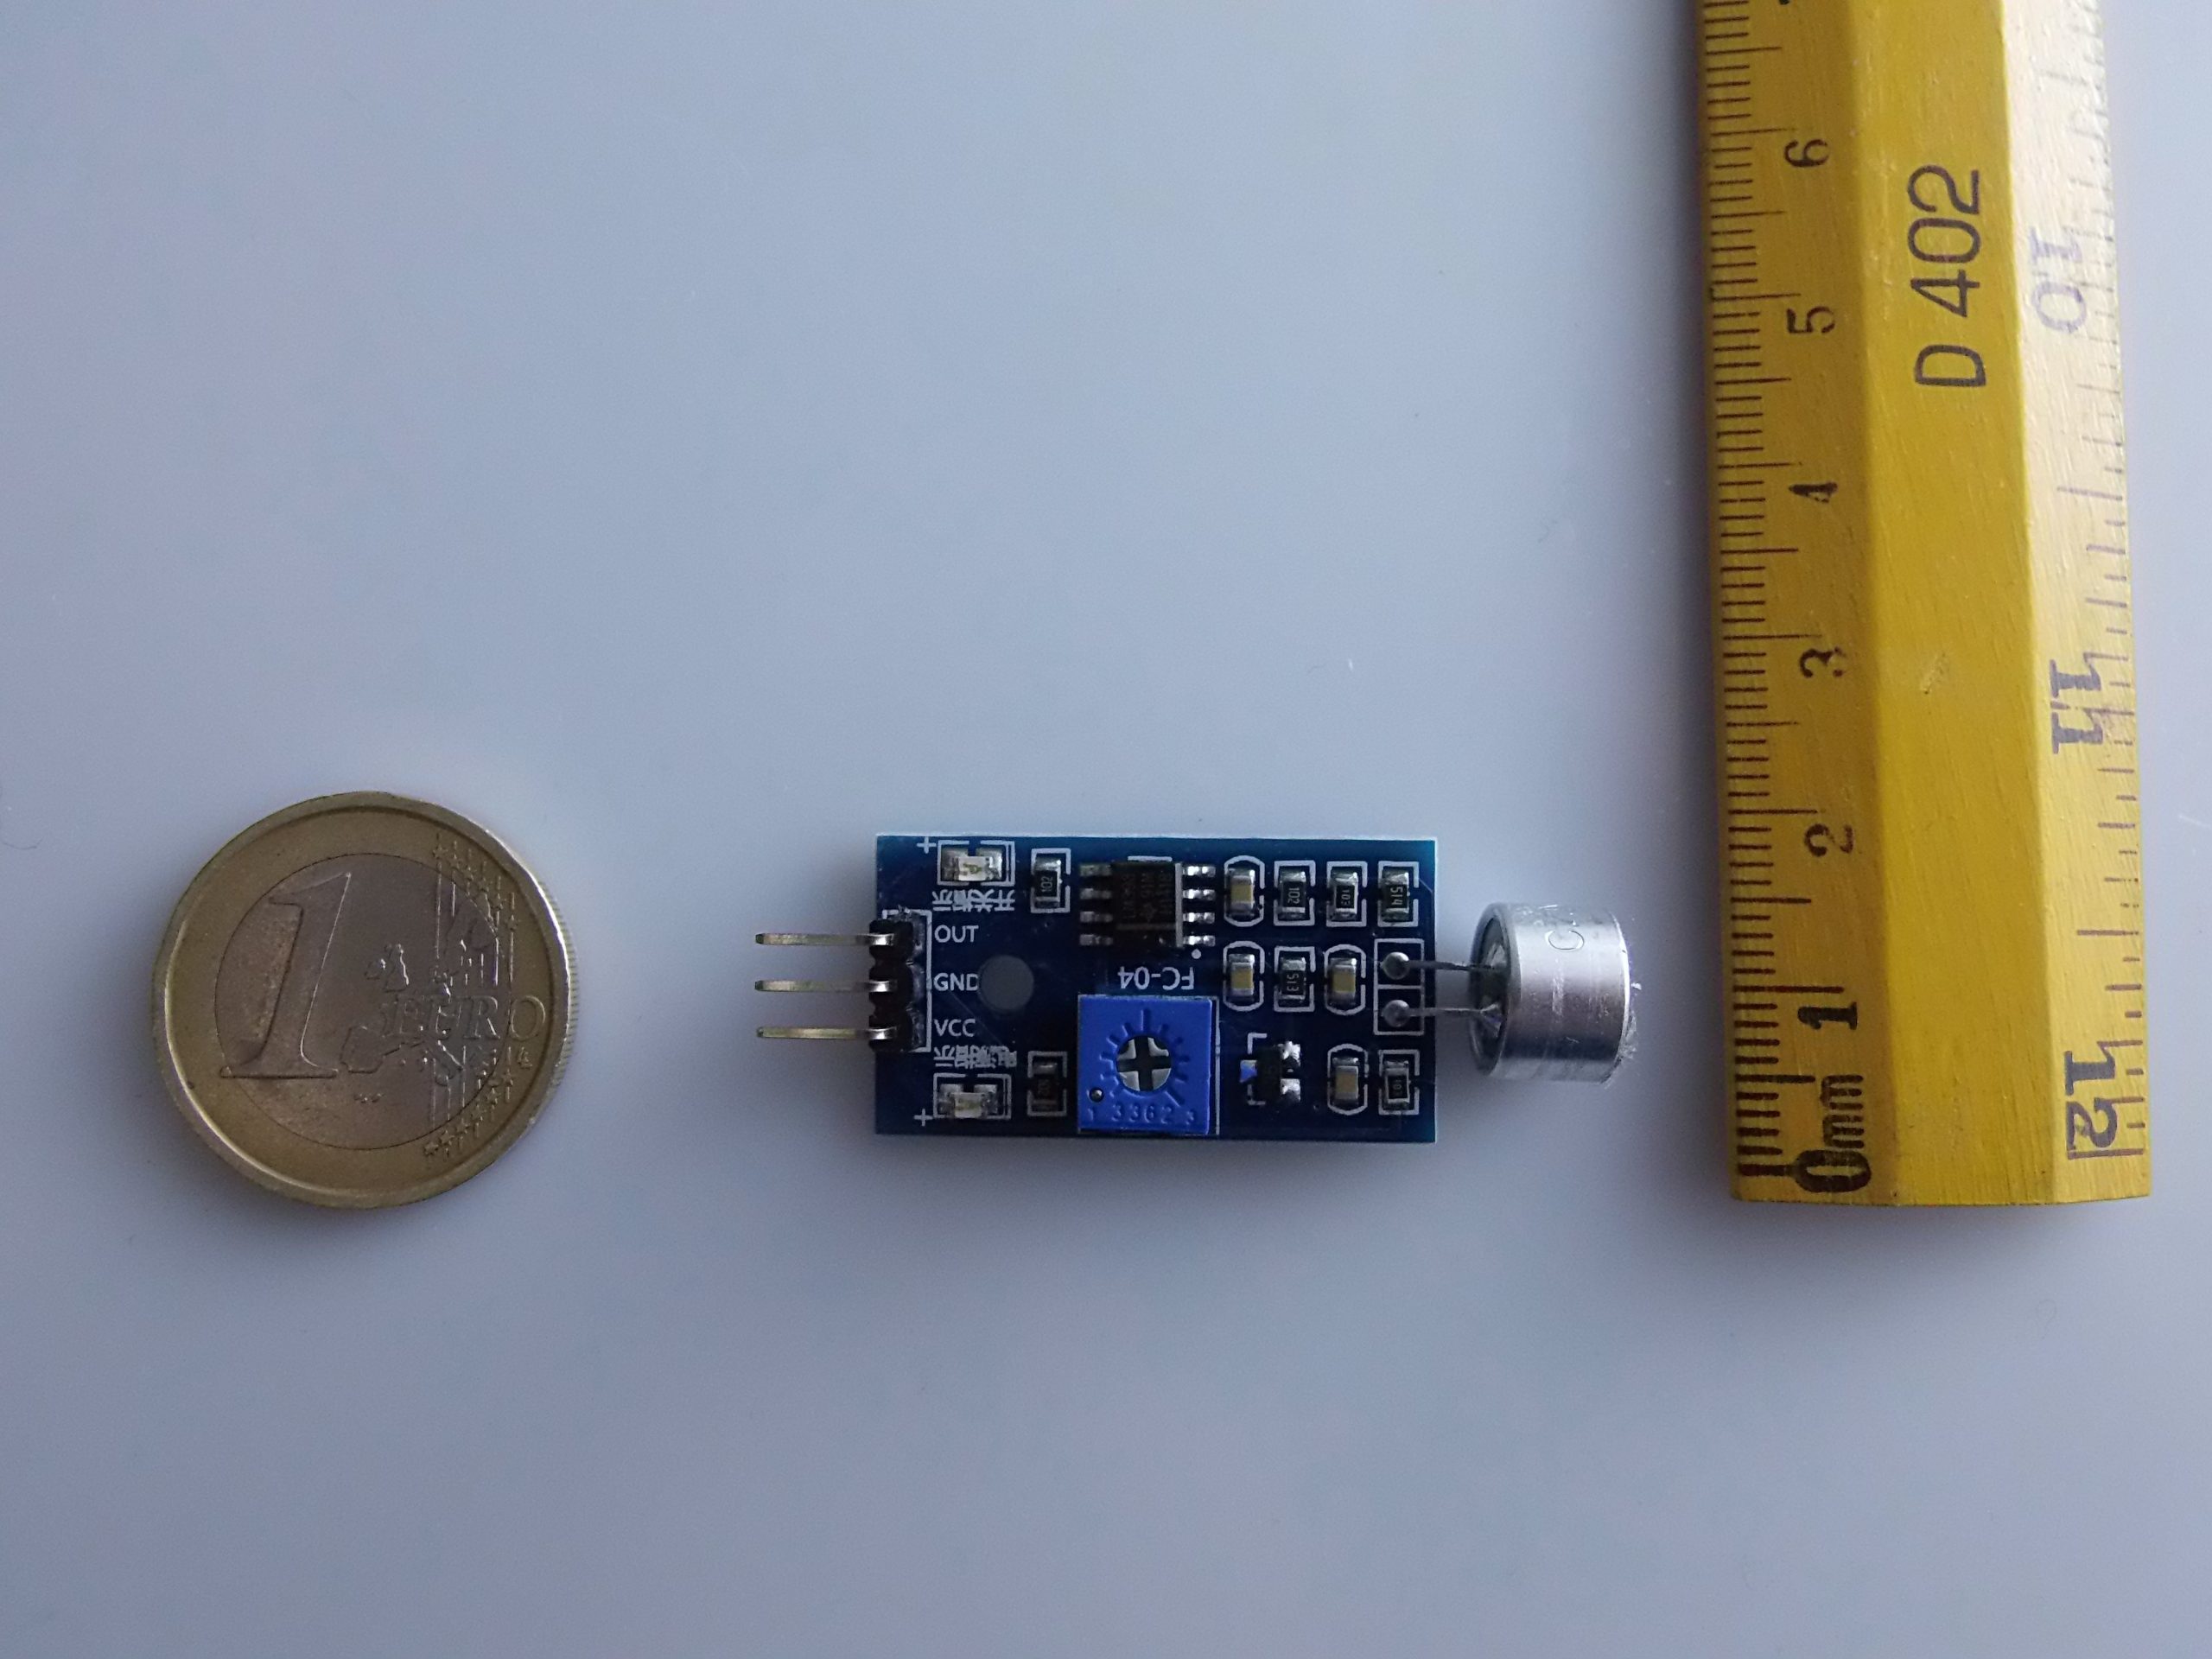
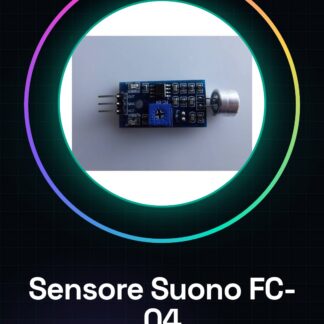
🧰 FC-04 Module Components
- Electret Microphone: Detects sound vibrations
- LM393: Voltage comparator to process the microphone signal
- Potentiometer: Adjusts the comparator threshold (sensitivity)
- Output Pin:
- VCC: Power supply (+3.3V or +5V)
- GND: Ground
- D0: Digital output (HIGH/LOW)
- (some versions also have A0 for analog output)
🧪 Function
The detector senses ambient sounds through the microphone. The LM393 comparator compares the microphone signal with a threshold (regulated by the trimmer):
- If the sound is below the threshold: D0 = HIGH
- If the sound is above the threshold: D0 = LOW
(Note: it may vary slightly from module to module, testing is recommended)
🔌 Connection with Arduino
🔧 Standard connections:
| FC-04 Pin | Arduino Pin |
|---|---|
| VCC | 5V |
| GND | GND |
| D0 | D2 (or another digital pin) |
💡 Example 1: Turn on an LED when there is sound
✅ Objective:
Turn on an LED if a loud noise (clapping, loud voice, etc.) is detected
🔩 Schematic:
- LED with 220Ω resistor on pin D13
- FC-04 on D2
🔁 Arduino Code:
const int soundPin = 2; // Pin collegato a D0 del sensore
const int ledPin = 13; // LED integrato

void setup() {
 pinMode(soundPin, INPUT);
 pinMode(ledPin, OUTPUT);
 Serial.begin(9600);
}

void loop() {
 int soundState = digitalRead(soundPin);

 if (soundState == LOW) { // Suono rilevato
 digitalWrite(ledPin, HIGH);
 Serial.println("💥 Suono rilevato!");
 delay(200); // debounce
 } else {
 digitalWrite(ledPin, LOW);
 }
}
💡 Example 2: Count hand claps
✅ Objective:
Count how many times hands are clapped
🔁 Code:
const int soundPin = 2;
int clapCount = 0;

void setup() {
 pinMode(soundPin, INPUT);
 Serial.begin(9600);
}

void loop() {
 if (digitalRead(soundPin) == LOW) {
 clapCount++;
 Serial.print("Battiti rilevati: ");
 Serial.println(clapCount);
 delay(300); // Antirimbalzo per evitare conteggi doppi
 }
}
🛠️ Tips for adjustment
- Too many false positives? Turn the potentiometer clockwise to lower the sensitivity.
- Not detecting anything? Rotate counterclockwise to increase sensitivity.
- Use a precision screwdriver for fine tuning.
📘 Advanced notes: analog output usage (if available)
Some FC-04 modules include a pin A0 for the analog signal. In this case you can obtain the audio waveform or measure the sound intensity in real time.
Example analog code:
const int analogPin = A0;

void setup() {
 Serial.begin(9600);
}

void loop() {
 int value = analogRead(analogPin);
 Serial.println(value);
 delay(100);
}
You can view the graph in Serial Monitor > Serial Plotter.
📦 Common applications
- Hand clap detection to activate lights or devices
- Sound-based alarm (door slam, voice alarm)
- Interactive games or projects with sound input
- Home Automation and Sound Automations
📚 Conclusions
The Sound Sensor FC-04 is an economical and simple solution for detecting sounds in Arduino projects. Although it is not suitable for recording or detailed audio analysis, it is perfect for sound events binary (presence/absence of sound). Thanks to the integrated trimmer, it is easy to adapt it to different environments and sensitivities.
If you are interested, I can also provide you with:
- Fritzing Diagrams
- Code for interaction with WiFi modules (e.g., ESP8266)
- Applications with relays or motors
Let me know!
|
GENERAL |
MODEL |
Sound Sensor Module |
|
MATERIALS |
pcb + components |
|
|
COMPATIBILITY |
ARDUINO |
|
|
ELECTRONIC COMPONENTS |
INPUT VOLTAGE |
3 – 15 V |
|
WEIGHT AND DIMENSIONS |
PRODUCT WEIGHT |
7 g |
|
PACKAGE WEIGHT |
0.13 kg |
|
|
PRODUCT DIMENSIONS (L x W x H) |
4.8 x 2 x 0.3 cm |
|
|
PACKAGE DIMENSIONS (L x W x H) |
15 x 10 x 2 cm |
|
|
PACKAGE CONTENT |
PACKAGE CONTENT |
1 x Module |
We have available the technical sheet of all components, should it not be present in the product download card, send us a message from the contact form and we will publish it as soon as possible on our website.
Tutorial: How to Use FC-04 Sound Sensor
The FC-04 sound sensor is a useful module for anyone who wants to monitor or detect noise in domestic or industrial environments. Ideal for security or automation projects.
What you need
- Arduino
- USB cable
- 5V power supply
Steps
- Connect the FC-04 module to the Arduino using a jumper cable.
- Connect VCC and GND to the Arduino power reference (5V and GND).
- Connect the switch SW to a digital pin of the Arduino for threshold configuration.
- Connect the signal OUT to another digital pin to receive sensor data.
- Install the necessary libraries if required by the sketch.
- Upload the sketch to the Arduino via USB.
- Check that the module is functioning by monitoring the output port through Serial Monitor.
Example code
void setup() {
 pinMode(OUT_PIN, INPUT);
 pinMode(SW_PIN, OUTPUT);
}

void loop() {
 int soundLevel = digitalRead(OUT_PIN);
 if (soundLevel == HIGH) {
 Serial.println("Rilevato rumore");
 }
}
Mini project
Create a home alarm system that sends an email notification when noise above the set threshold is detected.
Common mistakes
- Fail to properly verify the module’s power supply.
- Set the threshold too low or too high.
- Ignore the calibration data required for the sensor.
- Do not use an inadequate antenna if you intend to use the module in outdoor environments.
Recommended accessories
- ESP8266 Wi-Fi Module
- Buzzer
- 16×2 LCD Display
- Relay Module
Frequently asked questions
How do I set the sensor threshold?
Use a digital pin to enable or disable the threshold setting; check the specifications in the datasheet.
The module does not work with 3.3V power supply.
Check that the sensor is designed to work at 3.3V; otherwise, use a logic level converter.

Reviews
There are no reviews yet.