 EN
 IT Italiano
 ES Español
 FR Français
 DE Deutsch
Description
What it is
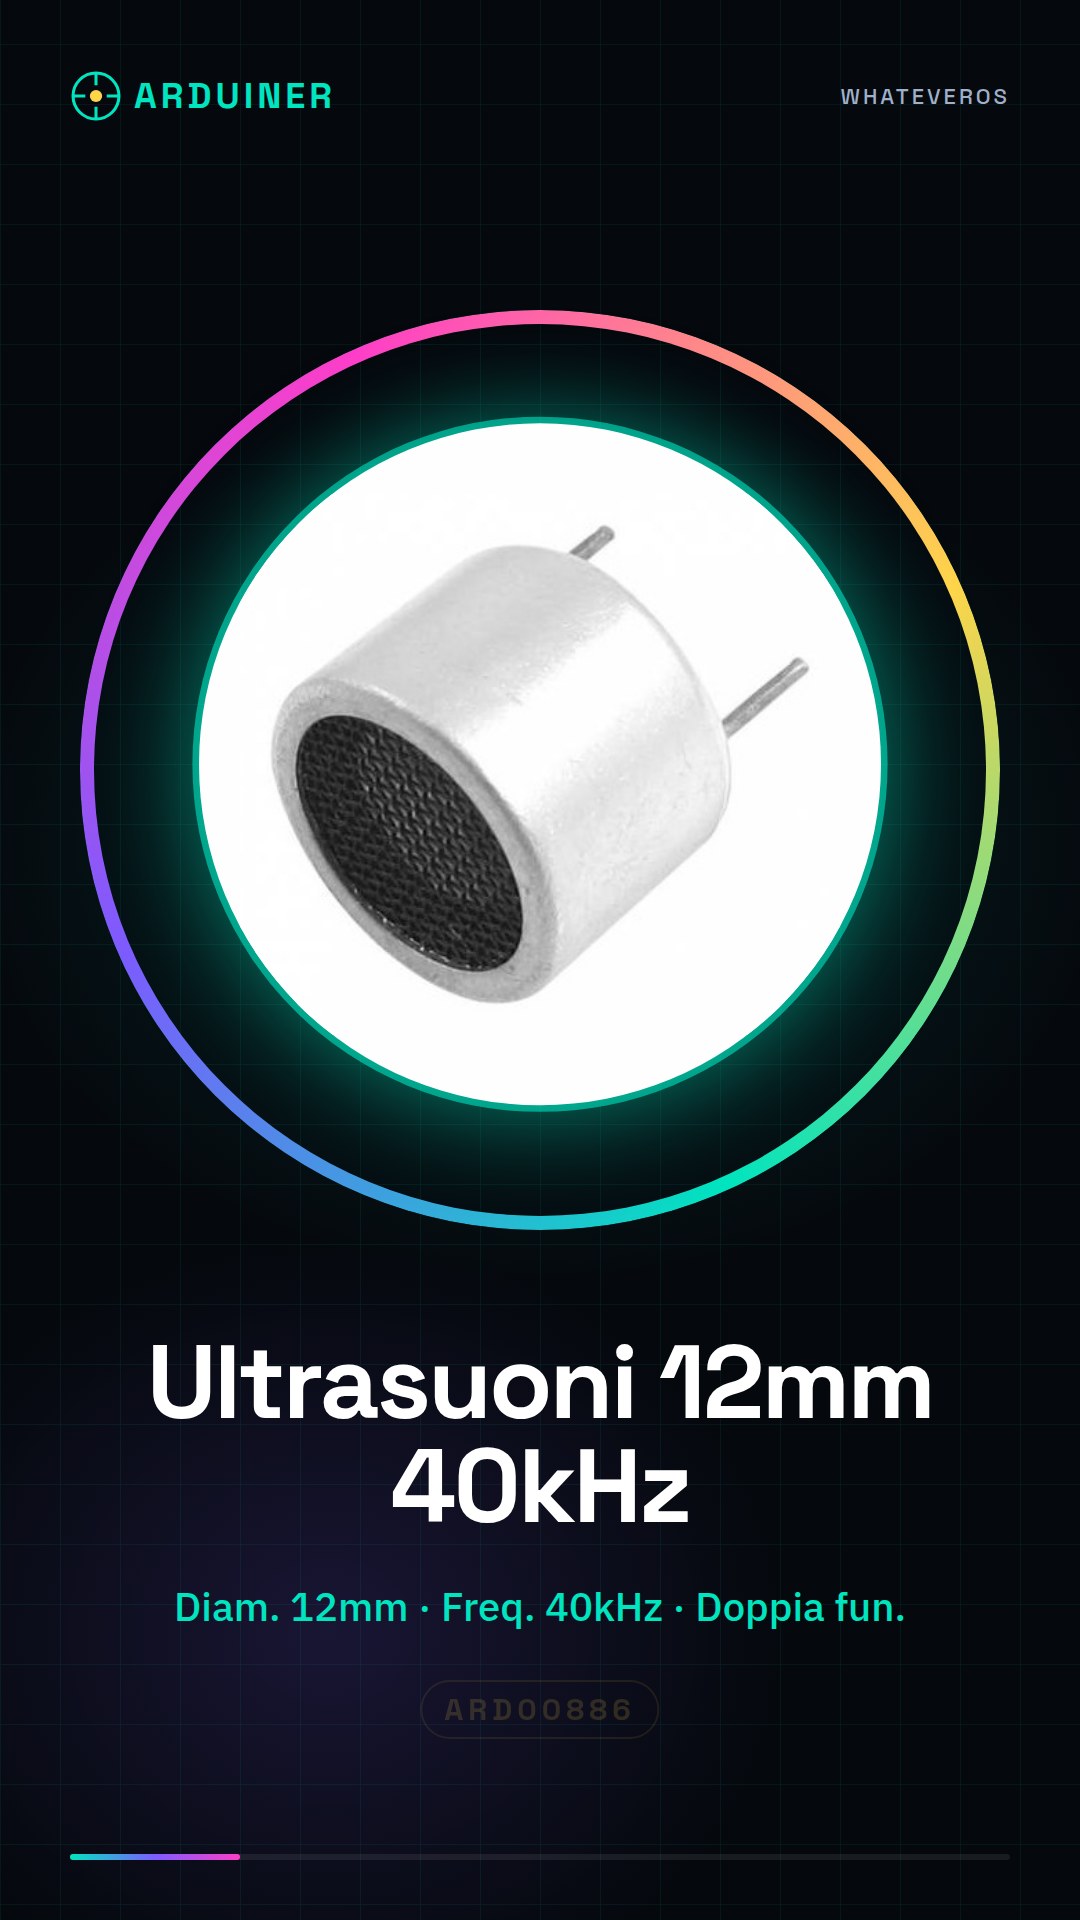
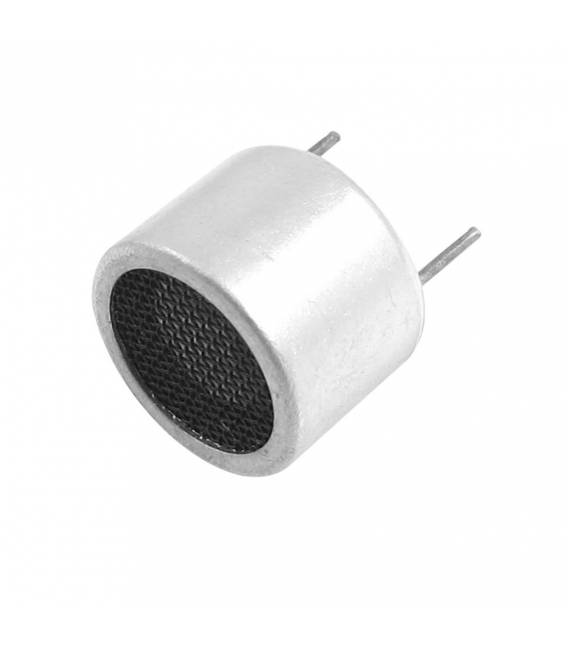
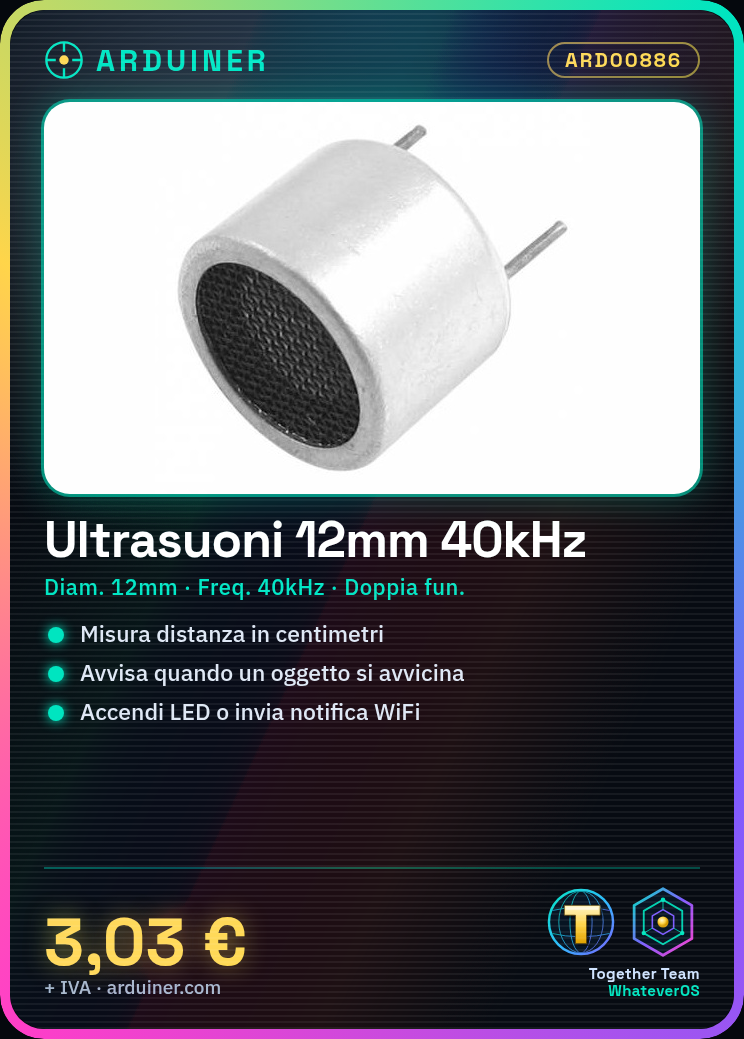
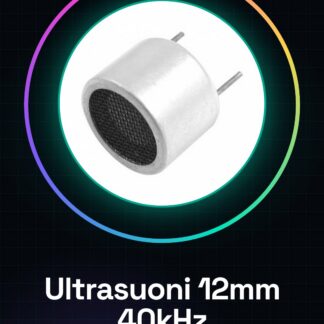
The 40KHz ultrasonic transceiver is a component that combines the functions of transmitter and receiver in a single device. With a diameter of 12mm, this component is ideal for Arduino projects where distance measurement or obstacle detection is required.
Features
- Diameter: 12 mm
- Frequency: 40 KHz
- Function: Transmitter and receiver
What it is for
The ultrasonic transceiver can be used to create home alarm systems that alert when an object comes within a certain distance. It can also be configured to turn on an LED or send a WiFi notification.
Tutorial: How to use the 12MM 40KHz Ultrasonic Transceiver
The dual-function ultrasonic transceiver is an essential component for distance measurement projects, such as robotics and security systems. Ideal for both beginners and more experienced makers.
What you need
- Arduino Uno
- USB Connection
- Jumper Wire
Steps
- Connect the receiver to the VCC and GND pins of the Arduino.
- Connect the Trig pin of the receiver to a digital pin of the Arduino (for example, pin 7).
- Connect the Echo pin to the next digital port (for example, pin 8) to receive data.
- Download and install the NewPing library on the Arduino IDE.
- Load the sketch below onto your Arduino.
- Check that the serial monitor output shows the correct distances in centimeters.
- If necessary, adapt the code to integrate it with other components or features of the project.
- Test the receiver in various lighting and environmental conditions.
Example code
// Includi la libreria NewPing
#include <NewPing.h>

// Definisci il numero di piazze tra Trig ed Echo
#define NUM_PULSES 20

// Crea un oggetto NewPing per la ricetrasmittente
NewPing sonar(7, 8, NUM_PULSES);

void setup() {
  Serial.begin(9600);
}

void loop() {
  // Leggi la distanza e memorizzala in una variabile
  int distance = sonar.ping_cm();
  // Stampa la distanza al monitor seriale
  Serial.print("Distanza: ");
  Serial.println(distance);
  delay(50); // Attendi prima di rilevare nuovamente
}
Mini project
Create a home alarm system that alerts when an object comes within a certain distance. Configure the receiver to turn on an LED or send a notification via WiFi.
Common mistakes
- Do not verify the correct orientation of the pins during connection.
- Do not use an insufficient timer between the Trig and Echo buttons.
- Ignore the presence of reflective or absorptive obstacles that can alter the measurements.
- Do not update the NewPing library to the latest version.
Recommended accessories
- Arduino Uno
- USB and Jumper Connections
- NewPing Library for Arduino IDE
Frequently asked questions
What is the measurement range of the transceiver?
Check the product datasheet.
How can I improve the accuracy of the measurements?
Optimize the environment by reducing background noise and ensure there are no reflections from metallic surfaces.
Reviews
There are no reviews yet.