 EN
 IT Italiano
 ES Español
 FR Français
 DE Deutsch
Description
What it is
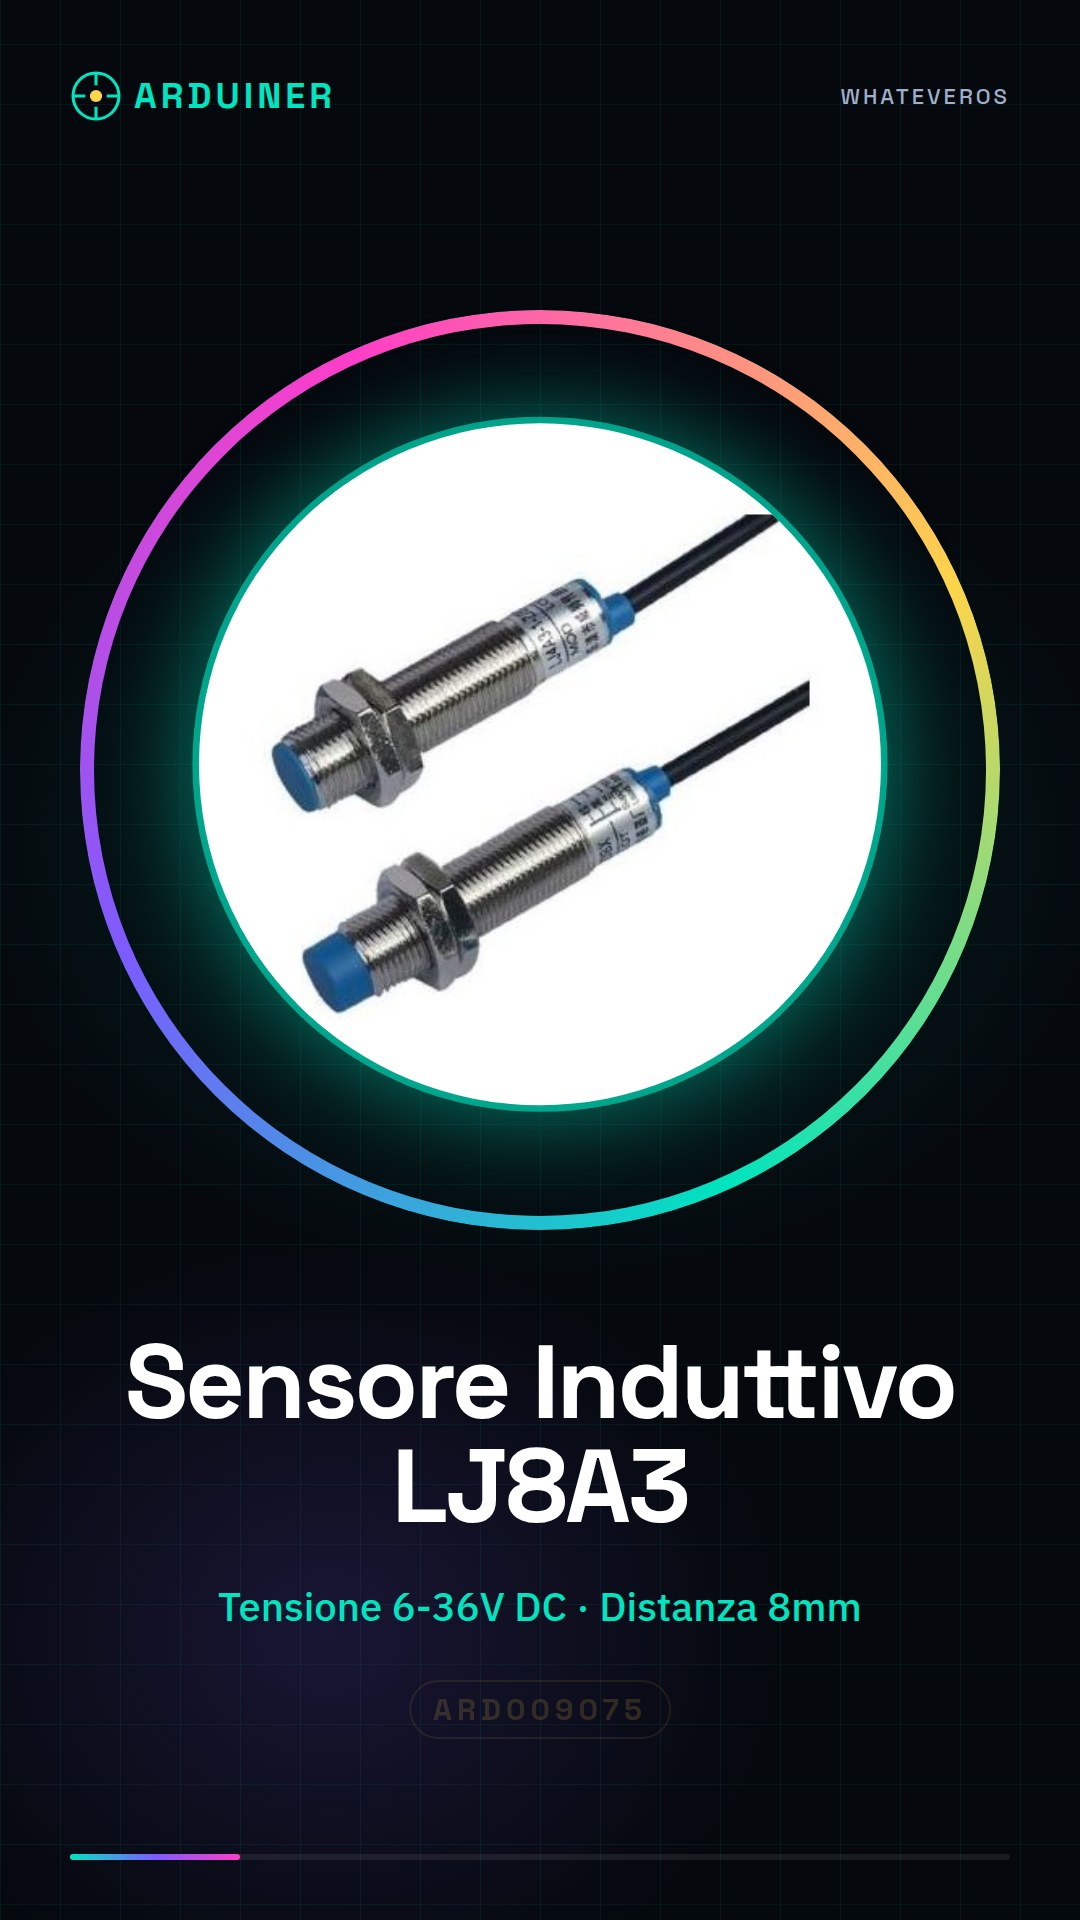
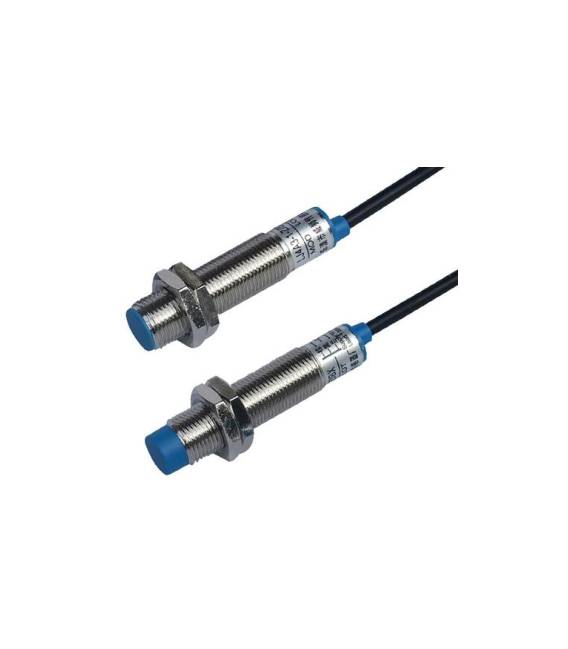
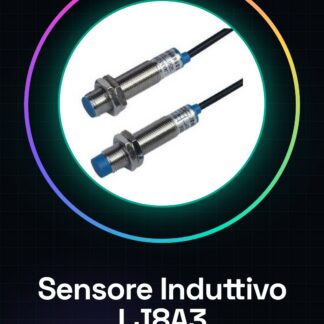
The LJ8A3-2-Z/BX inductive proximity sensor is a device used to detect the presence of metallic objects up to a maximum distance of 8mm. It operates with voltages from 6 to 36V DC and has an NPN NO output.
Features
- Operating Voltage: 6-36V DC
- Maximum Detection Distance: 8mm
- Output Type: NPN NO
What it is for
This sensor is ideal for projects requiring the detection of metallic objects at short distances. It can be used in alarm systems, presence or obstacle controls, and integration with Arduino or ESP.
Tutorial: How to Use the Inductive Proximity Sensor Switch LJ8A3-2-Z/BX NPN
This inductive sensor is ideal for measuring the distance between an object and an inductor. Perfect for beginner projects and for those who want to implement a presence or obstacle detection system.
What you need
- Arduino Uno or compatible
- DC 6-36V power cable
- 1kΩ resistor
- Breadboard and 0.1″ pins
Steps
- 1. Connect the power to the sensor (pins 1-2-3). Check the datasheet.
- 2. Connect the N/C pin to an input pin of your Arduino (e.g., A0). Check the datasheet.
- 3. Connect the COM pin to GND of your Arduino.
- 4. Connect the OUT pin to an output pin of your Arduino (e.g., D2). Check the datasheet.
- 5. Connect a 1kΩ resistor between the OUT pin and the VCC of your Arduino.
- 6. Load the provided Arduino code.
- 7. Turn on the power and verify that the sensor is functioning correctly.
- 8. Test the sensor with an object near the inductor.
Example code
```
int sensorPin = 2;
int ledPin = 13;

void setup() {
  pinMode(sensorPin, INPUT);
  pinMode(ledPin, OUTPUT);
}

void loop() {
  if (digitalRead(sensorPin) == HIGH) {
    digitalWrite(ledPin, HIGH);
  } else {
    digitalWrite(ledPin, LOW);
  }
}
```
Mini project
Build a basic alarm system. Connect the sensor to an input pin and the LED to the output pin of the code. When an object approaches the inductor, the LED turns on.
Common mistakes
- Ensure that the power supply is compatible with the sensor.
- Make sure that the pins are correctly connected.
- Check that the Arduino code is correct.
- Check that the sensor is not too close or too far from the inductor.
Recommended accessories
- Led
- 220Ω resistor
- 6-36V power supply cable
- Breadboard and 0.1″ pins
Frequently asked questions
The sensor does not respond when I bring an object close.
Check that the object is metallic and not too far from the inductor.
The sensor responds even when there are no objects nearby.
Ensure that the power supply is stable and check the connections.
The sensor does not work with 5V power supply.
Check the datasheet for the power supply range and make sure to use a power supply between 6-36V.
Reviews
There are no reviews yet.