 EN
 IT Italiano
 ES Español
 FR Français
 DE Deutsch

Description
What it is
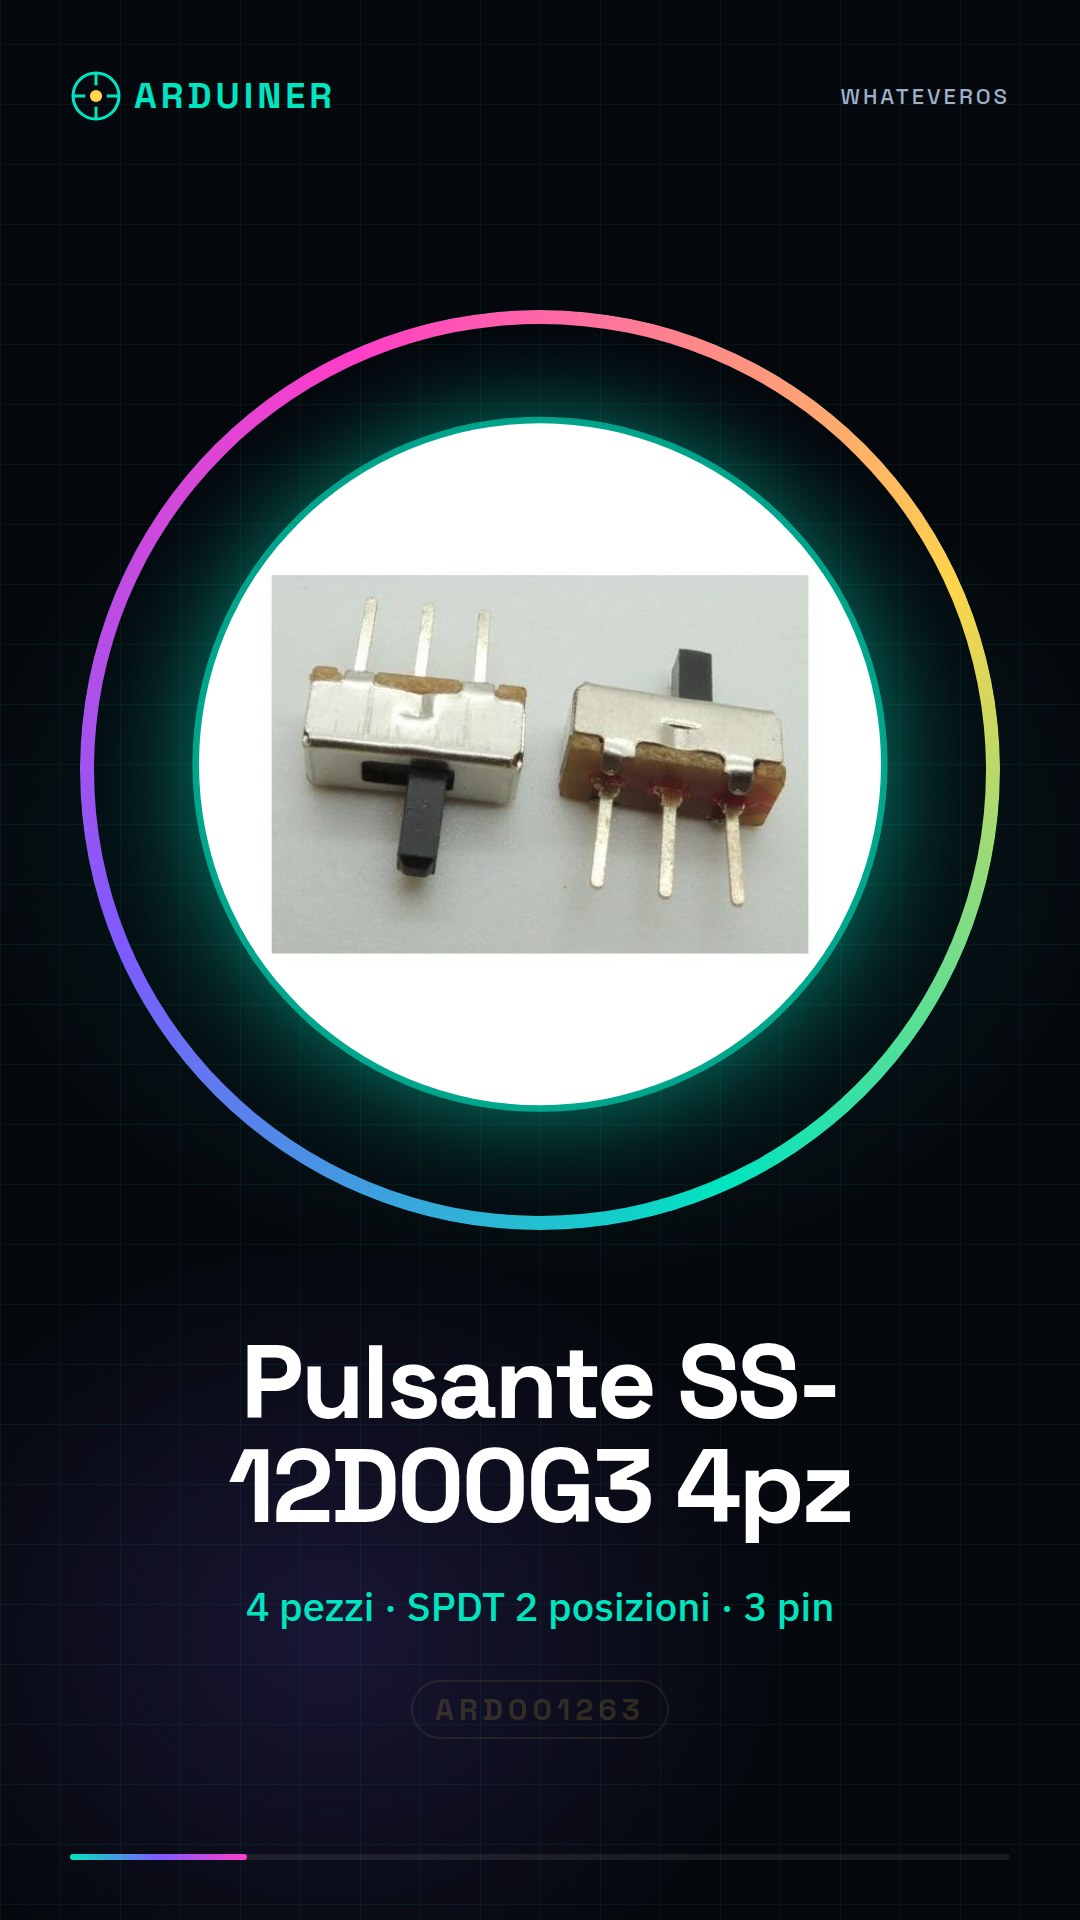
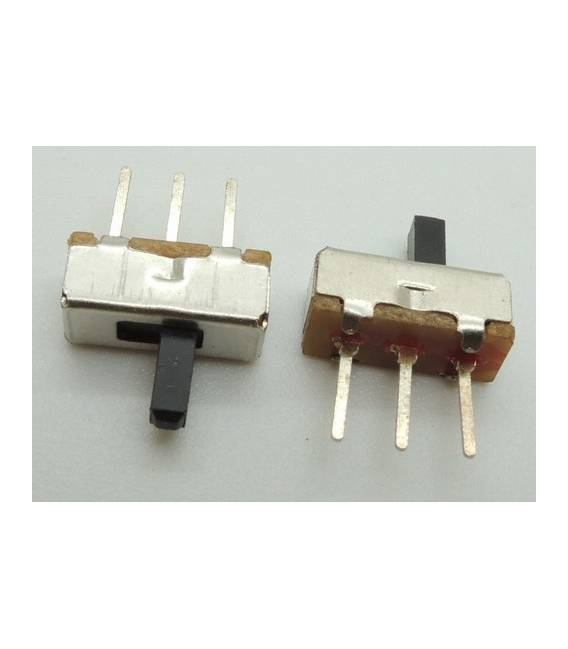
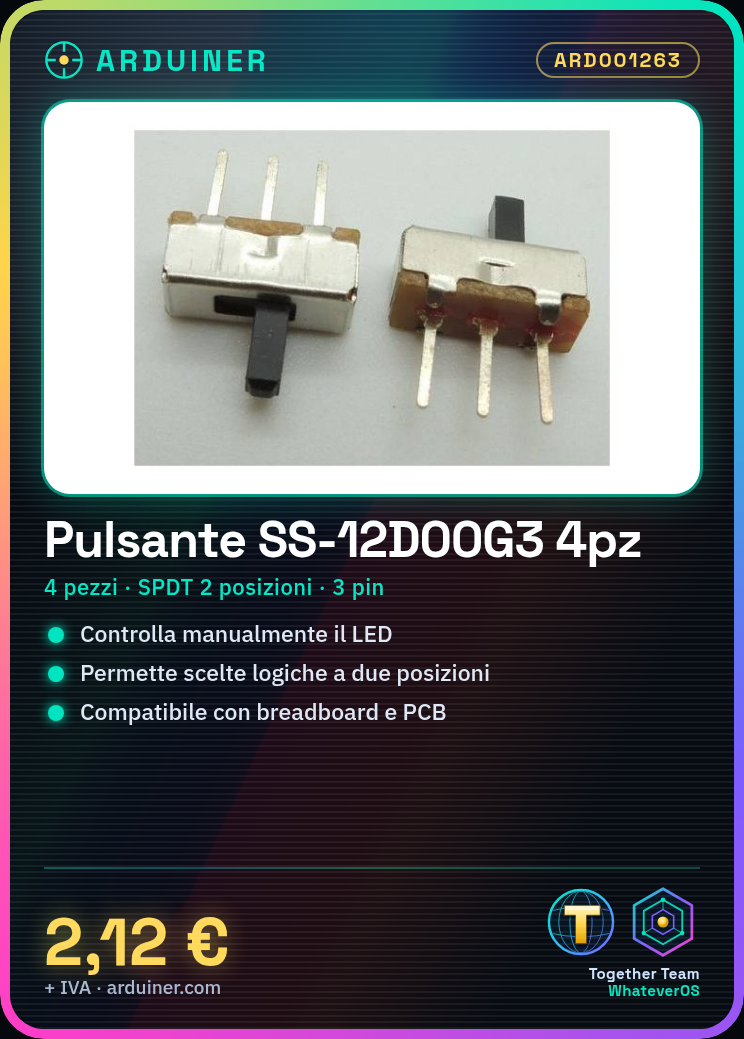
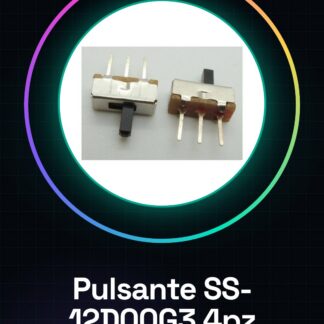
The SS-12D00G3 switches are electronic components used for prototyping and circuit building on breadboards. This item includes 4 pieces of SPDT (Single Pole Double Throw) switches with two positions, ideal for projects requiring manual control of circuit logic conditions.
Features
- 2 positions SPDT 1P2T
- Vertical 3-pin PCB panel
- Compatible with breadboard and PCB prototyping
What it is for
The SS-12D00G3 switches are useful for controlling electronic devices, for example to activate or deactivate an LED when the switch is pressed. They are compatible with Arduino and ESP based projects.
Tutorial: How to use SPDT Switch SS-12D00G3
The SPDT (Single Pole Double Throw) switch with two positions is a fundamental component for Arduino and general electronics projects. It is mainly used to control the logical state of the circuit, for example, to activate or deactivate a device.
What you need
- Arduino Uno or compatible
- Breadboard
- Jumper wire
Steps
- Insert the SPDT switch on the breadboard. Check the correct position of the pins relative to the vertical PCB.
- Connect the two terminals of the switch to the digital pins of the Arduino using jumper wires.
- Write a simple Arduino sketch to read the state of the switch and print it on the Serial Monitor.
- Check that the switch changes state when pressed.
Example code
const int bottone = 2;

void setup() {
  pinMode(bottone, INPUT);
  Serial.begin(9600);
}

void loop() {
  if (digitalRead(bottone) == HIGH) {
    Serial.println("Pulsante premuto");
  }
}
Mini project
Create a glowing projectile: connect an LED to the switch so that it lights up when the switch is pressed.
Common mistakes
- Incorrect pin connection
- Not verifying pull-up or pull-down resistance
- Ignoring the use of debounce in the code
- Swap the button position on the breadboard
Recommended accessories
- Resistors for pull-up and pull-down
- LEDs in various colors
- USB C type battery
- Jumper wires of varying lengths
Frequently asked questions
How do you connect the button?
Connect it to the Arduino digital pins using jumper wires.
What is the debounce function in the code?
It is used to avoid false clicks of the button when pressed quickly.

Reviews
There are no reviews yet.