 EN
 IT Italiano
 ES Español
 FR Français
 DE Deutsch
Description
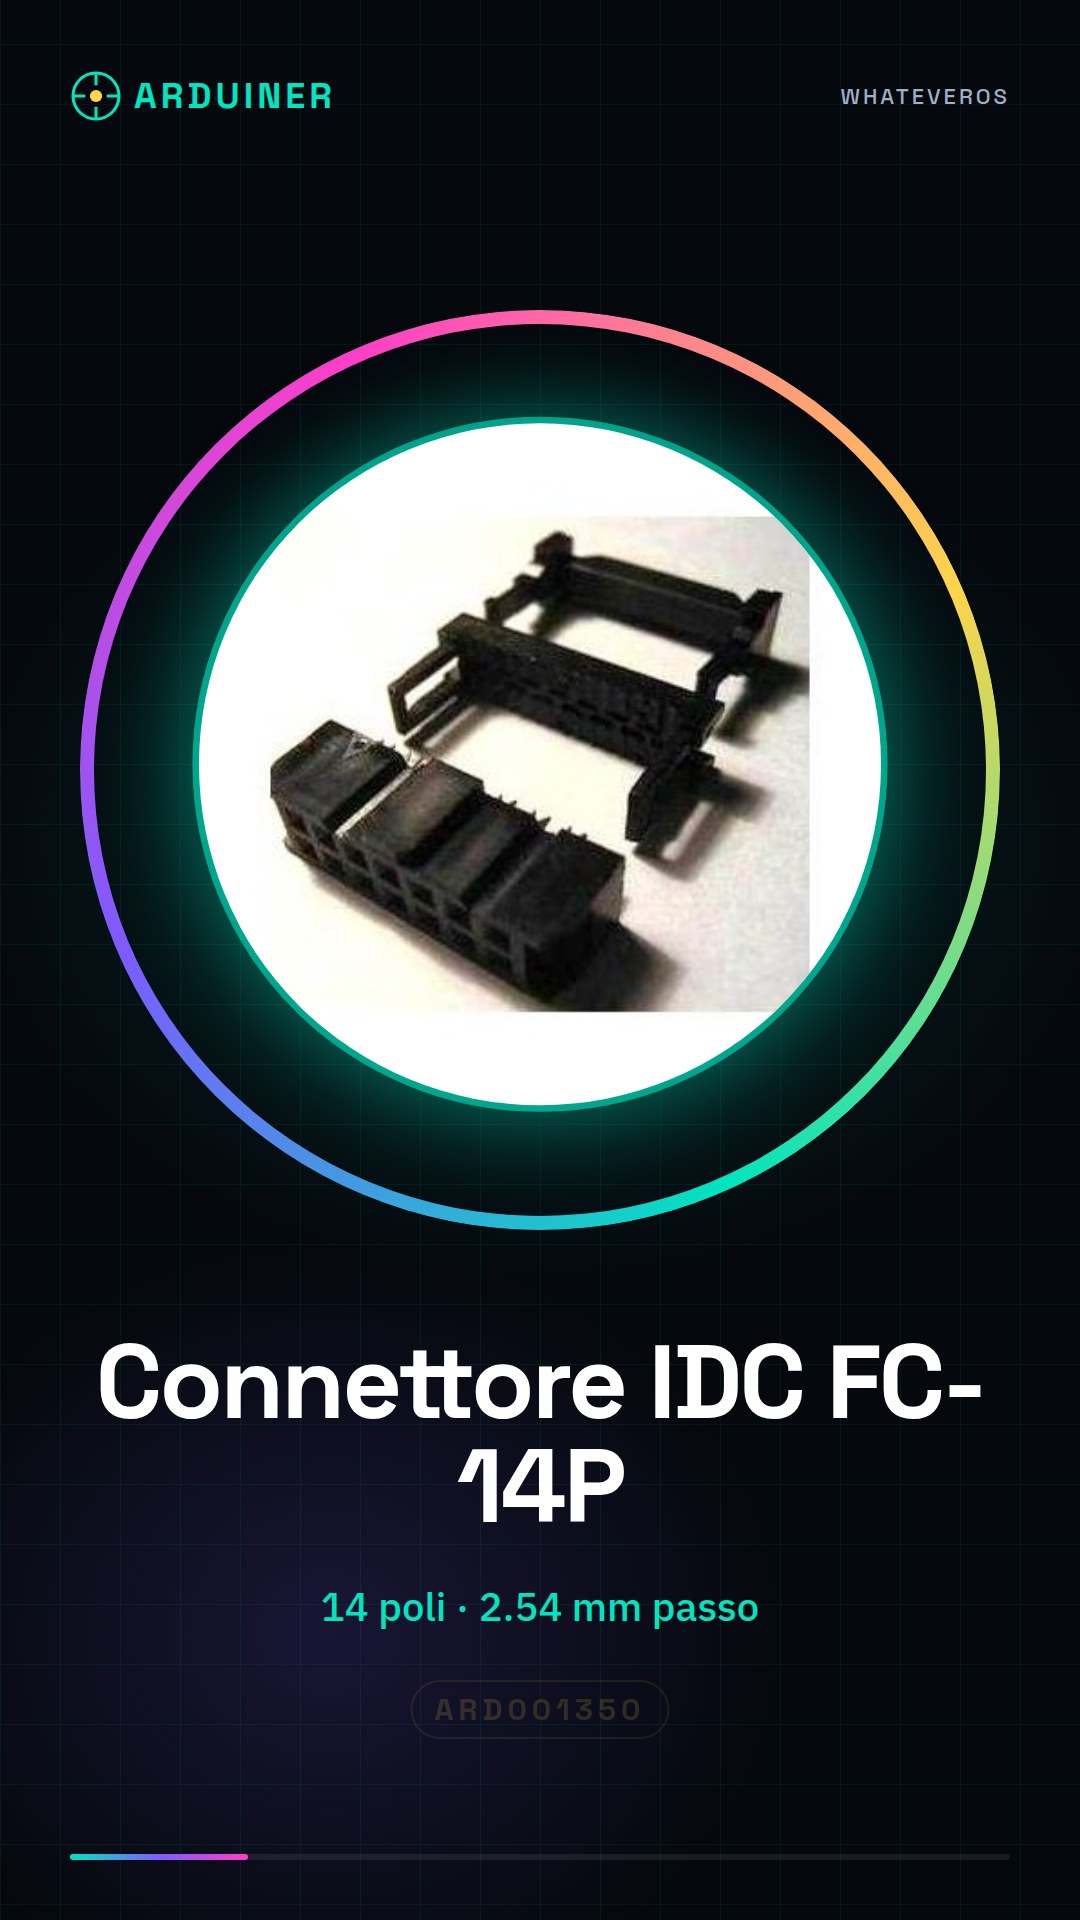
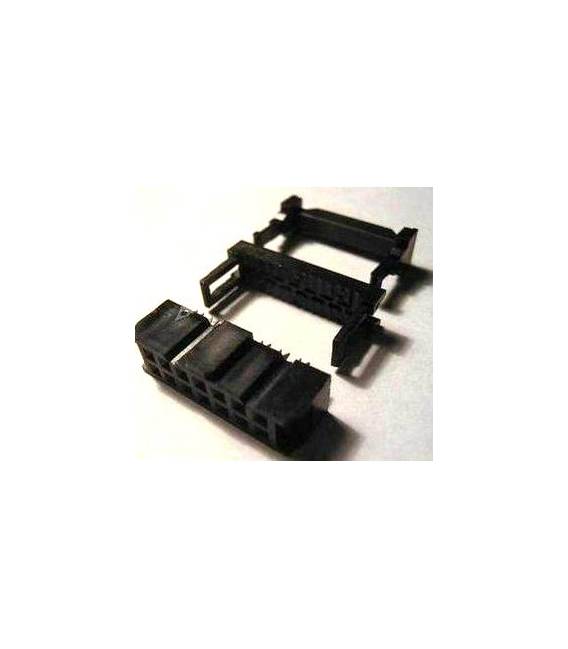
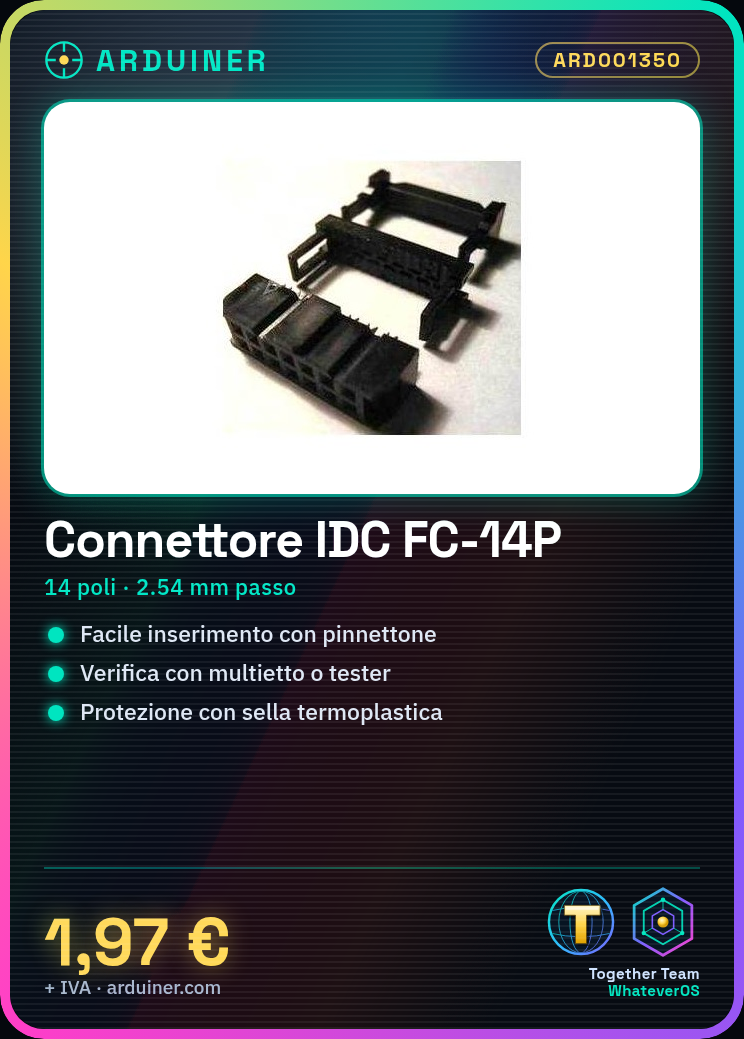
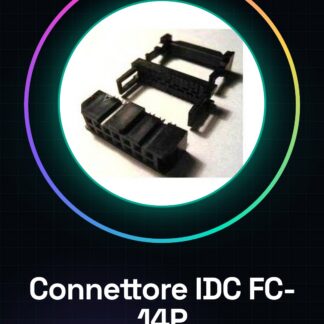
IDC Connector for 14-Pin Flat Cable
Tutorial: How to Use IDC Connector for 14-Pin Flat Cable
This IDC FC-14P connector is ideal for electronic projects that require connecting a flat cable to printed circuit boards or motherboards. It is particularly useful for beginner and intermediate makers developing projects with Arduino.
What you need
- 14-pin flat cable
- pin stripper
Steps
- Check the datasheet for the number of pins on the connector (it should be 14).
- Prepare a flat cable compatible with your connector.
- Use a pin stripper to insert the wires of the cable into the connector, ensuring that each wire is properly positioned in one of the connector’s guides.
- Verify the wire connections with a testing tool such as a multimeter or continuity tester.
- If necessary, apply heat shrink tubing around the connector to protect the connections.
Mini project
Create a control console with 14 LEDs that turn on and off in sequence when buttons are pressed, using the ribbon cable and connector to connect the Arduino board to external components.
Common mistakes
- Insert the wires of the cable into the connector without first verifying the correct orientation.
- Do not apply thermoplastic solder around the connector, exposing the connections to physical or environmental damage.
- Use an unsuitable crimp tool for the type of wire used.
Recommended accessories
- 14-pin ribbon cable
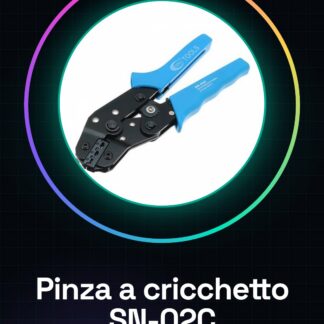
- Crimping tool
- Thermoplastic solder
- Multimeter
Frequently asked questions
How can I verify the connection of the wires?
Use a multimeter or continuity tester to check that each wire is correctly connected to the corresponding pin of the connector.
What is the purpose of thermoplastic solder?
Thermoplastic solder protects the connections from physical and moisture damage, ensuring a stable connection over time.
Reviews
There are no reviews yet.