 EN
 IT Italiano
 ES Español
 FR Français
 DE Deutsch
Description
What it is
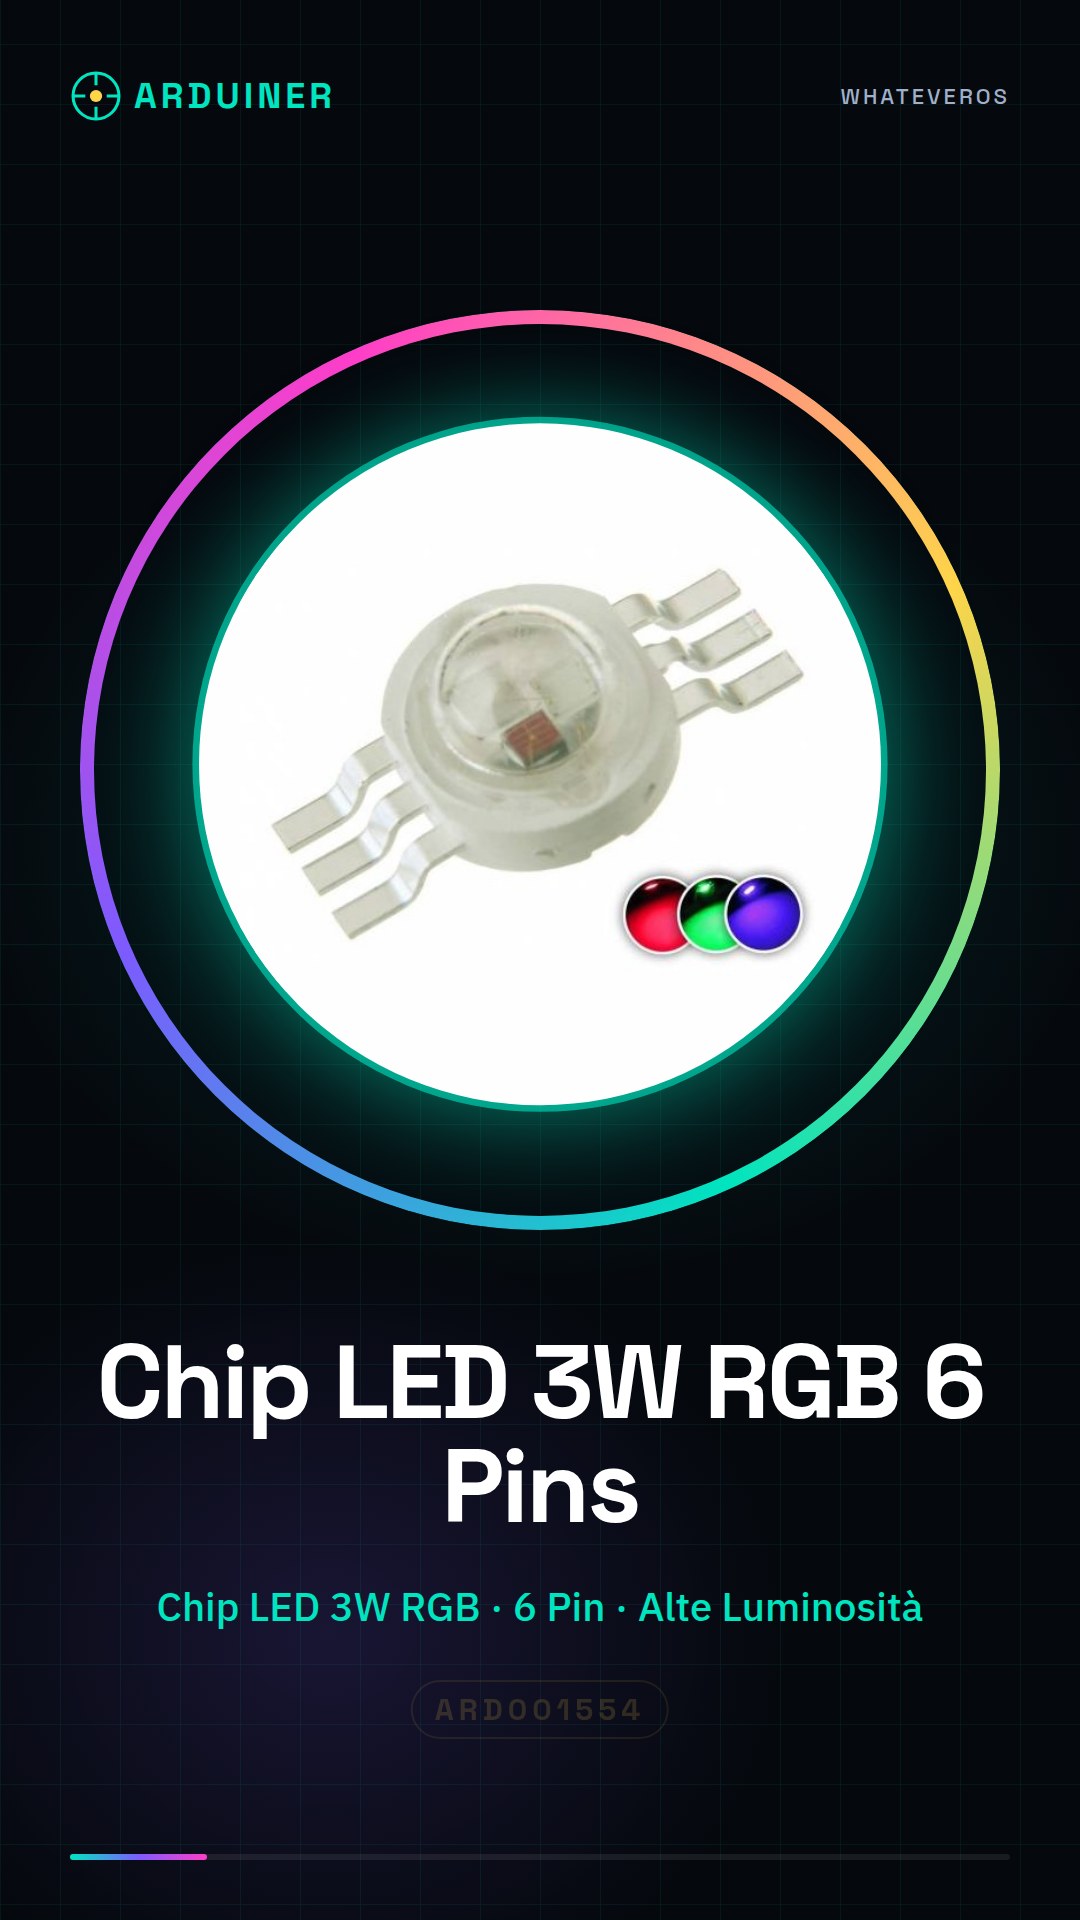
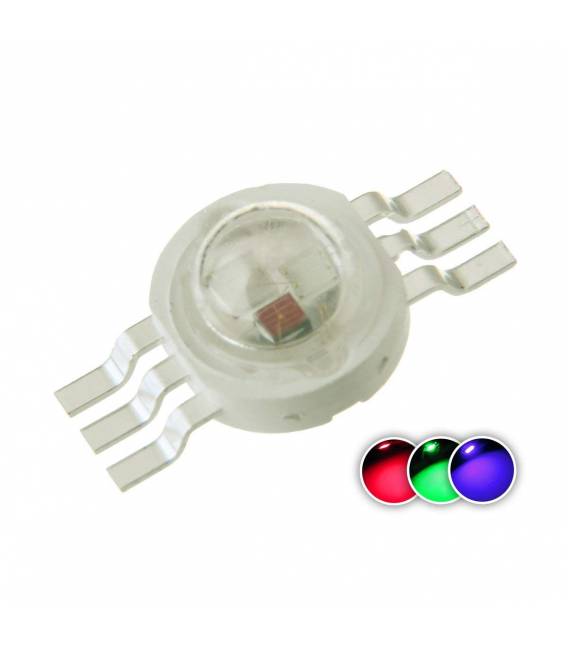
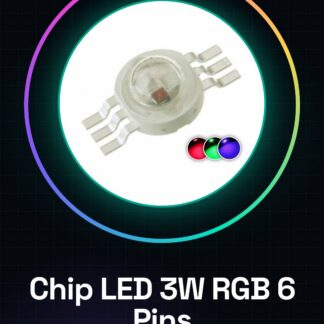
The 3W RGB 6 Pin LED Chip is an electronic component designed for creating colored lights in various devices. This chip offers high brightness and can be used to achieve complex visual effects.
Features
- Type: 3W RGB LED Chip
- Pins: 6
What it is for
Ideally suited for lighting and colored visualization projects, this chip is usable by beginner and intermediate makers. It can be integrated into various electronic devices such as RGB lamps controlled by Arduino or ESP.
Tutorial: How to Use 3W RGB 6 Pin LED Chip
The 3W RGB 6 Pin LED Chip is ideal for lighting and colored visualization projects. Useful for beginner and intermediate makers.
What you need
- 3W RGB 6 Pin LED Chip
- Protection resistor (check the datasheet)
- DC Power Supply 5V – 12V
- Multimeter
Steps
- 1. Check the power supply voltage (5V – 12V).
- 2. Connect to a protected circuit with a multimeter.
- 3. Connect the LED Chip to the + of the power supply.
- 4. Connect the GND pin to the GND of the power supply.
- 5. Connect the RGB pins to your microcontroller or circuit.
- 6. Use a protection resistor for each RGB pin (check the datasheet).
- 7. Load the provided Arduino code.
- 8. Check the correct lighting of the colors.
Example code
```void loop() {}```Mini project
Create an RGB lamp with an Arduino microcontroller in 30 minutes.
Common mistakes
- Omit the protection resistor.
- Connect the wrong power supply.
- Do not check the maximum current.
- Ignore the pin polarity.
Recommended accessories
- Arduino microcontroller
- Protection resistors
- Power supply cable
- LED holder
Frequently asked questions
How to calculate the protection resistor?
Check the maximum current on the datasheet and calculate the resistor using the formula R = (V – Vf) / I.
Which colors can it emit?
Can emit RGB colors: red, green, blue.
Can it be used with AC power?
No, it only uses DC power 5V – 12V.
Does the LED chip consume a lot of power?
It consumes 3W, monitor the voltage to avoid overloads.
Reviews
There are no reviews yet.