 EN
 IT Italiano
 ES Español
 FR Français
 DE Deutsch
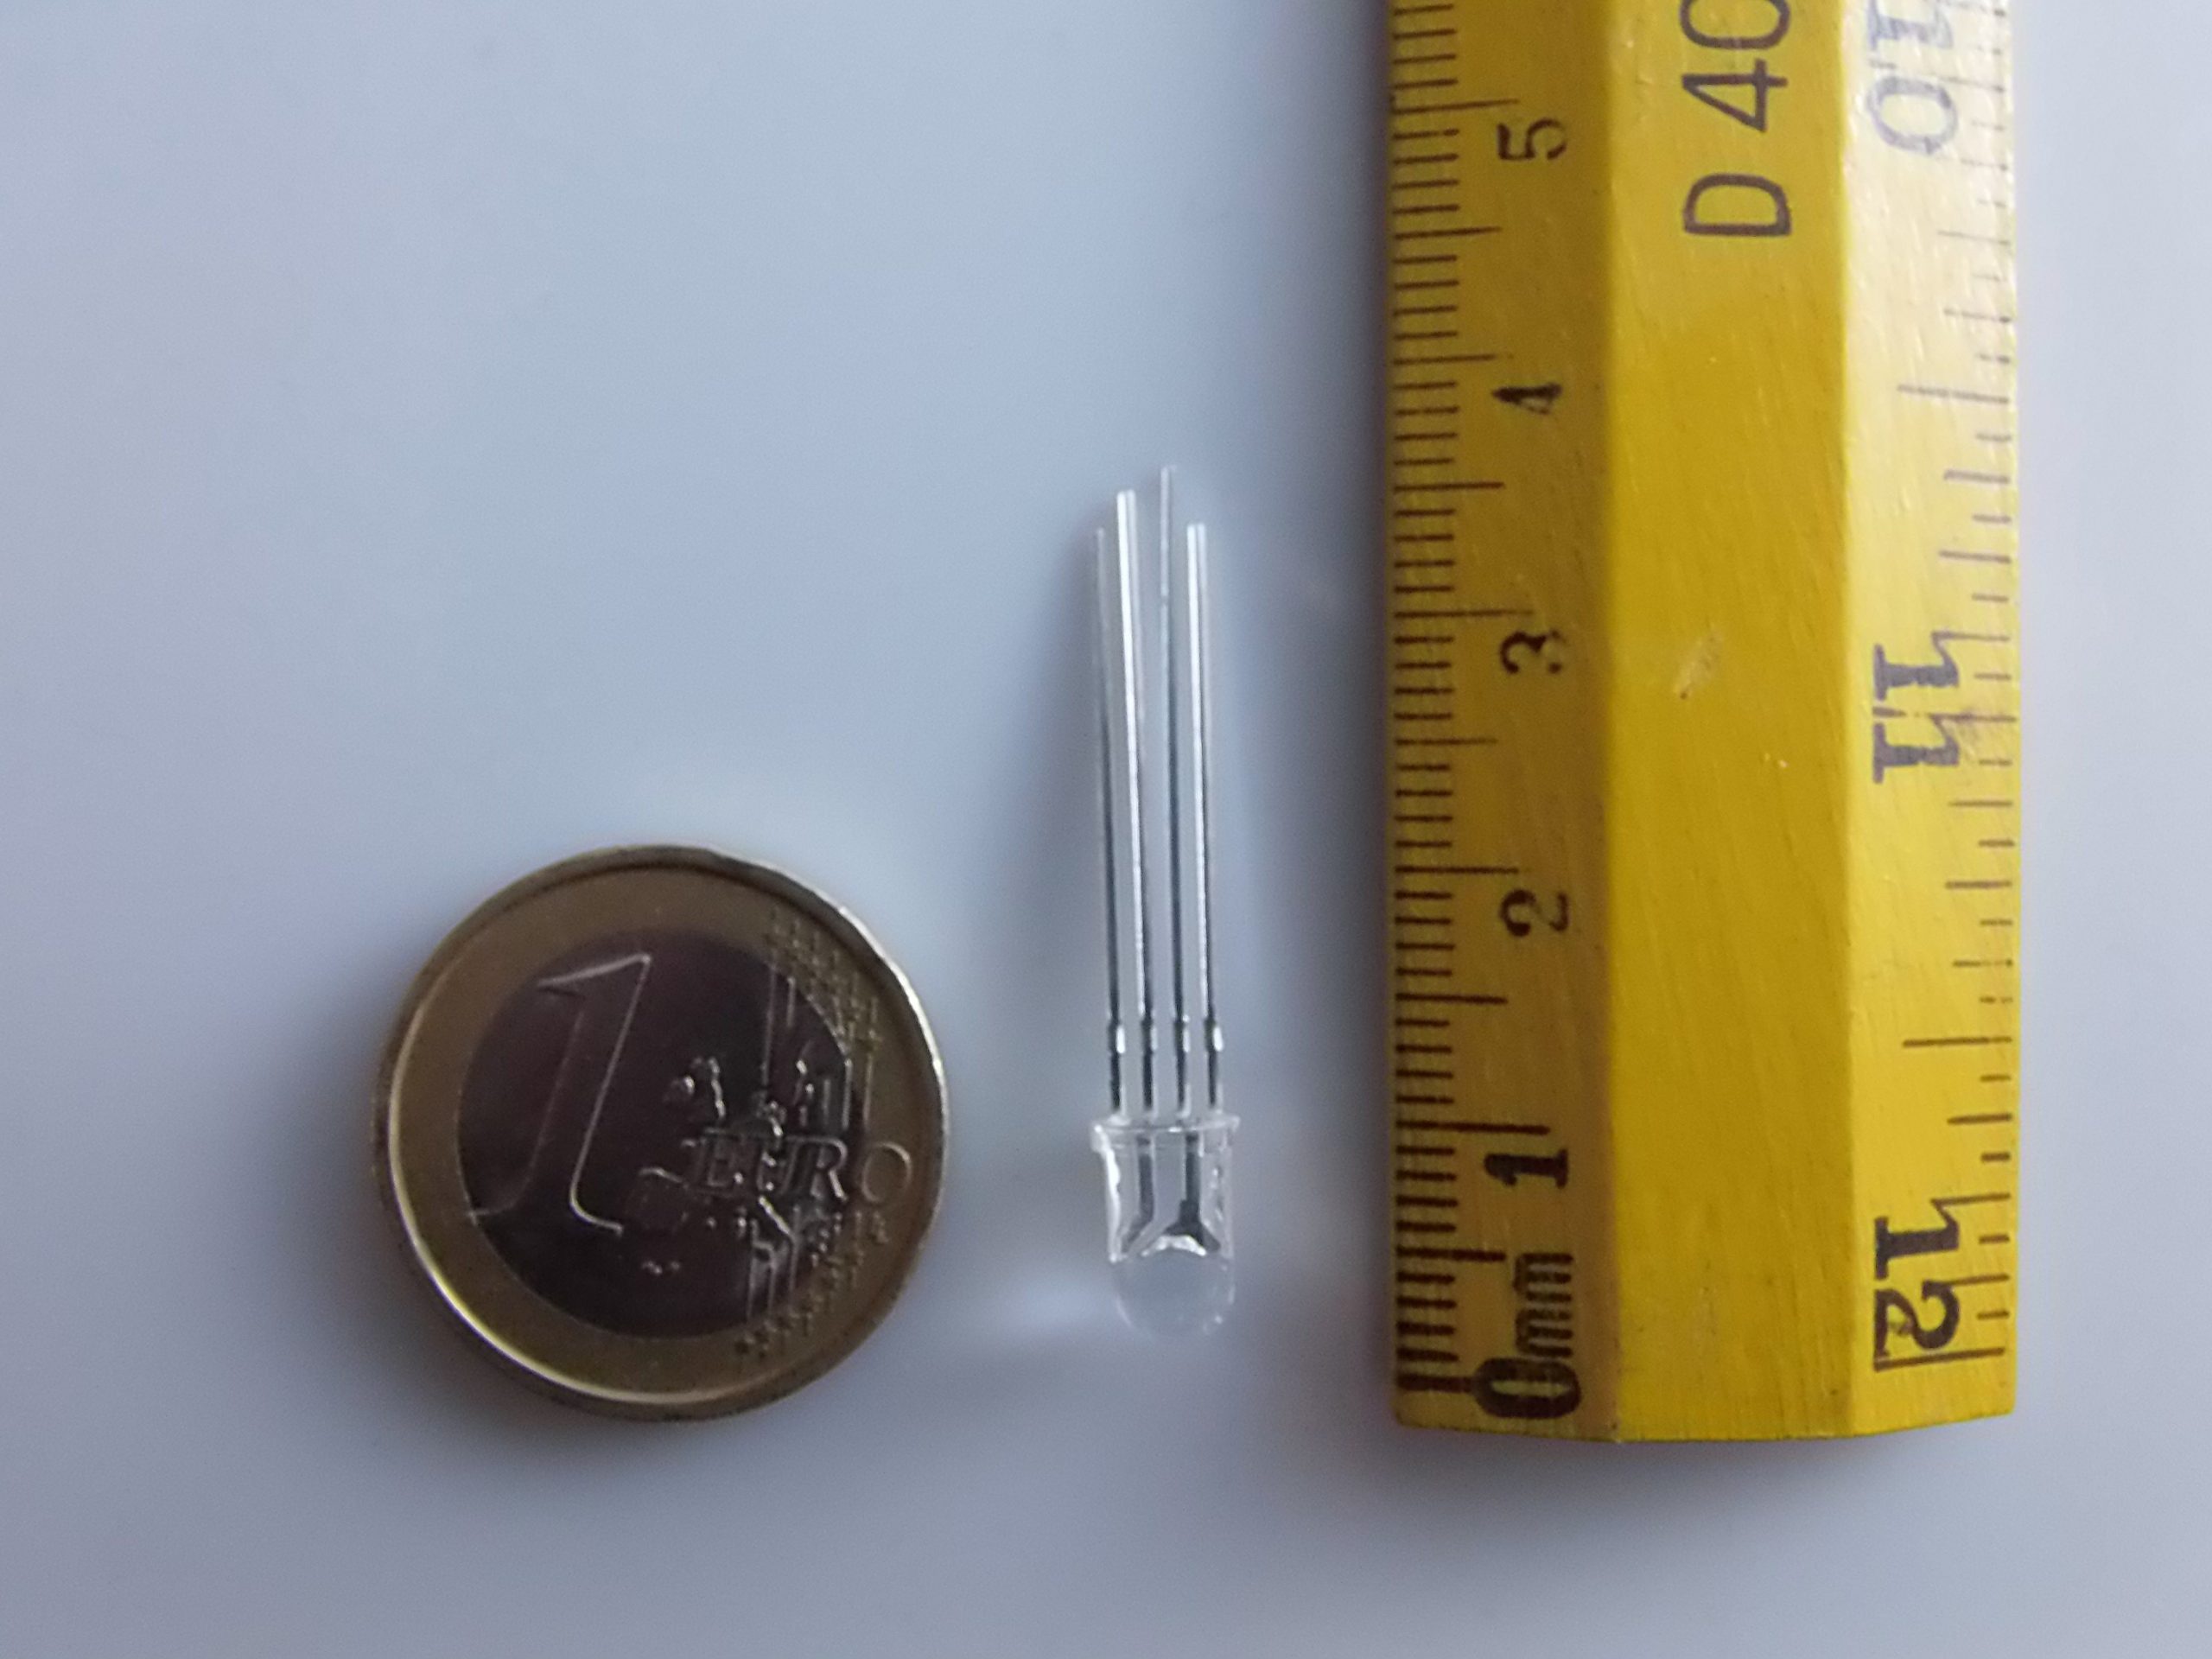
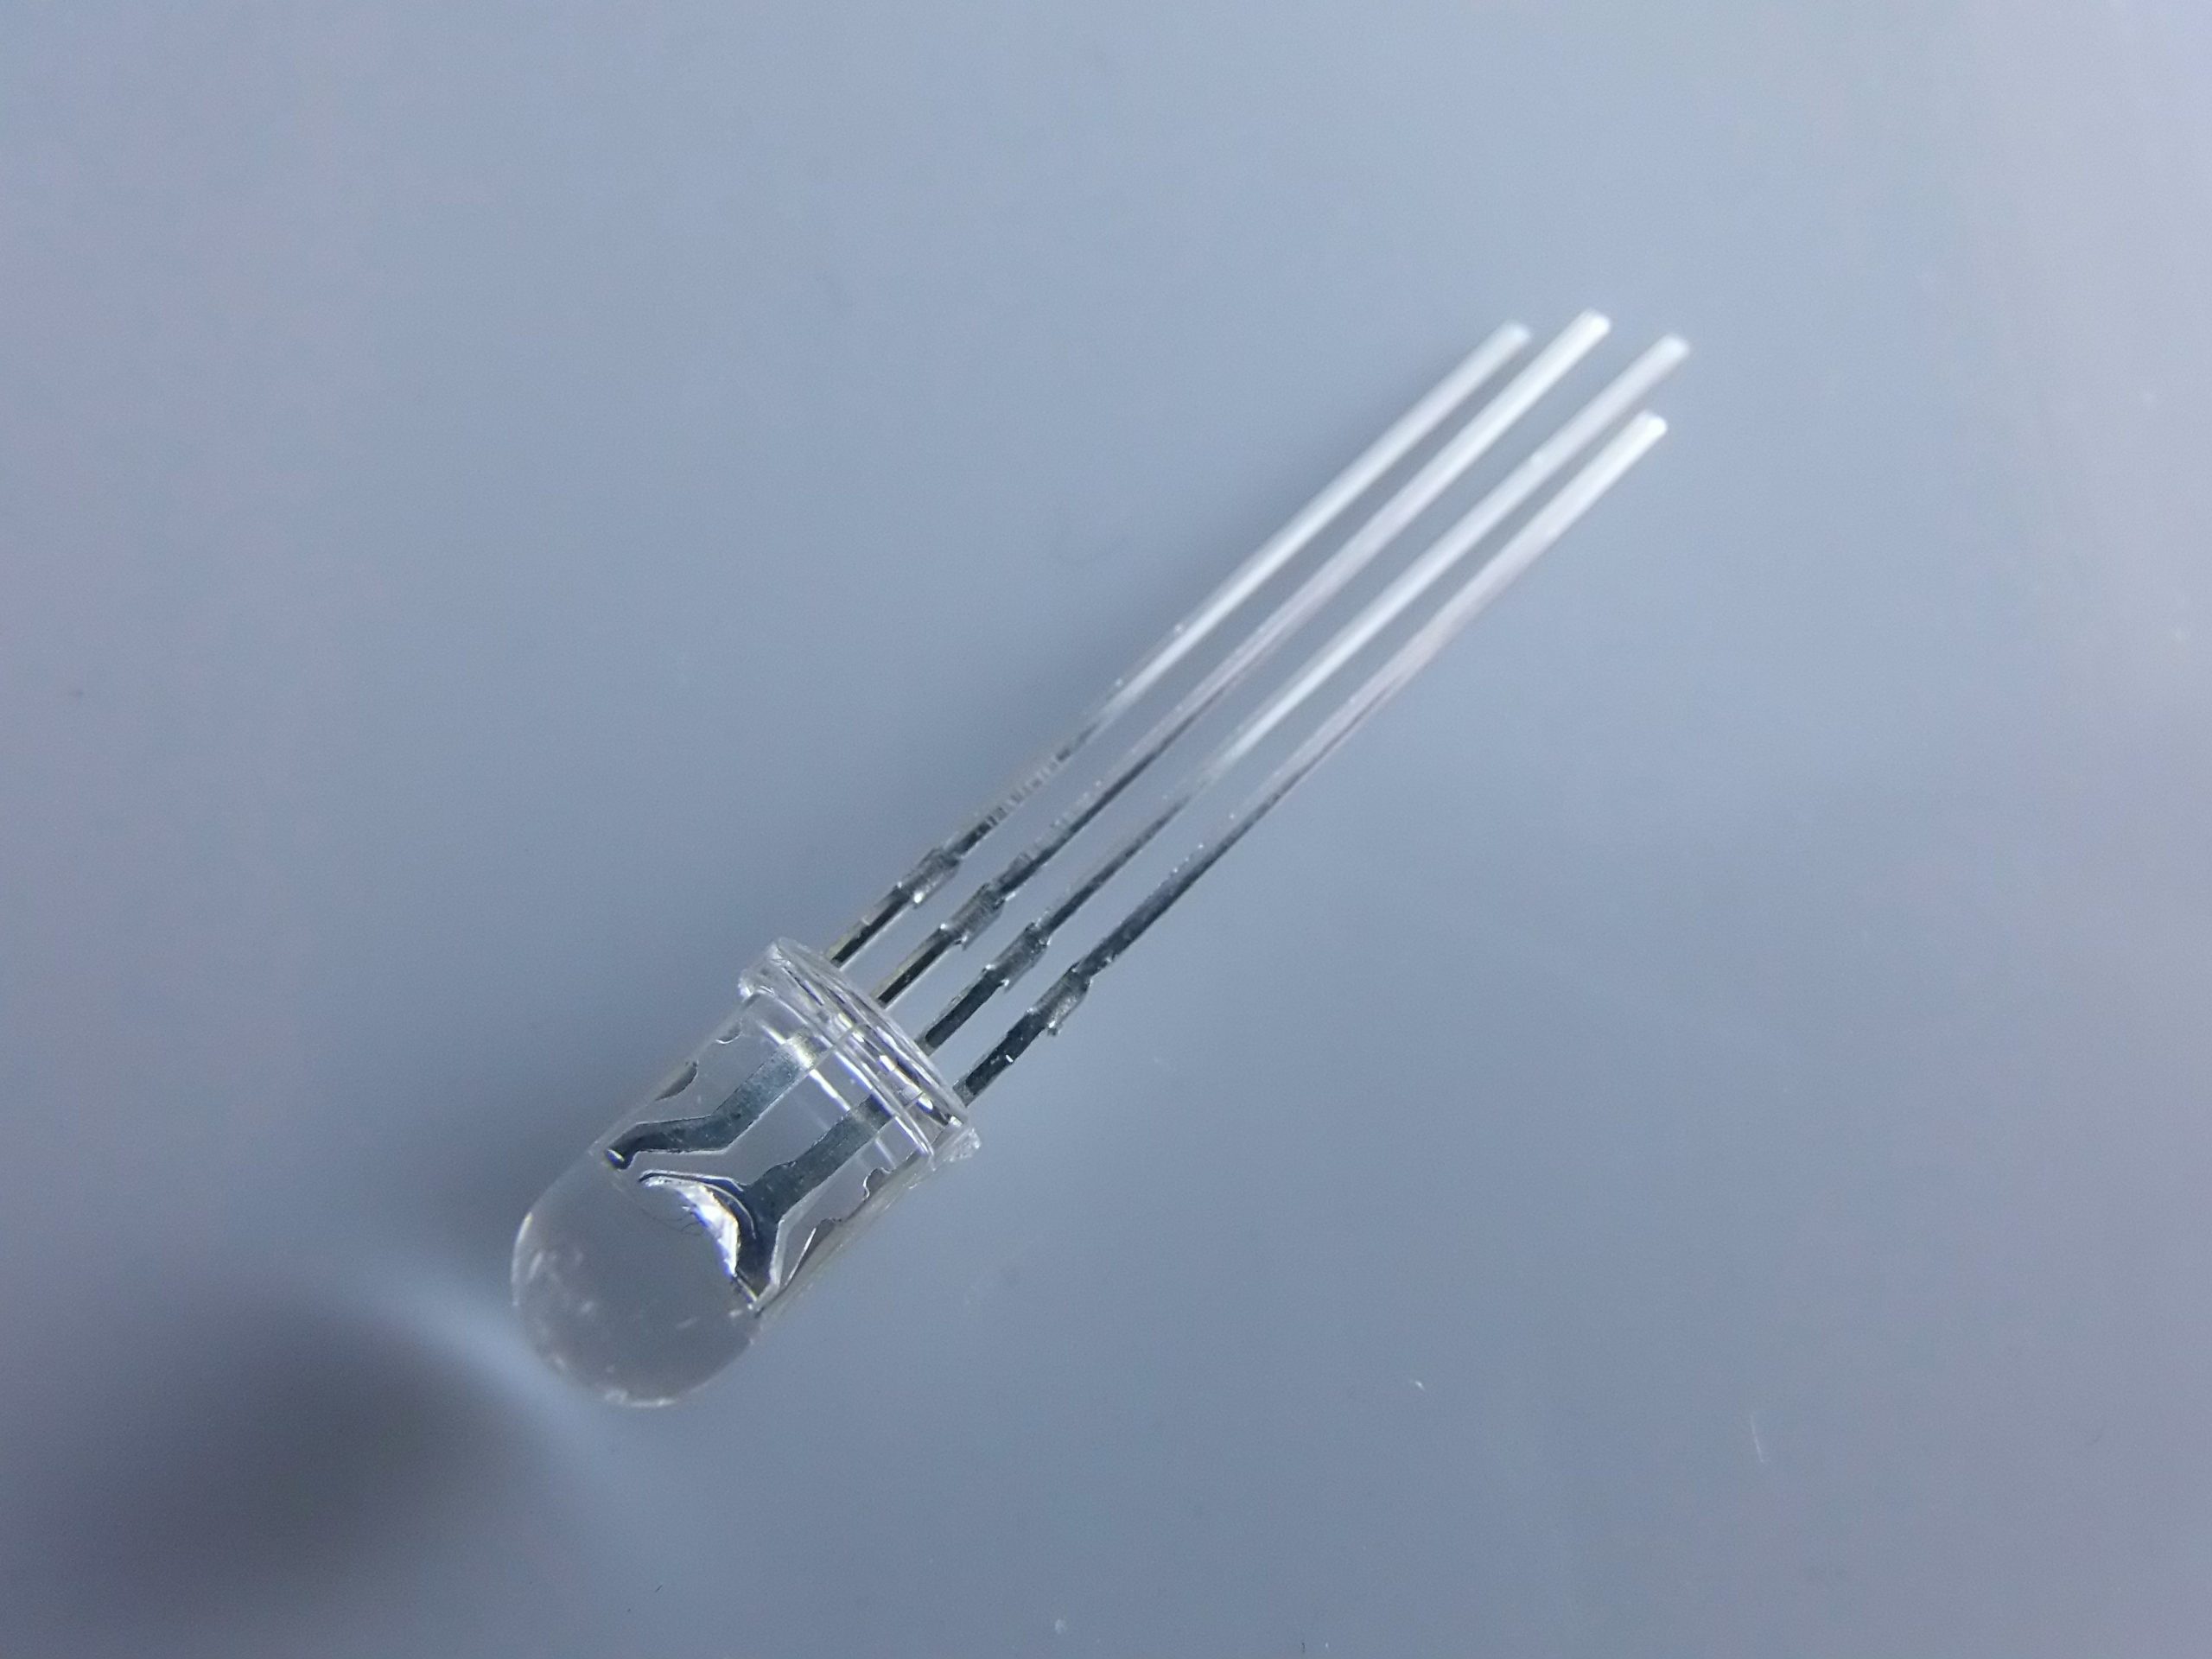
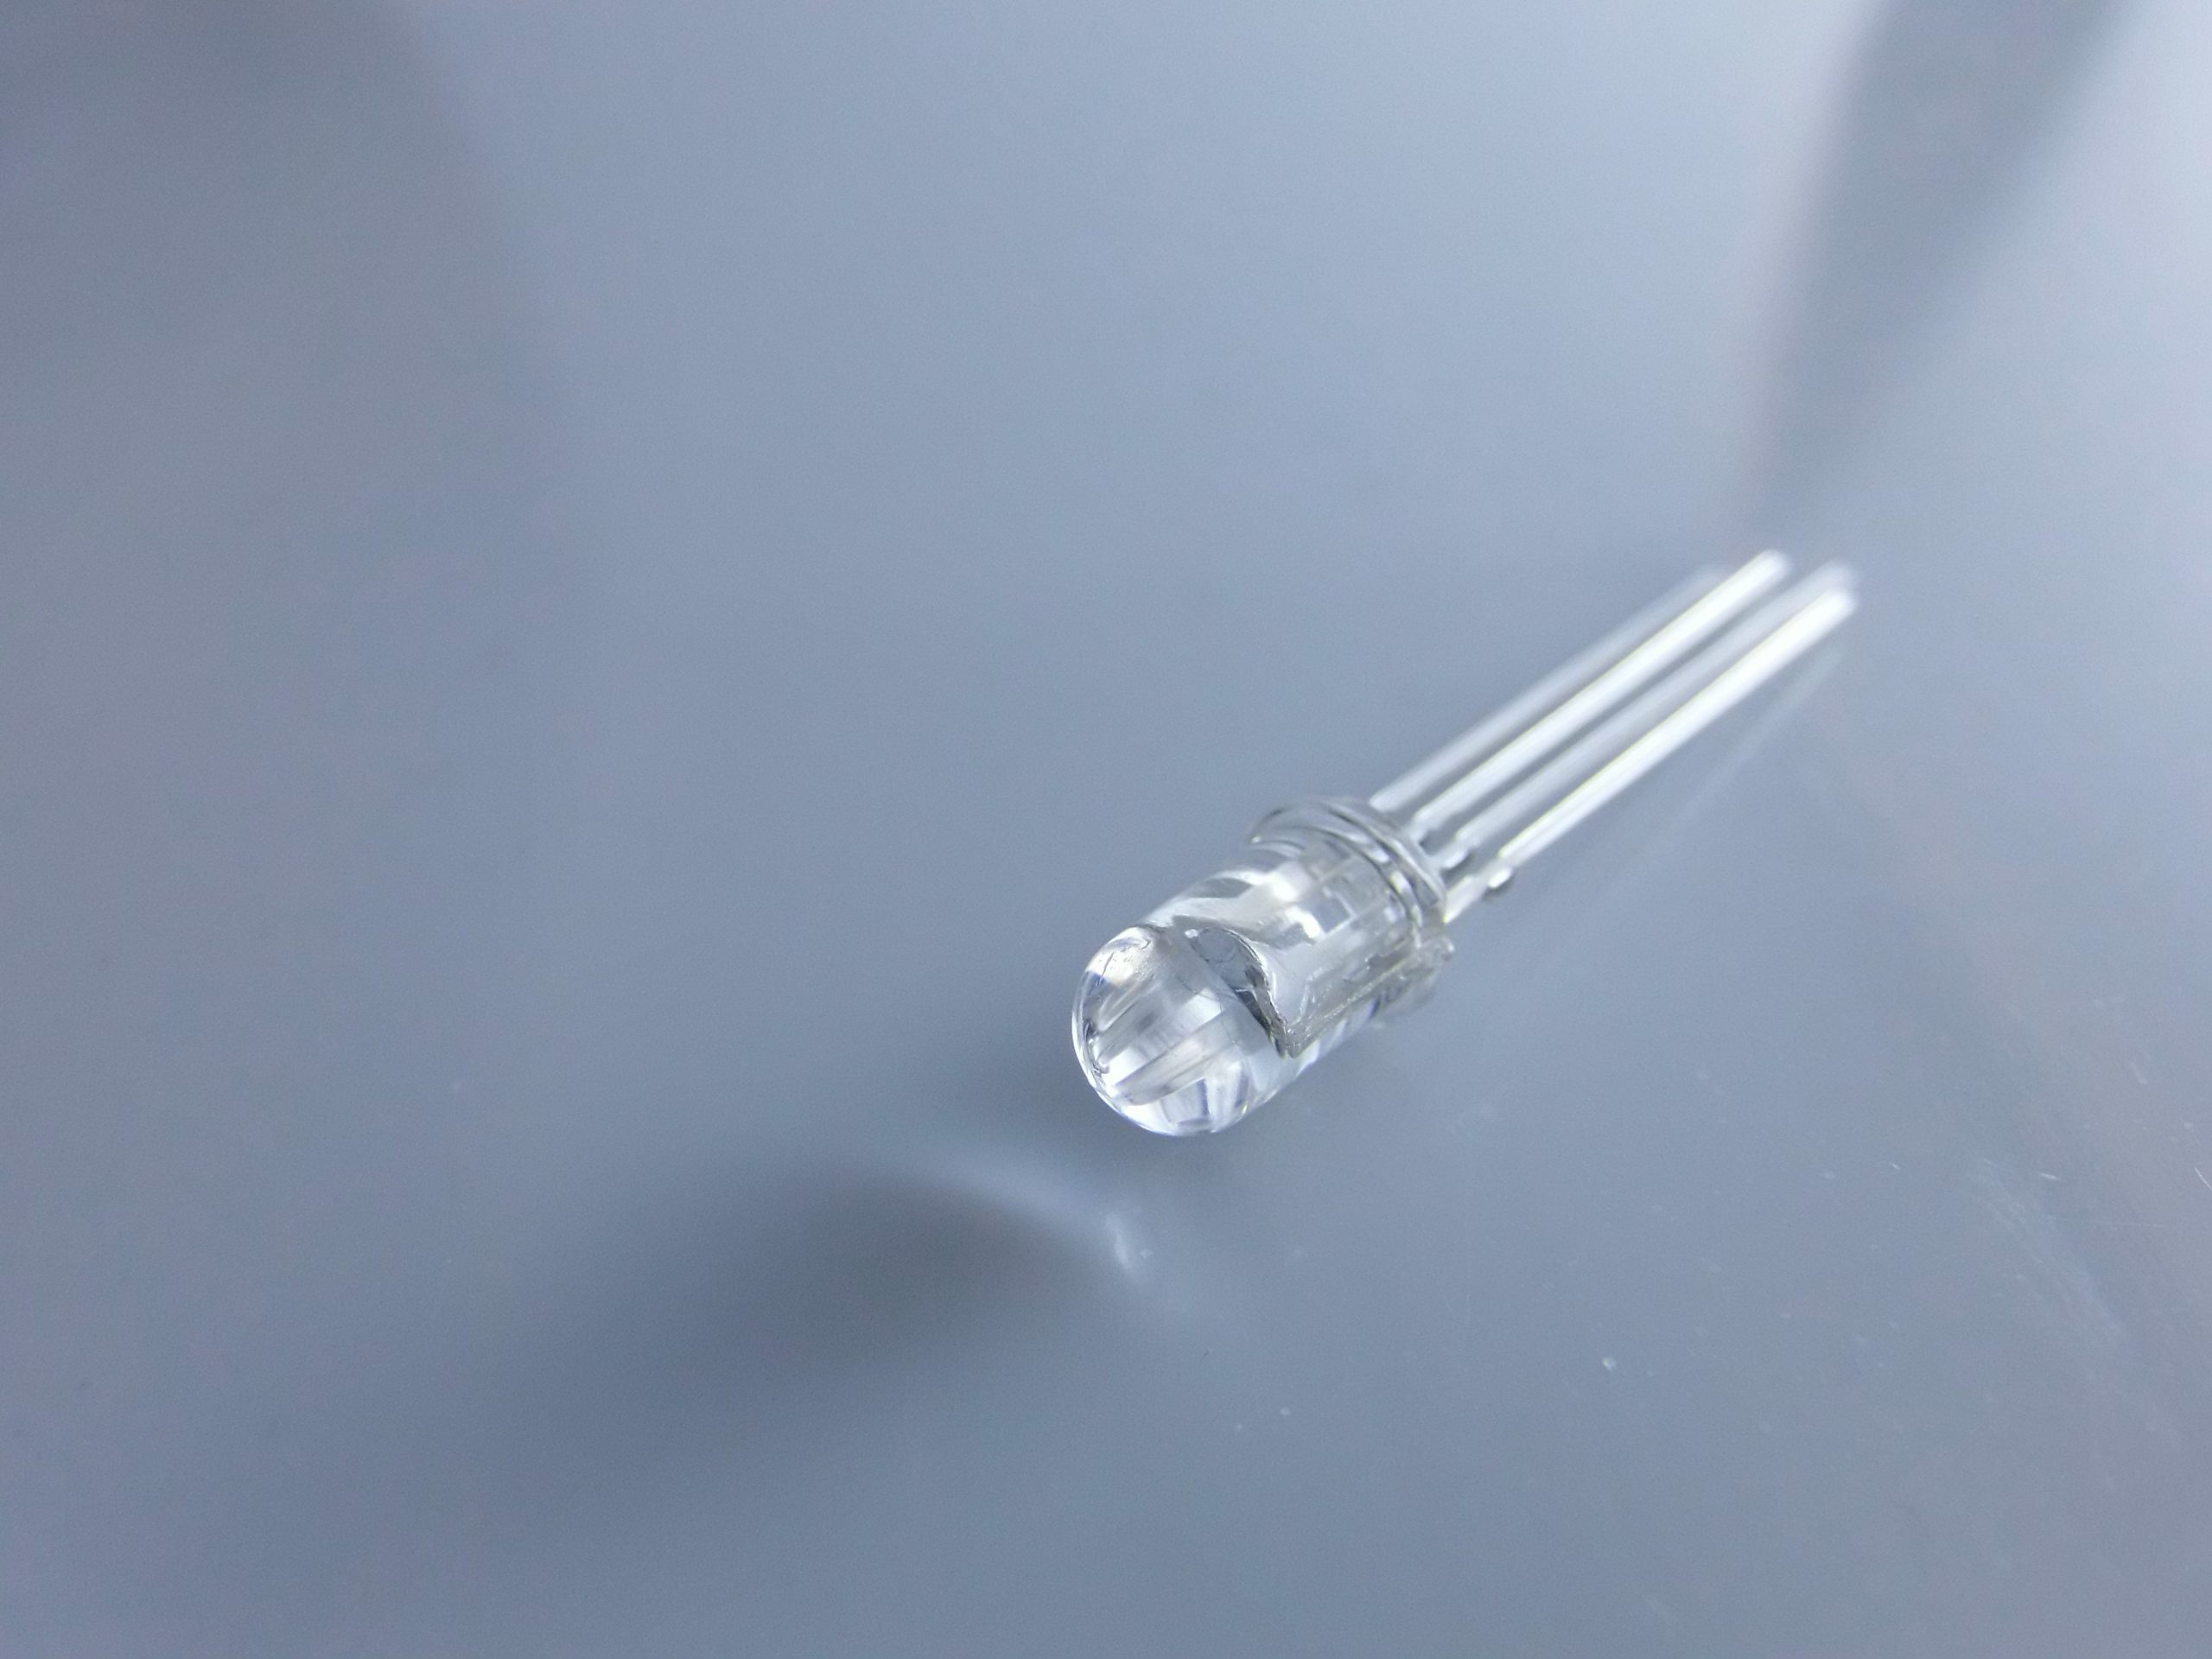
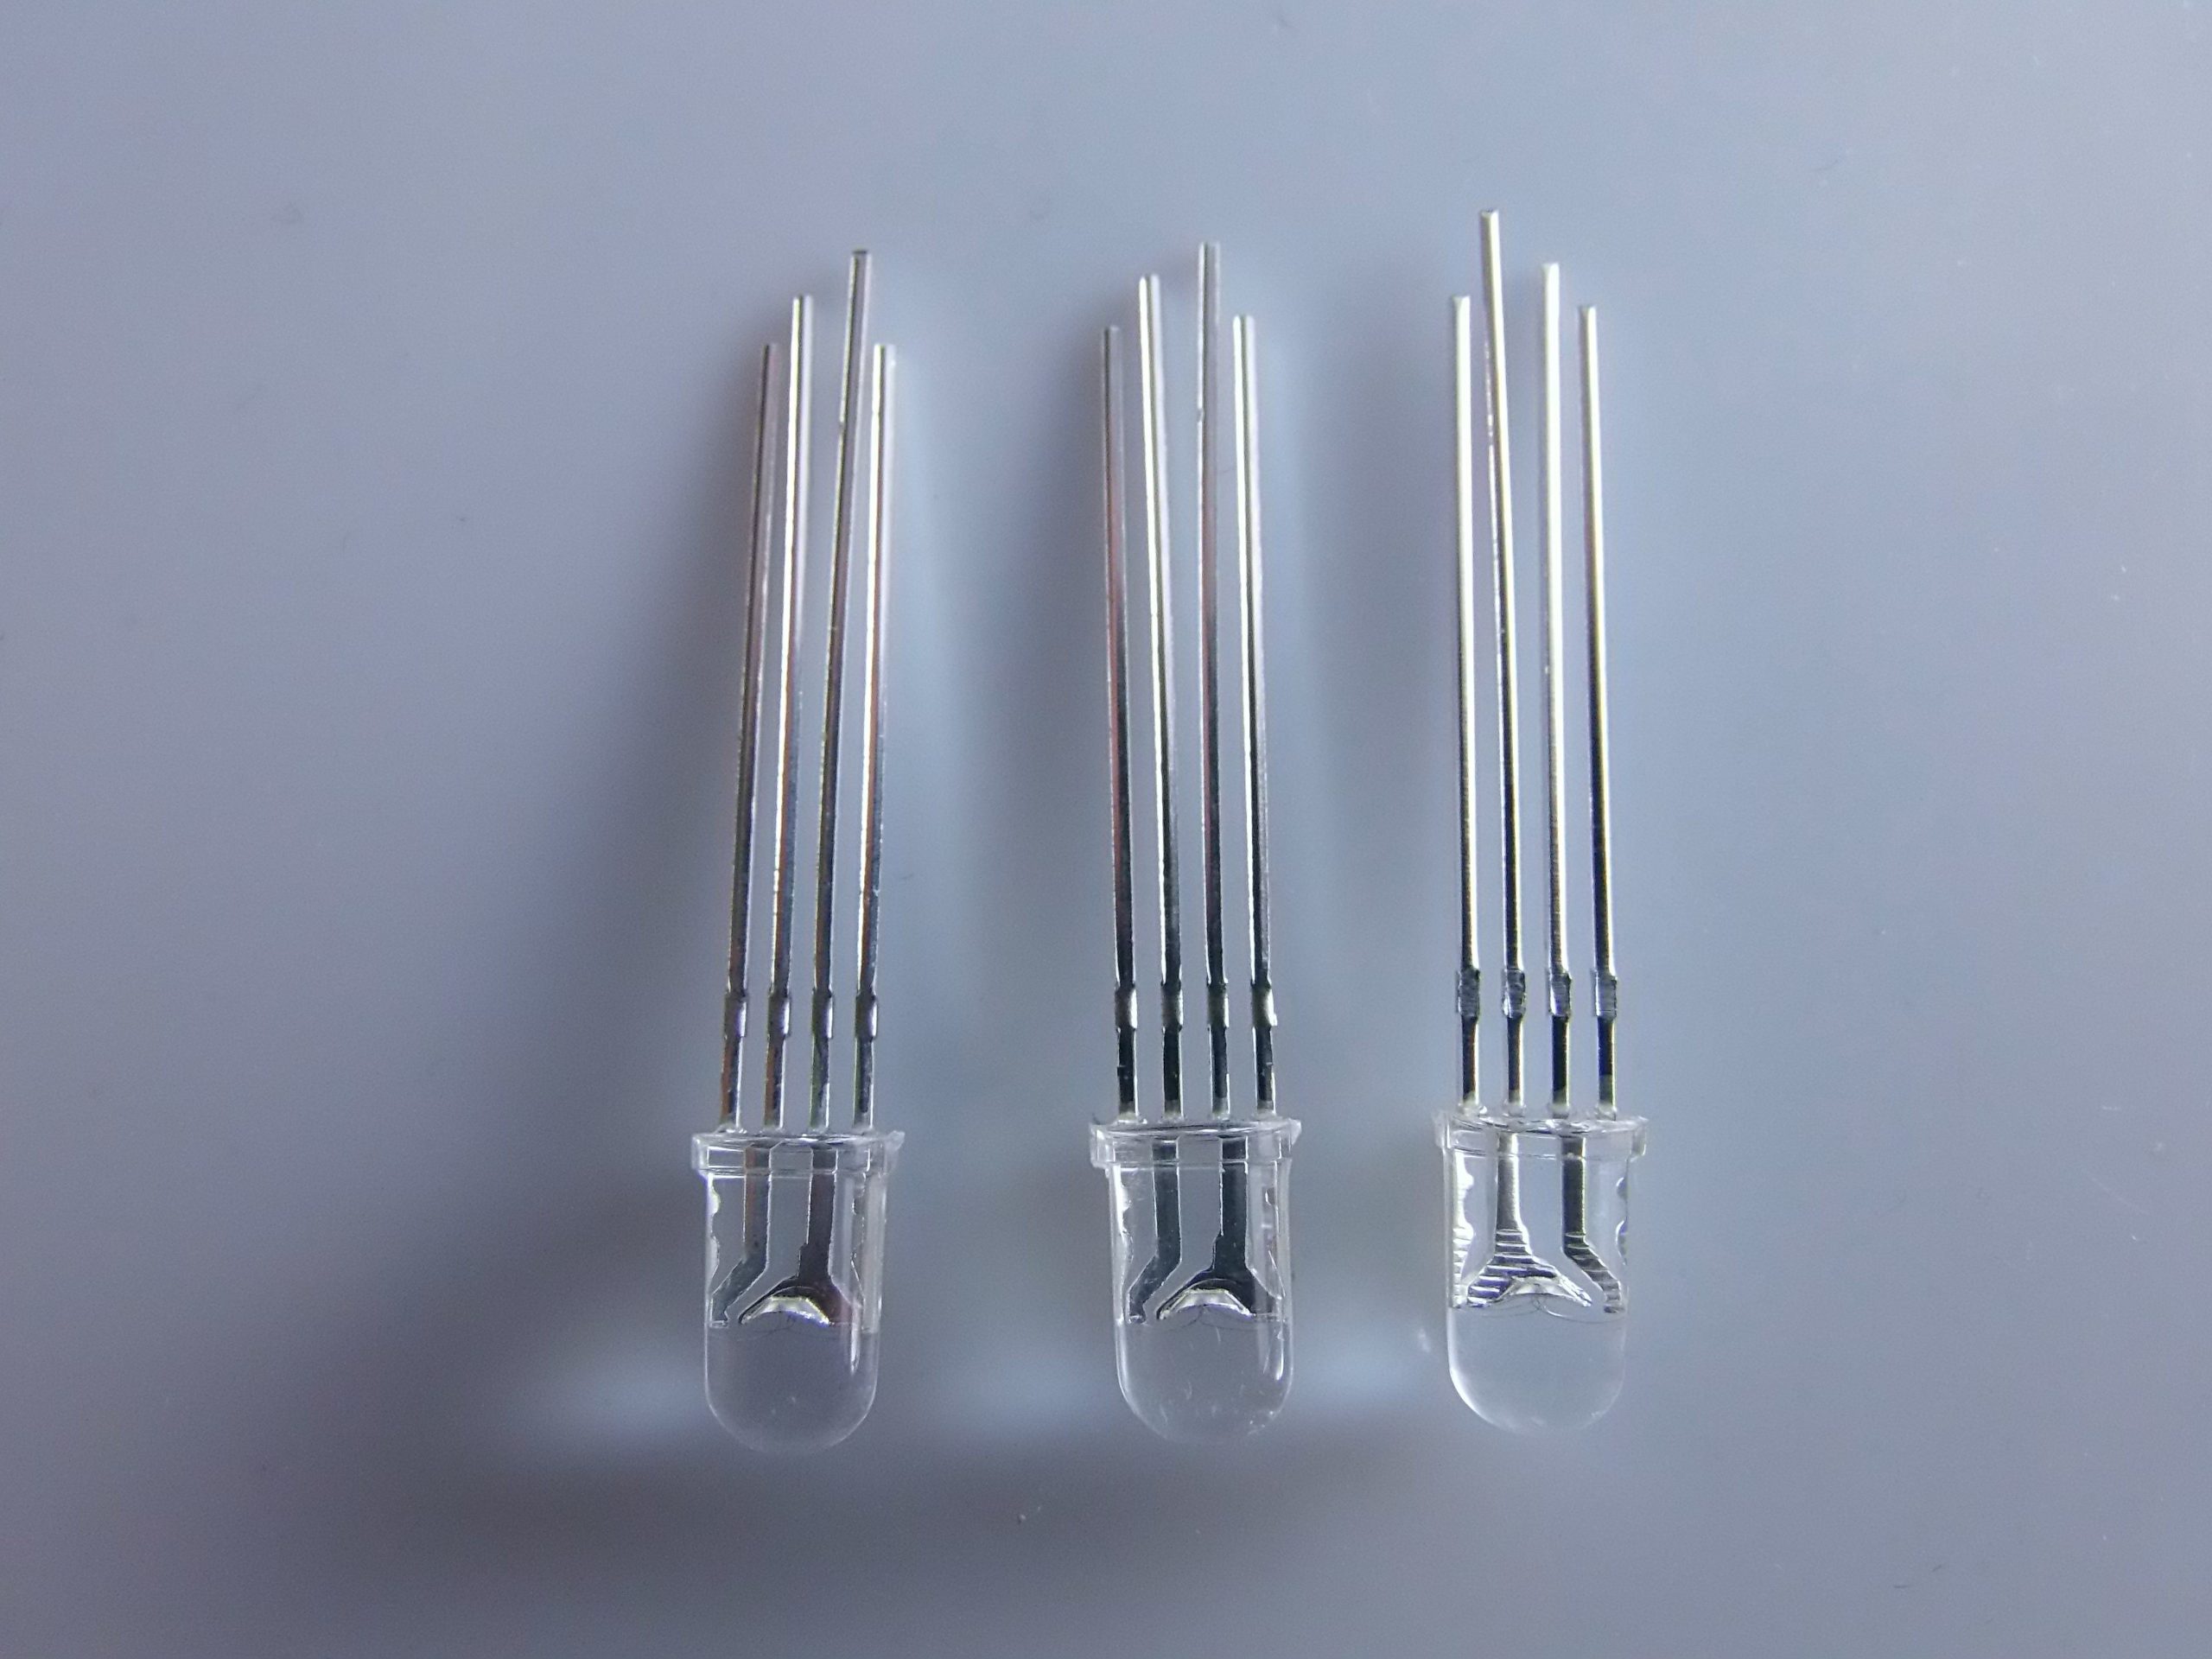
Description
📌 Complete description of the RGB MULTICOLOR 5mm COMMON ANODE 8000mcd LED MODULE
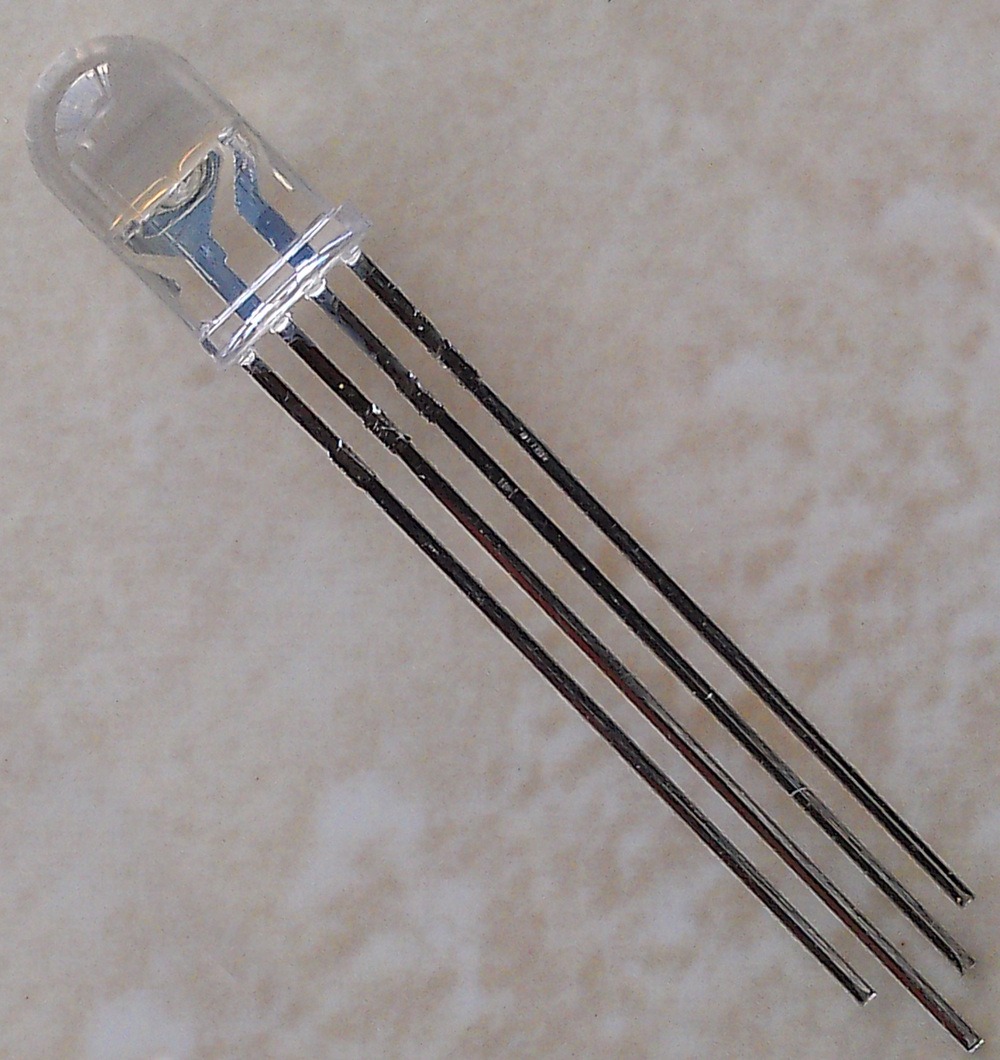
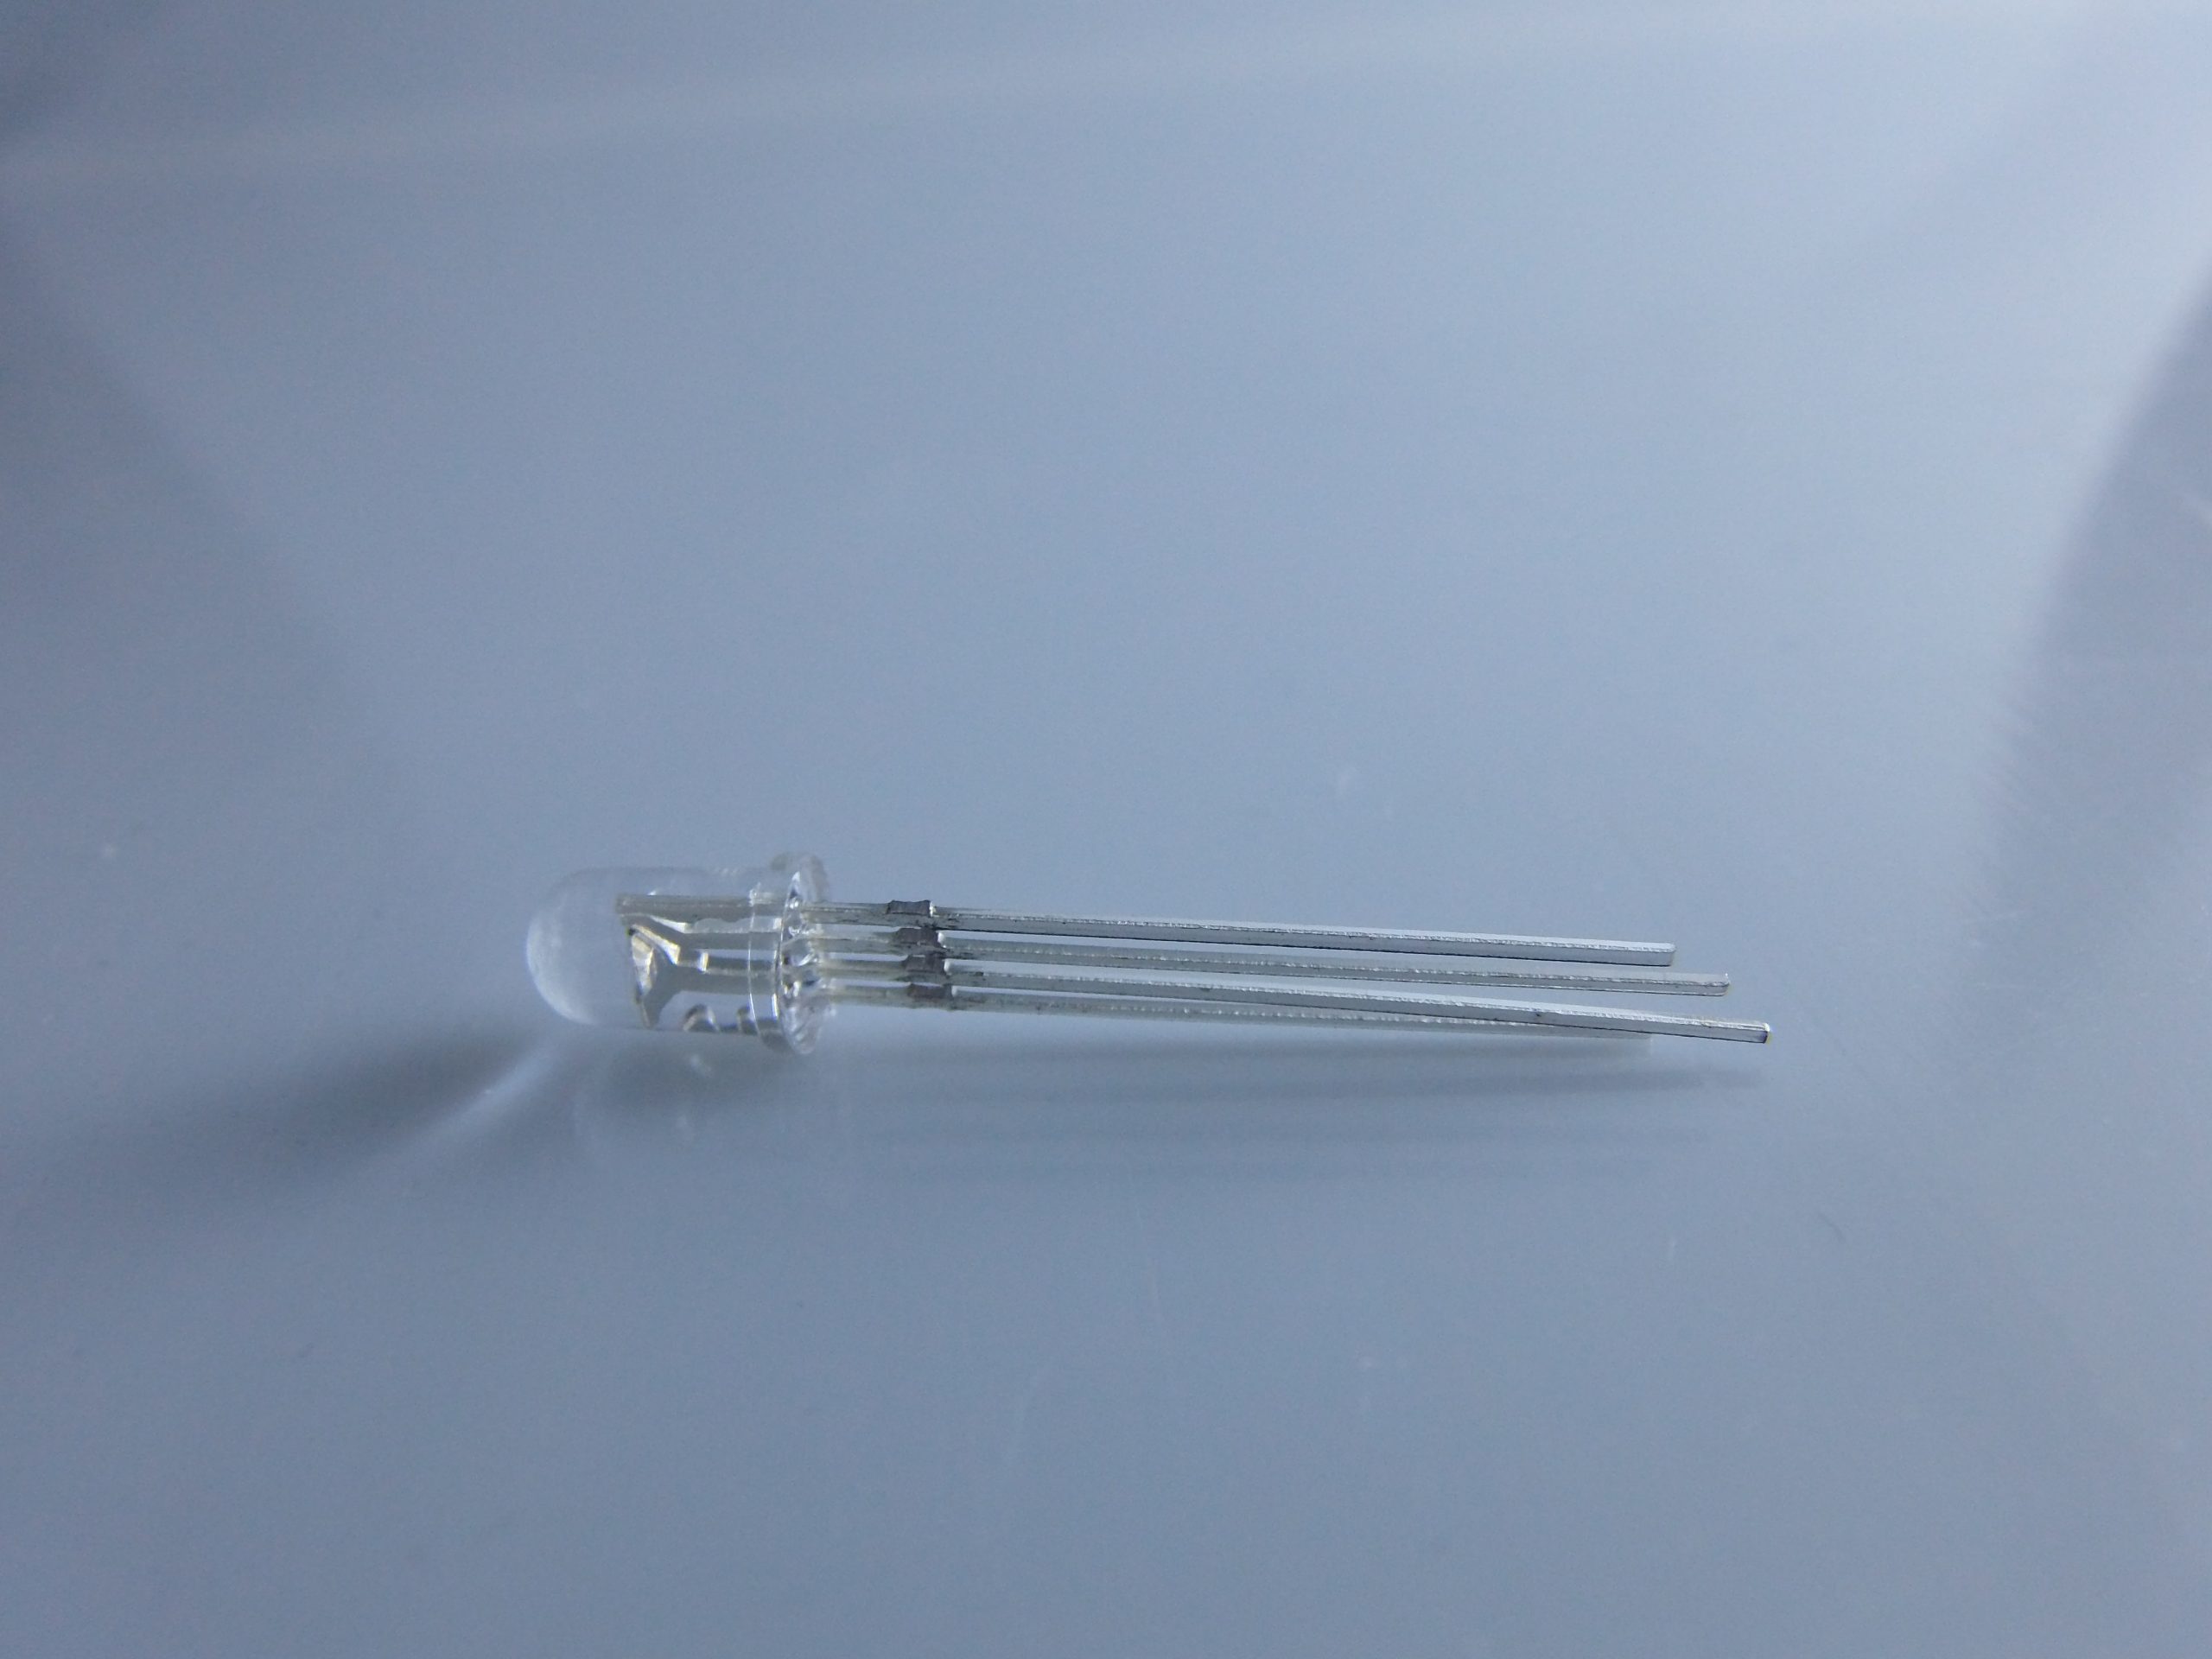
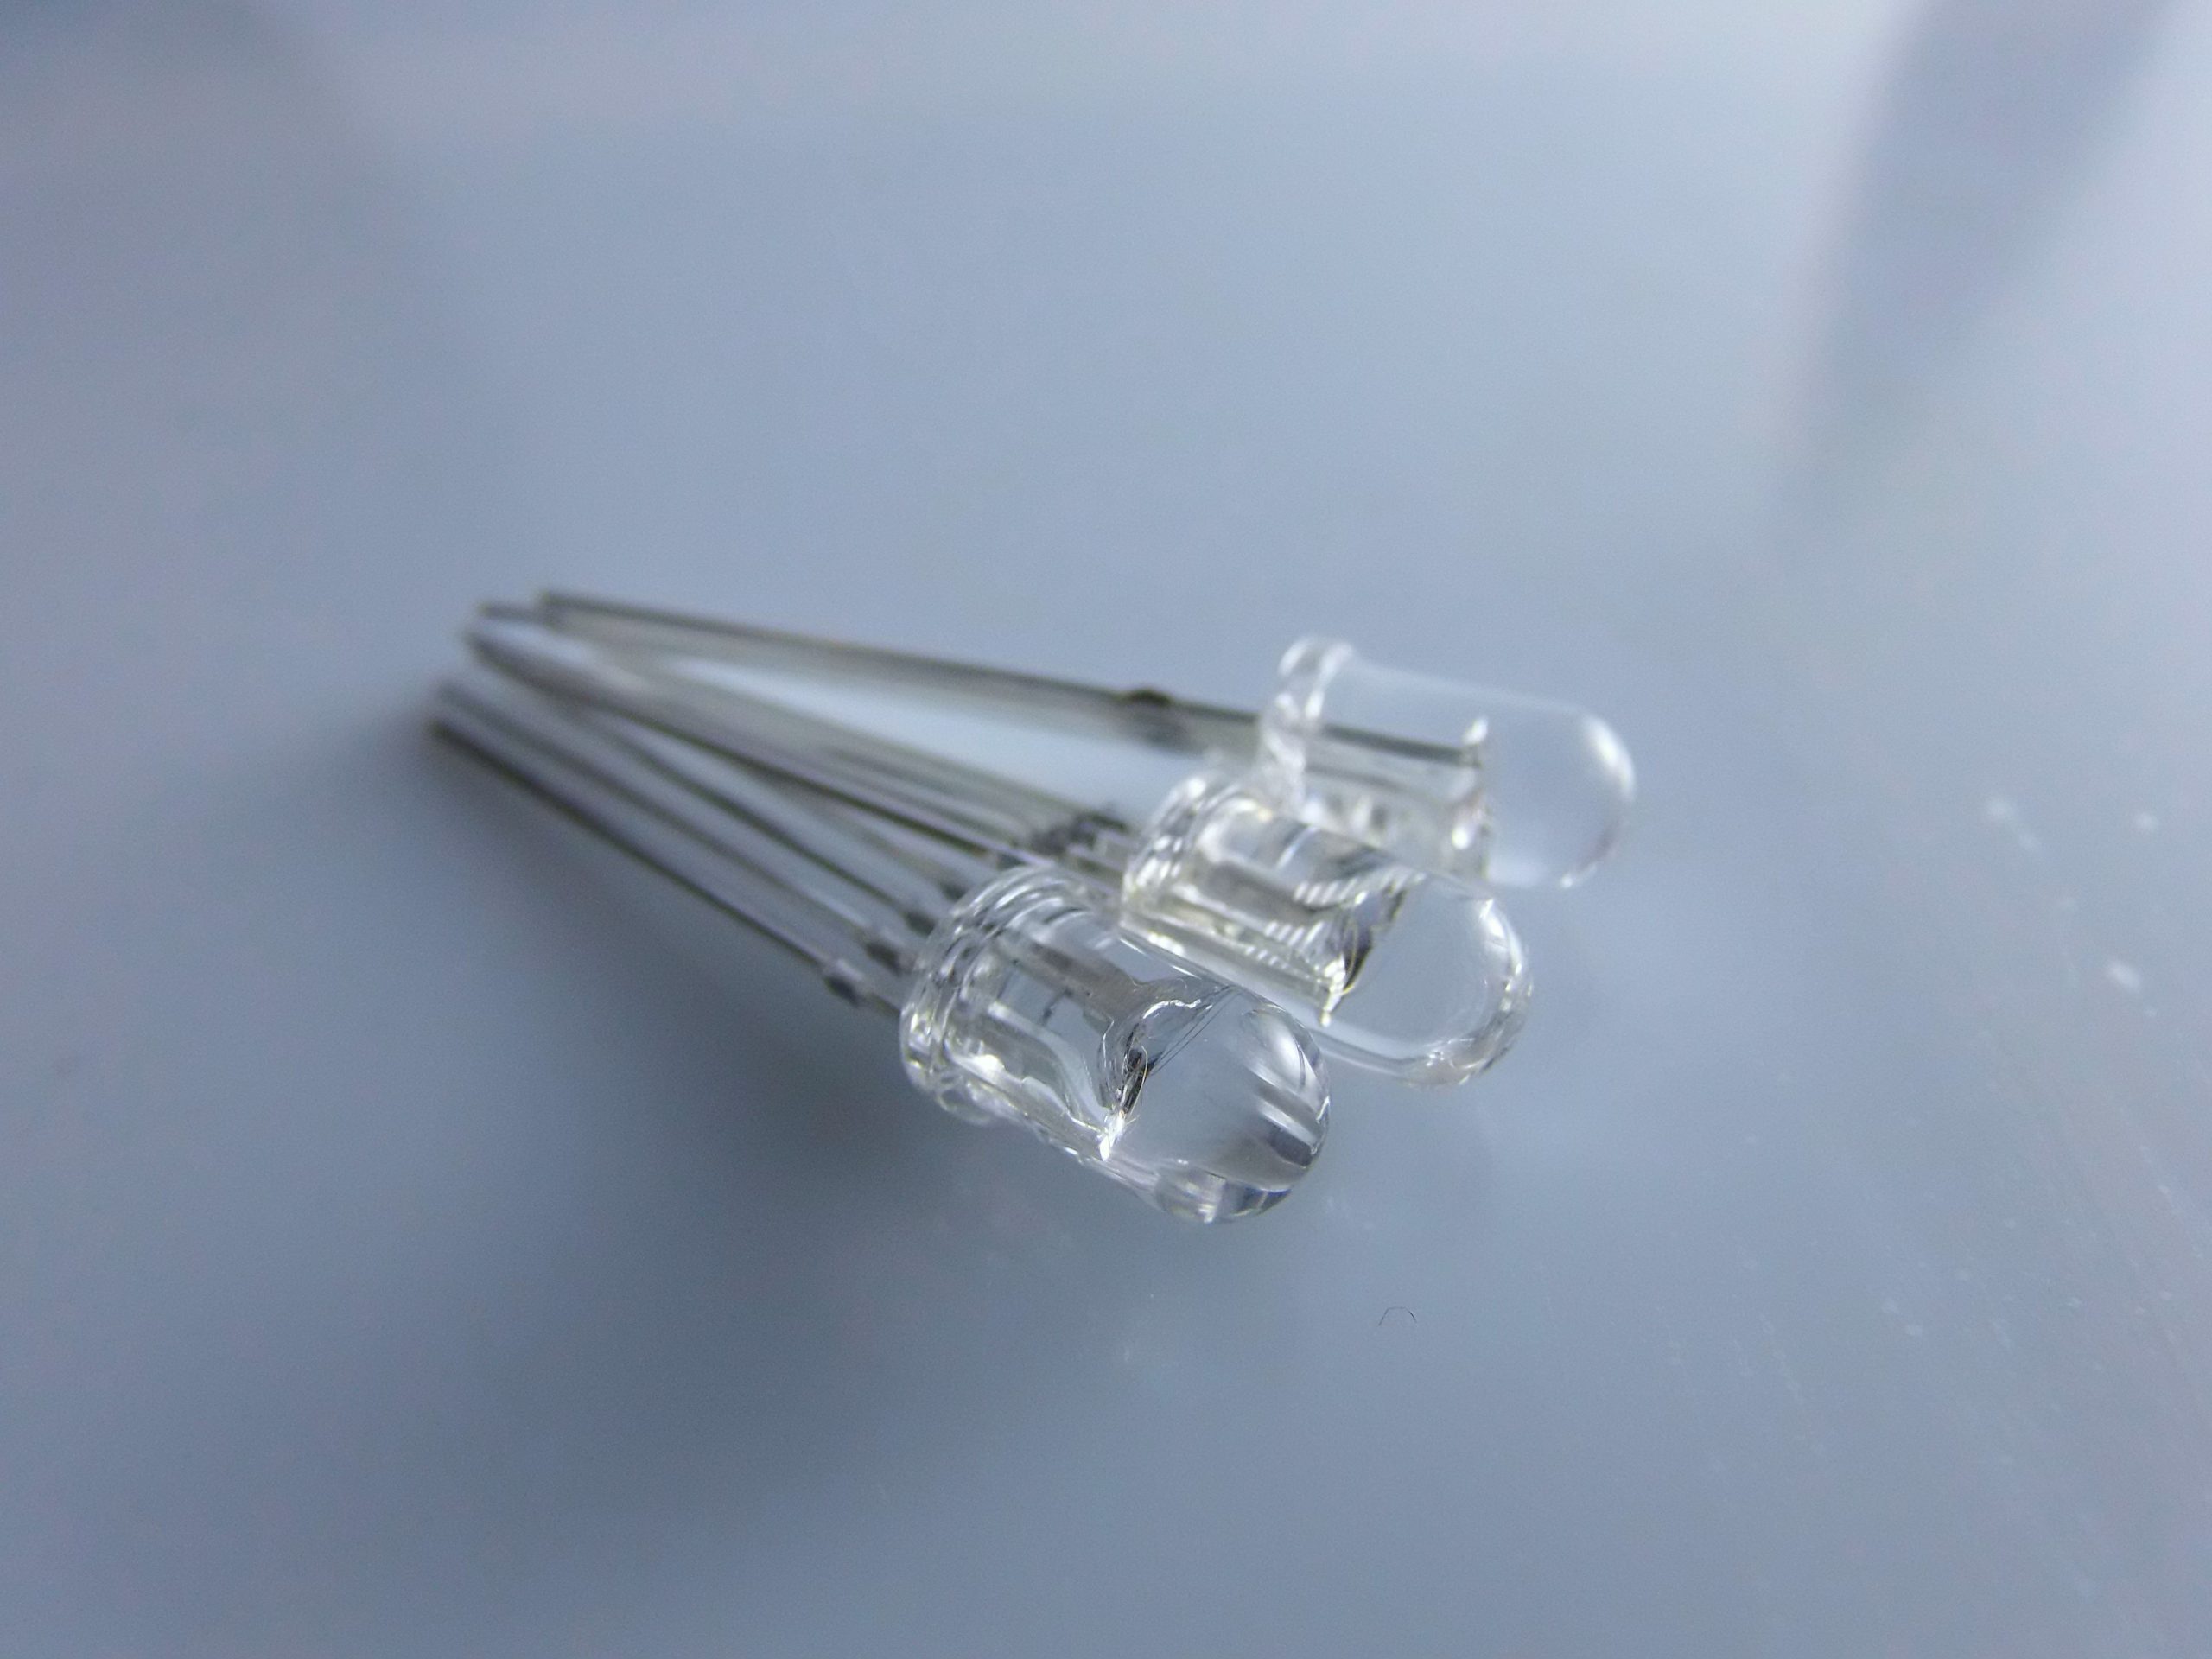
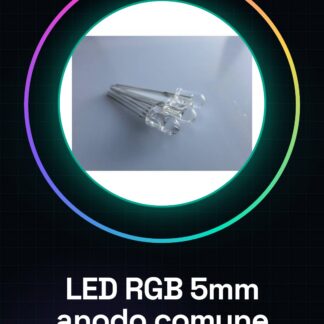
The RGB 5mm common anode 8000mcd LED is an electronic component capable of emitting light red, green and blue from a single package (housing), combining the three primary colors to achieve a wide range of colors. The term “common anode” means that the positive terminal (anode) of the three internal LEDs is shared, while each cathode (negative terminal) is separate for each color.
⚙️ Technical specifications
| Characteristic | Value |
|---|---|
| LED Type | RGB 5mm Common Anode |
| Luminous Intensity | Approximately 8000 mcd (high brightness) |
| Colors | Red, Green, Blue (can be combined into many others) |
| Nominal Current | 20 mA per each color |
| Direct Current Voltage (Typical) | Red: 2.0V – Green: 3.2V – Blue: 3.2V |
| Pin Configuration | 4 pins (1 common, 3 for the colors) |
| Emission Angle | ~30-40° |
| Control Type | PWM (Pulse Width Modulation) |
⚠ Note: being a common anode LED, the common pin should be connected to +5V, and each color is activated by sending LOW (0V) to its respective pin through a resistor and an Arduino output pin.
📐 LED RGB Pinout (Common Anode)
[ Catodo Blu ] [ Anodo comune ] [ Catodo Verde ] [ Catodo Rosso ]
The longest pin (usually the second from the left when looking at the flat side of the LED) is thecommon anode.
🔧 Connection with Arduino
🧰 Required Components
- 5mm Common Anode RGB LED
- Resistors of 220Ω or 330Ω (one for each color)
- Breadboard
- Jumper wires
- Arduino UNO (or compatible)
🖇 Connection diagram
| LED pin | Arduino connection |
|---|---|
| Common anode (2nd pin) | +5V |
| Red cathode | Pin 9 through resistor |
| Green cathode | Pin 10 through resistor |
| Blue cathode | Pin 11 through resistor |
+5V -----|>|-----+
 LED |
 RGB |
 +---- 220Ω ---- Pin 9 (Rosso)
 +---- 220Ω ---- Pin 10 (Verde)
 +---- 220Ω ---- Pin 11 (Blu)
🧑💻 Example code for Arduino
1️⃣ Turn on one color at a time
int redPin = 9;
int greenPin = 10;
int bluePin = 11;

void setup() {
 pinMode(redPin, OUTPUT);
 pinMode(greenPin, OUTPUT);
 pinMode(bluePin, OUTPUT);
}

void loop() {
 digitalWrite(redPin, LOW); // Rosso acceso
 digitalWrite(greenPin, HIGH);
 digitalWrite(bluePin, HIGH);
 delay(1000);

 digitalWrite(redPin, HIGH);
 digitalWrite(greenPin, LOW); // Verde acceso
 digitalWrite(bluePin, HIGH);
 delay(1000);

 digitalWrite(redPin, HIGH);
 digitalWrite(greenPin, HIGH);
 digitalWrite(bluePin, LOW); // Blu acceso
 delay(1000);
}
2️⃣ Mix colors with PWM
int redPin = 9;
int greenPin = 10;
int bluePin = 11;

void setup() {
 pinMode(redPin, OUTPUT);
 pinMode(greenPin, OUTPUT);
 pinMode(bluePin, OUTPUT);
}

void loop() {
 setColor(255, 0, 0); // Rosso
 delay(1000);
 setColor(0, 255, 0); // Verde
 delay(1000);
 setColor(0, 0, 255); // Blu
 delay(1000);
 setColor(255, 255, 0); // Giallo
 delay(1000);
 setColor(0, 255, 255); // Ciano
 delay(1000);
 setColor(255, 0, 255); // Magenta
 delay(1000);
 setColor(255, 255, 255); // Bianco
 delay(1000);
 setColor(0, 0, 0); // Spento
 delay(1000);
}

void setColor(int red, int green, int blue) {
 analogWrite(redPin, 255 - red);
 analogWrite(greenPin, 255 - green);
 analogWrite(bluePin, 255 - blue);
}
🧠 Note on the function
setColor(): since the LED is at common anode, PWM values must be inverted: 0 = fully on, 255 = off.
💡 Usage Tips
- Use PWM (through
analogWrite) to create fade or color cycle effects. - For more realistic colors, consider the different intensities of each LED: blue and green are generally brighter than red.
- You can create rainbow or animation effects by cycling through RGB values progressively.
🧪 Example: Rainbow Fade Effect
void loop() {
 for (int r = 0; r <= 255; r += 5) {
 setColor(r, 0, 255 - r); // Dal blu al rosso
 delay(30);
 }

 for (int g = 0; g <= 255; g += 5) {
 setColor(255 - g, g, 0); // Dal rosso al verde
 delay(30);
 }

 for (int b = 0; b <= 255; b += 5) {
 setColor(0, 255 - b, b); // Dal verde al blu
 delay(30);
 }
}
📚 Conclusion
The common anode RGB LED common anode is an excellent educational and practical tool to learn how to control light with Arduino. It allows you to explore the color, the PWM, and the digital control logic. Once you understand these concepts, you can move on to more advanced controls such as those through transistors, drivers o NeoPixel modules.
|
GENERAL </ td> |
MODEL |
Common Anode RGB LED |
|
MATERIALS |
plastic + metals |
|
| COMPATIBILITY |
ARDUINO |
|
|
WEIGHT AND DIMENSIONS |
PRODUCT WEIGHT |
2g |
|
PACKAGE WEIGHT |
0,08 kg |
|
|
PRODUCT DIMENSIONS (L x P x A) |
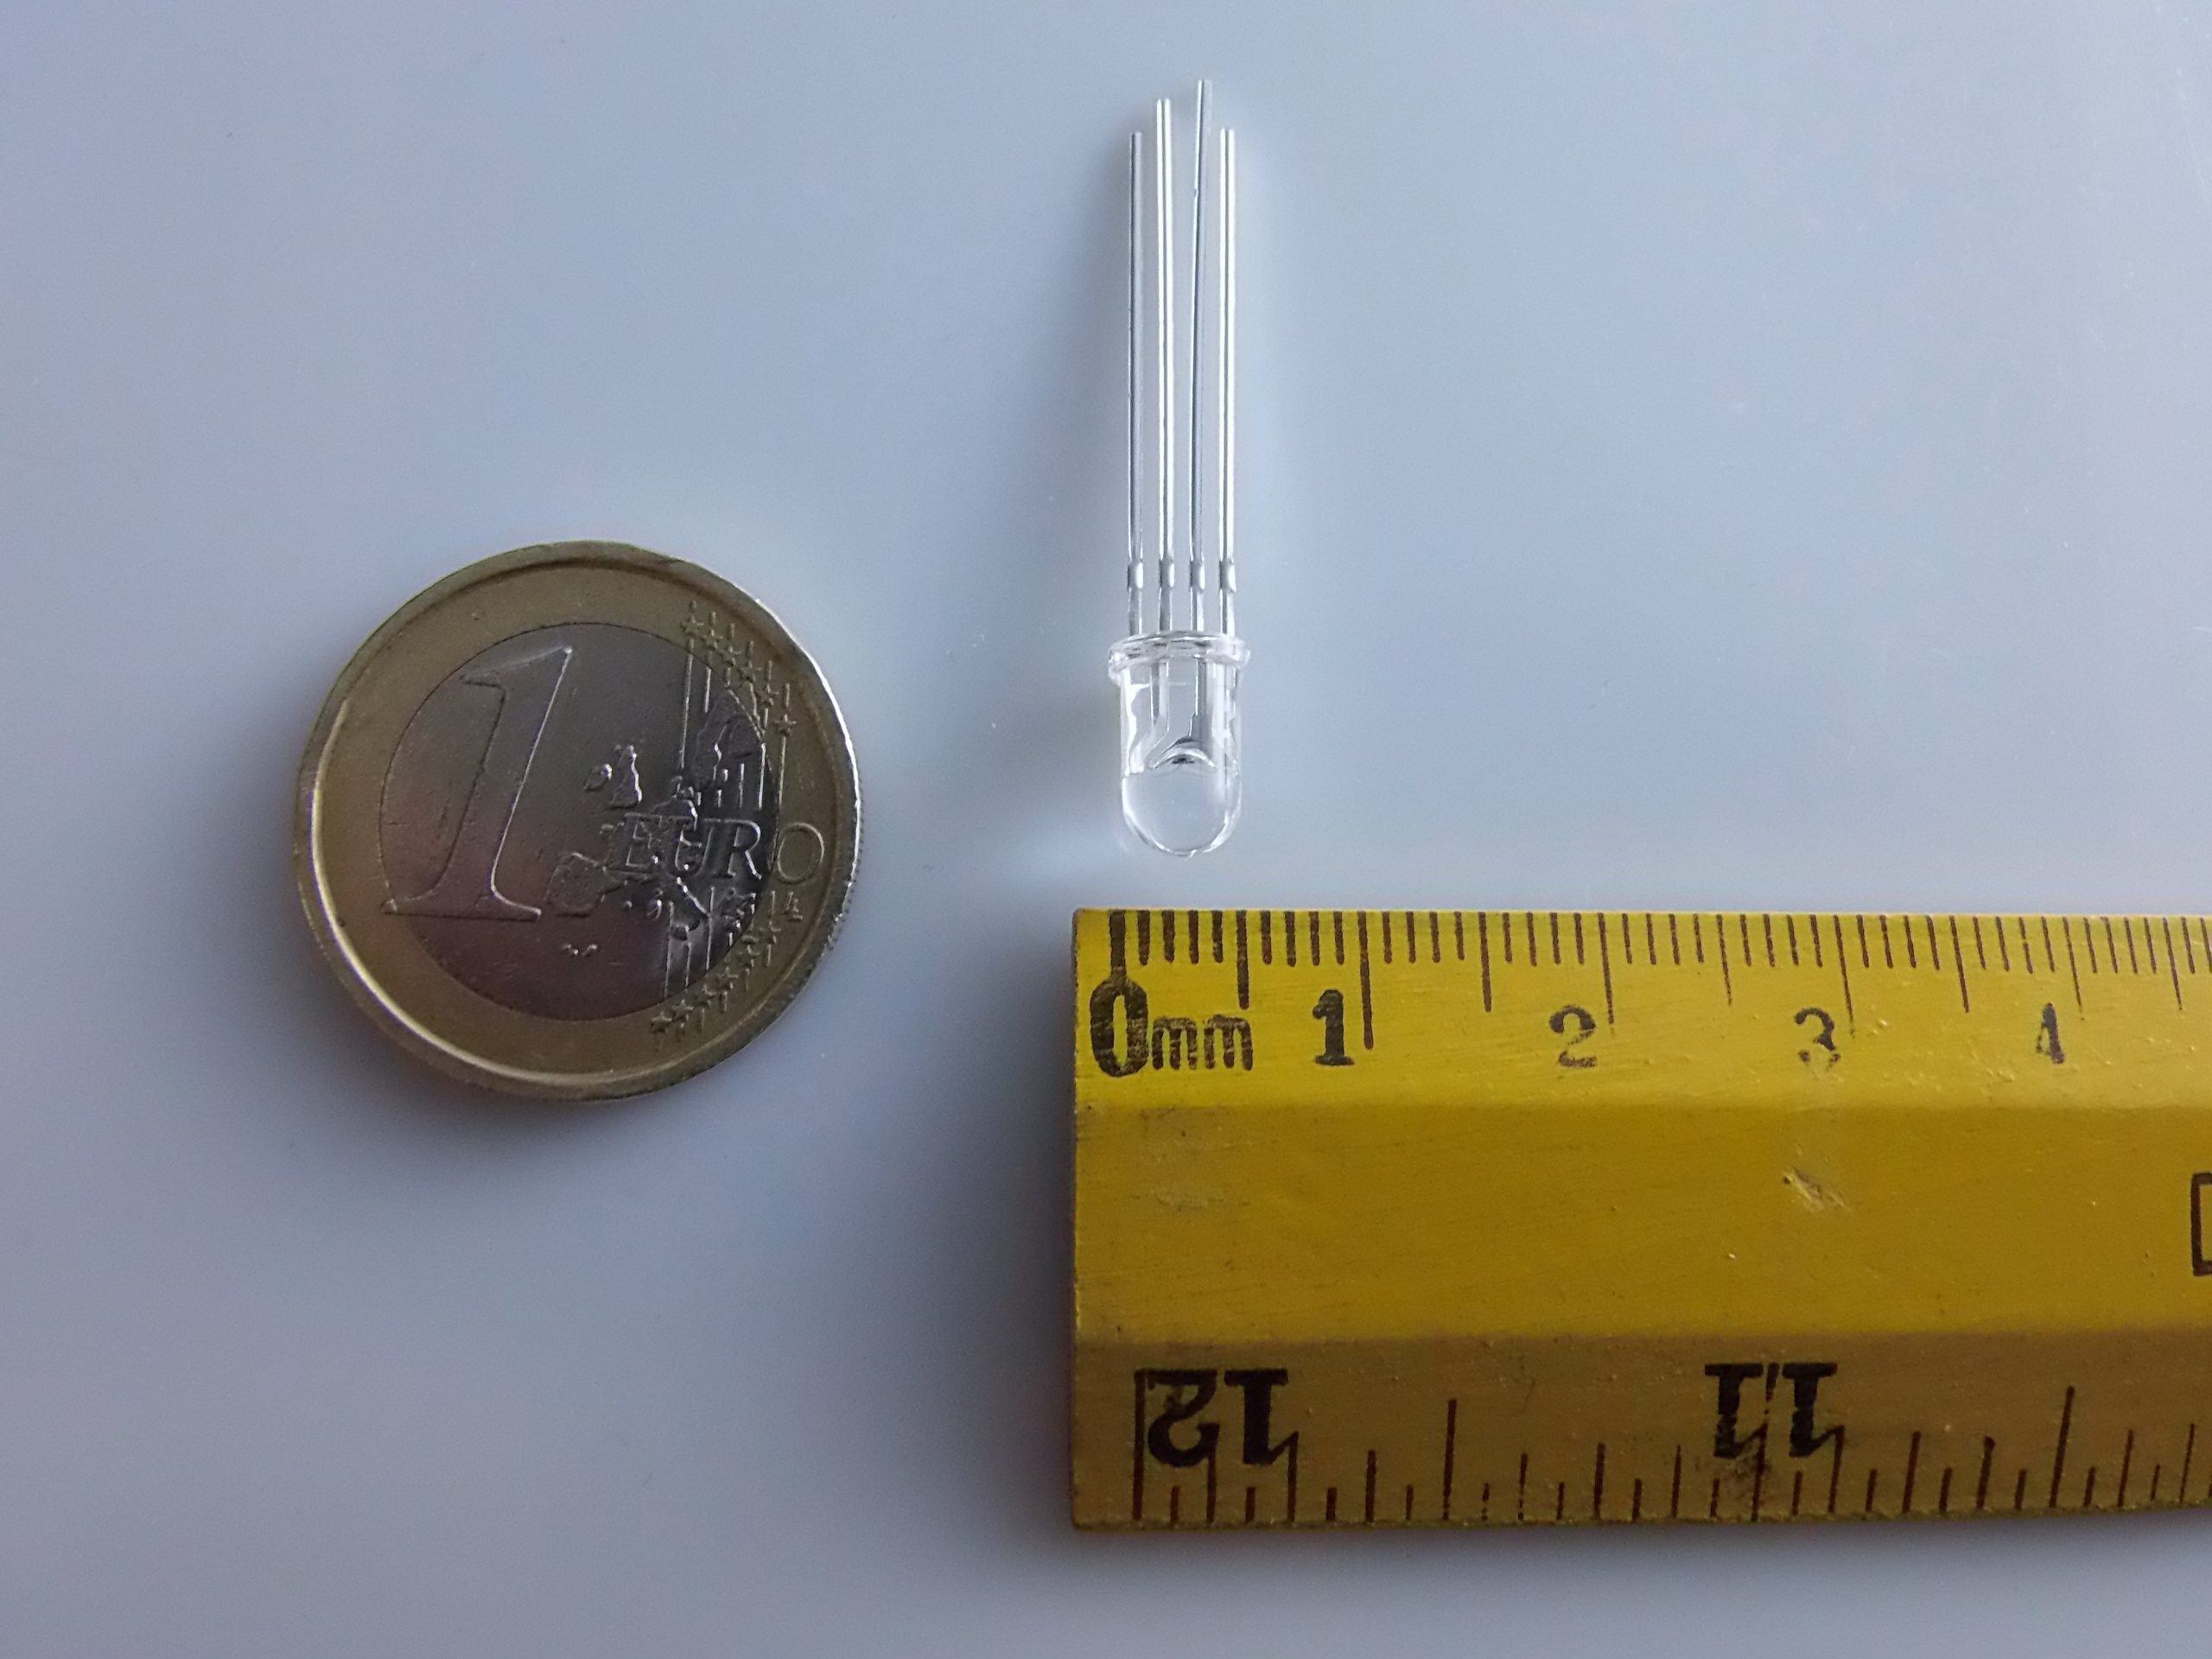
0,5 x 3,7 x 0,5 cm |
|
|
PACKAGE DIMENSIONS (L x P x A) |
3 x 5 x 2 cm |
|
|
PACKAGE CONTENT |
PACKAGE CONTENT |
3 x Module |
We have available datasheet for all components, should it not be present in the product download sheet, send us a message through the contact form and we will publish it as soon as possible on our website.
Tutorial: How to use 3 Pieces LED RGB MULTICOLOR 5mm COMMON ANODE 8000mcd
These RGB LEDs are ideal for lighting and color display projects. Perfect for beginners and intermediate makers.
What you need
- 3 RGB LEDs 5mm
- Multimeter
- Wiring Jumper
- 220 ohm Resistor
Steps
- 1. Check specifications on the datasheet.
- 2. Prepare 3 RGB LEDs.
- 3. Identify anode and negative lead.
- 4. Connect anode to 5V.
- 5. Connect negative lead to GND.
- 6. Connect common lead to a digital pin.
- 7. Connect 220 ohm resistor between digital pin and common lead.
- 8. Load Arduino sketch to manage colors.
Example code
```void setup() {} void loop() { digitalWrite(2, HIGH); delay(1000); digitalWrite(2, LOW); delay(1000); } ```Mini project
Create an RGB color cycle with these LEDs in 30 minutes.
Common mistakes
- Do not connect the LED directly to 5V without a resistor.
- Ensure the digital pin is correct.
- Make sure the common lead is properly connected.
- If it doesn’t work, check the connections.
Recommended accessories
- Multimeter
- Wiring Jumper
- 220 ohm resistor
Frequently asked questions
How can I change the colors?
Use the `analogWrite` function in Arduino to vary the colors.
Which digital pins can I use?
Any digital pin, but make sure it is supported.
I lost an LED, can I use only 2?
Yes, but it may compromise the effectiveness of the lighting.
Does the LED consume a lot of energy?
No, 8000mcd is efficient.
Reviews
There are no reviews yet.