 EN
 IT Italiano
 ES Español
 FR Français
 DE Deutsch
Description
Technical Specifications
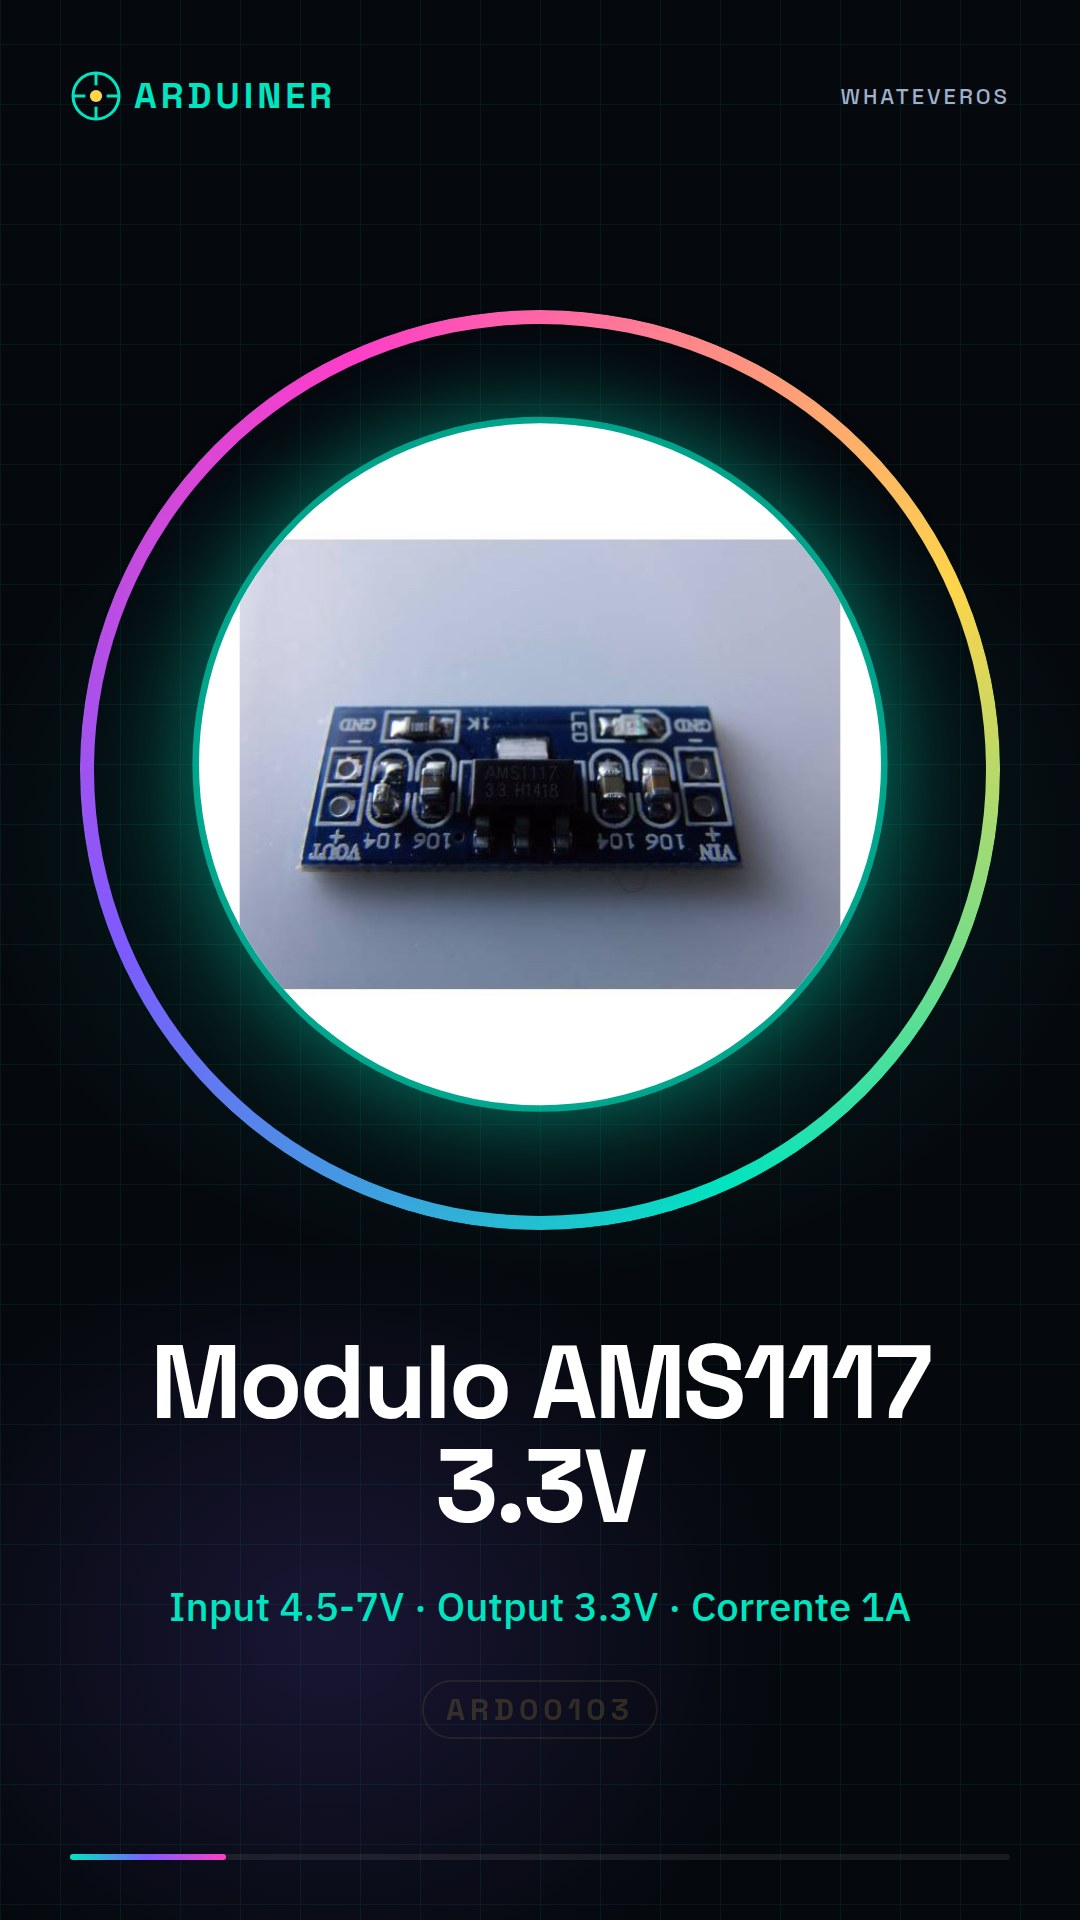
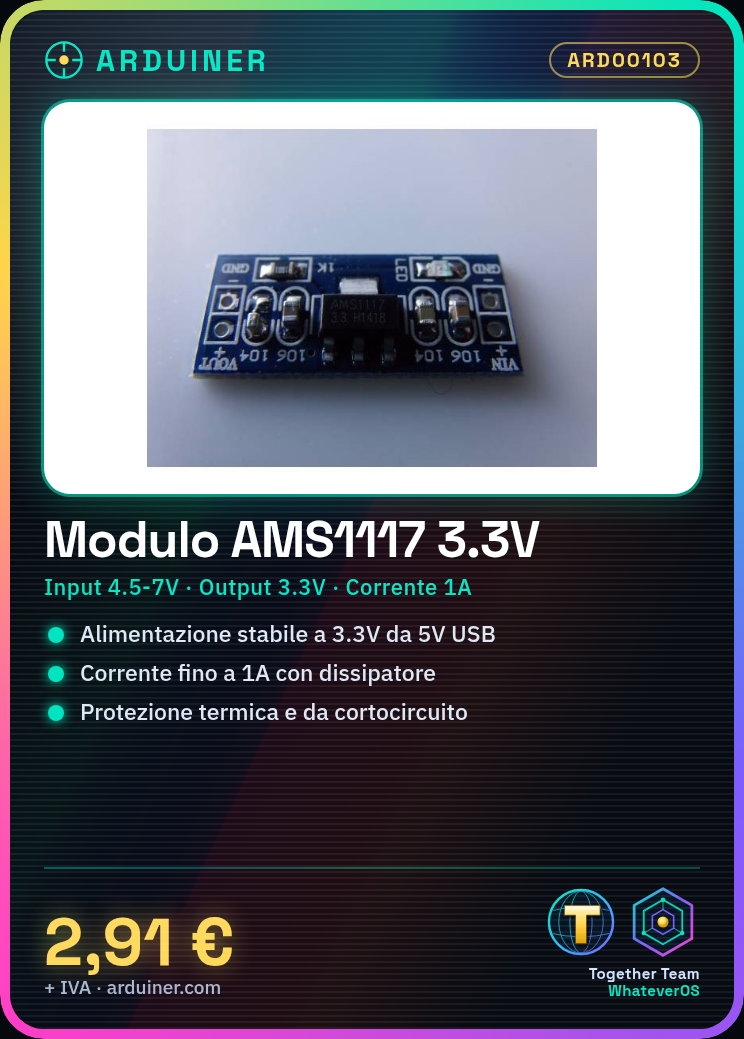
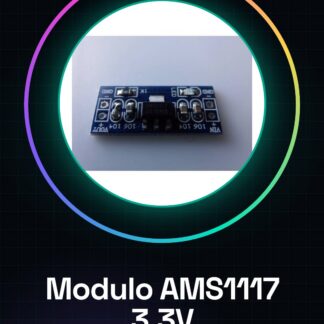
The 3.3V AMS1117-3.3V power module is a linear voltage regulator that converts an input voltage range of 4.5V to 7V into a stable 3.3V output. This device is designed to provide power to devices that require a 3.3V voltage, such as microcontrollers and digital sensors. The module includes thermal and short-circuit protection to ensure safety during use.
The AMS1117-3.3V module is particularly useful in prototyping and embedded projects where it is necessary to convert an input voltage higher than 3.3V into a stable 3.3V output. It is suitable for powering components that require a low and stable voltage to function correctly.
The module is available in a modular format, facilitating integration into electronic projects. It is important to ensure the use of an adequate heat sink if you intend to utilize the maximum output capability of the device.
Key Specifications
| Parameter | Value |
| Model | AMS1117-3.3V |
| Input Voltage (Vin) | 4.5 ~ 7V |
| Output Voltage (Vout) | 3.3V |
| Output Current | N/D (see manufacturer’s datasheet) |
| Thermal Protection | Yes |
| Short Circuit Protection | Yes |
| Format | Modular |
| Dimensions | N/D (see manufacturer’s datasheet) |
| Container | Board with connectors |
Installation and Usage
- Connect the Vin pin of the module to a power supply of 4.5V to 7V.
- Connect the GND pin of the module to the system ground.
- Connect the Vout pin of the module to the element requiring 3.3V power.
- Check that the module is properly powered and that the output is stable at 3.3V.
- If necessary, use a heat sink to manage the heating of the module.
Compatibility and Requirements
- The AMS1117-3.3V module is compatible with Arduino and other microcontrollers requiring 3.3V power.
- It is suitable for powering sensors and modules that require a 3.3V voltage.
- It can be used with embedded electronics systems to provide stable and regulated power.
Limits and Important Notes
- The module is not designed to provide power at voltages higher than 3.3V.
- The maximum output current may vary based on cooling conditions.
- It is necessary to use an adequate heat sink for high load conditions.
- Do not power the module directly with voltages higher than 7V.
Troubleshooting
The module does not provide 3.3V power.
Probable cause: Incorrect connection or non-compliant power source.
Solution: Check connections and input voltage.
The module overheats excessively.
Probable cause: High load without adequate heat sink.
Solution: Add a heat sink or reduce the load.
The module does not respond after the first power-up.
Probable cause: Thermal or short circuit protection issue.
Solution: Check temperature and connections.
The module does not maintain stable voltage.
Probable cause: Input voltage variations.
Solution: Use a power filter or a more stable voltage converter.
Use cases
Prototype project with Arduino.
Objective: Power a WiFi module at 3.3V.
What’s needed: AMS1117-3.3V module.
Steps: 1) Connect the AMS1117-3.3V module to the 5V pin of Arduino. 2) Connect the WiFi module to the Vout pin of the AMS1117-3.3V module. 3) Check WiFi connectivity.
Expected result: The WiFi module is powered correctly and functions as intended.
Home automation project.
Objective: Power a temperature sensor at 3.3V.
What’s needed: AMS1117-3.3V module.
Steps: 1) Connect the AMS1117-3.3V module to an external power source. 2) Connect the temperature sensor to the Vout pin of the AMS1117-3.3V module. 3) Check temperature readings.
Expected result: The temperature sensor is powered correctly and provides temperature data.
Electronic Lab.
Objective: Power a communication module at 3.3V.
What’s needed: AMS1117-3.3V module.
Steps: 1) Connect the AMS1117-3.3V module to an external power source. 2) Connect the communication module to the Vout pin of the AMS1117-3.3V module. 3) Check the communication.
Expected result: The communication module is powered correctly and maintains stable communication.
Prototype project of a light sensor.
Objective: Power a light sensor at 3.3V.
What’s needed: AMS1117-3.3V module.
Steps: 1) Connect the AMS1117-3.3V module to an external power source. 2) Connect the light sensor to the Vout pin of the AMS1117-3.3V module. 3) Check the light reading.
Expected result: The light sensor is powered correctly and provides illuminance data.
Prototype project of a communication module.
Objective: Power a communication module at 7V.
What’s needed: AMS1117-3.3V module.
Steps: 1) Connect the AMS1117-3.3V module to an external power source. 2) Connect the communication module to the Vout pin of the AMS1117-3.3V module. 3) Verify communication.
Expected result: The communication module is powered correctly and maintains stable communication.
Prototype project of a temperature sensor.
Objective: Power a temperature sensor at 3.3V.
What’s needed: AMS1117-3.3V module.
Steps: 1) Connect the AMS1117-3.3V module to an external power source. 2) Connect the temperature sensor to the Vout pin of the AMS1117-3.3V module. 3) Verify temperature reading.
Expected result: The temperature sensor is powered correctly and provides temperature data.
Prototype project of a communication module.
Objective: Power a communication module at 3.3V.
What’s needed: AMS1117-3.3V module.
Steps: 1) Connect the AMS1117-3.3V module to an external power source. 2) Connect the communication module to the Vout pin of the AMS1117-3.3V module. 3) Verify communication.
Expected result: The communication module is powered correctly and maintains stable communication.
Prototype project of a light sensor.
Objective: Power a light sensor at 3.3V.
What’s needed: AMS1117-3.3V module.
Steps: 1) Connect the AMS1117-3.3V module to an external power source. 2) Connect the light sensor to the Vout pin of the AMS1117-3.3V module. 3) Verify light reading.
Expected result: The light sensor is powered correctly and provides illuminance data.
In the package
- 1 piece
Complete the project
- 5.0V AMS1117-5.0V Fixed Voltage Regulator Power Module – input 6-12V – output 5V: To power 5V devices with a power supply between 6-12V.
- L7809 LM 7809 9V Voltage Regulator Power Converter Rectifier Module: To power 9V devices with a power supply between 6-12V.
- Adjustable Buck-Boost Power Supply Voltage Regulator Module USB / 5V to 3.3V 9V 12V 18V 24V DPL with Current: To power 3.3V devices with a power supply between 5-18V.
- L7805 LM7805 5V Voltage Regulator Module for Arduino: To power 5V devices with a power supply between 5-12V.
Technical FAQs
What is the maximum output current of the AMS1117-3.3V module?
The maximum output current can vary based on cooling conditions. Refer to the manufacturer’s datasheet for details.
Why does the module overheat?
The module may overheat if the load is high without an adequate heat sink. Adding a heat sink or reducing the load can solve the problem.
What is the thermal protection of the AMS1117-3.3V module?
The module includes thermal protection that activates when the temperature exceeds a certain limit to protect the device from damage.
What is the short-circuit protection of the AMS1117-3.3V module?
The module includes short-circuit protection to prevent damage in case of a short circuit.
Tutorial: How to use AMS1117-3.3V Power Module
The AMS1117-3.3V power module is ideal for providing a stable voltage to electronic devices that require a 3.3V power supply. It is particularly useful for Arduino projects or other microcontrollers.
What you need
- AMS1117-3.3V module
- Arduino Uno or compatible
- JST connectors
- batter from 4.5 to 7V
Steps
- Check that the module’s input voltage is between 4.5 and 7V.
- Connect the module’s input to the positive terminal of the battery.
- Connect the battery’s negative terminal to the module’s ground (GND).
- Connect VOUT of the module to the 3.3V power supply of the Arduino or electronic device.
- Ensure the power switch is correctly positioned to allow energy flow.
- If necessary, connect a 10µF electrolytic capacitor between IN and GND of the module to improve power stability.
Mini project
Create a small LED lamp controlled by Arduino powered by the AMS1117-3.3V module.
Common mistakes
- Connecting the module’s input to a voltage higher than 7V, damaging the voltage regulator.
- Omitting the ground (GND) during connections.
- Not verifying that VOUT actually provides 3.3V before connecting it to the electronic device.
Recommended accessories
- Arduino Uno
- LED
- 220 ohm resistor
- portable battery
Frequently asked questions
What is the difference between AMS1117-3.3V and LM7805?
AMS1117-3.3V provides 3.3V while LM7805 provides 5V.
Can I use this module with a Raspberry Pi Zero W?
Yes, but check that the input voltage is adequate and consider using a capacitor to improve stability.
Reviews
There are no reviews yet.