 EN
 IT Italiano
 ES Español
 FR Français
 DE Deutsch
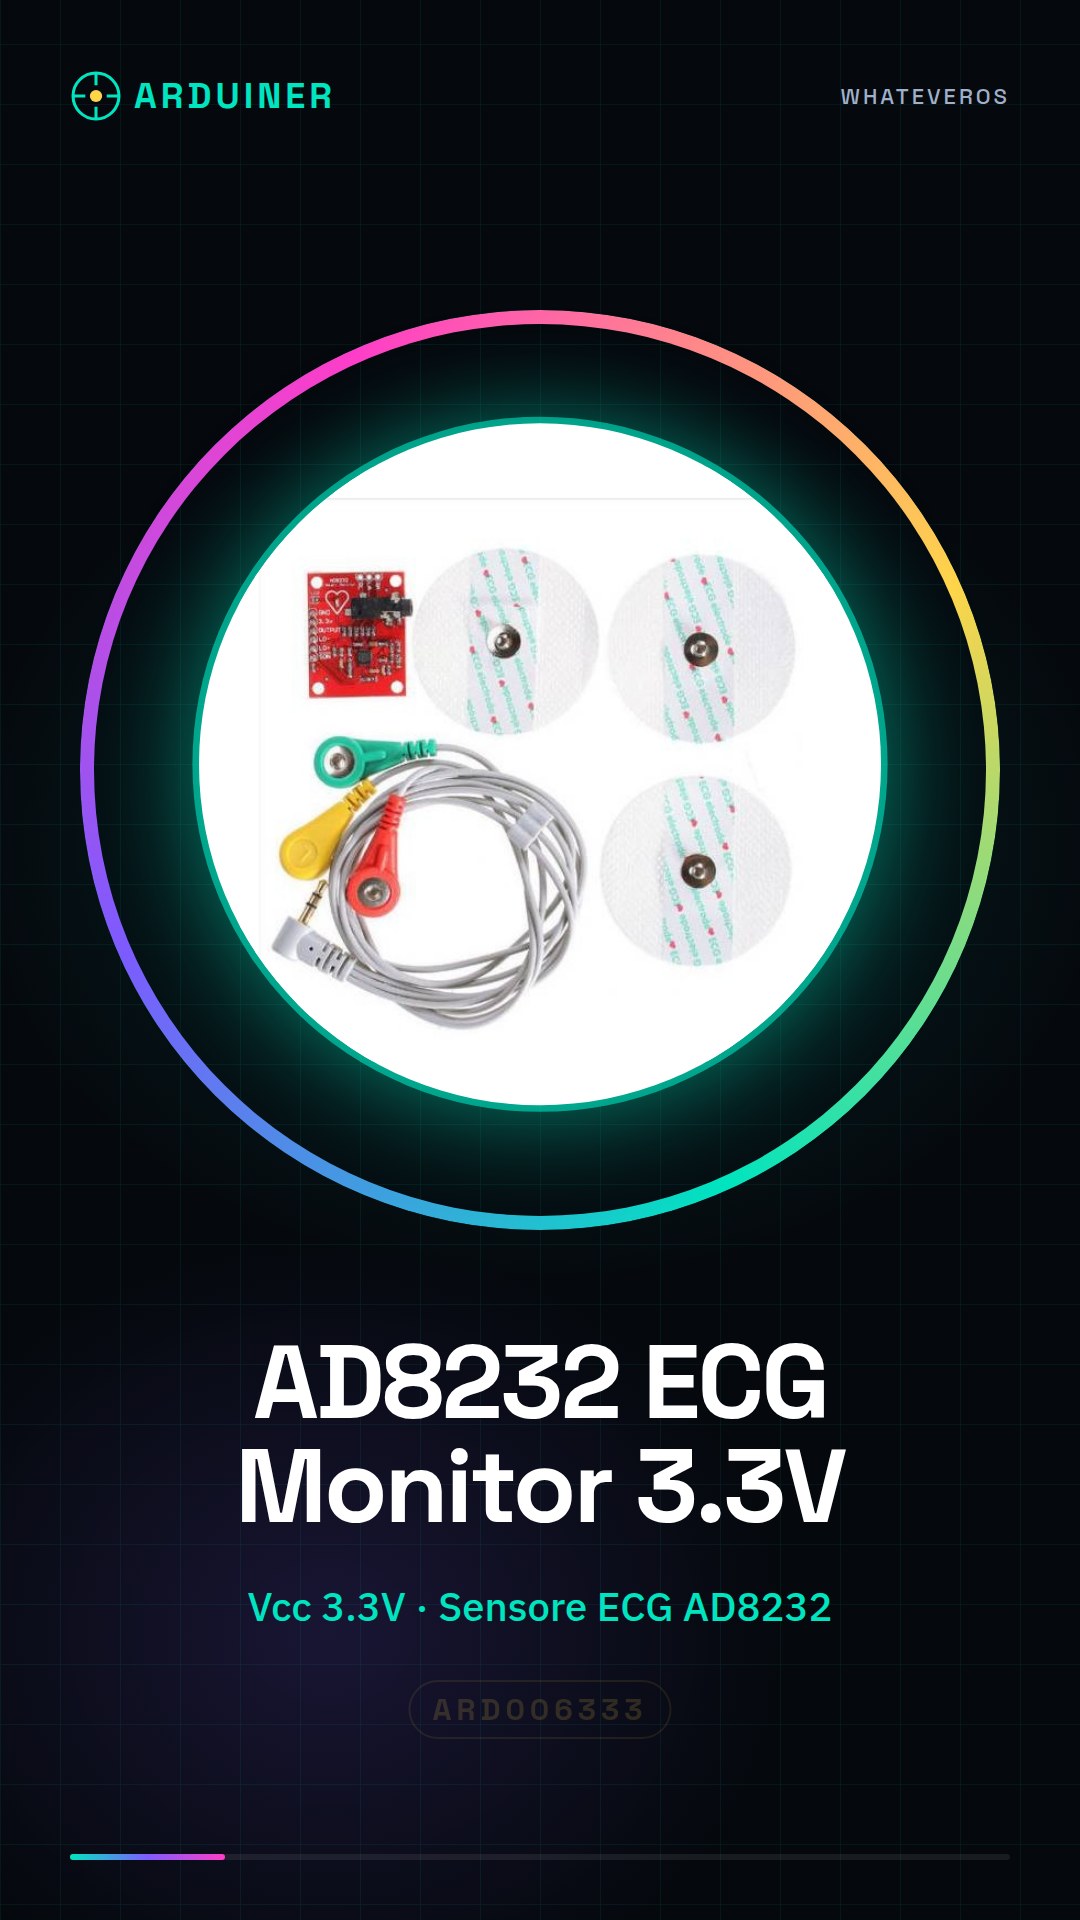
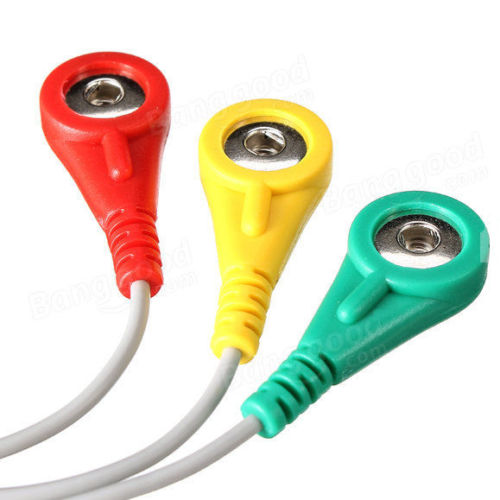
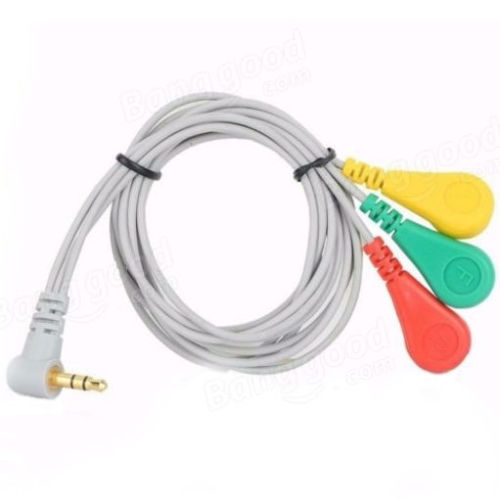
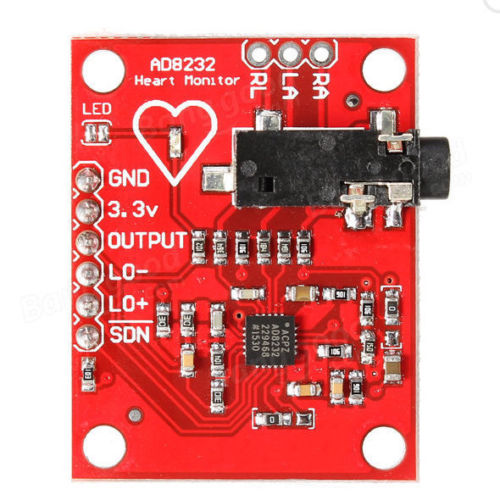
Description
What it is
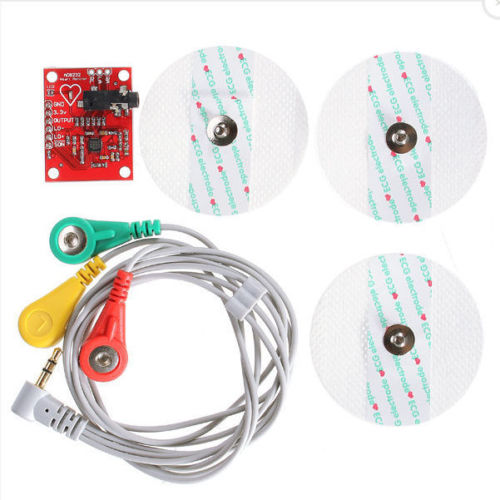
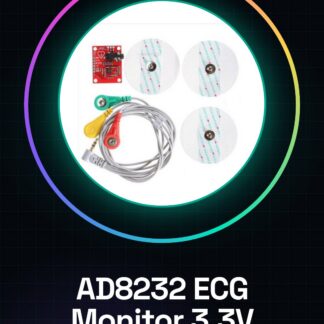
The AD8232 3.3V module is an ECG sensor for cardiac monitoring compatible with Arduino. This component allows for simple and effective acquisition of electrocardiographic signals, making it ideal for both beginners exploring bioelectronics and more advanced makers.
Features
- Vcc: 3.3V
- ECG Sensor AD8232
What it is for
AD8232 modules can be used to create real-time heart rate monitoring systems, easily integrating the sensor with Arduino or other microcontrollers. Data can be displayed on an LCD screen.
Tutorial: How to Use the AD8232 ECG Module for Arduino
The AD8232 module is an electrocardiographic (ECG) sensor that allows for simple measurement of cardiac signals. This component is ideal for both beginners exploring bioelectronics and more advanced makers who want to integrate it into their projects.
What you need
- Arduino
- JST Connectors
- Capacitors and Resistors
Steps
- Connect the AD8232 module to your Arduino using JST connectors. Check the pinout on the module’s datasheet.
- Install the necessary library to interface the AD8232 with Arduino from the official GitHub repository or from online libraries such as Arduino IDE’s Library Manager.
- Configure the electronic sensor through the commands of the newly installed library. Verify the settings on the datasheet parameters to optimize the reading of ECG signals.
- Write a simple sketch that reads data from the AD8232 module and sends it to the serial monitor of Arduino IDE.
- Analyze the data received on the serial console. Check if the values are consistent with human heartbeats.
- To improve signal quality, add a low-pass or high-pass filter to the circuit based on the datasheet specifications.
- If you want to display data on an LCD screen, connect it to the Arduino and modify the code to send information from the AD8232 module to the screen.
- Test the interface with different subjects and record changes in the ECG signals.
Example code
/*
 * Codice di esempio
 */
#include <AD8232.h>

AD8232 ecg(0, 1); // Pin selezionati per l'interfaccia con Arduino

void setup() {
  Serial.begin(9600);
}

void loop() {
  int signal = ecg.read();
  Serial.println(signal);
}
Mini project
Create a real-time heart rate monitoring system. Connect the AD8232 module to an Arduino and display the data on the LCD screen.
Common mistakes
- Do not connect the JST connectors correctly.
- Ignore the necessary filter configuration to improve the quality of the ECG signal.
- Use the module without first installing and configuring the specific library.
- Do not verify the settings on the datasheet parameters to optimize data acquisition.
Recommended accessories
- LCD Screen
- Arduino Uno
- JST Connector
- Decoupling Capacitor
Frequently asked questions
How can I improve the quality of ECG signals?
Add a low-pass or high-pass filter to the circuit based on the datasheet specifications.
Which libraries do I need to install to use the AD8232 module?
Install the AD8232 library from GitHub or through the Library Manager in Arduino IDE.
Can I connect multiple ECG sensors to a single Arduino?
Yes, but check the datasheet to properly manage the pins and connections.
Reviews
There are no reviews yet.