 EN
 IT Italiano
 ES Español
 FR Français
 DE Deutsch
Description
What it is
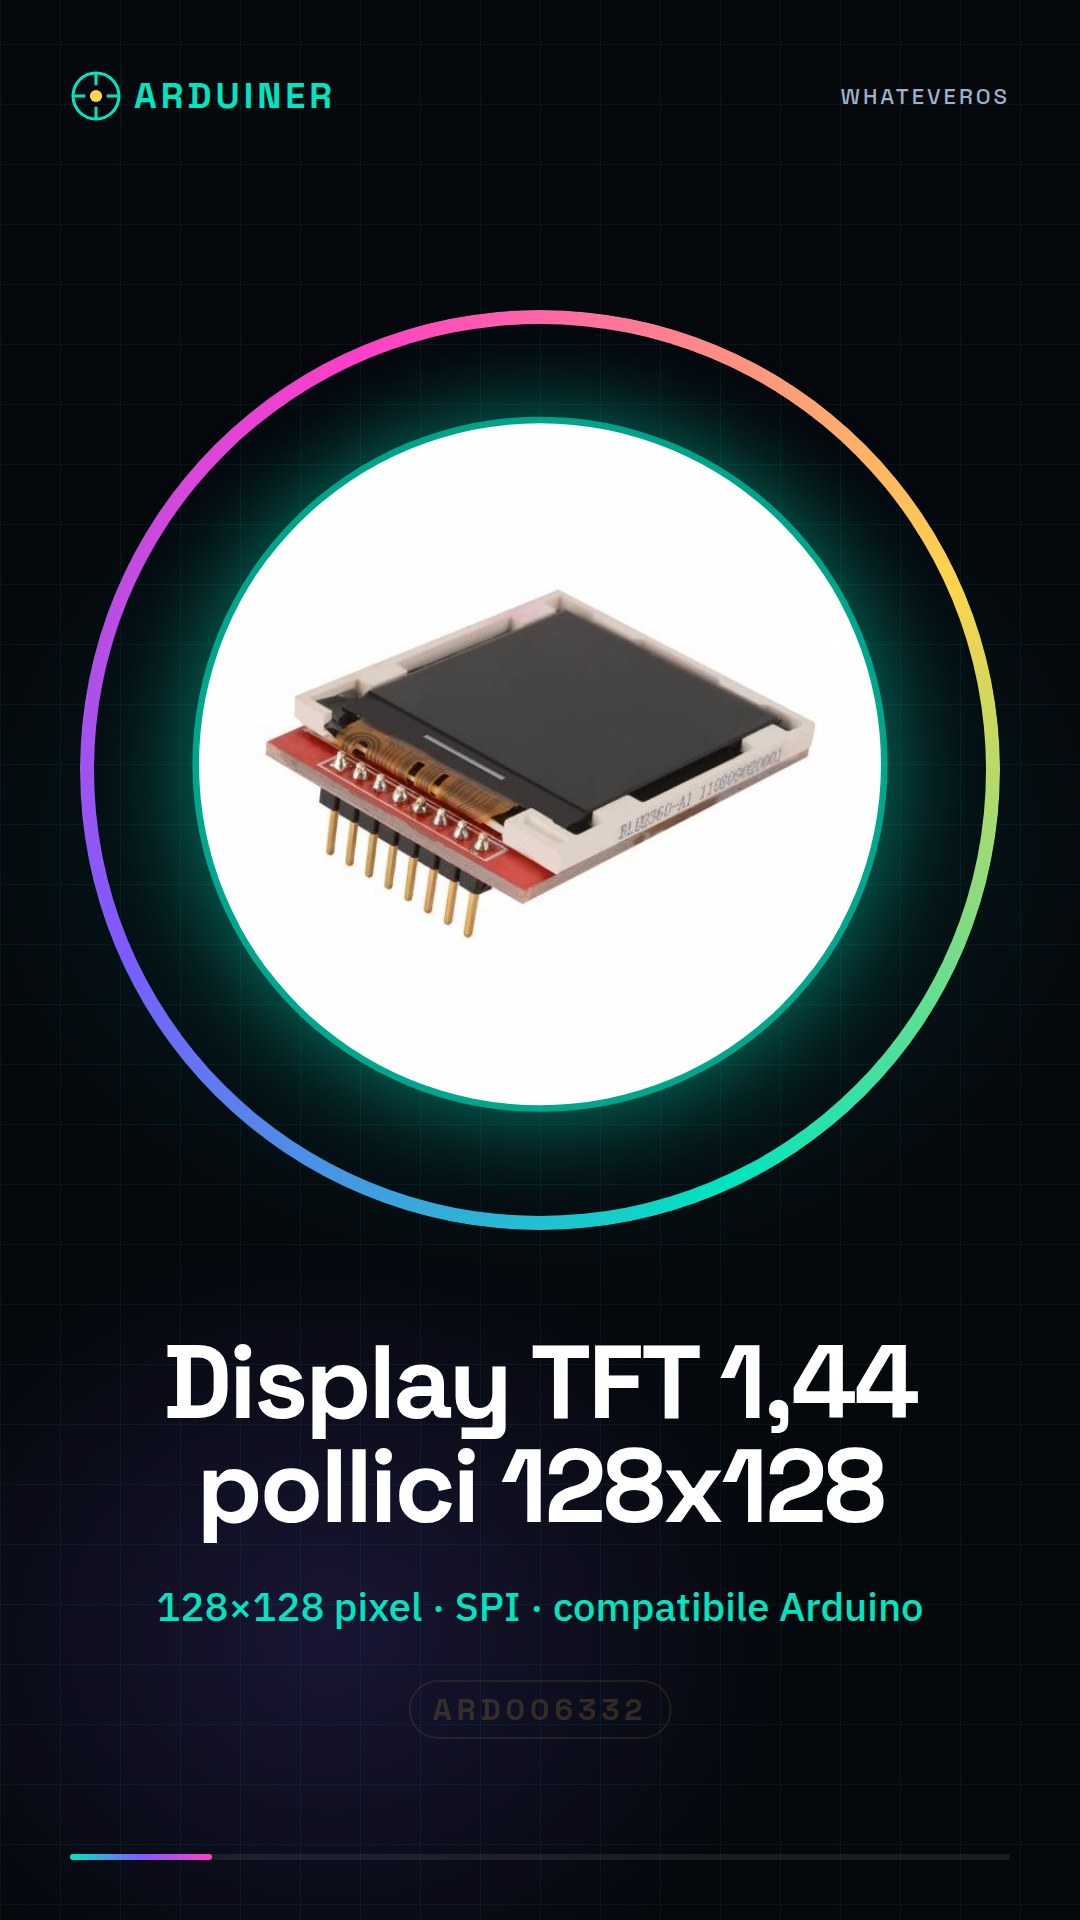
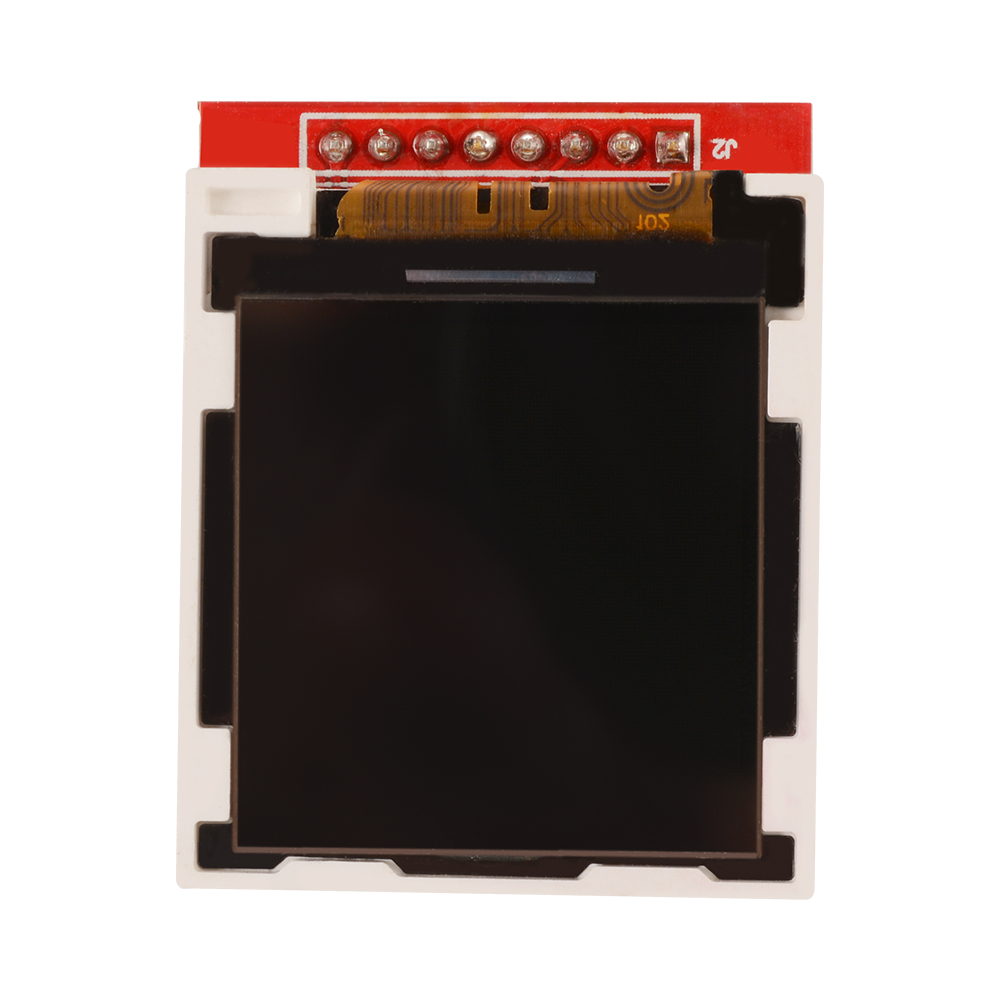
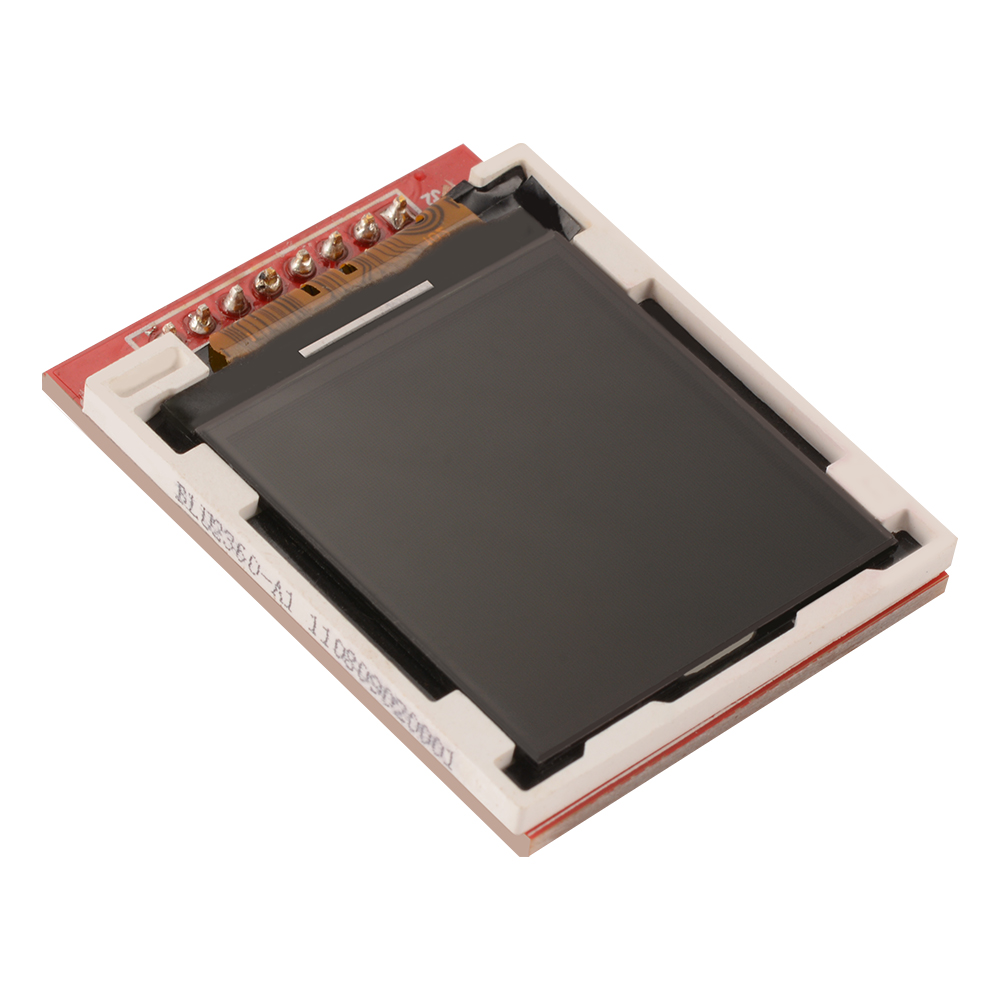
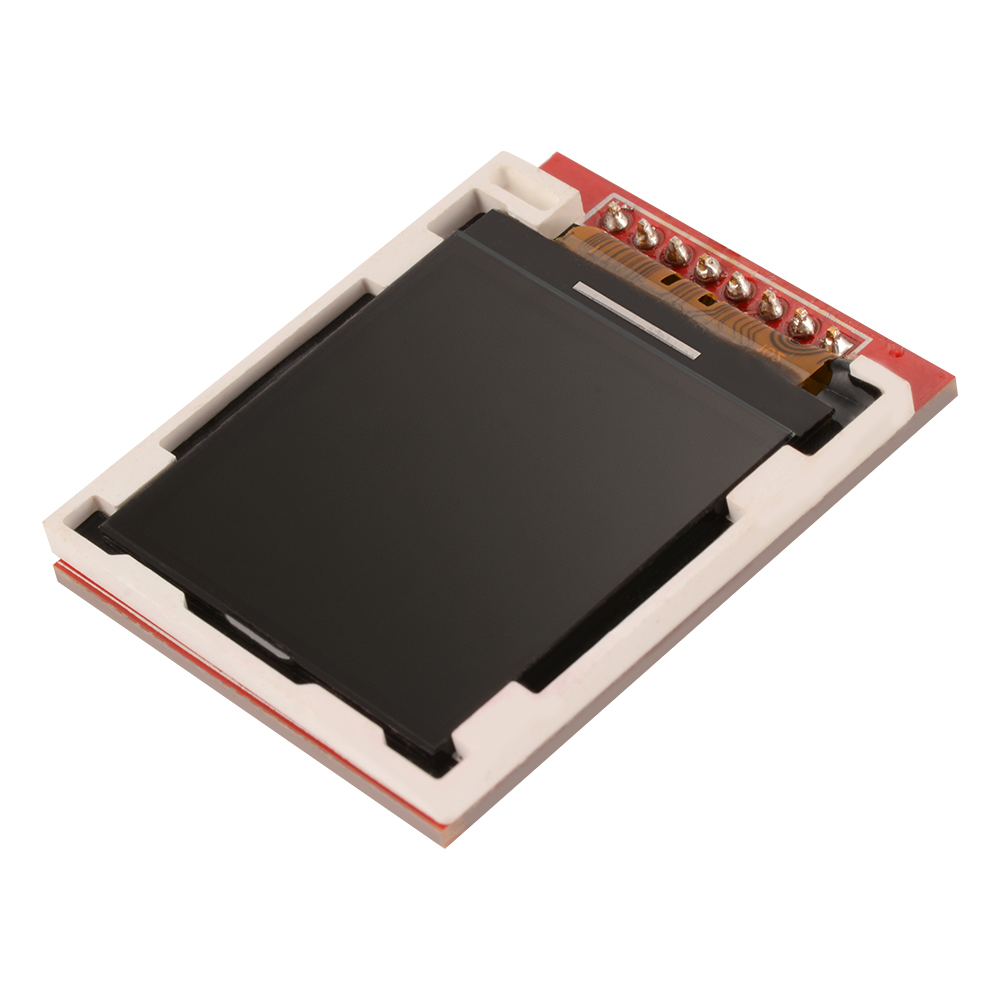
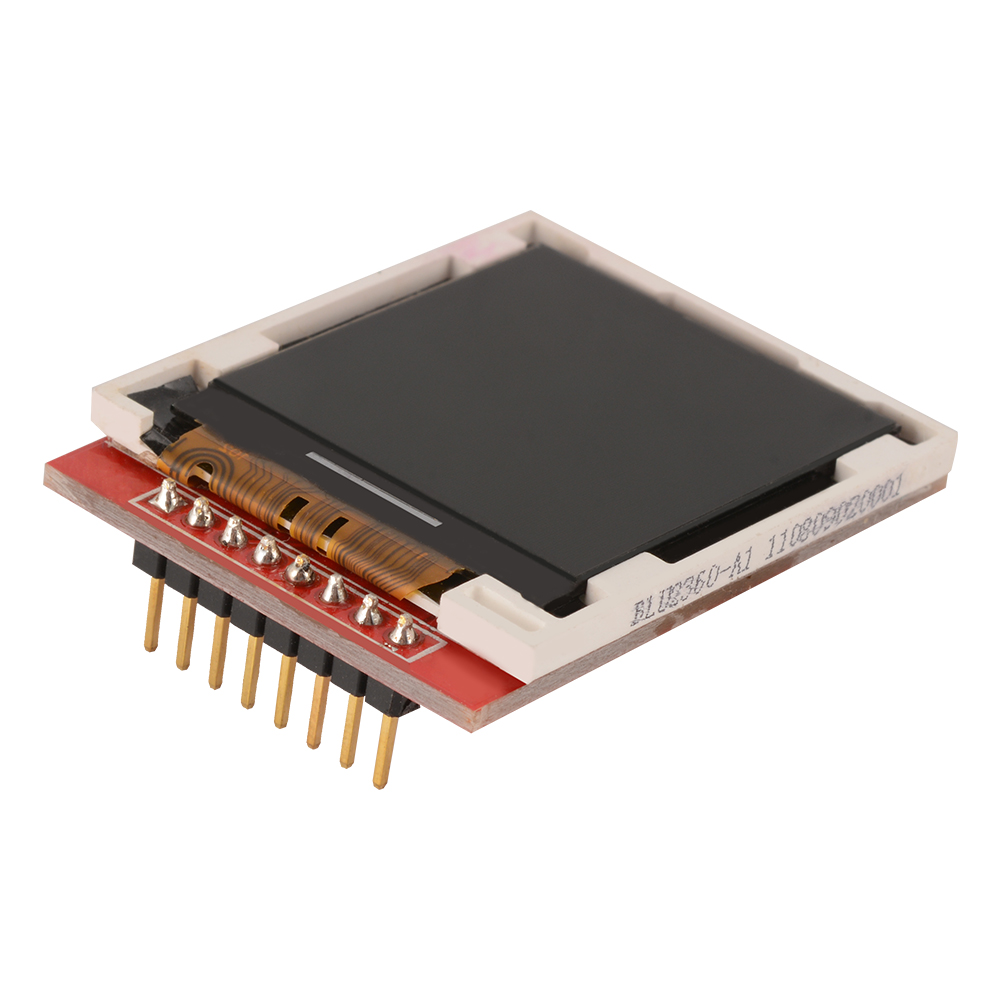
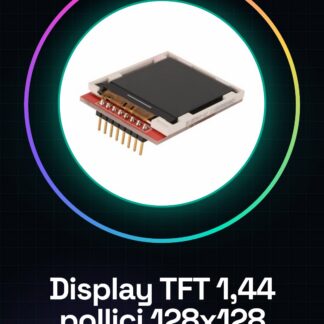
The 1.44 inch full color TFT display module with 128×128 pixel resolution is an Arduino component that replaces the classic monochrome Nokia 5110 LCD display, offering greater flexibility and visibility thanks to its ability to show colors.
Features
- Resolution: 128×128 pixels
- Connection type: SPI (Serial Peripheral Interface)
- Compatible with Arduino and other microcontrollers
What it is for
This TFT LCD module is ideal for projects that require simple graphical display, such as digital clocks, status indicators, or minimalist user interfaces. It is particularly suitable for beginners and intermediate designers due to its ease of use and compatibility with Arduino.
Tutorial: How to use the 1.44 inch full color 128×128 SPI TFT LCD Serial Display Module
This TFT LCD module is ideal for graphic display and simple user interface projects. Useful for beginners and intermediate designers.
What you need
- Arduino
- SPI Cable
- Pull-up Resistor
- 3.3V or 5V Power Cable
Steps
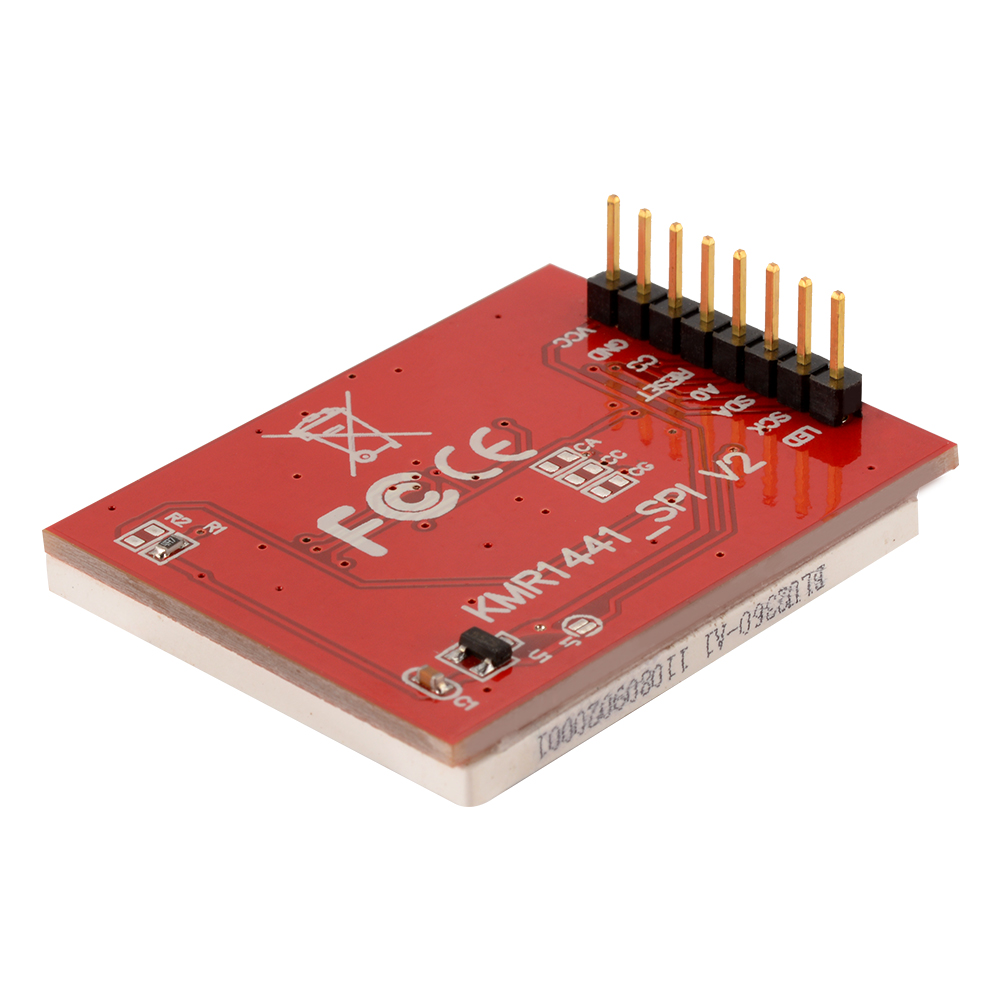
- 1. Connect the TFT module to the Arduino using SPI cables (SDA, SCL, MOSI, MISO, CS, RST, DC, VCC, GND).
- 2. Connect a pull-up resistor to 3.3V on CS (Chip Select).
- 3. Connect VCC of the module to 3.3V or 5V of the Arduino.
- 4. Connect GND of the module to GND of the Arduino.
- 5. Configure the CS pin as output in the Arduino code.
- 6. Load the ‘TFT_test’ example code onto the module.
- 7. Check the datasheet for power specifications and used pins.
- 8. Test the graphical interface with various drawing and text commands.
Example code
```
#include <Adafruit_GFX.h>
#include <Adafruit_ST7735.h>

Adafruit_ST7735 tft = Adafruit_ST7735(32, 33, 34, 35, 36);

void setup() {
  tft.begin();
}

void loop() {
  tft.fillScreen(TFT_BLACK);
  tft.setCursor(0, 0);
  tft.setTextSize(2);
  tft.setTextColor(TFT_WHITE);
  tft.println("Hello, World!");
}
```
Mini project
Create a simple digital clock that displays the current time on this display.
Common mistakes
- Forget to correctly connect the SPI pins.
- Power the module with the wrong voltage (3.3V or 5V).
- Fail to properly configure the CS pin in the code.
- Omit the pull-up resistors on CS.
Recommended accessories
- Arduino Uno
- Arduino Nano
- 3.3V or 5V power cable
- Beginner’s Arduino books
Frequently asked questions
How can I check if the module is working?
Load the ‘TFT_test’ example code and verify that the graphical interface works correctly.
Which pins of the module do I use for power?
Use VCC for power and GND for ground.
Can I use this module with Arduino Mega?
Yes, but check the datasheet for any power or pin limitations.
What are the power requirements for the module?
3.3V or 5V power, check the datasheet for details.
Reviews
There are no reviews yet.