 EN
 IT Italiano
 ES Español
 FR Français
 DE Deutsch
Description
Technical Specifications
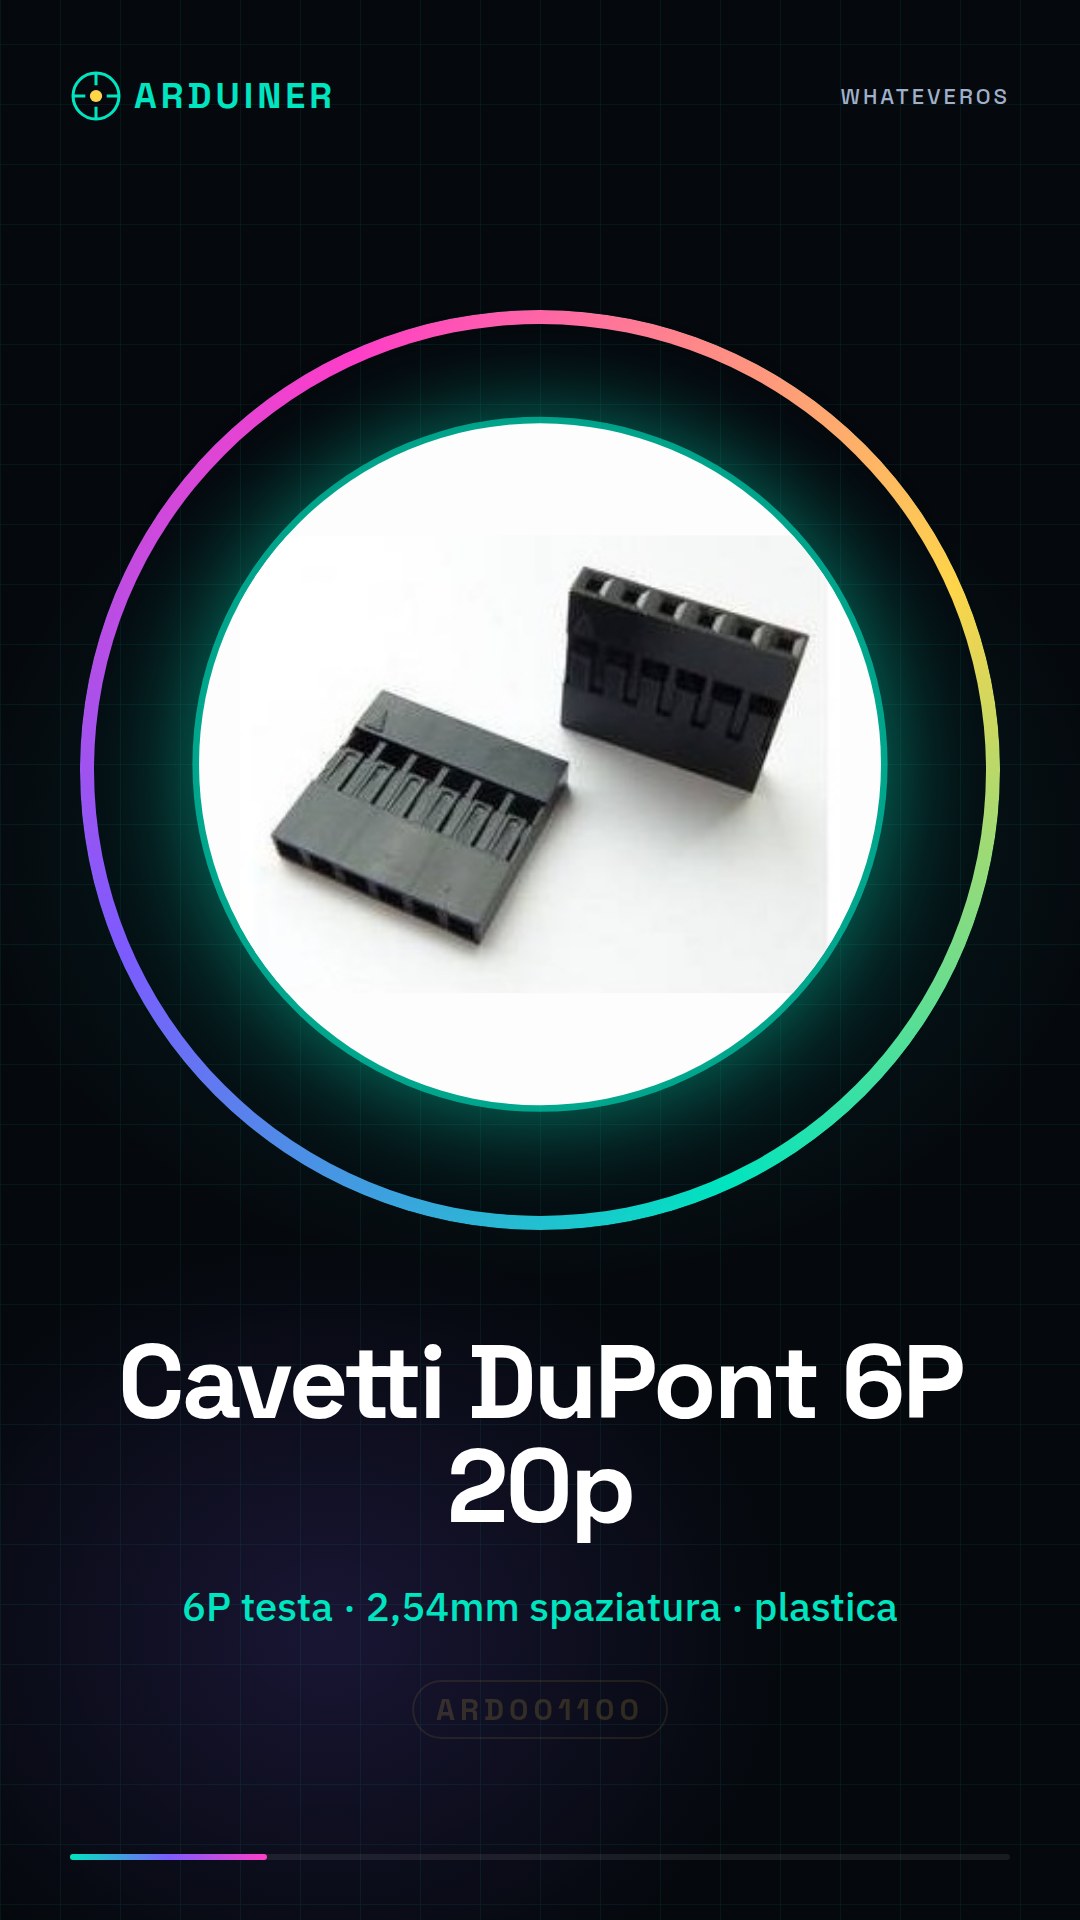
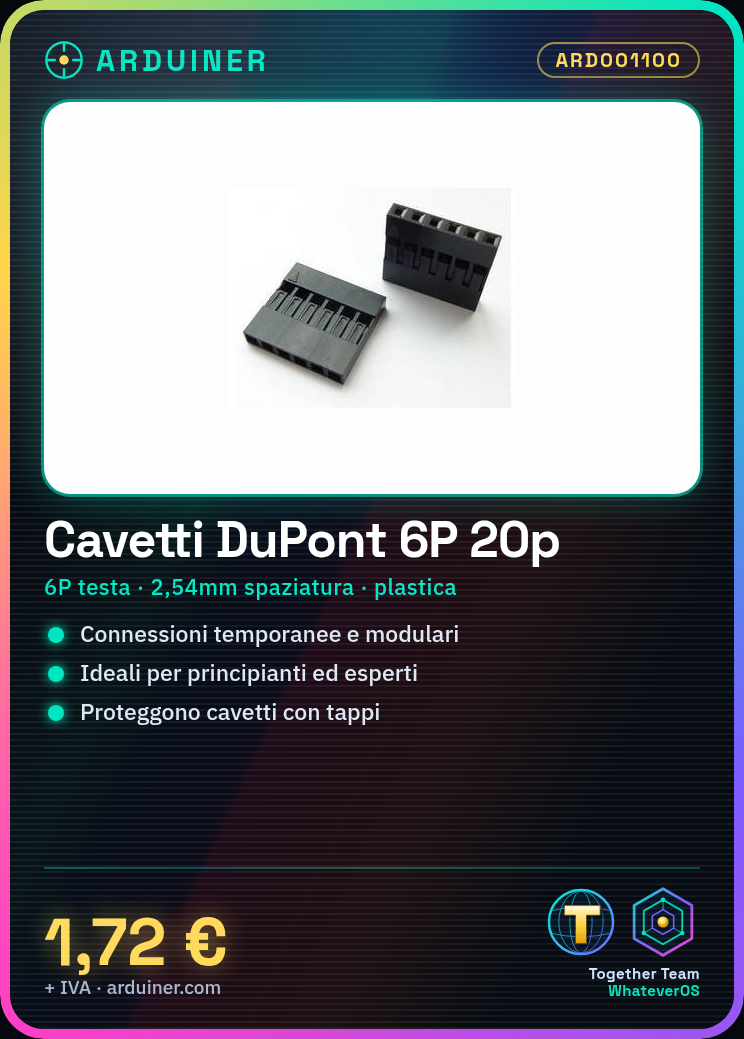
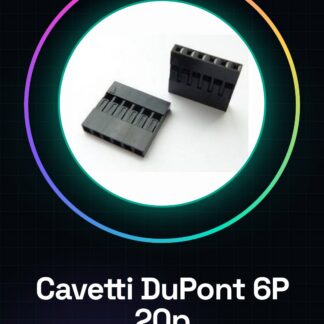
The DuPont 6P connector cables with plastic housing DuPont have a spacing of 2.54mm and are equipped with caps to protect the contacts. These cables are used for temporary or modular connections in Arduino projects and other maker projects, ensuring easy manipulation without damaging components. DuPont cables are ideal for both beginners and experts, allowing for quick configuration and disconnection of components.
The DuPont 6P connector cables are used to connect various electronic components together during Arduino or maker projects. Their modular structure allows for flexible and secure connections, reducing the risk of electrical or physical damage.
These wires are suitable for temporarily connecting various electronic components together during Arduino or maker projects. Their compatibility with the breadboard and other electronic components makes them an essential element for prototyping and testing.
Key Specifications
| Parameter | Value |
| Model | 6P DuPont connector |
| Quantity | 20 pieces |
| Pitch | 2,54mm |
| Materials | N/D (see manufacturer’s technical sheet) |
| Interface | N/D (see manufacturer’s technical sheet) |
| Container | N/D (see manufacturer’s technical sheet) |
Installation and Use
- Connect the DuPont wire to the Arduino output pin.
- Connect the other end of the wire to one of the columns on the breadboard.
- Check the connection with a multimeter to ensure that the contacts are properly established.
- Use the provided cap to protect the wires from unexpected physical or electrical damage.
- Repeat the previous steps for each wire needed.
Compatibility and Requirements
- The DuPont 6P male wires are compatible with Arduino Uno and other Arduino-based systems.
- The DuPont 6P male wires are compatible with breadboard and other electronic components.
- The DuPont 6P male wires are used to connect various sensors and electronic components together during maker projects.
Limitations and Important Notes
- The DuPont 6P male wires are not designed for permanent connections.
- The DuPont 6P male wires are not suitable for low-level connections or for sensitive electronic components.
- DuPont Connectors 6P male cables require care during handling to avoid damage to the contacts.
- DuPont Connectors 6P male cables are not suitable for high voltage or current connections.
Troubleshooting
DuPont Connectors cables do not connect properly.
Probable cause: The contacts of the DuPont cables are damaged or dirty.
Solution: Check the cleanliness and integrity of the DuPont cable contacts.
DuPont Connectors cables come loose easily.
Probable cause: The DuPont cables were not inserted correctly into the interfaces.
Solution: Reinsert the DuPont cables into the interfaces correctly.
DuPont Connectors cables do not function correctly.
Probable cause: The DuPont cables are damaged or corroded.
Solution: Replace damaged or corroded DuPont cables.
DuPont Connectors cables cause interruptions in the flow of energy.
Probable cause: The DuPont wires were not properly protected.
Solution: Use the provided caps to protect the DuPont wires.
Use cases
Creating a home alarm system.
Objective: Connect a light sensor to the breadboard using DuPont wires.
What you need: Arduino Uno, light sensor, breadboard.
Steps: 1) Connect the DuPont wire to the Arduino output pin. 2) Connect the other end of the wire to the light sensor. 3) Check the connection with a multimeter. 4) Write an Arduino sketch to turn on an LED when it gets dark.
Expected result: The home alarm system works correctly.
Testing a temperature sensor.
Objective: Connect a temperature sensor to the breadboard using DuPont wires.
What you need: Arduino Uno, temperature sensor, breadboard.
Steps: 1) Connect the DuPont cable to the output pin of the Arduino. 2) Connect the other end of the cable to the temperature sensor. 3) Verify the connection with a multimeter. 4) Test the temperature sensor with an Arduino sketch.
Expected result: The temperature sensor works correctly.
Design of a home automation prototype.
Objective: Connect a motion sensor to the breadboard with DuPont cables.
What is needed: Arduino Uno, motion sensor, breadboard.
Steps: 1) Connect the DuPont cable to the output pin of the Arduino. 2) Connect the other end of the cable to the motion sensor. 3) Verify the connection with a multimeter. 4) Test the motion sensor with an Arduino sketch.
Expected result: The home automation prototype works correctly.
Testing a humidity sensor.
Objective: Connect a humidity sensor to the breadboard with Dupont wires.
What you need: Arduino Uno, humidity sensor, breadboard.
Steps: 1) Connect the Dupont wire to the output pin of the Arduino. 2) Connect the other end of the wire to the humidity sensor. 3) Check the connection with a multimeter. 4) Test the humidity sensor with an Arduino sketch.
Expected result: The humidity sensor works correctly.
Maintenance of an electronic prototype.
Objective: Repair an electronic prototype with Dupont wires.
What you need: Arduino Uno, electronic prototype, breadboard.
Steps: 1) Connect the Dupont wire to the output pin of the Arduino. 2) Connect the other end of the wire to the electronic prototype. 3) Check the connection with a multimeter. 4) Test the electronic prototype with an Arduino sketch.
Expected result: The electronic prototype works correctly after repair.
Design of a temperature control prototype.
Objective: Connect a temperature sensor to the breadboard with Dupont wires.
What’s needed: Arduino Uno, temperature sensor, breadboard.
Steps: 1) Connect the Dupont wire to the output pin of the Arduino. 2) Connect the other end of the wire to the temperature sensor. 3) Check the connection with a multimeter. 4) Test the temperature sensor with an Arduino sketch.
Expected result: The temperature control prototype works correctly.
Design of a humidity control prototype.
Objective: Connect a humidity sensor to the breadboard with Dupont wires.
What’s needed: Arduino Uno, humidity sensor, breadboard.
Steps: 1) Connect the DuPont cable to the output pin of the Arduino. 2) Connect the other end of the cable to the humidity sensor. 3) Verify the connection with a multimeter. 4) Test the humidity sensor with an Arduino sketch.
Expected result: The humidity control prototype works correctly.
Design of a motion control prototype.
Objective: Connect a motion sensor to the breadboard with DuPont cables.
Required: Arduino Uno, motion sensor, breadboard.
Steps: 1) Connect the DuPont cable to the output pin of the Arduino. 2) Connect the other end of the cable to the motion sensor. 3) Verify the connection with a multimeter. 4) Test the motion sensor with an Arduino sketch.
Expected result: The motion control prototype works correctly.
In the package
- 20 Pieces 6P Male Dupont, Dupont Plastic Housing 2.54MM Spacing, Caps
Complete the Project
- 25 Pieces 4P Male Dupont, 2.54MM Spacing, Dupont Plastic Housing, Caps: Dupont 4P Male Wires are used for temporary or modular connections in Arduino or maker projects.
- 25 Pieces 3P Male Dupont, 2.54MM Spacing, Dupont Plastic Housing, Caps: Dupont 5P Male Wires are used for temporary or modular connections in Arduino or maker projects.
- 25 Pieces 5P Male Dupont, 2.54MM Spacing, Dupont Plastic Housing, Caps: Dupont 7P Male Wires are used for temporary or modular connections in Arduino or maker projects.
- 20 Pieces 7P Male Dupont, 2.54MM Spacing Dupont Plastic Housing, Caps
Technical FAQs
How can I protect Dupont wires from corrosion?
Use the provided cap to cover the ends of the wires when they are not in use.
What is the primary use of these wires?
To temporarily connect various electronic components together during Arduino or maker projects.
Why do DuPont wires not connect properly?
The contacts on the DuPont wires are damaged or dirty.
Why do DuPont wires come loose easily?
The DuPont wires have not been inserted correctly into the interfaces.
Tutorial: How to use DuPont 6P wires with caps
DuPont Connectors wires are essential for temporary or modular connections in Arduino creations and other maker projects. They are ideal for both beginners and experts, allowing for easy manipulation without damaging components.
What you need
- Arduino Uno
- Variable sensors (such as a light sensor)
- Breadboard
Steps
- Connect the DuPont wire to the output pin of the Arduino.
- Connect the other end of the wire to one of the columns on the breadboard.
- Check the connection with a multimeter to ensure that the contacts are properly established.
- If necessary, use the provided cap to protect the wires from physical or electrical damage.
Mini project
Create a simple home alarm system: connect a light sensor to the breadboard with Dupont wires, then write an Arduino sketch to turn on an LED when it gets dark.
Common mistakes
- Do not check the connection before use.
- Use damaged or corroded wires.
- Omit the use of caps to protect the contacts.
Recommended accessories
- Arduino Uno
- 830-point Breadboard
- Light sensors
Frequently asked questions
How can I protect Dupont wires from corrosion?
Use the provided cap to cover the ends of the wires when they are not in use.
What is the main use of these wires?
To temporarily connect various electronic components together during Arduino or maker projects.
Reviews
There are no reviews yet.