 EN
 IT Italiano
 ES Español
 FR Français
 DE Deutsch
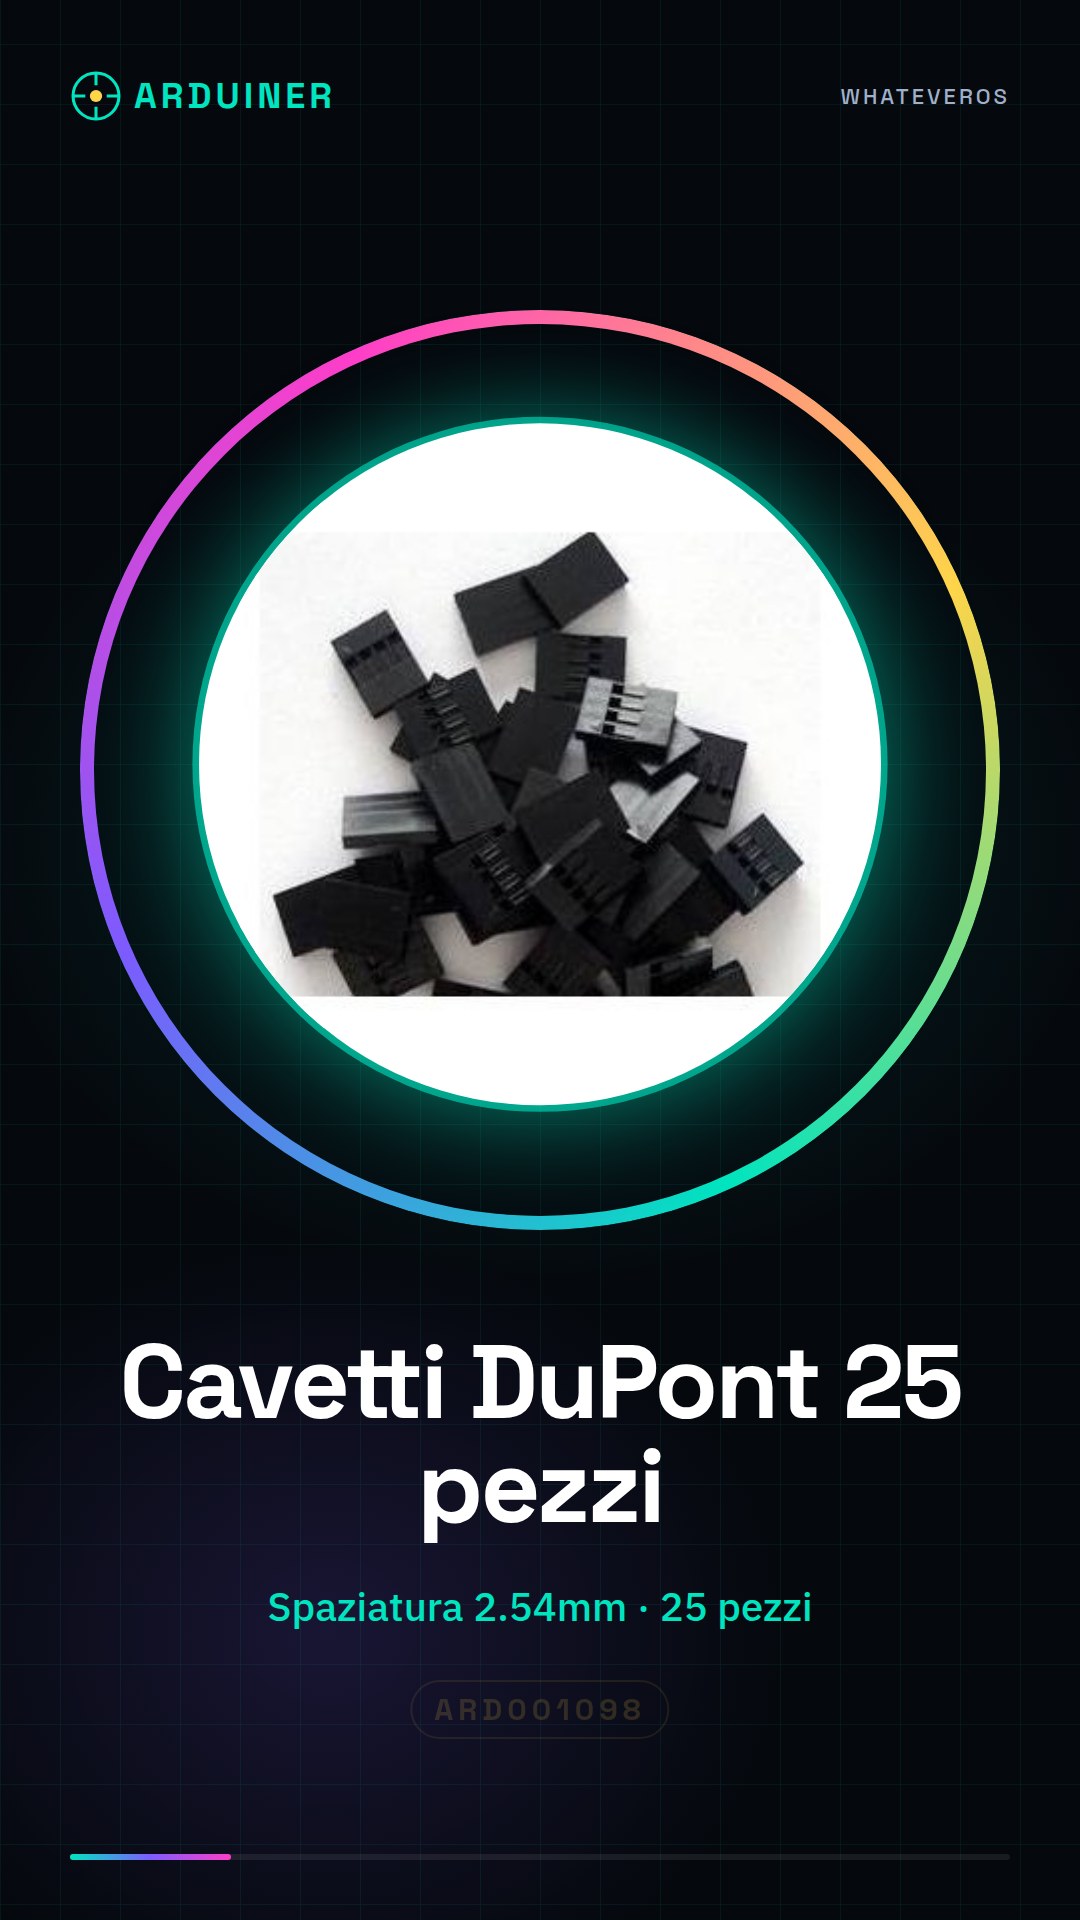
Description
Technical Description
The Dupont wires with Dupont connectors are used to quickly and easily connect components of an electronic project. These wires are suitable for both temporary assembly and circuit prototyping. The Dupont connector allows the wires to be inserted into connectors or interfaces with a 2.54mm pitch, facilitating connection and disconnection.
The wires are equipped with a plastic casing that protects the internal wires and facilitates handling. The plugs at the ends of the wires prevent accidental insertion of small objects and maintain a stable connection.
These wires are suitable for connecting sensors, actuators, resistors, and other components to control boards such as Arduino, allowing the creation of temporary circuits for experimentation and prototyping.
Key Specifications
| Parameter | Value |
| Model | DuPont Connectors 4p DuPont tip |
| Pitch | 2.54mm |
| Quantity | 25 pieces |
| Shell | DuPont Connectors plastic |
| Caps | present |
| Interface | DuPont Connectors tip |
| Container | N/D (see manufacturer’s technical sheet) |
Installation and Usage
- Ensure that the wires are compatible with the ports of the device to be connected, making sure that the pitch is 2.54mm.
- Insert one end of the wire into the connector or output interface of the first component.
- Insert the other end of the wire into the connector or output interface of the second component.
- Check the stability of the connection and repeat the steps to connect other components of the project.
- Repeat the steps to connect additional circuit components.
Compatibility and Requirements
- These Dupont cables are compatible with control boards such as Arduino and connectors with 2.54mm pitch.
- To use these cables, you need a set of compatible sensors and actuators.
- The cables can be used on prototyping panels with 2.54mm pitch.
Limitations and Important Notes
- Dupont cables are not designed for permanent connections or applications with high voltages.
- It is important to verify that the connector pitch is 2.54mm to avoid damage to the cables.
- Dupont cables are not suitable for connections on prototyping panels with a pitch other than 2.54mm.
- To protect the cables, it is advisable to avoid bending them rigidly.
Troubleshooting
Unstable Connection
Probable Cause: Incorrect insertion of the cable into the connector.
Solution: Check that the cable is inserted correctly and repeat the insertion.
Damaged cables
Probable cause: Excessive bending or pulling.
Solution: Avoid bending cables rigidly and applying excessive pulling force.
Locked connector
Probable cause: Forced insertion of the cable.
Solution: Gently remove the cable and reinsert it correctly.
Intermittent connection
Probable cause: Dirty or damaged contacts.
Solution: Check and clean the connector contacts.
Use cases
Home/hobby
Objective: Connect a temperature sensor to an Arduino board.
What you need: Dupont cables, Arduino Uno, temperature sensor.
Steps: 1) Connect the temperature sensor to a connector. 2) Connect the other end of the cable to a connector on the Arduino board. 3) Verify the stable connection. 4) Configure the Arduino board to read data from the sensor.
Expected result: The temperature sensor is correctly connected and the Arduino board receives the data.
Lab
Objective: Test a temporary circuit.
What is needed: Dupont cables, Arduino Uno, resistors, LEDs.
Steps: 1) Connect the components of the temporary circuit. 2) Verify the stability of the connections. 3) Test the circuit with the Arduino board.
Expected result: The temporary circuit works correctly.
Prototyping
Objective: Create a circuit prototype.
What is needed: Dupont cables, Arduino Uno, sensors, actuators.
Steps: 1) Connect the prototype components. 2) Verify the stability of the connections. 3) Test the prototype with the Arduino board.
Expected result: The prototype works correctly.
School
Objective: To execute an electronics project.
What is needed: Dupont cables, Arduino Uno, sensors, actuators.
Steps: 1) Connect the project components. 2) Verify the stability of the connections. 3) Test the project with the Arduino board.
Expected result: The electronics project works correctly.
Maintenance
Objective: To replace a damaged component.
What is needed: Dupont cables, Arduino Uno, replacement component.
Steps: 1) Remove the damaged component. 2) Connect the replacement component. 3) Verify the stability of the connection. 4) Test the circuit with the Arduino board.
Expected result: The replaced component works correctly.
Repair
Objective: Repair a damaged circuit.
What you need: Dupont cables, Arduino Uno, replacement components.
Steps: 1) Identify the damaged component. 2) Remove the damaged component. 3) Connect the replacement component. 4) Verify the stability of the connection. 5) Test the circuit with the Arduino board.
Expected result: The repaired circuit functions correctly.
Automation
Objective: Control a device automatically.
What you need: Dupont cables, Arduino Uno, actuator.
Steps: 1) Connect the actuator to the circuit. 2) Verify the stability of the connection. 3) Configure the Arduino board to control the actuator.
Expected result: The actuator is correctly controlled by the Arduino board.
Test
Objective: Test a component.
What you need: Dupont cables, Arduino Uno, component to test.
Steps: 1) Connect the component to the circuit. 2) Verify the stability of the connection. 3) Test the component with the Arduino board.
Expected result: The component works correctly.
In the package
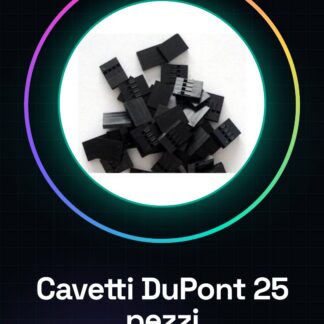
- 25 pieces of 4p DuPont head DuPont Connectors
Complete the project
- 25 pieces of 3P DuPont head, Spacing 2.54MM, DuPont plastic casing, caps: To connect components with 2.54mm spacing.
- 25 pieces of 5P head DuPont, Spacing 2.54MM, DuPont plastic casing, caps: To create stable and quick connections.
- 20 pieces of 7P DuPont head, Spacing 2.54MM DuPont plastic casing, caps
Technical FAQs
Can DuPont cables be used with other types of connectors?
Yes, but make sure the spacing is compatible (check the datasheet).
How can I protect my DuPont cables from damage?
Use a protective casing or avoid bending them too rigidly.
What are the usage limitations of DuPont wires?
DuPont Connectors wires are not designed for permanent connections or for applications with high voltages.
How can I verify the stability of the connections?
Ensure that the wires are inserted correctly and that the contacts of the connectors are clean.
Tutorial: How to use DuPont Wires with DuPont Heads
DuPont Connectors wires with DuPont heads are essential for quickly and easily connecting the components of an Arduino project. Ideal for both beginners and experts, these wires make assembly and disassembly of circuits easier.
What you need
- Connection between various devices
- Rapid experimentation with sensors and actuators
- Assembly of temporary prototypes
Steps
- Check that the wires are compatible with your device’s ports. The spacing should be 2.54mm.
- Insert one end of the cable into the connector or the output interface of the component to be connected.
- Repeat the previous step for the other end of the cable, connecting it to the second device.
- Check the stability of the connection and repeat the steps if necessary with other components of the project.
Mini project
Create a simple lighting circuit controlled by a button. Connect the Dupont cable between a button, a resistor, and an LED to control the lighting.
Common mistakes
- Unstable connection due to incorrect insertion.
- Damaged or tangled cables.
- Blocked connector preventing quick removal of the cable.
Recommended accessories
- Arduino Uno
- Set of sensors and actuators
- Perfect Prototyping Panel 2.54mm
- Basic Kit for Arduino
Frequently asked questions
Can Dupont cables be used with other types of connectors?
Yes, but make sure the spacing is compatible (check the datasheet).
How can I protect my DuPont cables from damage?
Use a protective casing or avoid bending them too rigidly.
Reviews
There are no reviews yet.