 EN
 IT Italiano
 ES Español
 FR Français
 DE Deutsch

Description
Tutorial: How to Use ON/OFF Button
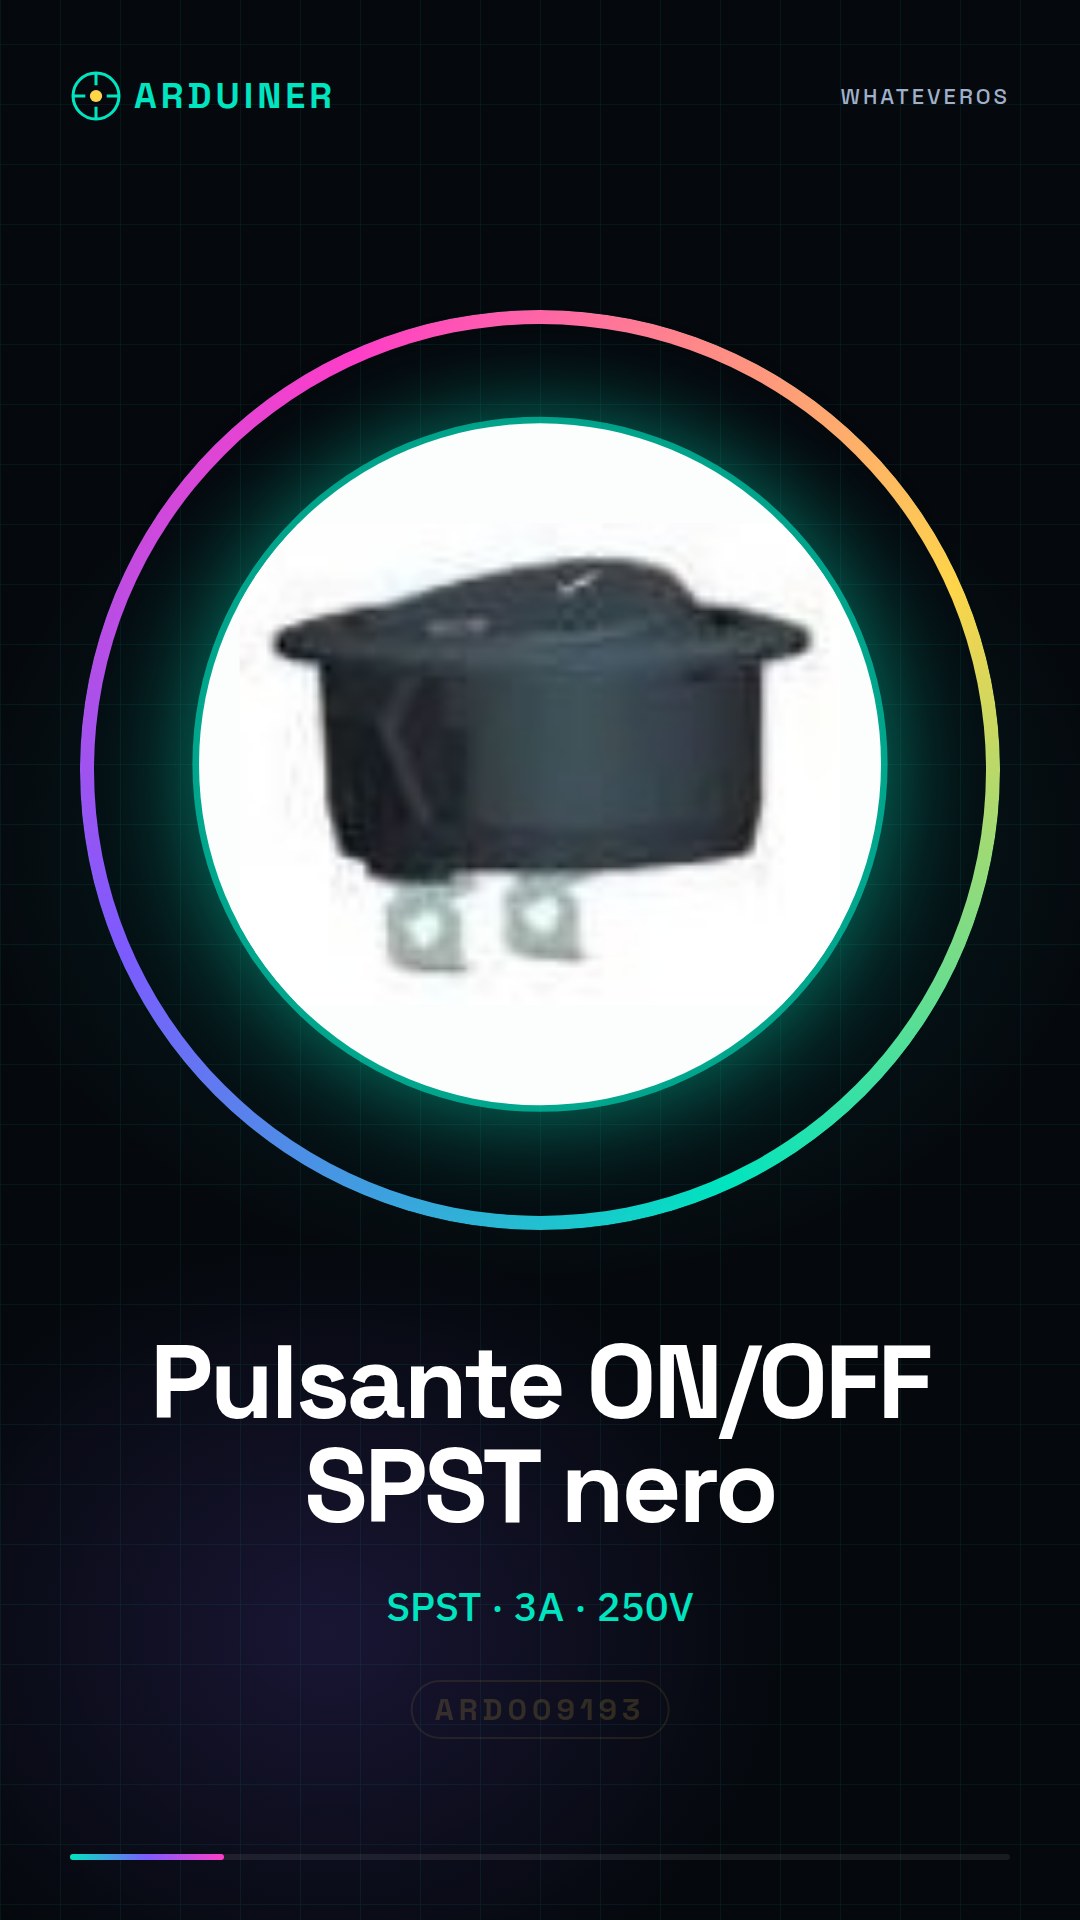
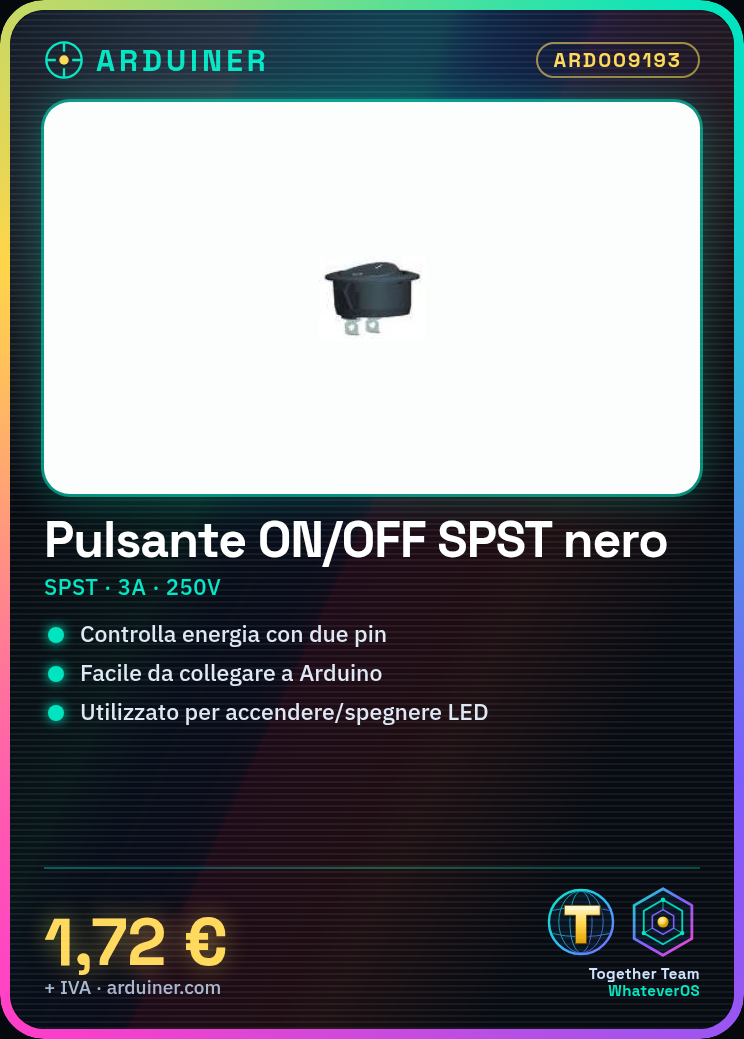
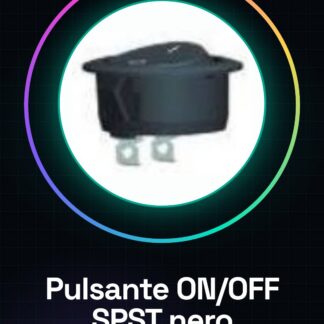
This ON/OFF button is ideal for controlling the power of electronic devices. Useful for beginners and intermediates.
What you need
- 2 pieces SPST ON/OFF Button
- Power Cable
- Arduino or electronic device
- Multimeter (optional)
Steps
- 1. Check that the button has 2 pins.
- 2. Connect one pin of the button to GND.
- 3. Connect the second pin of the button to a digital pin of your Arduino.
- 4. Configure the button pin as input in Sketch.
- 5. Add code to control the state of the button.
- 6. Test the button with an LED to verify functionality.
- 7. Add code to control the state of the LED based on the button.
- 8. Check the datasheet for maximum current and voltage values.
Example code
```void setup() { pinMode(2, INPUT);}void loop() { if (digitalRead(2) == HIGH) { digitalWrite(13, HIGH); } else { digitalWrite(13, LOW); }}```Mini project
Create a simple startup and shutdown screen for an LED using a button.
Common mistakes
- Connect the button to VCC instead of GND.
- Forget to configure the button pin as input.
- Use an analog pin instead of a digital pin.
- Don’t test the button before connecting it to the LED.
Recommended accessories
- LED
- Resistor
- Multimeter
Frequently asked questions
Can I use this button with a drone?
Yes, but make sure the maximum current is sufficient for your device.
How long can the button last?
Check the datasheet for specific values.
Can I use this button with a Raspberry Pi?
Yes, but make sure the current and voltage are compatible.
What to do if the button doesn’t work?
Check the connections and the code. If the problem persists, check the datasheet.

Reviews
There are no reviews yet.