 EN
 IT Italiano
 ES Español
 FR Français
 DE Deutsch
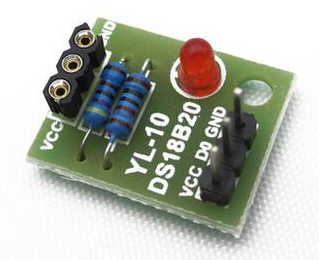
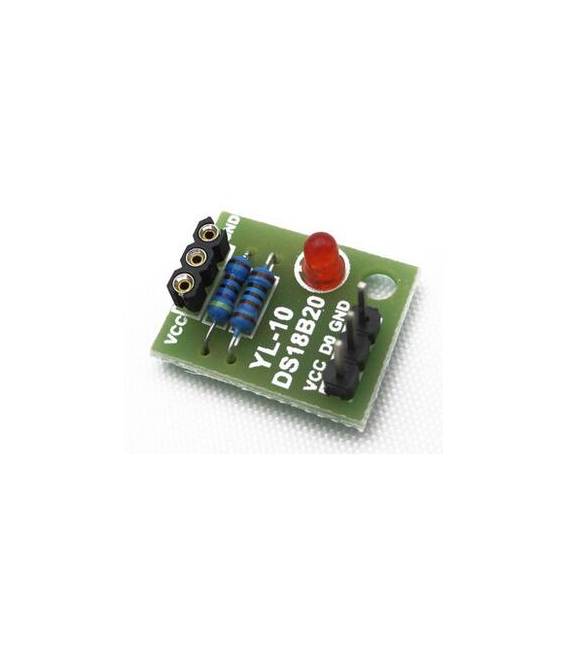
Description
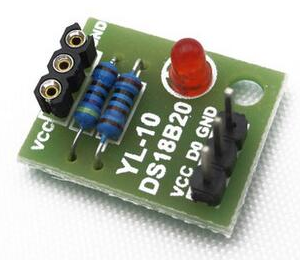
Tutorial: How to Use YL-10 Sensor Plug
The YL-10 sensor measures temperature and humidity in the environment. Useful for climate monitoring and home automation projects.
What you need
- YL-10 Sensor Plug
- Arduino UNO
- 5V Power Cable
- 10kΩ Resistor
Steps
- 1. Connect the YL-10 sensor plug to pin A0 of the Arduino.
- 2. Connect the 10kΩ resistor between the GND and VCC of the sensor.
- 3. Power the Arduino with a USB cable.
- 4. Load the provided Sketch code.
- 5. Run the code to display temperature and humidity.
- 6. Check the datasheet for further details.
- 7. Try moving the sensor to different environments to observe changes.
- 8. Record the data for future analysis.
Example code
```int sensorPin = A0; int sensorValue = 0; void setup() { Serial.begin(9600); } void loop() { sensorValue = analogRead(sensorPin); Serial.println(sensorValue); delay(1000); } ```Mini project
Create an excessive humidity warning system with an LED that turns on when the humidity exceeds 70%.
Common mistakes
- Do not connect the sensor directly to the VCC of the Arduino without a resistor.
- Ensure the power supply is stable and does not exceed 5V.
- Always check the correct pin connection.
- If the sensor does not respond, check the connection and the resistance.
Recommended accessories
- LED and resistor for humidity warning
- LCD display for graphical visualization
- 5V power supply cable
- 100Ω resistor for LED
Frequently asked questions
How can I calibrate the sensor?
Check the datasheet for specific calibration instructions.
Does the sensor work with Arduino Nano?
Yes, the YL-10 sensor is compatible with Arduino Nano.
Does the sensor work in cold environments?
The sensor works well in a wide range of temperatures, check the datasheet for temperature limits.
Can I use the sensor with an STM32 microcontroller?
The sensor is compatible with various microcontrollers, check the datasheet for further details.
Reviews
There are no reviews yet.