 EN
 IT Italiano
 ES Español
 FR Français
 DE Deutsch
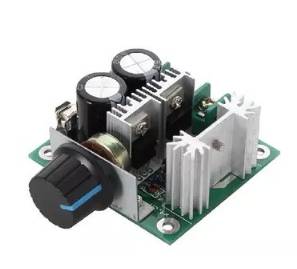
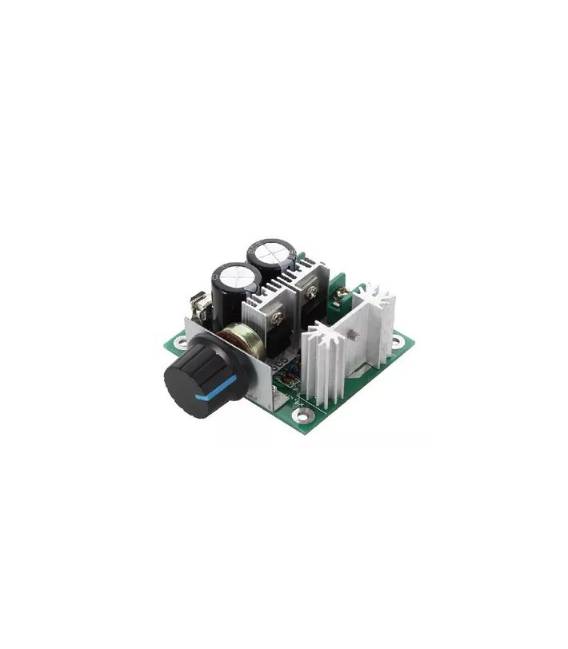
Description
What it is
The CCMHC PWM DC Regulator is an electronic device that allows controlling the speed of a DC motor. Using the PWM (Pulse Width Modulation) switching method, the regulator adjusts the amplitude of the pulse sent to the motor, thereby influencing its rotational speed.
Features
- Power Supply: 12V, 24V, 30V, 40V
- Maximum Current: 10A
- Technology: PWM (Pulse Width Modulation)
What it is for
This regulator is ideal for Arduino projects that require precise control of a DC motor’s speed. It can be used in applications such as robots, electric vehicles, automation systems, and more. Compatibility with Arduino and ESP should be verified in the datasheet.
Tutorial: How to Use CCMHC PWM DC Switching Regulator 10A
The CCMHC PWM DC 10A switching regulator is a crucial component for controlling the speed and power of DC motors with an input voltage range from 12V to 40V. It is ideal for automation, robotics, and control systems projects.
What you need
- CCMHC PWM DC 10A Switching Regulator
- Arduino Uno or compatible
- Serpentine connections
- DC Motors
- Power supply with output from 12V to 40V
- LED and resistor (optional for status indication)
Steps
- Connect the power supply to the switching regulator, ensuring the voltage is between 12V and 40V.
- Connect the DC motor to the switching regulator.
- Connect the switching regulator to the Arduino. Check the datasheet for the specific pins required.
- Write an Arduino sketch to send PWM signals to the switching regulator.
- Check the output of the switching regulator with a multimeter.
- Test the DC motor with various PWM signal levels.
- Add an LED and a resistor to display the motor status.
- Adjust the motor speed using the Arduino software.
Example code
void setup() {
  pinMode(9, OUTPUT);
}

void loop() {
  analogWrite(9, 128); // Imposta la velocità del motore
}
Mini project
Create a DC motor control system for a small robotic vehicle. Set different speed levels and monitor the motor behavior.
Common mistakes
- Do not check the power supply voltage before installation.
- Do not correctly connect the PWM pins to the Arduino.
- Do not test the output of the switching regulator.
- Do not add a feedback system to display the motor status.
Recommended accessories
- Arduino Uno
- Solderless connectors
- DC motor
- Multimeter
Frequently asked questions
What is the minimum power supply voltage for this regulator?
The minimum power supply voltage is 12V. Check the datasheet for the maximum voltage.
Can it control motors with current above 10A?
No, this regulator is designed for a maximum current of 10A. Check the datasheet for further specifications.
How can I monitor the temperature of the regulator during use?
Add a temperature sensor to the regulator and connect it to the Arduino to monitor the temperature.
Reviews
There are no reviews yet.