 EN
 IT Italiano
 ES Español
 FR Français
 DE Deutsch

Description
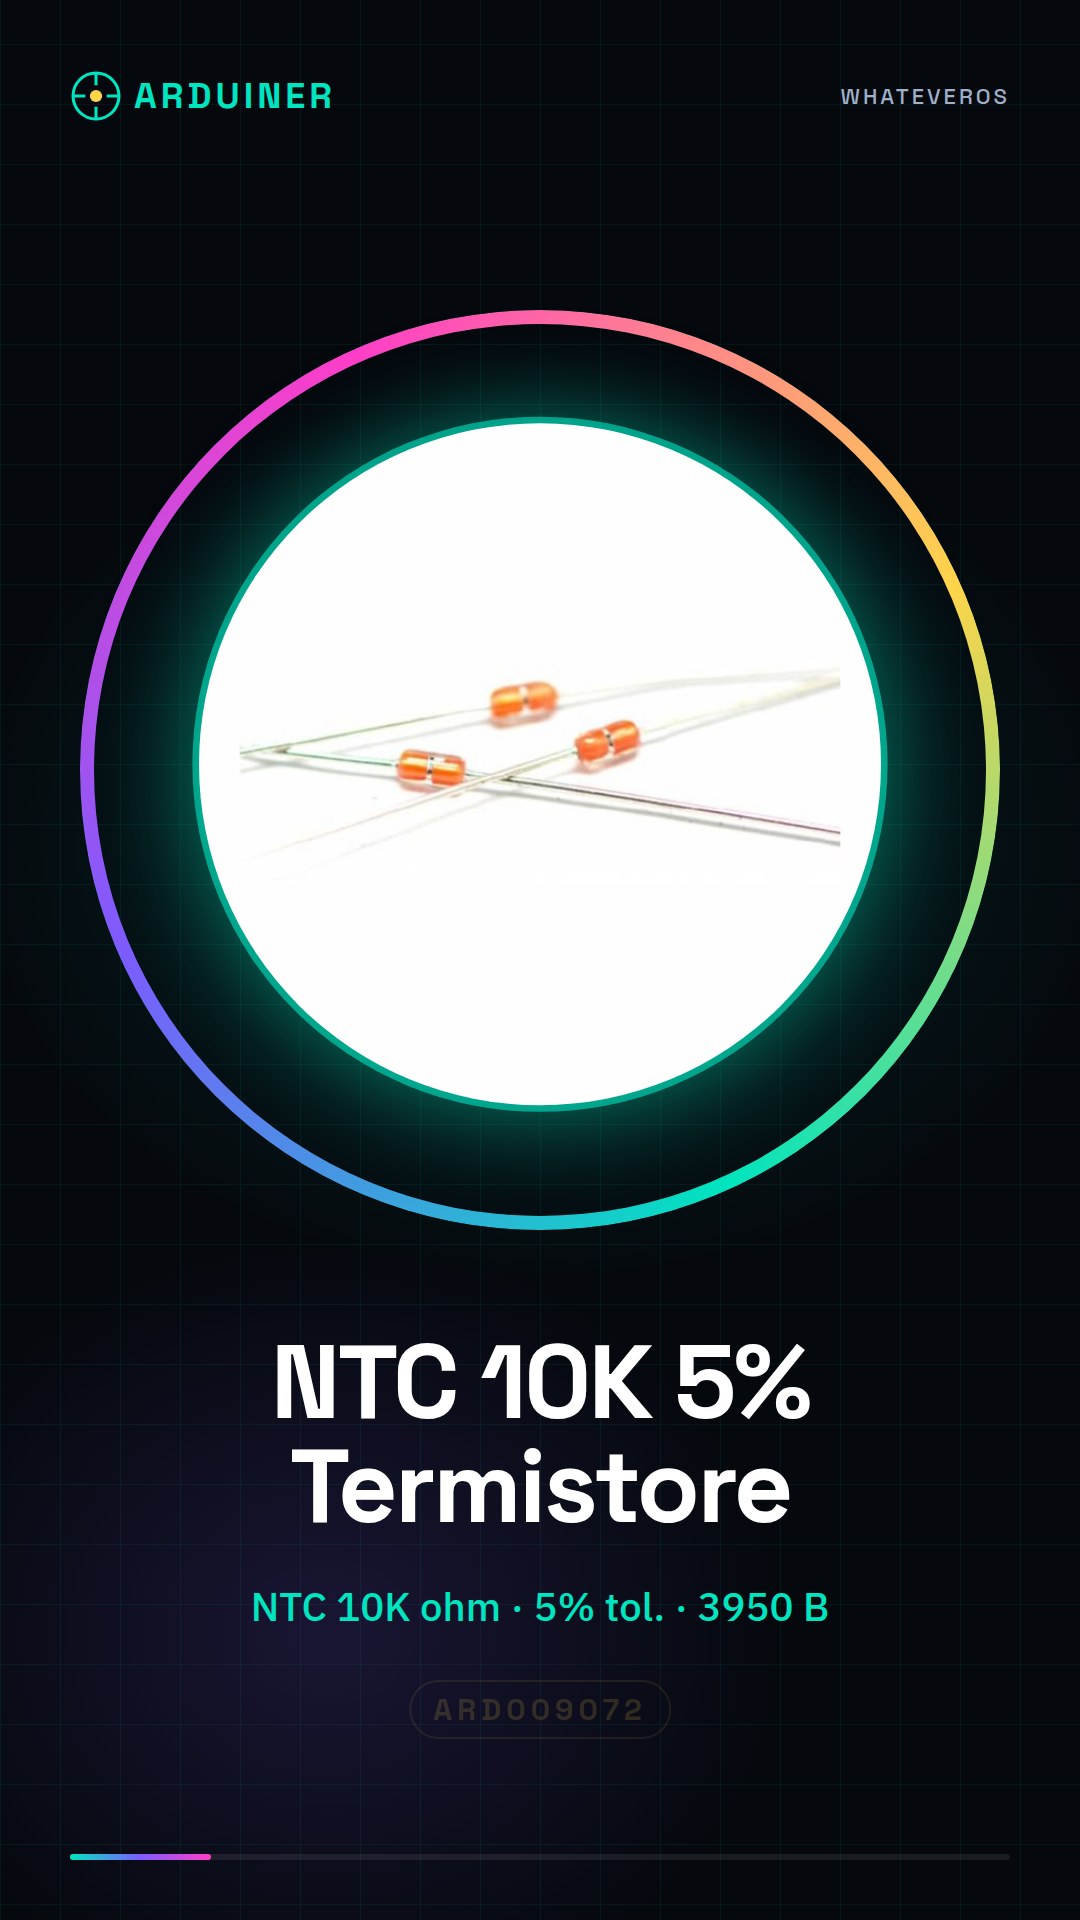
Tutorial: How to Use NTC MF58 3950 B 10K ohm 5% Thermistor
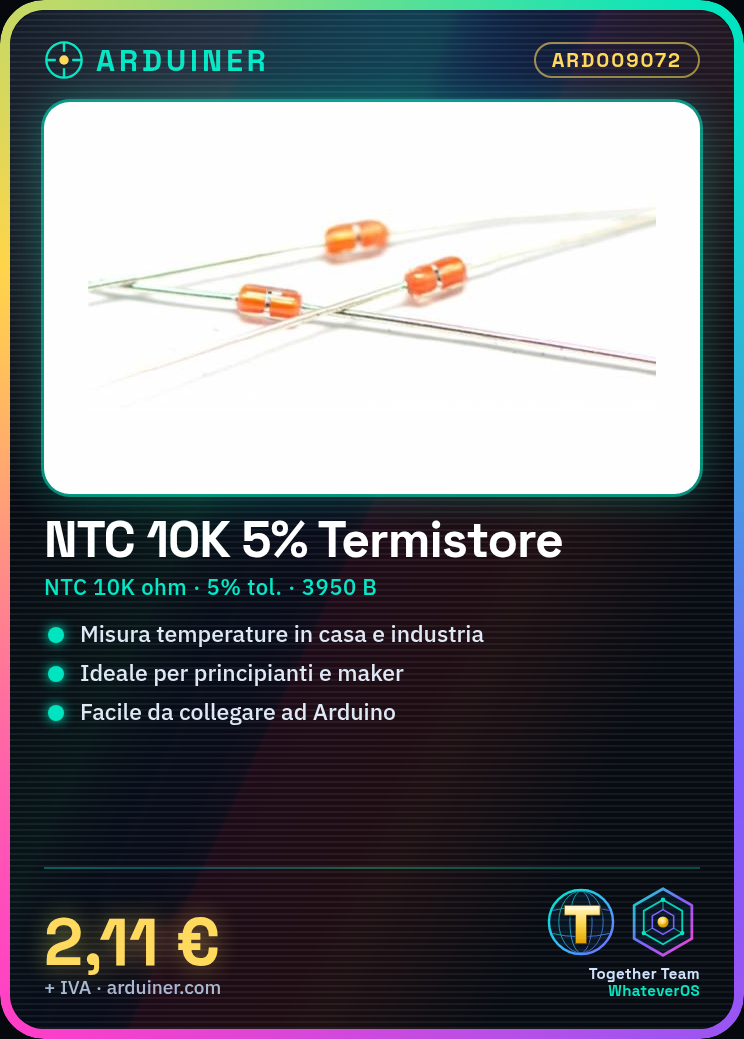
This NTC thermistor is ideal for measuring temperatures in domestic and industrial environments. Useful for beginners and makers.
What you need
- Multimeter
- 10K ohm Resistor
- Arduino
- Connection Cable
Steps
- 1. Connect the thermistor to pin A0 of the Arduino.
- 2. Connect a 10K ohm resistor to the VCC and GND pins of the Arduino.
- 3. Connect the thermistor to the resistor, forming a chain.
- 4. Load the Arduino code.
- 5. Check the datasheet for the resistance at temperature.
- 6. Connect to Serial Monitor to view the temperature.
- 7. Test accuracy with a digital thermometer.
- 8. Adjust the code if necessary.
Example code
```int sensorPin = A0; int sensorValue = 0; void setup() { Serial.begin(9600); } void loop() { sensorValue = analogRead(sensorPin); Serial.println(sensorValue); delay(500); } ```Mini project
Build a simple digital thermometer using this thermistor and an LCD display.
Common mistakes
- Connect the thermistor and resistor correctly.
- Check the power supply voltage.
- Use the correct Arduino pin.
Recommended accessories
- LCD Display 16×2
- Arduino UNO
- Digital Thermometer
- Multimeter
Frequently asked questions
What is the difference between NTC and PTC?
NTC (Negative Temperature Coefficient) decreases resistance with an increase in temperature, while PTC (Positive Temperature Coefficient) increases.
For which temperature is this thermistor optimized?
Check the datasheet for the reference temperature.
Can I use a digital thermometer for calibration?
Yes, but make sure it is properly calibrated.
Does the thermistor work with different power supplies?
Check the datasheet for power supply compatibility.

Reviews
There are no reviews yet.