 EN
 IT Italiano
 ES Español
 FR Français
 DE Deutsch
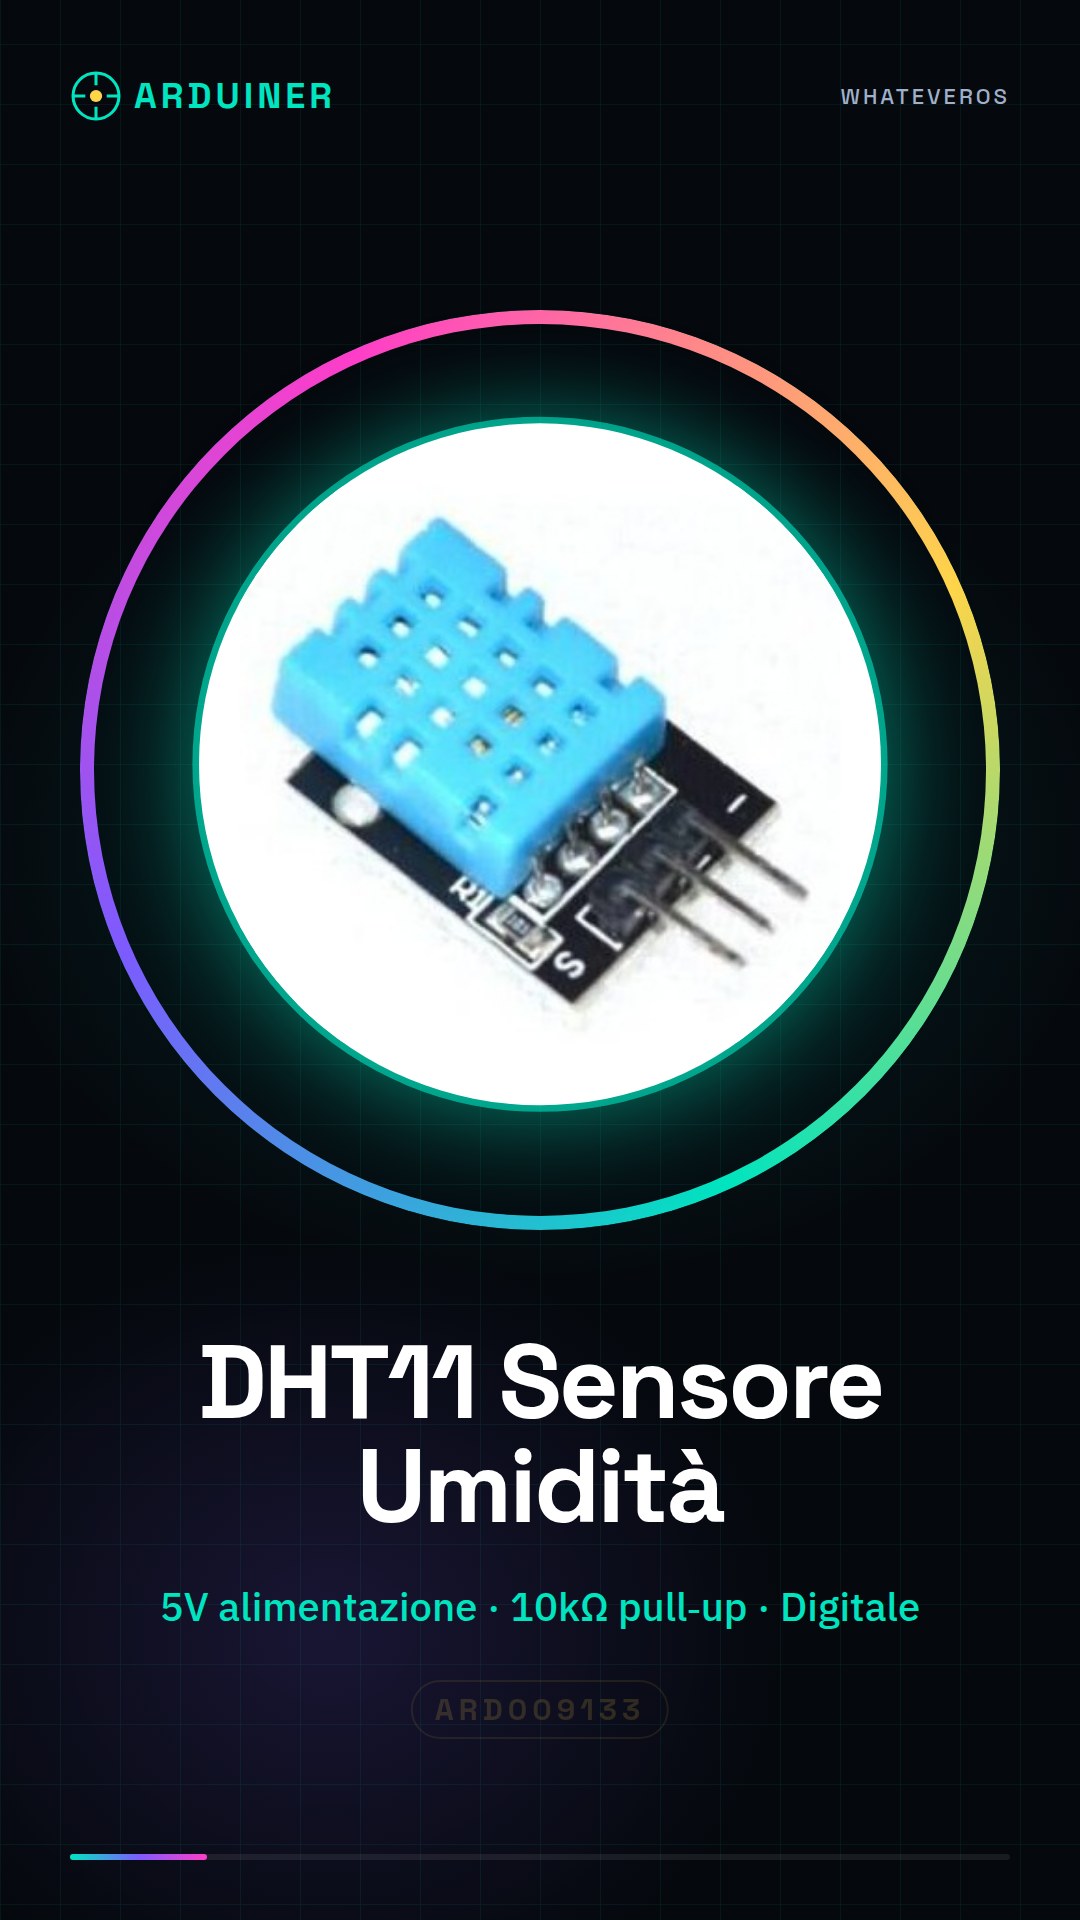
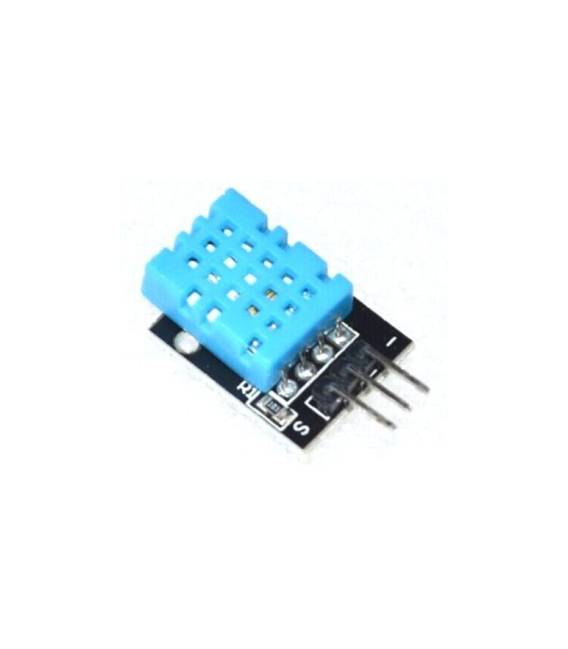
Description
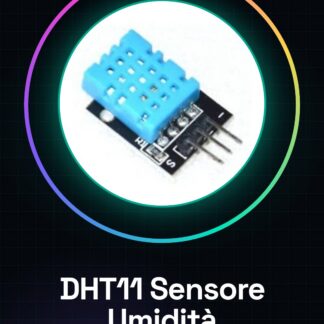
Digital Temperature and Humidity Sensor Module DHT11
Tutorial: How to Use DHT11
The DHT11 is a digital sensor for measuring temperature and humidity. Ideal for humidity and temperature projects.
What you need
- DHT11
- Arduino
- Pull-up Resistor (10kΩ)
- Power Cable
Steps
- 1. Assemble the DHT11: Connect VCC to 5V, GND to GND, and DATA to a digital pin on Arduino.
- 2. Add a pull-up resistor (10kΩ) between DATA and VCC.
- 3. Load the Arduino code.
- 4. Check the datasheet for the recommended read frequency.
- 5. Read the data with a loop in Arduino.
- 6. Print the values on Serial Monitor.
- 7. Verify the stability of the data.
- 8. Adapt the code if necessary.
Example code
```cpp
#include <DHT.h>

#define DHTPIN 2
#define DHTTYPE DHT11

DHT dht(DHTPIN, DHTTYPE);

void setup() {
  Serial.begin(9600);
  dht.begin();
}

void loop() {
  delay(2000);
  float h = dht.readHumidity();
  float t = dht.readTemperature();
  Serial.print("Temperatura: ");
  Serial.print(t);
  Serial.print("°C, Umidità: ");
  Serial.print(h);
  Serial.println("%");
}
```
Mini project
Create an environmental humidity monitor in 30 minutes using an LCD display and a DHT11.
Common mistakes
- Negligence in pull-up connection.
- Incorrect power supply (not 5V).
- Unstable data due to incorrect baud rate.
- Error in Arduino code.
Recommended accessories
- LCD Display
- Arduino UNO
- 10kΩ Resistor
- Power Supply Cable
Frequently asked questions
Does DHT11 work with Arduino Uno?
Yes, DHT11 works with Arduino Uno.
How can I verify data stability?
Perform multiple measurements and compare values.
Which Arduino pins can I use?
Any digital pin on Arduino.
Reviews
There are no reviews yet.