 EN
 IT Italiano
 ES Español
 FR Français
 DE Deutsch
Description
What it is
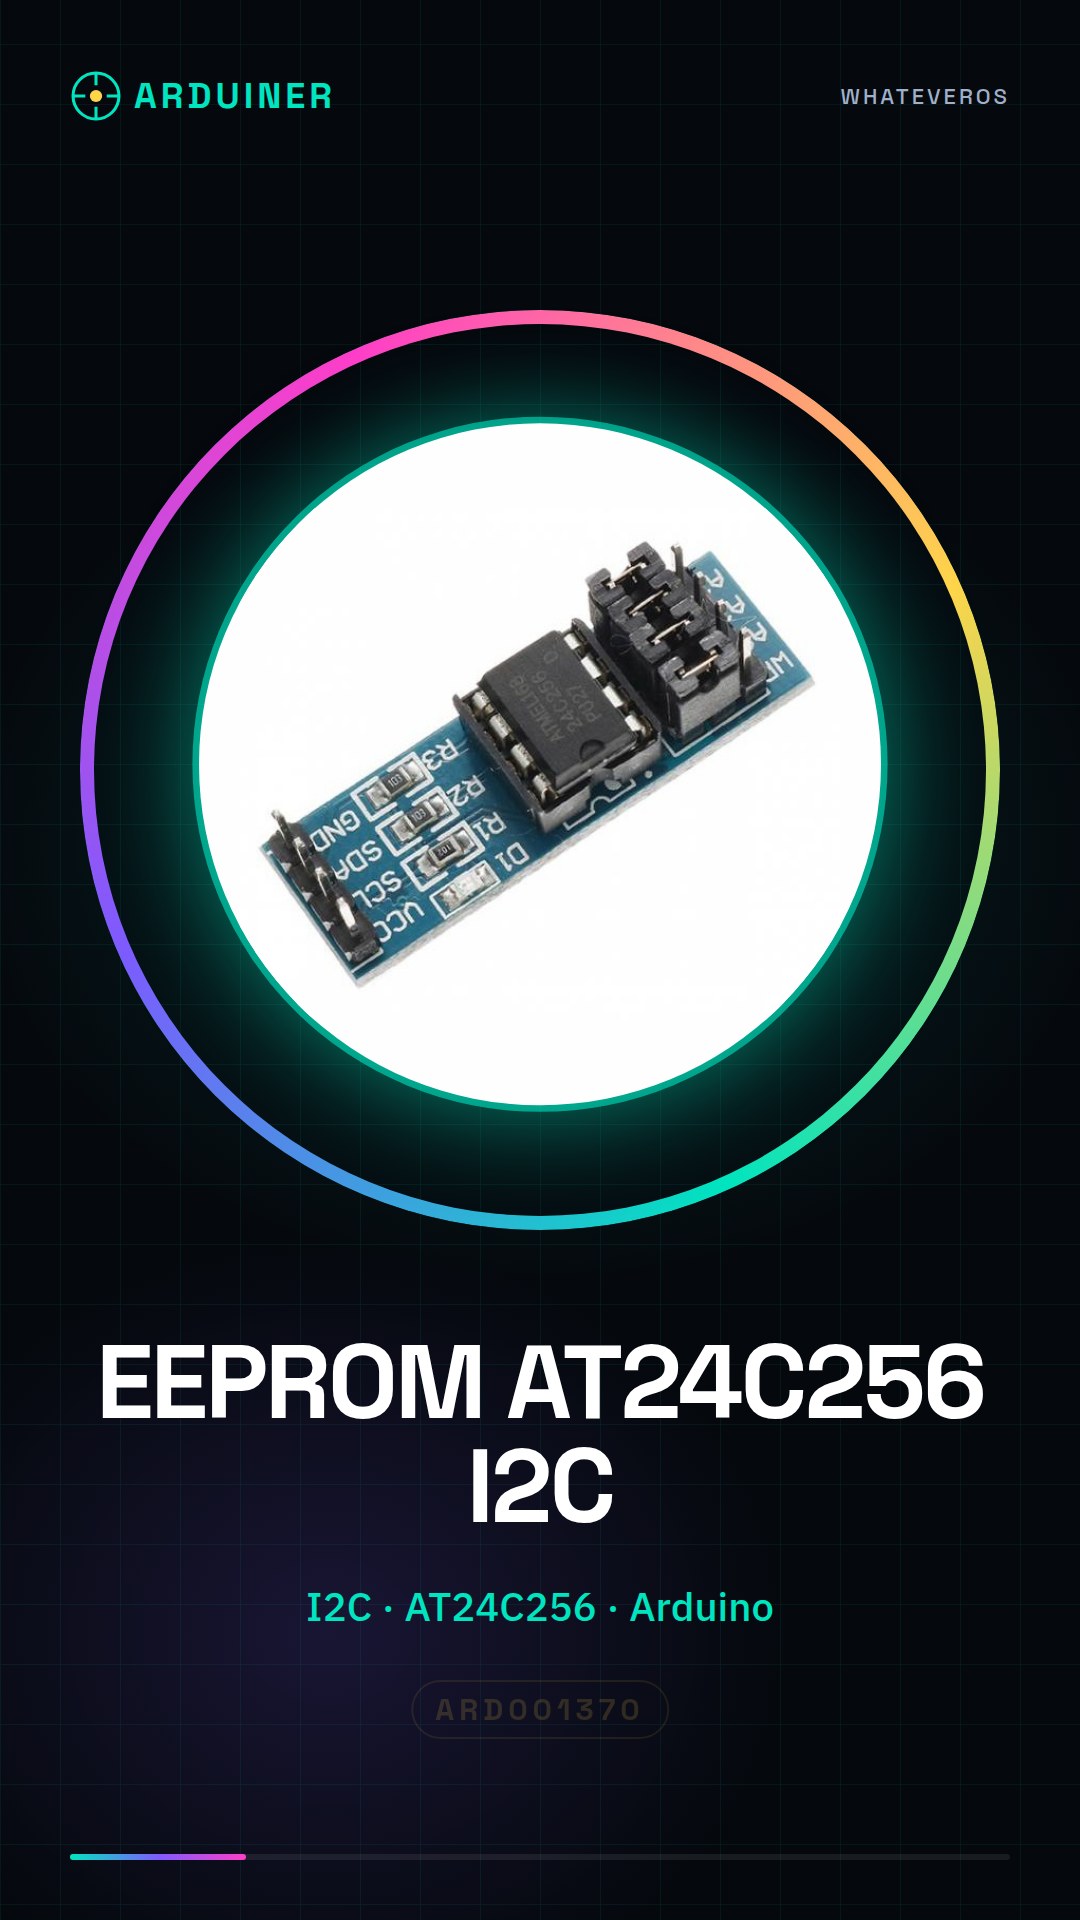
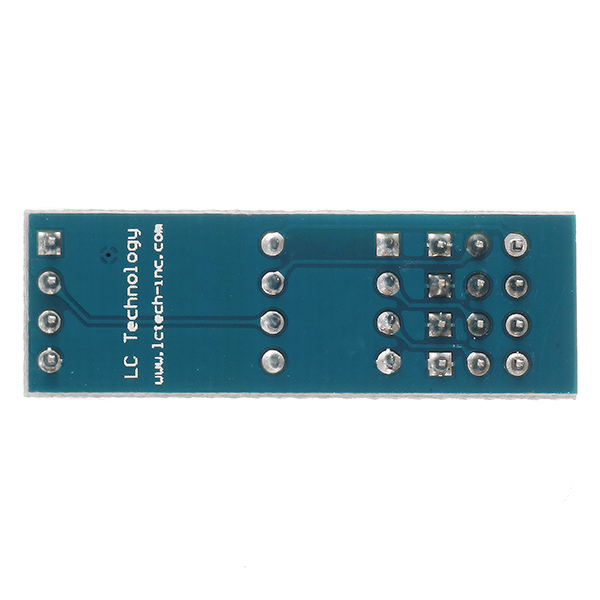
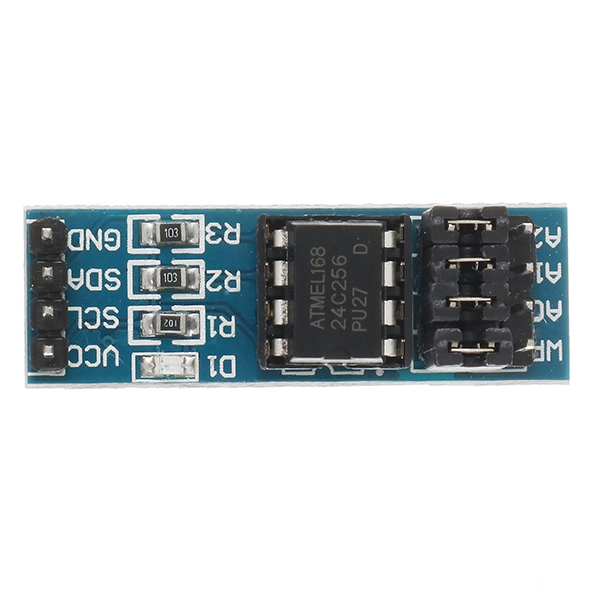
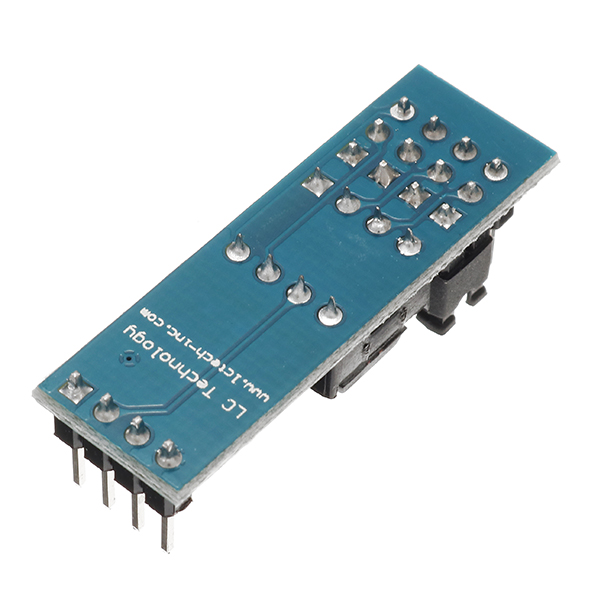
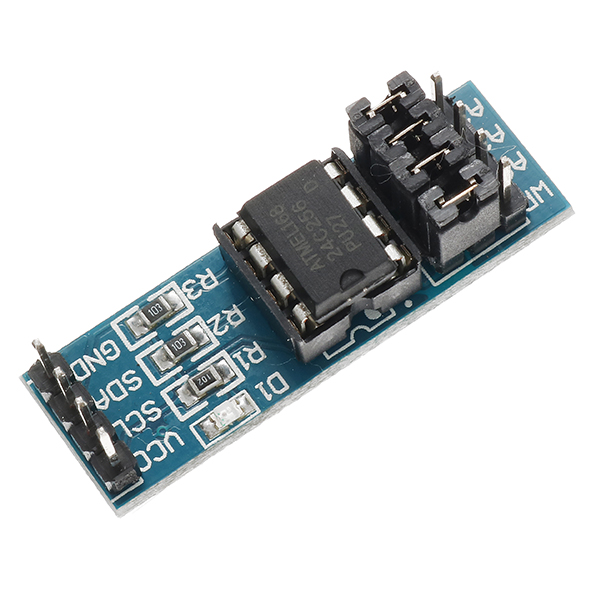
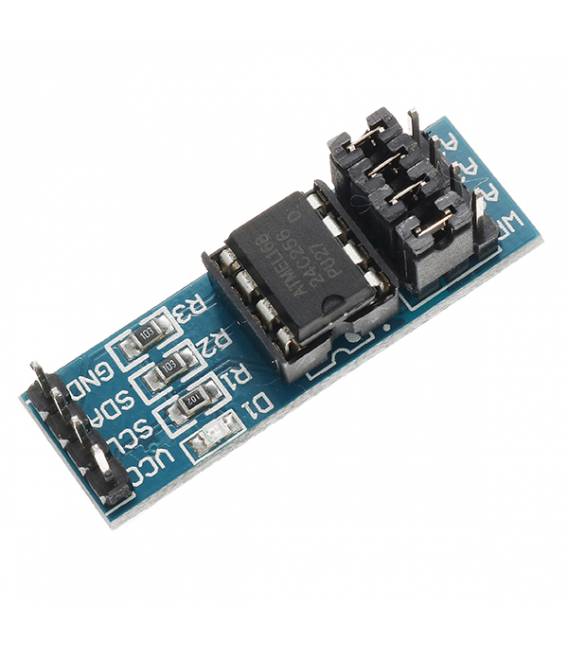
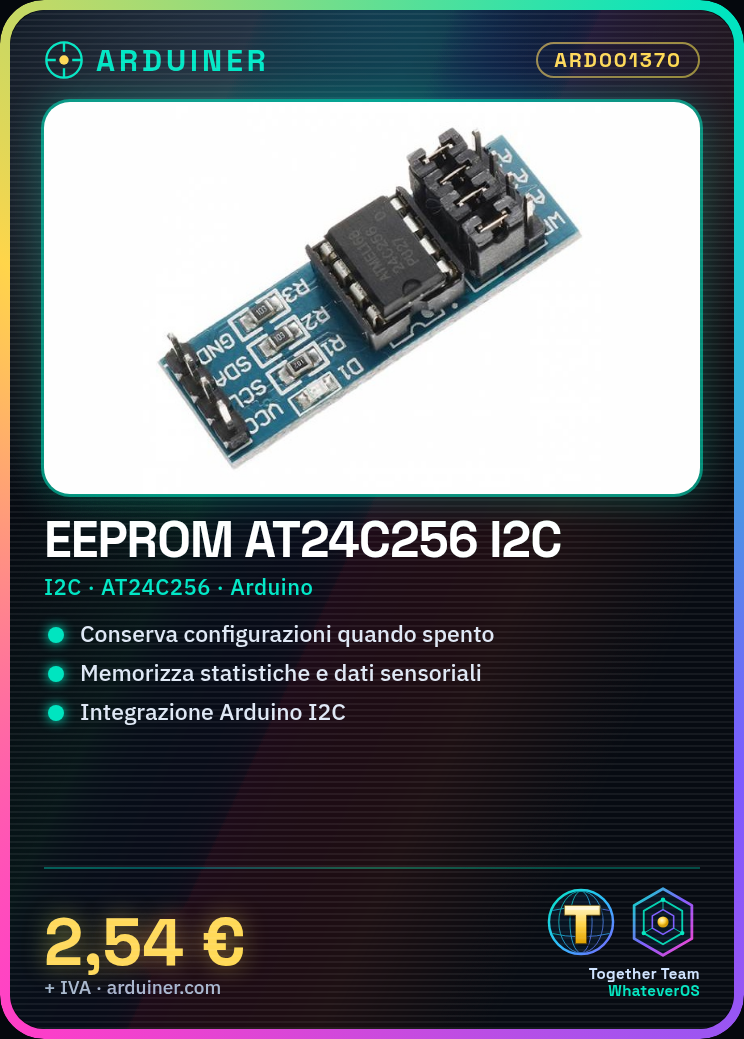
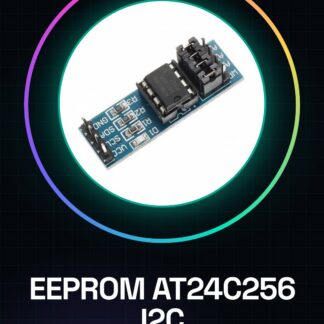
The AT24C256 I2C interface EEPROM memory module is an electronic component designed for non-volatile data storage in Arduino projects. This module allows the storage of important information such as configurations, statistics, or any other type of data that needs to be preserved even when the device is turned off.
Features
- AT24C256 EEPROM Memory
- I2C Interface
- Compatible with Arduino and other microcontrollers that support the I2C interface
What it is for
This EEPROM module is ideal for applications where it is necessary to store permanent data, such as long-term sensor data logging (e.g., temperature). It can be used in projects that require a permanent storage of configurations or statistics.
Tutorial: How to use AT24C256 I2C EEPROM Module for Arduino
The AT24C256 EEPROM is a non-volatile memory module that can be used with Arduino to store important data such as configurations, statistics, or any other type of information that needs to be retained even when the device is turned off. This guide will help you connect and use this module in a few simple steps.
What you need
- Arduino Uno/Nano
- USB cable for Arduino
- AT24C256 I2C EEPROM module
Steps
- Connect the EEPROM module to the VCC pin of Arduino
- Connect the GND of the module to a GND pin of Arduino
- Connect the SDA of the module to pin A4 of Arduino (SDA)
- Connect the SCL of the module to pin A5 of Arduino (SCL)
- Install the EEPROMex library for Arduino from the library manager
- Include the EEPROMex library in the code
- Write data to EEPROM using eeprom_write_byte()
- Read data from EEPROM using eeprom_read_byte()
Example code
// Includi la libreria
#include <EEPROMex.h>

void setup() {
  // Imposta la comunicazione I2C
  Wire.begin();
}

void loop() {
  // Scrivi un byte in EEPROM al posizione 0
  eeprom_write_byte((uint8_t*)0, 42);

  delay(5000); // Attendi 5 secondi prima di leggere

  // Leggi il byte da EEPROM dalla posizione 0
  uint8_t x = eeprom_read_byte((uint8_t*)0);
}
Mini project
Create a sensor that records temperature every hour and stores the data in EEPROM for a week. Use a DS18B20 module and display the results on a 16×2 LCD display.
Common mistakes
- Do not verify the correct I2C address of the module
- I will write too many data beyond the capacity of EEPROM
- Use the wrong method to write/read from memory
- Ignore the need to install a specific library
Recommended accessories
- DS18B20 Temperature Module
- 16×2 LCD Display
- 5V Relay Module
- DS3231 Real Time Clock (RTC) Module
Frequently asked questions
How can I check if the EEPROM module has been correctly connected?
Use the Arduino Serial Monitor interface to read data from EEPROM and see if they are displayed correctly.
What are the maximum sizes of memory that I can write in EEPROM?
Check the datasheet of the AT24C256 module, but generally it is 32KB (256 x 1024 bits).
Reviews
There are no reviews yet.