 EN
 IT Italiano
 ES Español
 FR Français
 DE Deutsch
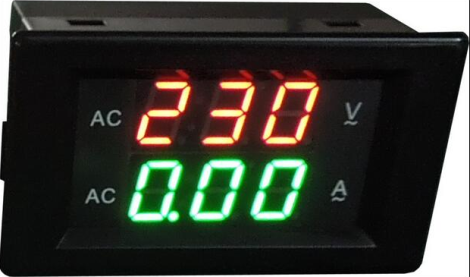
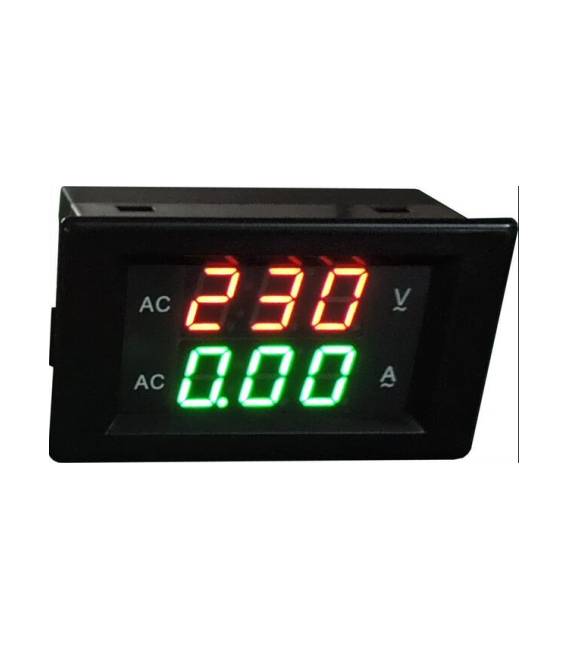
Description
What it is
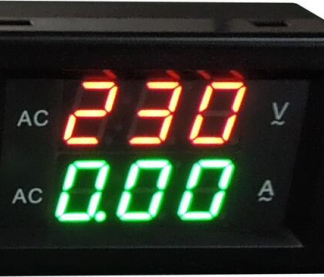
The YB4835VA is a digital voltmeter and ammeter with a dual green and red LED display. It is used to measure both voltage and current in a circuit.
Features
- Maximum voltage measured: 500V
- Maximum current measured: 100A
- Digital display
- Green and red LED
What it is for
The YB4835VA is useful for monitoring battery power and balancing in electronic projects. It can be used to build a simple power circuit with a load and monitor both voltage and current. It is suitable for beginner and intermediate makers.
Tutorial: How to Use Digital Voltmeter and Ammeter YB4835VA
The Digital Voltmeter and Ammeter YB4835VA is useful for monitoring voltage and current in electronic circuits. Ideal for beginner and intermediate makers.
What you need
- Digital Voltmeter and Ammeter YB4835VA
- Arduino or compatible microcontroller
- Power cable
- Resistor (optional)
Steps
- 1. Check the product specifications in the datasheet.
- 2. Connect the power supply cable to the VCC and GND terminals.
- 3. Connect the microcontroller to the VCC and GND terminals.
- 4. Connect the A0 terminals to pin A0 of the microcontroller.
- 5. If necessary, add a resistor between A0 and GND to protect the microcontroller.
- 6. Load the Arduino code.
- 7. Enter the voltage and current values in the code.
- 8. Run the code and check the values on the display.
Example code
void loop() {
  float tensione = analogRead(A0) * (5.0 / 1024.0);
  float corrente = tensione / 0.1; // Assumendo resistenza di 0.1 ohm
  Serial.println(tensione);
  Serial.println(corrente);
}
Mini project
Build a simple power supply circuit with a load and monitor voltage and current.
Common mistakes
- Do not connect the microcontroller directly to the A0 terminals without a resistor.
- Ensure that the maximum voltage does not exceed 5V.
- Check that the maximum current does not exceed the microcontroller’s capacity.
- Make sure the display works correctly before connecting to the microcontroller.
Recommended accessories
- Arduino Nano
- 100 ohm resistor
- 0.1 ohm resistance
- 5V power supply cable
Frequently asked questions
The display is not turning on?
Check the correct power supply and connection to the VCC and GND pins.
How to calculate current?
Multiply the voltage read on A0 by 0.1 (0.1 ohm resistance).
Which specifications to check in the datasheet?
Check maximum voltage, maximum current, and connection pins.
Can I use a power supply different from 5V?
Check the maximum allowed voltage in the datasheet.
Reviews
There are no reviews yet.